
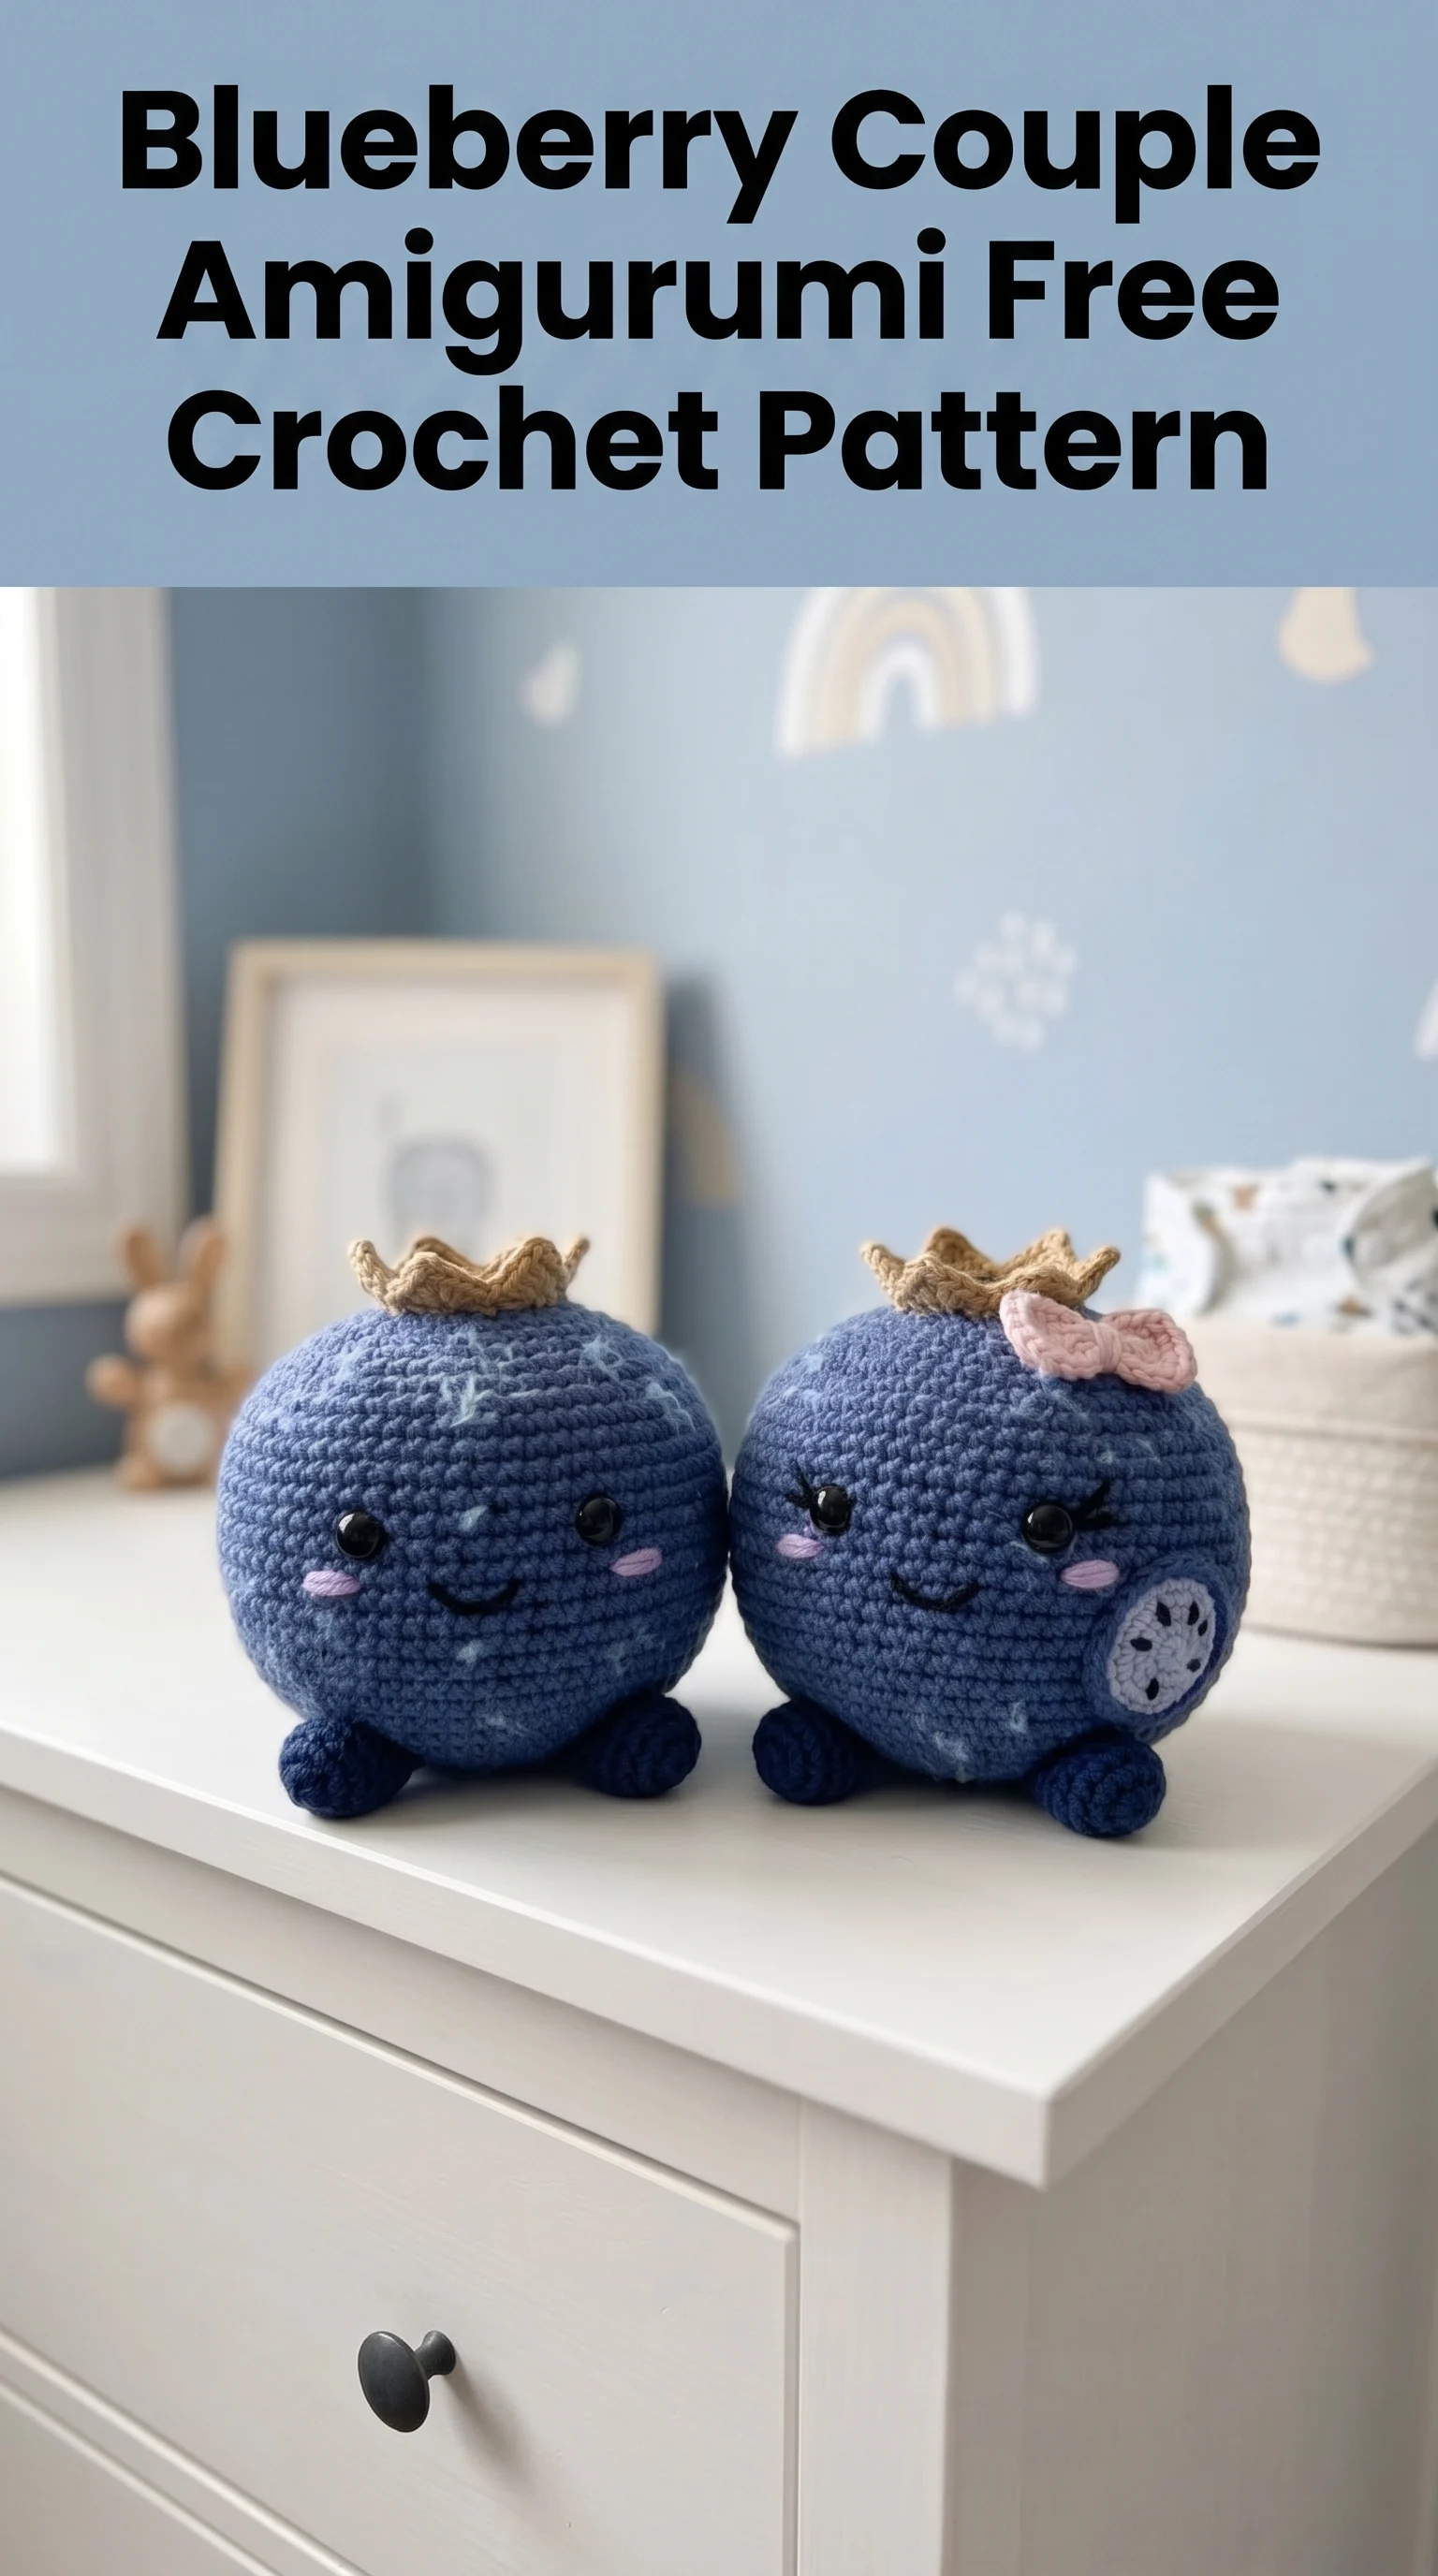
I designed these little cuties because I wanted something adorable that would work up quickly and make people smile every single time they saw it. The goal was simple: create a pair of kawaii blueberries with personality, perfect for nursery decor, play food sets, or a sweet handmade gift for someone special. One blueberry got a tiny pink bow and an embroidered belly patch, while the other stayed classic. I am SO pleased with how these turned out, and I cannot wait for you to make your own blueberry couple!
About This Blueberry Couple Amigurumi Crochet Pattern
These sweet amigurumi blueberries stand approximately 4 inches tall and 3.5 inches wide, not counting their little feet and crown tops. The pair features a dusty blue yarn body with subtle color variations that mimic the natural "bloom" you see on real blueberries. Each blueberry has a tan crocheted crown (like the calyx on actual blueberries), small dark navy feet, black safety eyes, and embroidered details including rosy cheeks and a tiny smile.
The construction is straightforward amigurumi technique. You will work the main body in continuous spiral rounds, starting from the bottom and increasing to create a sphere shape before decreasing back down. The crown, feet, and bow are all made separately and attached during assembly.
This is an intermediate beginner level project. If you have made a basic amigurumi ball before, you can absolutely make these blueberries. The only tricky part is the embroidery for facial details, and I will walk you through that step by step.
Materials Needed
Yarn:
Hook:
Notions:
Stitch Abbreviations and Definitions
Before we begin, let me explain every stitch you will use in this pattern.
Magic ring (MR): A technique for starting crochet in the round that creates a tight, closed center. You wrap yarn around your fingers, pull up a loop, and work stitches into the ring before pulling it closed.
Chain (ch): The foundation stitch. Yarn over, pull through the loop on your hook. That is one chain.
Single crochet (sc): Insert hook into stitch, yarn over, pull up a loop (2 loops on hook), yarn over, pull through both loops. This is your main stitch for the entire project.
Increase (inc): Work 2 single crochet stitches into the same stitch. This adds one stitch to your round.
Invisible decrease (invdec): Insert hook through the front loops only of the next 2 stitches, yarn over, pull through both front loops, yarn over, pull through both loops on hook. This creates a neater decrease than the standard method.
Slip stitch (sl st): Insert hook into stitch, yarn over, pull through stitch and loop on hook in one motion. Used for joining and finishing.
Front loop only (FLO): Work into only the loop closest to you, leaving the back loop unworked.
Gauge and Tension Notes
For amigurumi, you want your stitches tight enough that stuffing will not show through. If you can see gaps between your stitches, go down a hook size. Your gauge is correct when the fabric feels firm and dense.
A 6 round sphere section should measure approximately 2 inches in diameter. Do not stress too much about exact gauge here. What matters most is consistency throughout your project.
Blueberry Body Pattern
You will make two identical bodies, then customize each one differently during the finishing stage.
Round 1: Using dusty blue yarn, make a magic ring. Work 6 sc into the ring, pull tight. (6 sts)
Place your stitch marker in the first stitch of the round. Move it up each round as you work in continuous spirals. Do not join rounds unless instructed.
Round 2: Inc in each st around. (12 sts)
Round 3: *Sc in next st, inc in next st* repeat around. (18 sts)
Round 4: *Sc in next 2 sts, inc in next st* repeat around. (24 sts)
Round 5: *Sc in next 3 sts, inc in next st* repeat around. (30 sts)
Round 6: *Sc in next 4 sts, inc in next st* repeat around. (36 sts)
Round 7: *Sc in next 5 sts, inc in next st* repeat around. (42 sts)
Round 8: *Sc in next 6 sts, inc in next st* repeat around. (48 sts)
Rounds 9 through 18: Sc in each st around. (48 sts) Work 10 rounds even.
This creates the main sphere of your blueberry. Now you will decrease to close the top.
Round 19: *Sc in next 6 sts, invdec* repeat around. (42 sts)
Round 20: *Sc in next 5 sts, invdec* repeat around. (36 sts)
Round 21: *Sc in next 4 sts, invdec* repeat around. (30 sts)
Insert safety eyes between rounds 12 and 13, approximately 8 stitches apart. Make sure they are even and centered before securing the backs.
Round 22: *Sc in next 3 sts, invdec* repeat around. (24 sts)
Begin stuffing firmly now. You want a nice round shape without lumps.
Round 23: *Sc in next 2 sts, invdec* repeat around. (18 sts)
Continue stuffing as you go.
Round 24: *Sc in next st, invdec* repeat around. (12 sts)
Round 25: Invdec around. (6 sts)
Finish stuffing. Fasten off, leaving a long tail. Thread through remaining stitches, pull tight to close, and weave in the end securely.
Crown (Calyx) Pattern
Make two crowns, one for each blueberry.
Row 1: Using tan yarn, ch 25. Sl st in first ch to form a ring, being careful not to twist.
Round 1: Ch 1, sc in each ch around, sl st to first sc to join. (24 sts)
Round 2: Working in FLO only, *ch 3, sl st in next st, skip 1 st, sc in next st, skip 1 st* repeat around. This creates the pointed crown edge.
Fasten off, leaving a long tail for sewing.
The crown should have a slightly wavy, organic look to it. Do not worry if your points are not perfectly even. Real blueberry calyxes are a bit irregular too.
Feet Pattern
Make four feet total, two per blueberry.
Round 1: Using dark navy yarn, make a magic ring. Work 6 sc into the ring. (6 sts)
Round 2: Inc in each st around. (12 sts)
Rounds 3 through 5: Sc in each st around. (12 sts) Work 3 rounds even.
Fasten off, leaving a long tail. Stuff the feet lightly. They should be firm but still somewhat flexible.
Bow Pattern (For One Blueberry)
This bow is optional and goes on only one of your blueberries to differentiate the pair.
Center piece:
Using light pink yarn, ch 5.
Row 1: Sc in 2nd ch from hook and in each ch across. (4 sts)
Rows 2 through 4: Ch 1, turn, sc in each st across. (4 sts)
Fasten off, leaving a tail.
Bow loops:
Using light pink yarn, ch 12.
Row 1: Sc in 2nd ch from hook and in each ch across. (11 sts)
Fasten off, leaving a long tail.
Fold the longer piece into a figure eight shape, pinching the center. Wrap the smaller center piece around the middle tightly to secure. Sew in place with the yarn tails.
Assembly Instructions
Now comes the fun part where your blueberries really come to life!
Attaching the crown:
Position the crown on top of the blueberry body. The crown should sit slightly off center, angled a bit to one side for a natural look. Pin it in place first. Using the long tail, whip stitch the crown to the body all the way around. Weave in the end inside the body.
Attaching the feet:
Position the feet at the bottom front of the blueberry, about 1 inch apart from each other. They should angle slightly outward. Pin in place. Using the yarn tails, sew securely with whip stitches. The feet help the blueberry sit upright on a flat surface.
Attaching the bow (for one blueberry):
Sew the bow next to the crown, slightly overlapping the edge. This creates that sweet, feminine look for one of your blueberry pair.
Embroidery Details
Rosy cheeks:
Using light pink yarn and a yarn needle, create two small ovals below and slightly outside each eye. Work 3 to 4 horizontal straight stitches, layering them slightly. These should look like soft blush marks.
Mouth:
Using black embroidery floss or thin yarn, create a small curved smile below the eyes, centered between them. Work a single curved line using backstitch or a simple straight stitch.
Eyelashes (optional, for the bow blueberry):
Add 2 to 3 small straight stitches angling upward from the outer corner of each eye.
Belly patch (optional, for the bow blueberry):
Using light gray or white yarn, embroider a small oval on the lower right side of the body. Fill it with 4 to 5 french knots or small dots using dark navy or black yarn to represent seeds.
Tips for Perfect Amigurumi Blueberries
Stuffing advice: Stuff in small pieces rather than one big wad. This prevents lumps and gives you better control over the shape. The body should feel firm but still have a little give when squeezed.
Eye placement: Before inserting safety eyes permanently, test placement by pinning buttons or temporary markers. Step back and look from a distance. Eye placement dramatically affects the personality of your amigurumi.
Color variations: To mimic the natural "bloom" on blueberries, you can use a variegated blue yarn or hold two similar blue yarns together. You can also lightly brush white chalk or rub white yarn fuzz on the finished piece, though this is purely optional.
Making them as a set: These blueberries look adorable displayed together. Consider making them in slightly different sizes by using different hook sizes or yarn weights for a mama and baby blueberry family.
Care Instructions
These amigurumi blueberries are safe to spot clean with a damp cloth. If deeper cleaning is needed, hand wash in cool water with mild soap, squeeze gently, and lay flat to dry. Reshape while damp. Do not machine wash or dry.
If giving to a child under 3 years old, consider using embroidered eyes instead of safety eyes for added safety.
Project Variations to Try
Once you have mastered this basic blueberry amigurumi pattern, try these fun variations:
Create a whole fruit bowl by making strawberries, oranges, and bananas using similar techniques. Add a keychain attachment to the crown for an adorable bag charm. Make tiny versions using fingering weight yarn and a 2.5mm hook for ornaments. Skip the face entirely for a more realistic fruit look that works great in play kitchens.
Why This Blueberry Couple Amigurumi Pattern Makes a Great Gift
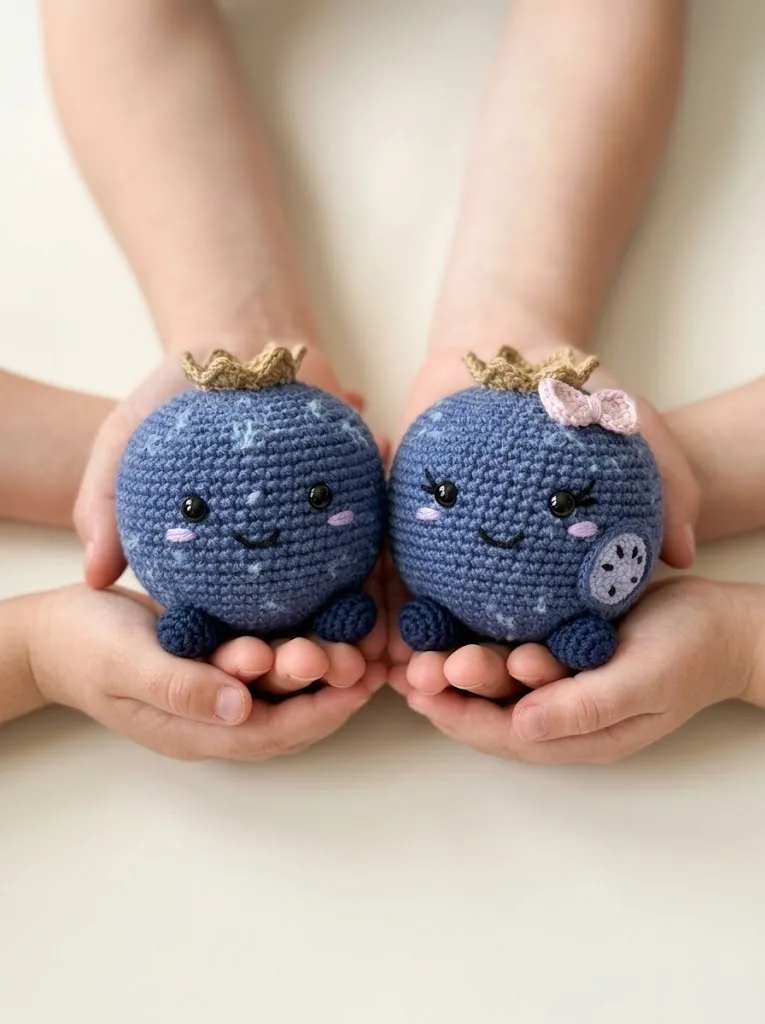
Handmade amigurumi gifts carry so much heart. This blueberry couple works beautifully as a baby shower gift, nursery decor, anniversary present for couples, or just a cheerful desk companion. The pair format makes it extra special because the recipient gets two coordinating pieces that clearly belong together.
They also work up relatively quickly. An experienced crocheter can complete both blueberries in an afternoon. Even if you are newer to amigurumi, you should be able to finish the pair over a weekend.
I really hope you enjoy making this blueberry couple amigurumi crochet pattern as much as I enjoyed designing it. These little guys have such personality, and every time I look at them sitting on my shelf, they make me smile.
If you loved this pattern, please save it to your Pinterest boards so you can find it again later and share it with your crafty friends. And if you make your own blueberry couple, I would absolutely love to see them! Drop a comment below with your photos or tag me on Instagram. Nothing makes my day like seeing your finished projects come to life. Happy crocheting!