
I’ve been sketching dragons in my design notebook for almost two years now. This little one started as a doodle during a rainy afternoon, and I kept coming back to her. I wanted something whimsical but not too complicated. Something with that dreamy pastel rainbow palette that makes your heart feel lighter just looking at it. After countless prototypes and a few frogging sessions I’d rather forget, she finally came to life. I named her Petal, and honestly, she might be my favorite design yet.
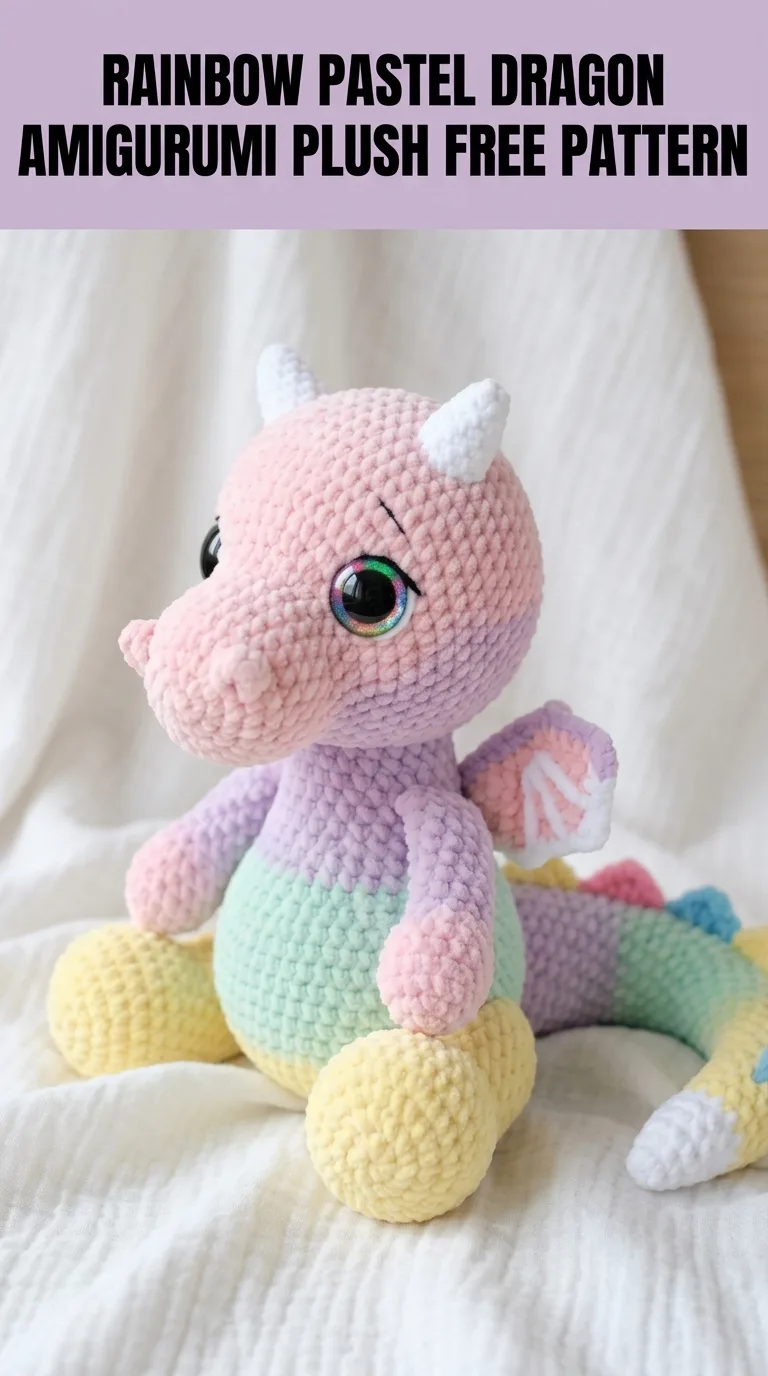
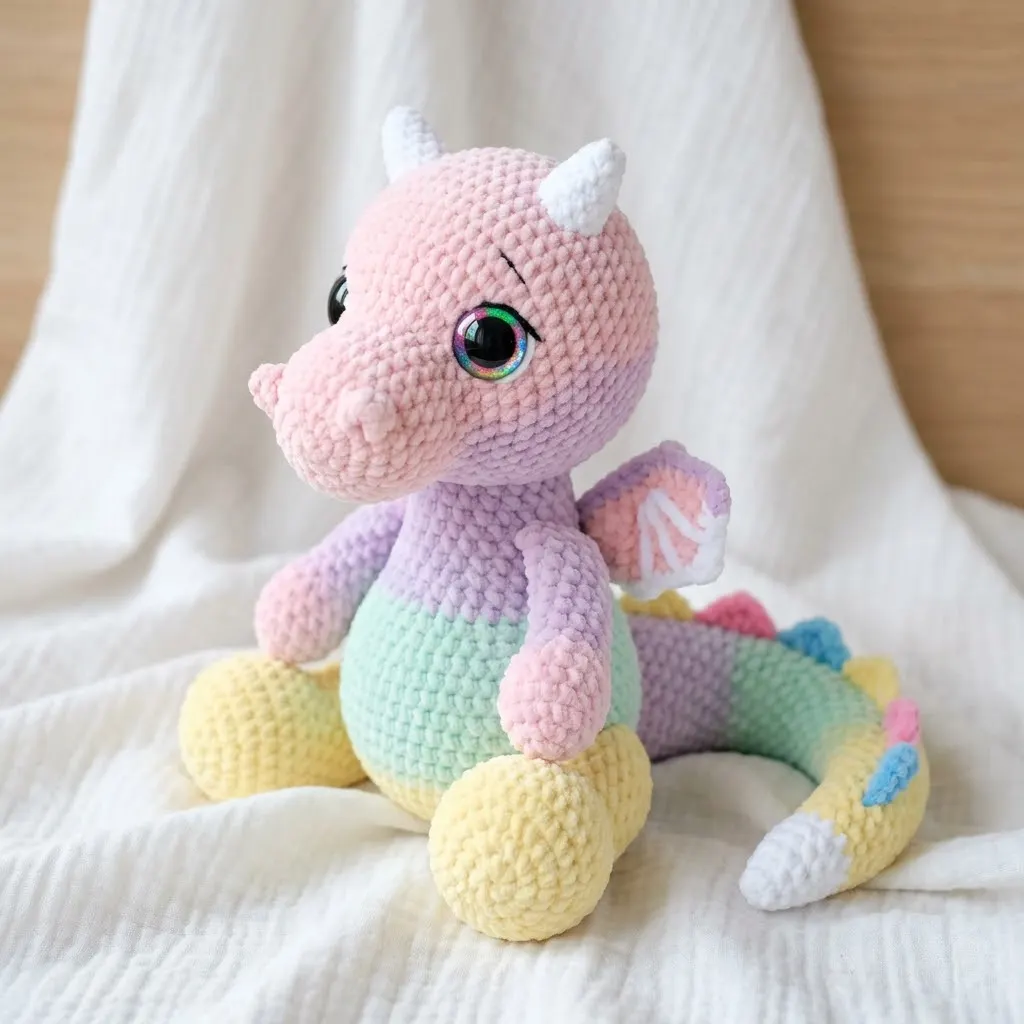
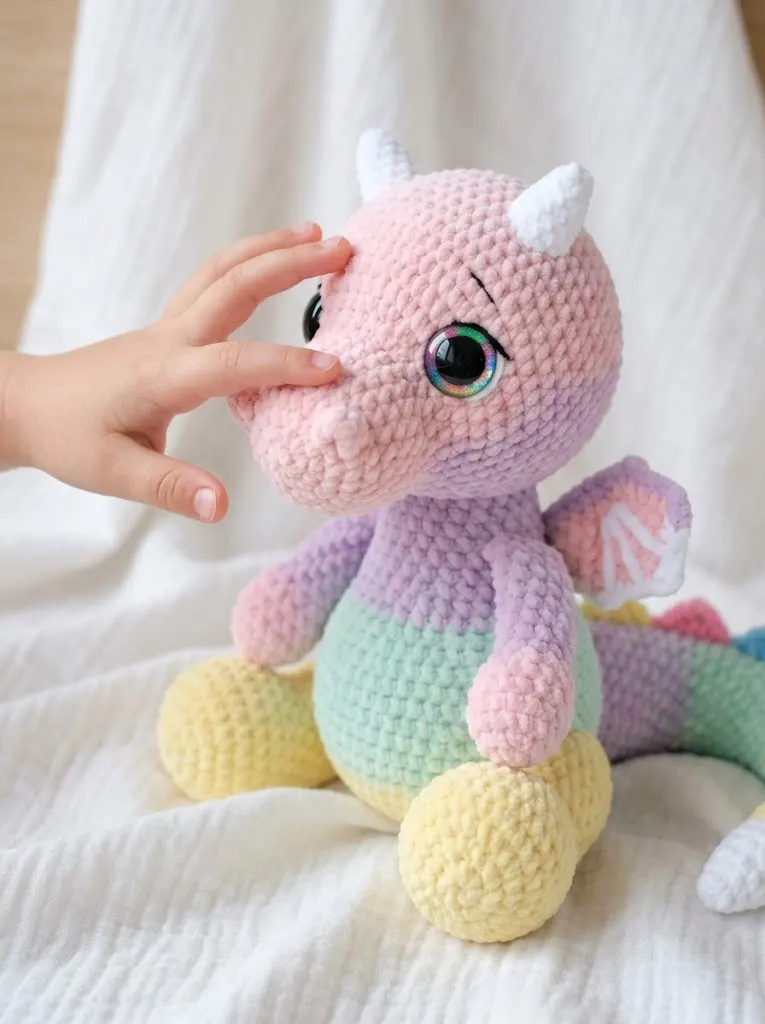
This rainbow pastel dragon amigurumi plush crochet pattern creates an absolutely huggable stuffed dragon that sits about 12 inches tall when complete. She features a sweet rounded head with an adorable snout, tiny white horns, delicate wings, and a long curving tail decorated with colorful spikes. The pastel color blocking gives her that magical rainbow effect without overwhelming the design.
Why You’ll Love This Dragon Amigurumi Pattern
This dragon works up surprisingly quickly considering her size. The chunky chenille yarn does most of the heavy lifting, creating that plush, squishy texture that makes amigurumi so irresistible. You’ll use basic stitches throughout, making this a wonderful intermediate project or an ambitious first amigurumi for confident beginners.
The construction happens in separate pieces that you’ll join at the end. This might sound intimidating, but it actually makes the project more portable and forgiving. Made a mistake on the head? You don’t have to frog the whole dragon. Each piece is manageable, and the assembly process is genuinely satisfying.
Finished Size: Approximately 12 inches tall when seated
Skill Level: Intermediate (confident beginners welcome with patience)
Materials Needed for Your Dragon Plush
Yarn:
– Light pink (main color for head and arms): approximately 100g
– Lavender/light purple (neck and upper body): approximately 50g
– Mint green (belly): approximately 40g
– Pale yellow (lower body, legs, feet): approximately 80g
– White (horns, wing tips, tail tip): approximately 20g
– Small amounts of pink, blue, and coral for tail spikes
Hook:
Notions:
Gauge Note: Gauge isn’t critical for amigurumi, but your stitches should be tight enough that stuffing doesn’t show through. If you see gaps, go down a hook size.
Abbreviations and Stitch Definitions
Before we dive into the pattern, let’s make sure you understand every stitch we’ll use.
Magic Ring (MR): An adjustable starting circle that closes completely with no hole. You’ll wrap yarn around your fingers, pull up a loop, and work your first round into that ring.
Chain (ch): The foundation stitch. Yarn over, pull through the loop on your hook.
Single Crochet (sc): Insert hook into stitch, yarn over and pull up a loop (two loops on hook), yarn over and pull through both loops. This is your main stitch for the entire project.
Increase (inc): Work two single crochet stitches into the same stitch. This adds one stitch to your count.
Invisible Decrease (dec): Insert hook through the front loops only of the next two stitches, yarn over and pull through both front loops, yarn over and pull through both loops on hook. This creates a neater decrease than the standard method.
Slip Stitch (sl st): Insert hook, yarn over, pull through stitch and loop on hook in one motion. Used for joining and finishing.
Fasten Off (FO): Cut yarn, pull tail through final loop, and secure.
Crochet Pattern Instructions
You’ll work in continuous spirals for most pieces. This means you won’t join at the end of each round. Use a stitch marker to track your first stitch.
Head (Make 1 in Light Pink)
Round 1: MR, 6 sc into ring (6 sts)
Round 2: Inc in each st around (12 sts)
Round 3: [Sc 1, inc] repeat around (18 sts)
Round 4: [Sc 2, inc] repeat around (24 sts)
Round 5: [Sc 3, inc] repeat around (30 sts)
Round 6: [Sc 4, inc] repeat around (36 sts)
Round 7: [Sc 5, inc] repeat around (42 sts)
Round 8: [Sc 6, inc] repeat around (48 sts)
Rounds 9-16: Sc in each st around (48 sts) for 8 rounds
Round 17: [Sc 6, dec] repeat around (42 sts)
Round 18: [Sc 5, dec] repeat around (36 sts)
Insert safety eyes between rounds 12 and 13, approximately 10 stitches apart. The holographic rainbow eyes really bring this dragon to life, so take your time positioning them.
Round 19: [Sc 4, dec] repeat around (30 sts)
Round 20: [Sc 3, dec] repeat around (24 sts)
Begin stuffing firmly. You want the head nice and round.
Round 21: [Sc 2, dec] repeat around (18 sts)
Continue stuffing as you close.
Round 22: [Sc 1, dec] repeat around (12 sts)
Round 23: Dec around (6 sts)
FO, leaving a long tail. Close the hole by weaving through the front loops of remaining stitches and pulling tight.
Snout (Make 1 in Light Pink)
Round 1: MR, 6 sc into ring (6 sts)
Round 2: Inc in each st around (12 sts)
Round 3: [Sc 1, inc] repeat around (18 sts)
Rounds 4-6: Sc in each st around (18 sts) for 3 rounds
FO, leaving a long tail for sewing. Stuff lightly. This creates that adorable rounded muzzle.
Horns (Make 2 in White)
Round 1: MR, 4 sc into ring (4 sts)
Round 2: [Sc 1, inc] repeat around (6 sts)
Round 3: Sc in each st around (6 sts)
Round 4: [Sc 2, inc] repeat around (8 sts)
Round 5: Sc in each st around (8 sts)
FO, leaving a long tail. Stuff very lightly or leave unstuffed. These small pieces give your dragon her signature look.
Body (Make 1)
You’ll work color changes for this piece. Don’t cut yarn between colors if possible. Carry unused colors loosely inside.
In Lavender:
Round 1: MR, 6 sc into ring (6 sts)
Round 2: Inc in each st around (12 sts)
Round 3: [Sc 1, inc] repeat around (18 sts)
Round 4: [Sc 2, inc] repeat around (24 sts)
Rounds 5-8: Sc in each st around (24 sts) for 4 rounds
Change to Mint Green:
Rounds 9-12: Sc in each st around (24 sts) for 4 rounds
Change to Pale Yellow:
Round 13: [Sc 2, dec] repeat around (18 sts)
Rounds 14-16: Sc in each st around (18 sts) for 3 rounds
FO, leaving a long tail. Stuff firmly. The color blocking should create distinct sections when viewed from the front.
Arms (Make 2 in Light Pink)
Round 1: MR, 6 sc into ring (6 sts)
Round 2: Inc in each st around (12 sts)
Rounds 3-5: Sc in each st around (12 sts) for 3 rounds
Round 6: [Sc 1, dec] repeat around (8 sts)
Rounds 7-10: Sc in each st around (8 sts) for 4 rounds
FO, leaving a long tail. Stuff the hand portion firmly, leave the arm portion lightly stuffed or flat for flexibility.
Legs (Make 2 in Pale Yellow)
Round 1: MR, 6 sc into ring (6 sts)
Round 2: Inc in each st around (12 sts)
Round 3: [Sc 1, inc] repeat around (18 sts)
Rounds 4-6: Sc in each st around (18 sts) for 3 rounds
Round 7: [Sc 1, dec] repeat around (12 sts)
Rounds 8-12: Sc in each st around (12 sts) for 5 rounds
FO, leaving a long tail. Stuff feet firmly, legs medium.
Feet (Make 2 in Pale Yellow)
Round 1: MR, 6 sc into ring (6 sts)
Round 2: Inc in each st around (12 sts)
Round 3: [Sc 1, inc] repeat around (18 sts)
Rounds 4-8: Sc in each st around (18 sts) for 5 rounds
Round 9: [Sc 1, dec] repeat around (12 sts)
FO, leaving a long tail. Stuff firmly into rounded foot shapes.
Tail (Make 1)
Start in White, then work color changes.
Round 1: MR, 4 sc into ring (4 sts)
Round 2: Sc in each st around (4 sts)
Round 3: [Sc 1, inc] repeat around (6 sts)
Change to Pale Yellow:
Rounds 4-6: Sc in each st around (6 sts)
Round 7: [Sc 2, inc] repeat around (8 sts)
Change to Mint Green:
Rounds 8-11: Sc in each st around (8 sts)
Round 12: [Sc 3, inc] repeat around (10 sts)
Change to Lavender:
Rounds 13-16: Sc in each st around (10 sts)
FO, leaving a long tail. Stuff lightly so the tail remains flexible and can curve naturally.
Tail Spikes (Make 5, one in each color: white, blue, pink, coral, yellow)
Round 1: MR, 4 sc into ring (4 sts)
Rounds 2-3: Sc in each st around (4 sts)
FO, leaving a tail for sewing. Leave unstuffed. These tiny triangular spikes attach along the top of the tail.
Wings (Make 2 in Lavender with White tips)
In Lavender:
Row 1: Ch 8, sc in 2nd ch from hook, sc across (7 sts)
Row 2: Ch 1, turn, sc 7 (7 sts)
Row 3: Ch 1, turn, dec, sc 3, dec (5 sts)
Row 4: Ch 1, turn, dec, sc 1, dec (3 sts)
In White (for wing tips):
Row 5: Ch 1, turn, sc3tog (1 st)
FO. Make a second wing. These flat wing shapes attach to the upper back and give your dragon her whimsical appearance.
Assembly Instructions
Take your time with assembly. This is where your dragon comes together, and careful placement makes all the difference.
1. Attach the snout to the lower front of the head, slightly below the eyes. Pin first, then sew securely all around.
2. Position and sew the horns to the top of the head, angling them slightly backward.
3. Attach the head to the body at the lavender section. The head should tilt slightly upward for that curious dragon expression.
4. Sew the arms to the sides of the body where the lavender meets the mint green section.
5. Attach the legs to the front bottom of the body.
6. Sew the large feet to the leg bottoms, positioning them so your dragon sits stably.
7. Attach the tail to the back bottom of the body. Curve it around to one side.
8. Sew the tail spikes along the top of the tail in a rainbow order.
9. Attach the wings to the upper back, positioning them symmetrically.
10. Optional: Embroider small nostrils on the snout using pink embroidery floss and tiny straight stitches.
Tips for Success with This Amigurumi Pattern
Yarn choice matters. Chenille yarn creates that signature plush look, but it can be tricky to work with. If you lose a stitch, it’s hard to find. Work slowly and count often.
Stuffing technique affects the final look. Use small pieces of stuffing and pack them evenly. Lumpy stuffing shows through chenille yarn more than other fibers.
Safety eyes must be secure. Always attach the washer backing before stuffing. Pull firmly to ensure they won’t come loose. If this is for a child under three, consider embroidering eyes instead.
Block your wings. A light steam or wet block helps the flat wing pieces lay nicely against the body.
I really hope you love making Petal as much as I loved designing her. This rainbow pastel dragon amigurumi crochet pattern creates something truly special, perfect for gifting, decorating, or just keeping on your couch for company.
If you make this dragon, I would absolutely love to see her. Tag me on Instagram or share a photo in our Facebook group. Seeing your creations genuinely makes my whole day.
Save this pattern to your Pinterest crochet board so you can find it whenever you’re ready to start. And please drop a comment below if you make your own version. I’d love to hear what colors you choose and who gets to take this little dragon home.