
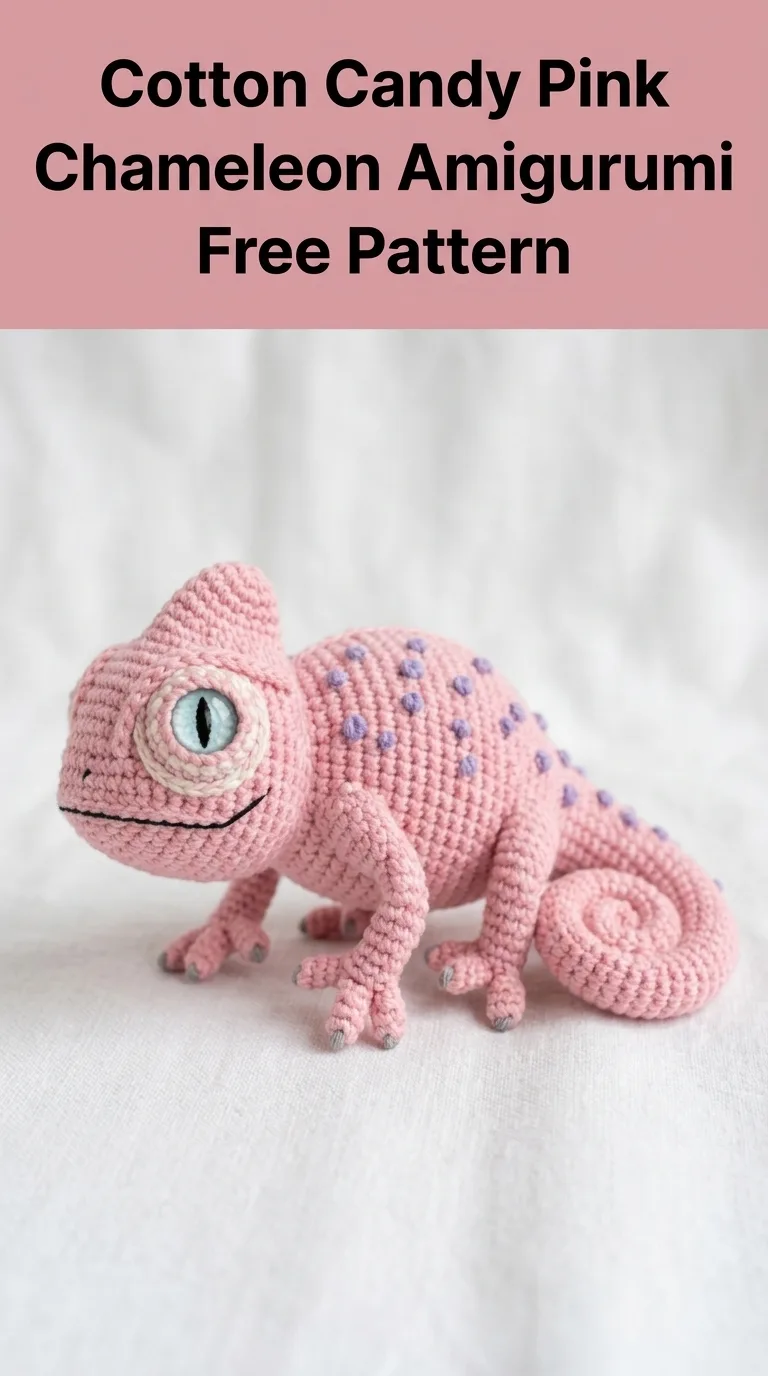
I’ve been obsessed with creating realistic amigurumi animals lately, and this little chameleon has been living in my head rent-free for months. I wanted to capture those signature features: the curled tail, the bulging eyes, the tiny gripping feet, and that adorable head crest. After a lot of trial and error with shaping and assembly, I am SO pleased with how this cotton candy pink chameleon turned out! The color palette is dreamy, the construction is more approachable than it looks, and the finished size fits perfectly in your palm.
About This Chameleon Amigurumi Pattern
This adorable amigurumi chameleon crochet pattern creates a palm-sized stuffed toy measuring approximately 5 inches long from nose to tail tip. The soft pink yarn combined with lavender spots gives it a whimsical, almost magical quality that makes it perfect for nursery decor, a unique gift, or simply a fun project to challenge your amigurumi skills.
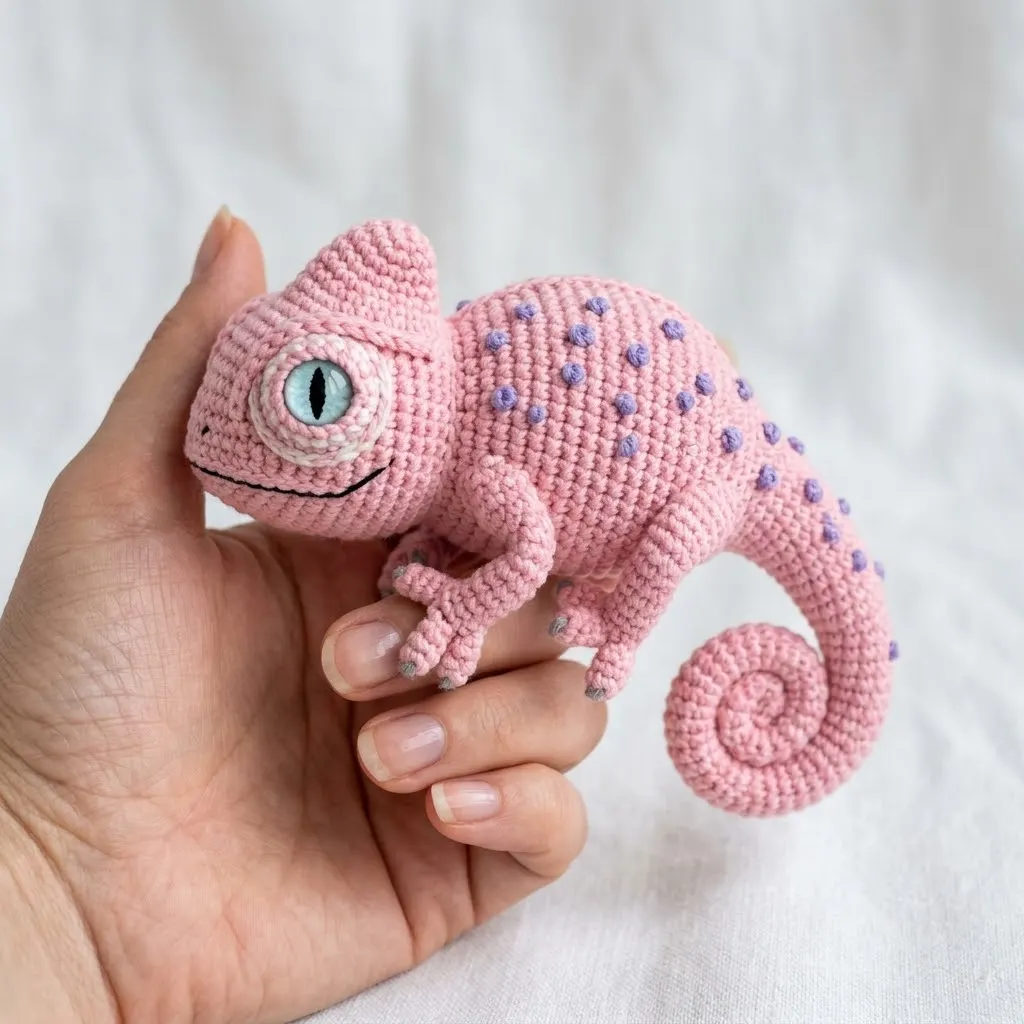
What makes this chameleon special is the attention to realistic details. The curled prehensile tail is achieved through strategic decreasing and a wire armature inside. The protruding eyes use a clever layered construction with cream edging around a pale blue center. Those tiny gripping feet with individual toes actually wrap around your finger. And the head crest adds that signature chameleon silhouette.
Don’t let the details intimidate you. If you can work single crochet in the round and know how to increase and decrease, you can absolutely make this chameleon. I’ll walk you through every step.
Skill Level
Intermediate. This crochet tutorial requires comfort with working in continuous rounds, invisible decreases, and assembling multiple pieces. The shaping is more complex than a basic amigurumi ball, but each piece is straightforward on its own.
If you’re newer to amigurumi, I recommend practicing a simple sphere first. Once you’re comfortable with that, come back to this pattern. The techniques are the same, just applied to more detailed shapes.
Finished Measurements
Your finished size may vary slightly depending on your tension and hook size.
Materials Needed
Yarn:
Looking at the tight, neat stitches in this chameleon, I recommend a smooth cotton or cotton blend yarn in sport weight. Brands like Scheepjes Catona, Drops Safran, or any mercerized cotton will give you that crisp stitch definition that makes amigurumi details pop.
Tools:
Gauge
Gauge is not critical for amigurumi, but your stitches should be tight enough that stuffing doesn’t show through. Work a small swatch in single crochet rounds. If you can see gaps between stitches, go down a hook size.
Abbreviations and Stitch Definitions
Let me break down every stitch abbreviation you’ll see in this pattern:
A note on invisible decreases: These are essential for clean amigurumi. Regular decreases leave visible holes. By only going through the front loops, your decrease blends in seamlessly. If you haven’t tried this technique before, watch a quick video tutorial. It makes a huge difference.
Pattern Notes
Step by Step Crochet Pattern
Body
The body is worked from the nose toward the back, creating that characteristic chameleon shape with a bulkier midsection.
With MC:
Rnd 1: MR, 6 sc in ring. (6 sts)
Rnd 2: Inc in each st around. (12 sts)
Rnd 3: *Sc 1, inc* repeat around. (18 sts)
Rnd 4: *Sc 2, inc* repeat around. (24 sts)
Rnd 5: *Sc 3, inc* repeat around. (30 sts)
Rnds 6-8: Sc in each st around. (30 sts)
Rnd 9: *Sc 4, inc* repeat around. (36 sts)
Rnds 10-14: Sc in each st around. (36 sts)
This is the widest part of the body.
Rnd 15: *Sc 4, dec* repeat around. (30 sts)
Rnds 16-17: Sc in each st around. (30 sts)
Rnd 18: *Sc 3, dec* repeat around. (24 sts)
Rnds 19-20: Sc in each st around. (24 sts)
Begin stuffing the body firmly now.
Rnd 21: *Sc 2, dec* repeat around. (18 sts)
Rnd 22: Sc in each st around. (18 sts)
Rnd 23: *Sc 1, dec* repeat around. (12 sts)
Continue stuffing as you decrease.
Rnd 24: Dec around. (6 sts)
Fasten off, leaving a long tail. Weave through remaining stitches and pull closed.
Head Crest
The crest sits on top of the head and gives the chameleon its distinctive silhouette.
With MC:
Row 1: Ch 8, sc in 2nd ch from hook, sc in next 5 ch, 3 sc in last ch. Working along opposite side of foundation chain: sc 6. (15 sts)
Row 2: Ch 1, turn. Sc 6, inc, sc 1, inc, sc 6. (17 sts)
Row 3: Ch 1, turn. Sc 7, inc, sc 1, inc, sc 7. (19 sts)
Fasten off, leaving a long tail for sewing.
Eyes (Make 2)
The eyes are the star of this chameleon. They’re constructed in layers for that realistic look.
Eye Center (Make 2):
With CC3 (pale blue):
Rnd 1: MR, 6 sc in ring. (6 sts)
Rnd 2: Inc in each st around. (12 sts)
Rnd 3: *Sc 1, inc* repeat around. (18 sts)
Rnds 4-5: Sc in each st around. (18 sts)
Sl st to next st, fasten off. Stuff lightly.
Eye Ring (Make 2):
With CC2 (cream):
Rnd 1: MR, 6 sc in ring. (6 sts)
Rnd 2: Inc in each st around. (12 sts)
Rnd 3: *Sc 1, inc* repeat around. (18 sts)
Rnd 4: *Sc 2, inc* repeat around. (24 sts)
Rnds 5-7: Sc in each st around. (24 sts)
Sl st to next st, fasten off leaving a long tail.
Eye Assembly:
Insert the blue eye center into the cream eye ring. The cream piece wraps around the blue like a socket. Sew them together around the edge. Using black embroidery thread, create a vertical pupil stitch down the center of the blue portion.
Legs (Make 4)
These tiny legs end in gripping feet with separated toes.
With MC:
Rnd 1: MR, 6 sc in ring. (6 sts)
Rnds 2-6: Sc in each st around. (6 sts)
Do not stuff the legs. Flatten slightly.
For front two toes:
Toe 1: Ch 4, sc in 2nd ch from hook, sc 2, sl st to next st on leg.
Toe 2: Ch 4, sc in 2nd ch from hook, sc 2, sl st to next st on leg.
Fasten off. With CC4 (grey), embroider small pads on the underside of each toe tip.
Tail
The curled tail is this chameleon’s most distinctive feature.
With MC:
Rnd 1: MR, 6 sc in ring. (6 sts)
Rnd 2: Inc in each st around. (12 sts)
Rnds 3-5: Sc in each st around. (12 sts)
Rnd 6: *Sc 1, dec* repeat around. (8 sts)
Rnds 7-20: Sc in each st around. (8 sts)
Rnd 21: *Sc 2, dec* repeat around. (6 sts)
Rnds 22-30: Sc in each st around. (6 sts)
Insert wire armature now, bending one end into a small loop so it won’t poke through.
Rnds 31-35: Sc in each st around. (6 sts)
Rnd 36: Dec, sc 1, dec, sc 1. (4 sts)
Rnds 37-40: Sc in each st around. (4 sts)
Fasten off, weave tail closed. Curl the tail into a spiral shape.
Spots (Make 12-15)
With CC1 (lavender):
MR, 6 sc in ring. Sl st to first sc, fasten off leaving tail for sewing. (6 sts)
These are tiny bobbles that get sewn onto the body and tail.
Assembly Instructions
Take your time with assembly. Pin everything in place before sewing.
1. Attach the head crest along the top center of the head portion of the body. The curved edge faces forward.
2. Position the eyes on either side of the head, angled slightly forward. They should bulge outward noticeably. Sew securely.
3. Embroider the mouth using black thread. Create a curved smile line below each eye.
4. Attach front legs on the underside of the body, about one third back from the nose. Position them so the toes point forward.
5. Attach back legs about two thirds back on the body. Angle these slightly outward.
6. Sew the tail to the back end of the body. Make sure your wire armature is positioned to allow curling.
7. Scatter the spots across the body and tail. Looking at the reference, place them randomly but with roughly even spacing. Sew each spot flat against the surface.
8. Final shaping: Curl the tail into a tight spiral. Adjust the legs so your chameleon can grip a finger or perch on a branch.
Customization Ideas
This chameleon amigurumi pattern works beautifully in any color combination. Try:
You could also add a small loop at the top to turn it into a keychain, or make a larger version by using worsted weight yarn and a bigger hook.
Troubleshooting Tips
My stitches have gaps: Go down a hook size. Amigurumi should be worked tightly.
The eyes don’t bulge enough: Add more stuffing to the eye centers before assembly.
My tail won’t hold its curl: Make sure your wire is stiff enough. Floral wire works well.
The legs look floppy: Don’t stuff them. The flatness helps them wrap around things.
Wrapping Up Your Chameleon Amigurumi
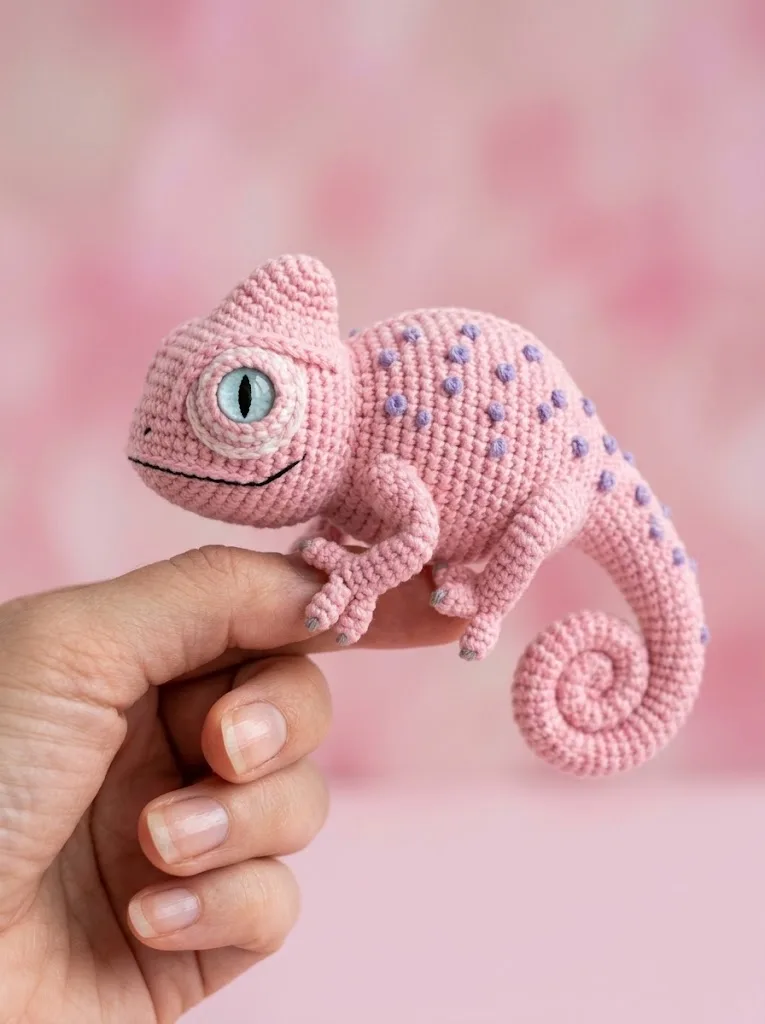
You did it! This cotton candy pink chameleon amigurumi crochet pattern creates such a charming little creature. Every time I look at mine perched on my desk, it makes me smile. The combination of realistic shaping and whimsical colors hits that perfect sweet spot between lifelike and adorable.
I hope this step by step crochet tutorial gave you everything you need to bring your own chameleon to life. Thank you so much for choosing this pattern for your next project. It truly means the world to me when you spend your precious crafting time on something I designed.
If you love this pattern, I’d be so grateful if you saved it to your Pinterest boards so you can find it easily later, and so other crochet lovers can discover it too. And please, if you make your own chameleon, drop a comment below or tag me on Instagram. Seeing your finished projects is honestly the best part of sharing patterns. Happy crocheting, friend!