
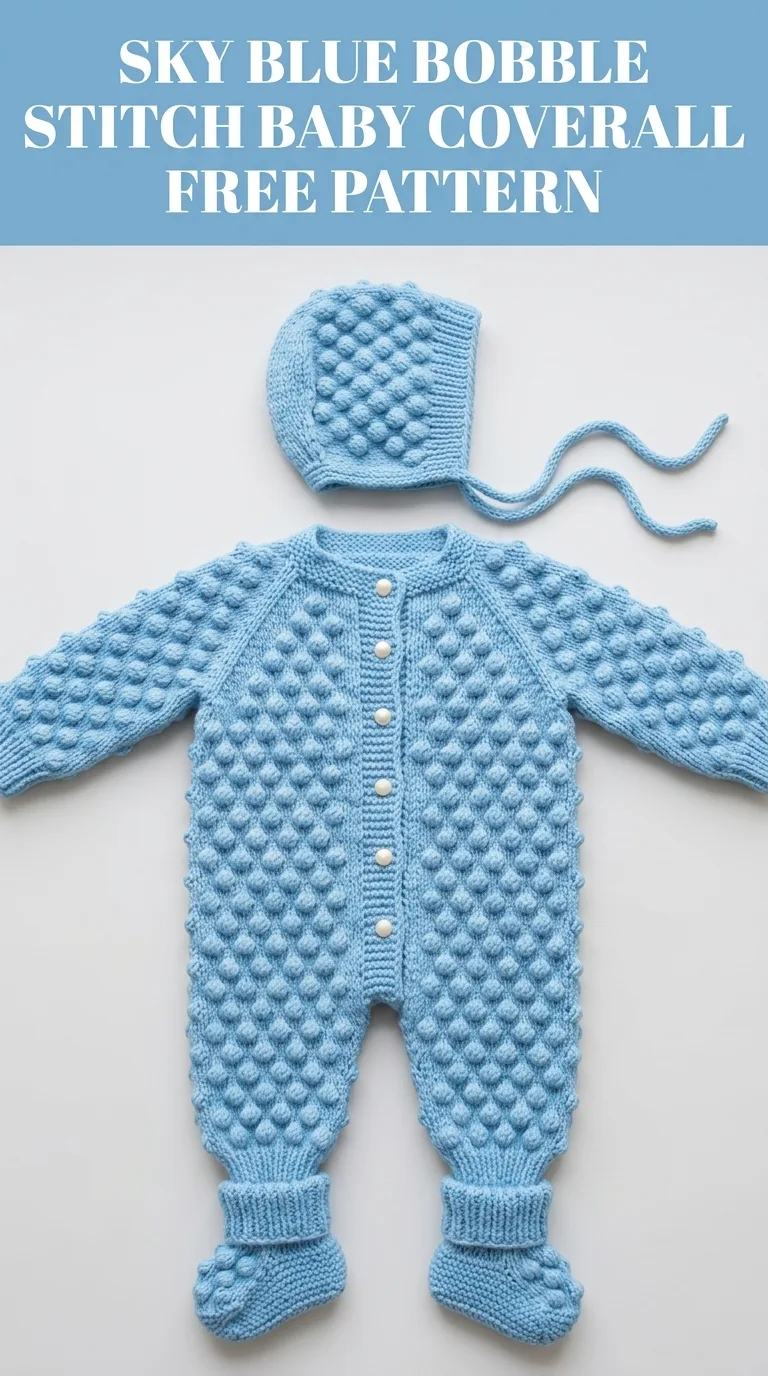
I pulled this little set out of my project bag last week, and honestly, I just sat there grinning at it for a good five minutes. This baby coverall has been living in my head for months. I wanted something that looked incredibly impressive but actually used a simple repeating stitch pattern. Something warm enough for chilly days but not so bulky that a tiny baby would look like a stuffed marshmallow. The bobble stitch was the obvious answer, and paired with that gorgeous sky blue yarn? I am SO pleased with how it turned out. The matching bonnet and booties just sealed the deal.
Why You’ll Love This Baby Coverall Crochet Pattern
This sky blue bobble stitch baby coverall set is one of those projects that looks like it took forever but actually works up faster than you’d expect. The bobble stitch creates that beautiful textured look you see in the photos, where each little puff stands out against a smooth background. Once you get into the rhythm, your hands just know what to do.
The set includes three pieces: a button-front coverall with long sleeves and cuffed ankles, a classic bonnet with ties, and a pair of matching booties. Everything coordinates perfectly because you’re using the same stitch pattern throughout. That means less thinking and more crocheting.
Skill level: Intermediate. If you can work basic stitches and have made at least one or two garments before, you can absolutely handle this. The bobble stitch itself is not difficult. It just requires a little patience to learn the motion.
Materials You’ll Need
Before you start, gather everything so you’re not hunting for supplies mid-project.
Yarn:
Hook:
Notions:
Gauge:
18 stitches and 14 rows = 4 inches in bobble stitch pattern using 4.0mm hook. Always check your gauge before starting. A coverall that’s too small won’t fit over a diaper, and one that’s too big will swallow the baby whole.
Size Information
This pattern is written for size 0-3 months. Finished measurements:
Understanding the Bobble Stitch
Let me break down the bobble stitch before we dive into the pattern. This is the star of the show, and once you understand how it works, everything else is straightforward.
Bobble Stitch (bob): Yarn over, insert hook into stitch, yarn over and pull up a loop, yarn over and pull through 2 loops. You now have 2 loops on your hook. Repeat this sequence 4 more times in the SAME stitch. You’ll have 6 loops on your hook. Yarn over and pull through all 6 loops at once. That’s your bobble.
Think of it as starting 5 double crochets in one stitch but finishing them all together at the top. The yarn bunches up and pops forward, creating that gorgeous textured bump you see in the photos.
Other Abbreviations Used:
Step by Step Crochet Pattern Instructions
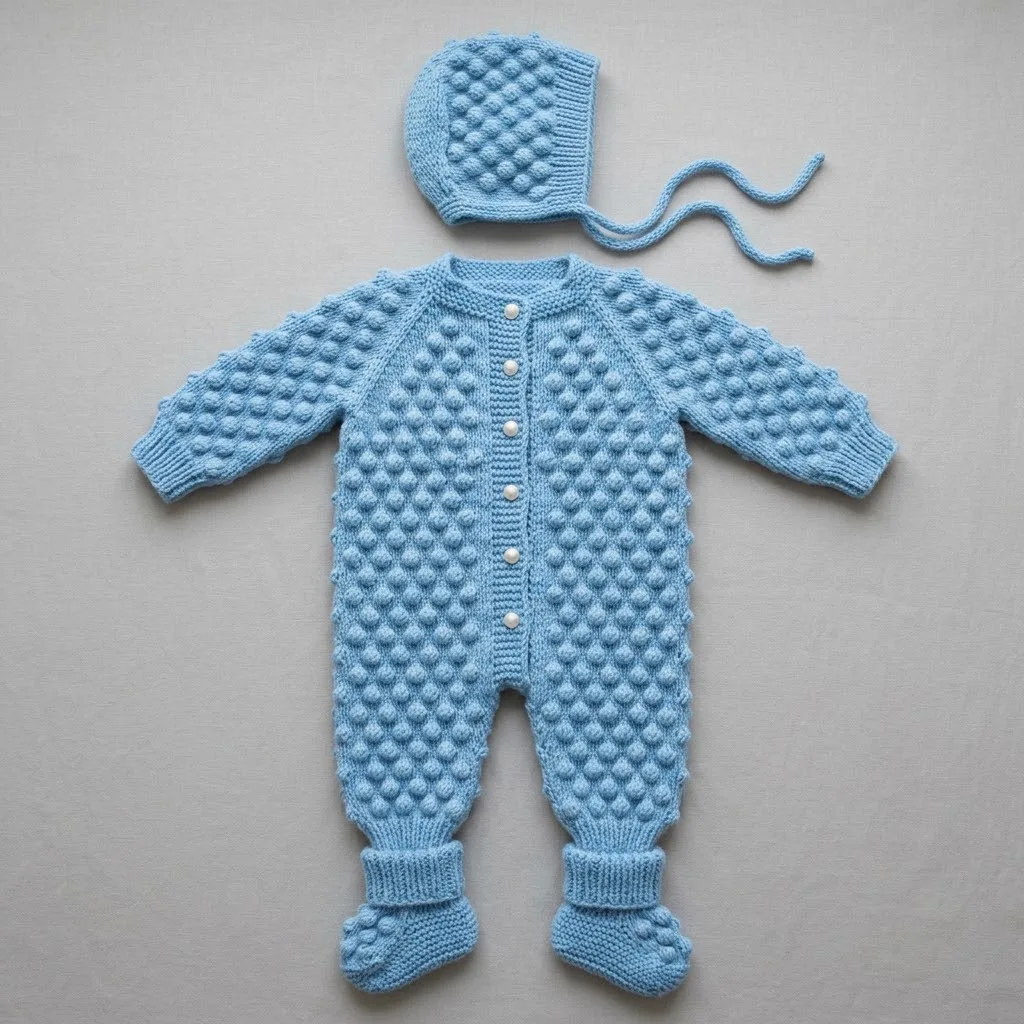
Coverall Body (Back Panel)
We’re working from the bottom up, starting with one leg and then joining to create the body.
First Leg:
With 4.0mm hook, ch 25.
Row 1: Sc in 2nd ch from hook and in each ch across. (24 sts)
Row 2: Ch 1, turn. Sc in first st, *bob in next st, sc in next st* across. (24 sts, 12 bobbles)
Row 3: Ch 1, turn. Sc in each st across. (24 sts)
Row 4: Ch 1, turn. Sc in first 2 sts, *bob in next st, sc in next st* across to last 2 sts, sc in last 2 sts. (24 sts, 11 bobbles)
Row 5: Ch 1, turn. Sc in each st across. (24 sts)
Repeat Rows 2-5 until piece measures approximately 6 inches from beginning, ending on a Row 5. Fasten off.
Second Leg:
Work exactly as First Leg but do NOT fasten off.
Joining Legs:
Row 1 (joining row): Ch 1, turn. Sc across Second Leg (24 sts), ch 4 for crotch gusset, then sc across First Leg (24 sts). (52 sts including ch)
Row 2: Ch 1, turn. Sc in first st, *bob in next st, sc in next st* across. (52 sts)
Row 3: Ch 1, turn. Sc in each st across. (52 sts)
Continue in established bobble pattern (alternating Rows 2-3 placement) until body measures 10 inches from joining row.
Shape Armholes:
Row 1: Ch 1, turn. Sl st in first 4 sts, sc in each st across to last 4 sts, leave remaining sts unworked. (44 sts)
Row 2: Ch 1, turn. Sc2tog, work in bobble pattern to last 2 sts, sc2tog. (42 sts)
Continue in pattern for 4 more inches. Fasten off.
Coverall Body (Front Panels)
The front is worked in two pieces to accommodate the button band.
Left Front Panel:
With 4.0mm hook, ch 13.
Work bobble pattern as established on back panel, maintaining 12 stitches throughout.
Work leg section for 6 inches, matching back.
After joining (work one leg only, join with ch 2 at center), continue until piece measures same as back to armhole.
Shape Armhole:
Decrease at armhole edge only (outside edge), keeping center front edge straight for button band.
Continue until piece matches back length. Fasten off.
Right Front Panel:
Work as mirror image of Left Front Panel.
Sleeves (make 2)
With 4.0mm hook, ch 21.
Row 1: Sc in 2nd ch from hook and each ch across. (20 sts)
Work in bobble pattern, increasing 1 st at each end every 6th row until you have 28 sts.
Continue even until sleeve measures 7 inches. Fasten off.
Ribbed Cuffs (for sleeves and ankles)
Switch to 3.5mm hook.
Wrist Cuffs (make 2):
Ch 7.
Row 1: Sc in 2nd ch from hook and each ch across. (6 sts)
Row 2: Ch 1, turn. Working in back loops only, sc in each st across. (6 sts)
Repeat Row 2 until piece stretches to fit around sleeve opening. Join short ends with sl st. Attach to sleeve edge.
Ankle Cuffs (make 2):
Work same as wrist cuffs but ch 9 for starting chain (8 sts per row) and work until piece fits leg opening.
Button Band
With 3.5mm hook and right side facing, join yarn at bottom of right front panel edge.
Row 1: Work sc evenly up the entire front edge, approximately 3 sc per 2 rows.
Row 2: Ch 1, turn. Sc in each st across.
Row 3: Ch 1, turn. Sc in each st across.
Fasten off.
Repeat for left front panel, adding buttonholes on Row 2:
Buttonhole Row: Sc in first 3 sts, *ch 2, sk 2 sts, sc in next 8-10 sts* 6 times evenly spaced, sc to end.
Bonnet
With 4.0mm hook, ch 51.
Row 1: Sc in 2nd ch from hook and each ch across. (50 sts)
Work in bobble pattern for 4 inches.
Shape Crown:
Begin decreasing: sc2tog at beginning and end of every right side row until 20 sts remain.
Fold piece in half and seam the back of the crown closed.
Face Edging:
With 3.5mm hook, work 2 rows of sc around face opening.
Ties (make 2):
Ch 60. Sl st in 2nd ch from hook and each ch across. Fasten off.
Attach one tie to each bottom corner of bonnet.
Booties (make 2)
Sole:
With 4.0mm hook, ch 9.
Round 1: Sc in 2nd ch from hook, sc in next 6 ch, 3 sc in last ch. Working on opposite side of chain, sc in next 6 ch, 2 sc in last ch. Join with sl st. (18 sts)
Round 2: Ch 1, 2 sc in first st, sc in next 6 sts, 2 sc in each of next 3 sts, sc in next 6 sts, 2 sc in last 2 sts. Join. (26 sts)
Round 3: Ch 1, sc in each st around. Join. (26 sts)
Sides:
Rounds 4-6: Working in back loops only for Round 4, then both loops for Rounds 5-6, sc in each st around. Join. (26 sts)
Toe Shaping:
Round 7: Sc in first 8 sts, sc2tog 5 times, sc in remaining sts. Join. (21 sts)
Round 8: Sc in first 6 sts, sc2tog 4 times, sc in remaining sts. Join. (17 sts)
Cuff:
Work 4 rounds of bobble pattern around ankle opening.
Switch to 3.5mm hook and work 3 rounds of sc for cuff. Fasten off.
Assembly Instructions
Sewing the Coverall:
1. Lay back panel flat with right side up
2. Place front panels on top, right sides together, matching shoulder edges
3. Seam shoulders using whip stitch or mattress stitch
4. Pin sleeves into armhole openings, easing any fullness
5. Sew sleeves in place
6. Sew side seams from underarm to ankle in one continuous seam
7. Sew inner leg seams from crotch to ankle
8. Attach cuffs to wrists and ankles
9. Sew buttons opposite buttonholes
Finishing:
Weave in all ends securely. For baby items, make sure no loose yarn can come undone during washing.
Block gently if needed. Steam blocking works well for acrylic yarns.
Tips for Success
Bobble tension: Your bobbles might feel tight at first. That’s normal. They need to be snug so they pop forward nicely. If they’re lying flat, you’re pulling too tightly on that final yarn over.
Counting stitches: After each bobble row, count your stitches. Bobbles love to hide, and it’s easy to accidentally skip one or work into the top of a bobble instead of the stitch.
Button placement: Try the coverall on a doll or stuffed animal before sewing buttons permanently. Adjust spacing if needed.
Washing: Machine wash cold on gentle cycle. Tumble dry low. The bobbles may flatten slightly when wet but will fluff back up when dry.
Yarn Substitution Ideas
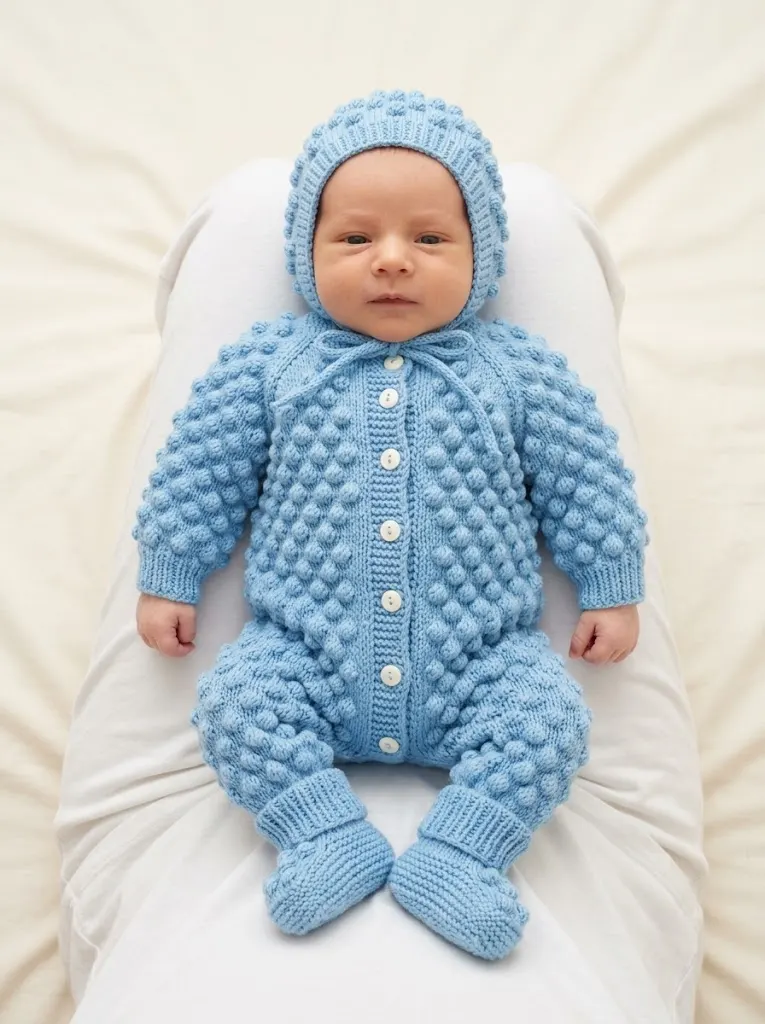
While sky blue is absolutely darling, this pattern works in any color. Soft yellows, mint greens, peachy pinks, or classic cream would all be beautiful. For a gender-neutral option, try a heathered gray or warm oatmeal shade.
Stick with DK weight yarn for best results. If you substitute a different weight, your gauge will change and you’ll need to adjust hook size and potentially stitch counts.
I really hope you love making this sky blue bobble stitch baby coverall as much as I loved designing it. There’s something so satisfying about watching those bobbles pop up row after row, knowing a tiny human is going to be wrapped up cozy in your handmade creation.
If you make this set, I would absolutely love to see it! Tag me on Instagram or share a photo in my Facebook group. Nothing makes my day brighter than seeing your finished projects.
Go ahead and save this pattern to your Pinterest boards so you can find it when you’re ready to start. And if you have any questions while you’re working through the steps, drop a comment below. I’m always happy to help, and other crafters often chime in with great tips too. Happy crocheting, friend!