
Alright, yarn lovers, this is your sign to dig into that stash and pull out those sunshine yellow skeins you have been saving for something special. This adorable baby dress set combines a fitted bodice with a gorgeous shell stitch skirt that flares beautifully. The construction is actually pretty straightforward once you understand how the pieces connect. I would rate this intermediate level because of the shaping and the multiple components, but if you have made a basic garment before, you can absolutely tackle this one.
What Makes This Baby Dress Set So Special
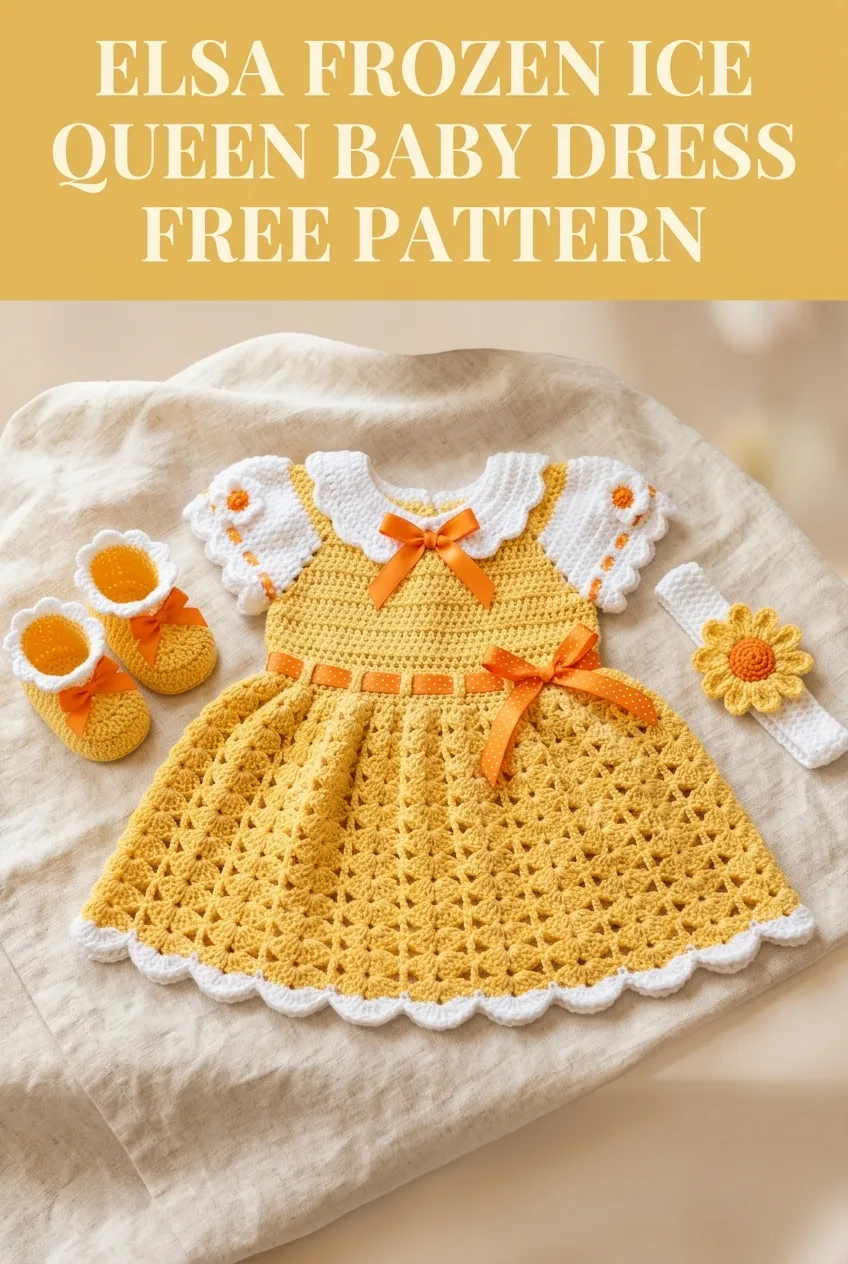
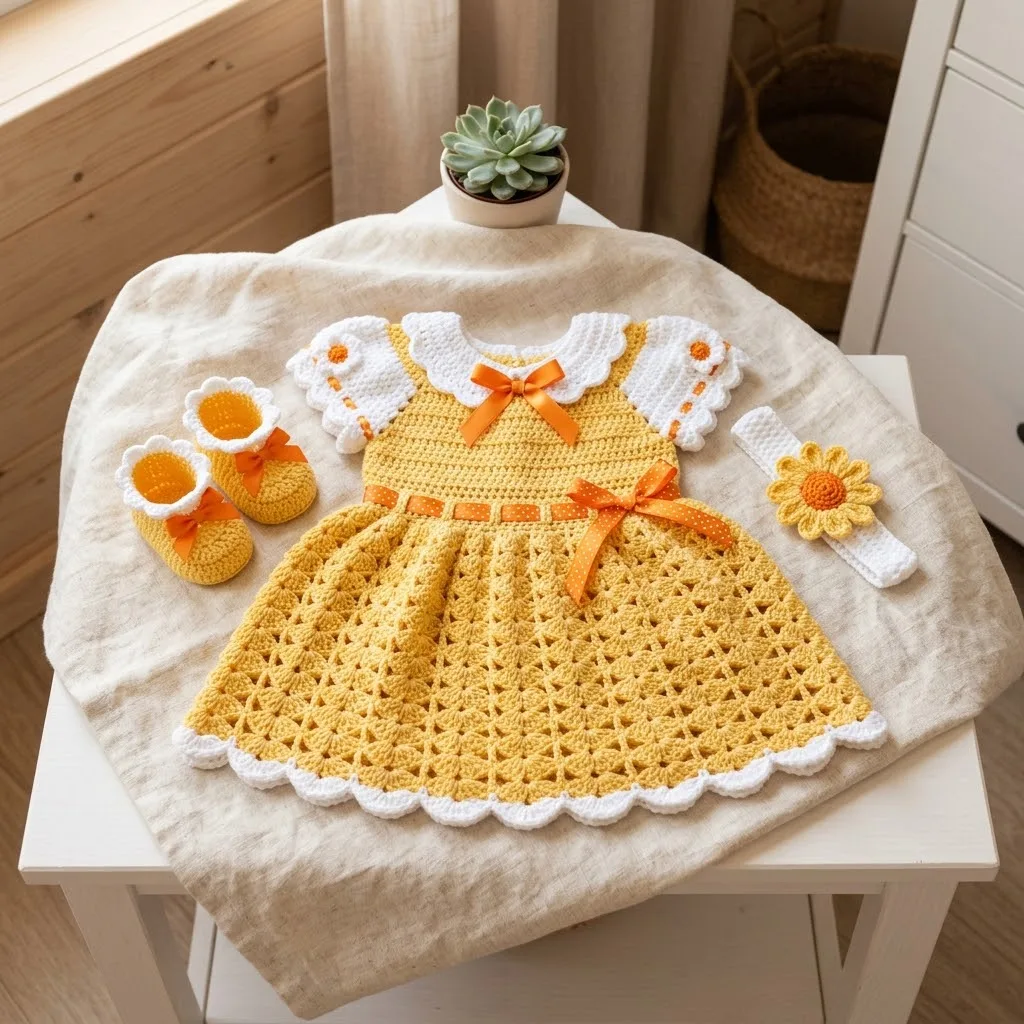
This cheerful baby dress features a fitted bodice worked in basic stitches, a flared shell stitch skirt, delicate petal collar sleeves in white, and matching booties with a coordinating headband. The whole set comes together to create a stunning gift for baby showers, first birthdays, or just because that little one in your life deserves something handmade with love.
The yellow and white color combination is absolutely timeless. The orange satin ribbon accents add the perfect finishing touch without overwhelming the crochet work. You could easily customize this with different ribbon colors or swap the yellow for any shade that catches your eye.
Skill Level
Intermediate
This crochet pattern requires knowledge of basic stitches plus some shaping techniques. You will work in the round for parts and in rows for others. The shell stitch pattern is repetitive and easy to memorize once you get going.
Finished Measurements
Dress:
Booties:
Headband:
Materials Needed
Yarn:
I recommend a soft acrylic or cotton blend that holds up well to washing. Baby items need to be durable and easy to care for.
Hook:
Notions:
Gauge
16 stitches and 8 rows = 4 inches in half double crochet using 4.0mm hook
Please check your gauge. If your gauge is off, your dress will not fit properly. Go up a hook size if your stitches are too tight, down if too loose.
Abbreviations and Stitch Definitions
Before we dive into the crochet tutorial, let me explain all the stitches you will need:
ch = chain: Yarn over, pull through loop on hook. This creates the foundation for your work.
sl st = slip stitch: Insert hook, yarn over, pull through both loops at once. Used for joining rounds.
sc = single crochet: Insert hook, yarn over and pull up a loop (2 loops on hook), yarn over and pull through both loops. The shortest basic stitch.
hdc = half double crochet: Yarn over, insert hook, yarn over and pull up a loop (3 loops on hook), yarn over and pull through all 3 loops. Slightly taller than single crochet.
dc = double crochet: Yarn over, insert hook, yarn over and pull up a loop (3 loops on hook), yarn over and pull through 2 loops, yarn over and pull through remaining 2 loops. Creates a taller, more open fabric.
shell = 5 double crochet stitches worked into the same stitch. Creates a fan shape.
sk = skip: Pass over the indicated stitch without working into it.
inc = increase: Work 2 stitches into the same stitch.
st(s) = stitch(es)
Step by Step Crochet Pattern
Dress Bodice
The bodice is worked from the top down in rows, then joined to work the skirt in the round.
Foundation Row: With yellow yarn and 4.0mm hook, ch 52.
Row 1: Hdc in 3rd ch from hook (skipped chains count as first hdc), hdc in each ch across, turn. (50 hdc)
Row 2: Ch 2 (counts as hdc here and throughout), hdc in each st across, turn. (50 hdc)
Rows 3 through 6: Repeat Row 2. (50 hdc)
You should now have a rectangle that measures approximately 12.5 inches wide.
Dividing for Armholes:
Row 7: Ch 2, hdc in next 10 sts (this is the right back), sk next 4 sts (armhole), hdc in next 20 sts (front), sk next 4 sts (armhole), hdc in last 11 sts (left back), turn. (42 hdc)
Rows 8 through 12: Ch 2, hdc in each st across, turn. (42 hdc)
Do not fasten off. You will now join to work the skirt in the round.
Skirt
The skirt uses a beautiful shell stitch pattern that creates the flared silhouette you see in the finished piece.
Joining Round: Ch 1, sc evenly around bottom edge of bodice, working approximately 72 sc total. Join with sl st to first sc. (72 sc)
Round 1 (Shell Setup): Ch 3 (counts as dc), 2 dc in same st, sk 2 sts, sc in next st, *sk 2 sts, shell in next st, sk 2 sts, sc in next st*, repeat from * around, ending with 2 dc in same st as beginning ch 3, join with sl st to top of ch 3. (12 shells)
Round 2: Ch 1, sc in same st, *shell in next sc, sc in center dc of next shell*, repeat from * around, ending with shell in last sc, join with sl st to first sc.
Rounds 3 through 18: Repeat Round 2.
Your skirt should measure approximately 8 to 9 inches from the bodice join.
Border Round (White): Join white yarn, ch 1, sc in each st around, working 3 sc in center dc of each shell for a scalloped edge, join with sl st to first sc.
Final Scallop Round: *Sk 1 st, 5 dc in next st, sk 1 st, sl st in next st*, repeat from * around. Fasten off.
Petal Collar Sleeves
These adorable sleeves are worked separately and sewn to the armhole openings.
Make 2
Foundation: With white yarn and 3.5mm hook, ch 6, join with sl st to form ring.
Round 1: Ch 1, 12 sc into ring, join with sl st to first sc. (12 sc)
Round 2: Ch 1, 2 sc in each st around, join. (24 sc)
Round 3: Ch 1, *sc in next st, 2 sc in next st*, repeat around, join. (36 sc)
Rounds 4 through 6: Ch 1, sc in each st around, join. (36 sc)
Petal Round: *Ch 4, dc in 2nd ch from hook, hdc in next ch, sc in next ch, sk 2 sts on round, sl st in next st*, repeat from * around. (12 petals)
Fasten off, leaving a long tail for sewing.
Flower Embellishment (Optional):
With orange yarn, embroider small lazy daisy stitches at the center of 2 or 3 petals on each sleeve.
Booties
Make 2
Sole:
Round 1: With yellow yarn and 4.0mm hook, ch 10. Sc in 2nd ch from hook, sc in next 7 ch, 3 sc in last ch. Working on opposite side of foundation ch, sc in next 7 sts, 2 sc in last st, join. (20 sc)
Round 2: Ch 1, 2 sc in first st, sc in next 7 sts, 2 sc in each of next 3 sts, sc in next 7 sts, 2 sc in each of last 2 sts, join. (26 sc)
Round 3: Ch 1, sc in first st, 2 sc in next st, sc in next 7 sts, *sc in next st, 2 sc in next st* 3 times, sc in next 7 sts, *sc in next st, 2 sc in next st* twice, join. (32 sc)
Sides:
Rounds 4 through 6: Ch 1, working in back loops only for Round 4 (this creates a ridge), sc in each st around, join. (32 sc)
Toe Shaping:
Round 7: Ch 1, sc in next 10 sts, *sc2tog* 6 times, sc in remaining sts, join. (26 sc)
Round 8: Ch 1, sc in next 10 sts, *sc2tog* 3 times, sc in remaining sts, join. (23 sc)
Cuff:
Rounds 9 through 11: Ch 1, sc in each st around, join. (23 sc)
White Trim: Join white yarn, ch 1, *sk 1 st, 5 dc in next st, sk 1 st, sl st in next st*, repeat around. Fasten off.
Thread ribbon through Round 9 and tie in a bow at front.
Headband
Foundation: With white yarn and 3.5mm hook, ch 60, join with sl st to form ring, being careful not to twist.
Rounds 1 through 3: Ch 1, sc in each st around, join. (60 sc)
Fasten off.
Sunflower Appliqué:
Center: With orange yarn, ch 4, join to form ring. Ch 1, 10 sc into ring, join. Fasten off.
Petals: Join yellow yarn, *ch 3, dc in 2nd ch from hook, sl st in next ch, sl st in next st of center*, repeat around. (10 petals)
Sew flower to headband.
Assembly Instructions
1. Attach sleeves: Position petal collar sleeves at armhole openings. Use white yarn and a yarn needle to whip stitch in place, easing to fit.
2. Back closure: Either sew buttons with yarn loops, or leave open for easy dressing. The bodice has enough stretch for most babies.
3. Add ribbons: Thread polka dot ribbon through the bodice at waist level. Tie in bow at front. Add small bow accents to booties.
4. Weave in all ends securely. Baby items get pulled and tugged, so make sure everything is secure.
Care Instructions
Machine wash cold on gentle cycle. Lay flat to dry. Do not iron the ribbons directly. Store folded with tissue paper to prevent crushing.
Helpful Tips for Success
If your shell stitches look uneven, try blocking the finished skirt. Wet blocking works wonders for evening out stitches.
For a longer dress, simply add more rounds to the skirt section. Each additional round adds approximately half an inch.
Want a different size? Adjust your foundation chain in multiples of 6 for proper shell stitch alignment. Add or remove 6 chains at a time.
The petal sleeves can feel tricky the first time you make them. If you find the petals too floppy, use a smaller hook or fewer chains in the petal round.
Why Crocheters Love This Baby Dress Pattern
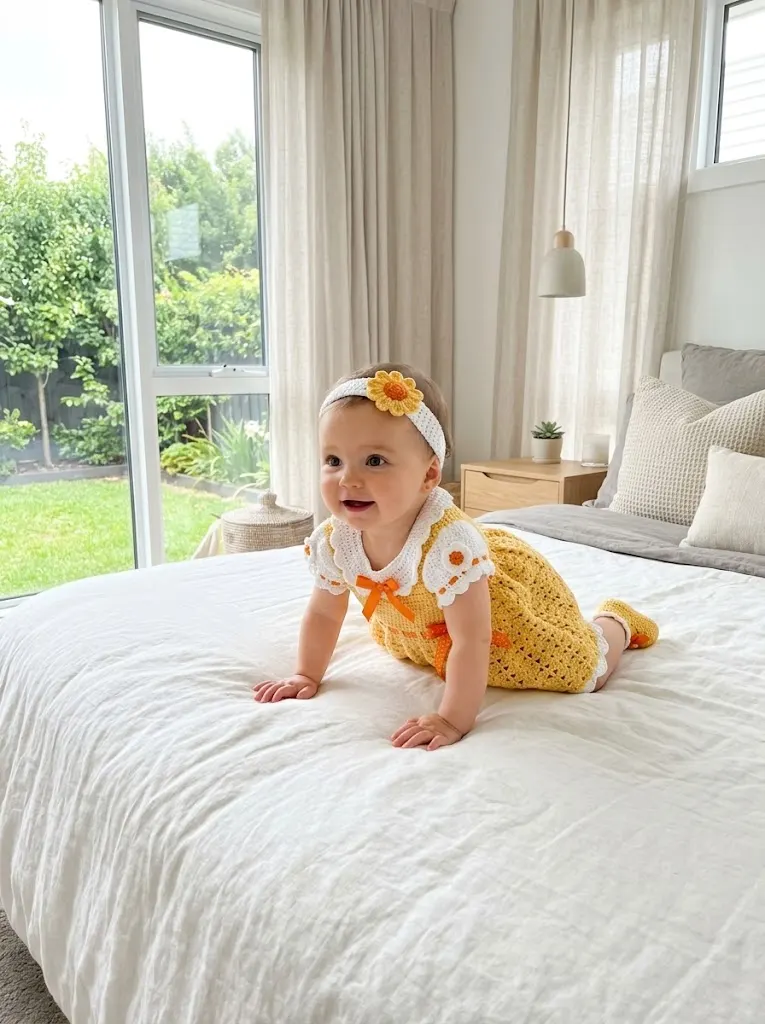
This beginner friendly dress construction teaches you valuable skills you can use on future projects. You will practice working a fitted bodice, creating shell stitch fabric, and constructing a complete garment set. The matching accessories make this feel like a professional baby ensemble.
The shell stitch skirt is satisfying to crochet because it grows quickly and looks impressive. Once you memorize the two row repeat, you can work almost on autopilot while watching your favorite show.
Thank you so much for choosing this pattern for your next project. I truly hope you enjoy making this sweet baby dress set as much as I enjoyed designing it. If you make one, please tag me on Instagram or share in my Facebook group. I absolutely love seeing your finished creations.
Save this pattern to your Pinterest boards so you can find it easily when you are ready to start. And if you have any questions or want to show off your finished dress, drop a comment below. I read every single one and would love to hear from you!