
I don’t know about you, but I have a serious weakness for baby dresses with sweet little appliqués. There’s just something about a tiny pinafore that makes my heart melt. All the charm of a handmade garment with none of the complicated construction headaches. This dusty mauve rainbow baby dress combines a classic silhouette with the most adorable rainbow and cloud detail, and honestly, it might be one of my favorite things I’ve ever made.
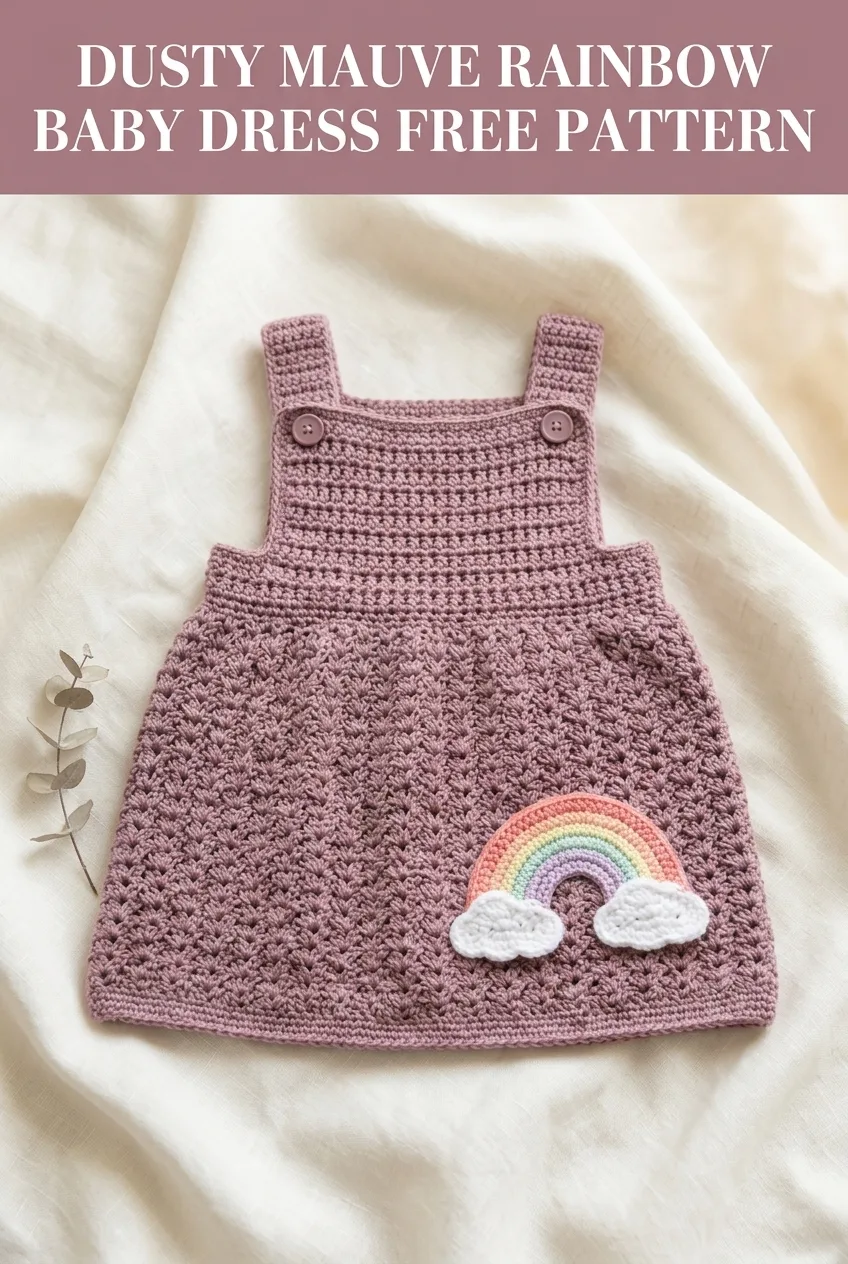
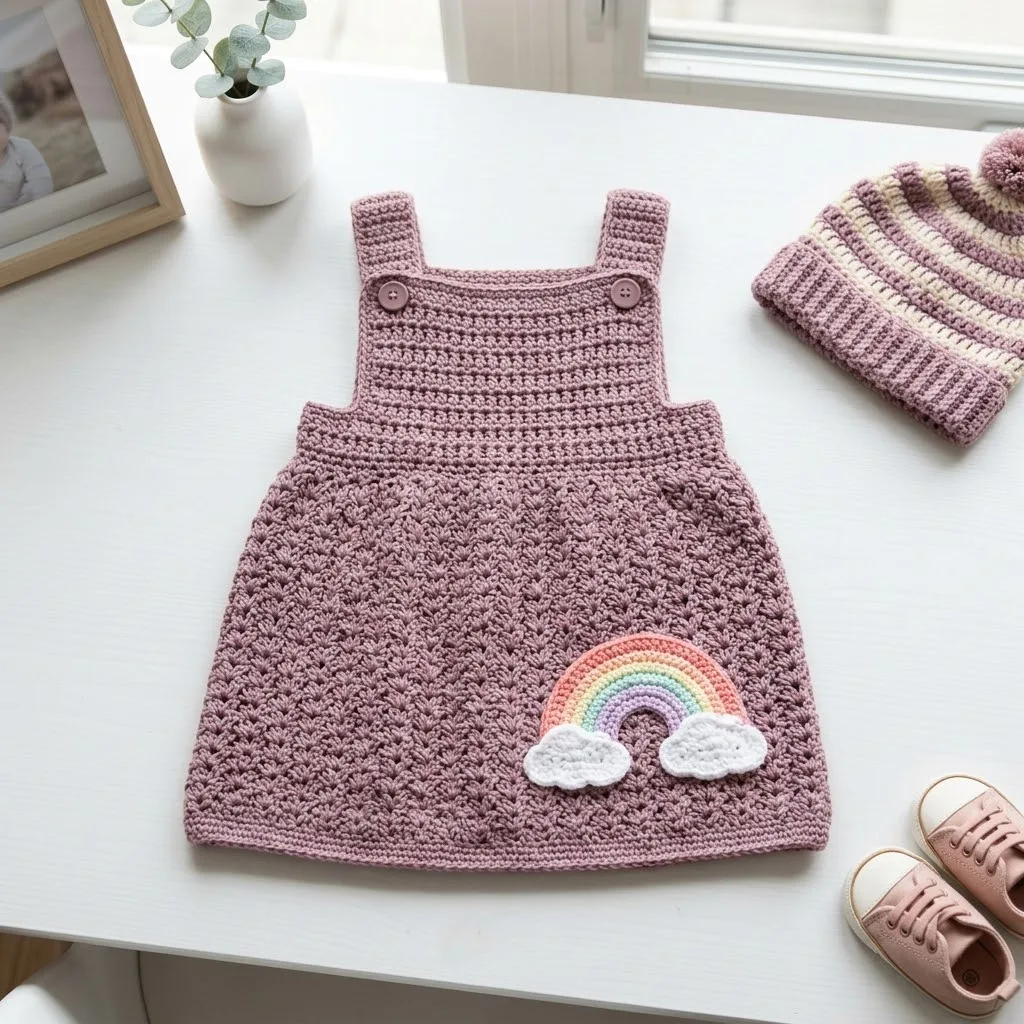
The soft shell stitch body creates gorgeous drape while the simple single crochet bodice keeps everything structured where it needs to be. Those functional shoulder straps with buttons? They make dressing a wiggly baby so much easier. And that rainbow appliqué tucked in the corner takes this from sweet to absolutely irresistible.
Why You’ll Love This Crochet Baby Dress Pattern
This crochet baby dress pattern hits all the right notes for handmade baby gifting. The construction is straightforward, working from the bottom up in one piece until you separate for the bodice. No complicated shaping. No seaming the skirt. Just satisfying rows of shells that grow into the sweetest little dress.
The shell stitch creates that lovely scalloped texture you see in the skirt portion, while the bodice switches to basic stitches for a cleaner look near the neckline. This combination gives you visual interest without overwhelming complexity.
Skill level: Confident beginner to intermediate. If you can work a shell stitch and follow a simple increase pattern, you can absolutely make this dress.
Materials Needed for the Rainbow Baby Dress
Yarn:
I recommend a soft cotton blend or acrylic baby yarn for easy care. Look for something machine washable because, well, babies.
Hook:
Notions:
Gauge
18 stitches and 10 rows = 4 inches in single crochet using 4.0mm hook
Please check your gauge! A dress that’s too small is heartbreaking after all that work. If your gauge is off, adjust your hook size. Too many stitches per inch means you need a larger hook. Too few means go smaller.
Finished Measurements
This pattern is written for size 6 to 12 months.
Abbreviations and Stitch Definitions
Let me walk you through every stitch you’ll need. No surprises here.
Ch = Chain. Wrap yarn over hook, pull through loop. This is your foundation.
Sl st = Slip stitch. Insert hook, yarn over, pull through both loops at once. Used for joining and moving across stitches.
Sc = Single crochet. Insert hook, yarn over, pull up a loop (2 loops on hook), yarn over, pull through both loops. This is your basic building block stitch.
Hdc = Half double crochet. Yarn over, insert hook, yarn over, pull up a loop (3 loops on hook), yarn over, pull through all 3 loops.
Dc = Double crochet. Yarn over, insert hook, yarn over, pull up a loop (3 loops on hook), yarn over, pull through 2 loops, yarn over, pull through remaining 2 loops. Taller than single crochet.
Shell = 5 dc worked into the same stitch or space. This creates that beautiful fan shape you see in the skirt.
Sk = Skip. Pass over the indicated stitch without working into it.
St(s) = Stitch(es)
Rep = Repeat
Crochet Baby Dress Pattern Instructions
Skirt (Bottom Up)
The skirt is worked flat in rows, then joined to work in the round for the bodice. Don’t worry, I’ll guide you through the transition.
Foundation Row: With main color and 4.0mm hook, ch 100.
Row 1: Sc in 2nd ch from hook and in each ch across. (99 sts)
Row 2: Ch 1, turn. Sc in first st, *sk 2 sts, shell in next st, sk 2 sts, sc in next st.* Rep from * across. (16 shells, 17 sc)
Row 3: Ch 3 (counts as dc), turn. 2 dc in first sc, *sc in center dc of shell, shell in next sc.* Rep from * to last shell, sc in center dc of last shell, 3 dc in last sc. (15 shells, 2 half shells)
Row 4: Ch 1, turn. Sc in first dc, *shell in next sc, sc in center dc of shell.* Rep from * across, ending with sc in top of turning ch. (16 shells, 17 sc)
Rows 5 through 24: Repeat Rows 3 and 4 alternately.
Your skirt should measure approximately 9 to 10 inches from the foundation at this point. The shell pattern creates a natural A-line shape with lovely drape.
Transition to Bodice
Now we switch from shells to simple stitches for the structured bodice portion. This is where the dress starts to take shape.
Row 25: Ch 1, turn. Sc in each st and dc across, working 1 sc in each sc and 1 sc in each dc of the shells. (99 sts)
Row 26: Ch 1, turn. Sc in first st, *sc2tog over next 2 sts, sc in next 3 sts.* Rep from * across, adjusting final stitches as needed. (80 sts)
This decrease row brings the width in for the bodice. Don’t stress about hitting exactly 80 stitches. Close counts here.
Bodice
Rows 27 through 30: Ch 1, turn. Sc in each st across. (80 sts)
Row 31 (Divide for Front and Back): Ch 1, turn. Sc in first 18 sts, ch 4, sk 4 sts (armhole), sc in next 36 sts, ch 4, sk 4 sts (armhole), sc in last 18 sts. (72 sc, 8 ch)
Row 32: Ch 1, turn. Sc in each st and ch across. (80 sts)
Rows 33 through 35: Ch 1, turn. Sc in each st across. (80 sts)
Front Bodice and Straps
Row 36: Ch 1, turn. Sc in first 40 sts only. Leave remaining sts unworked. (40 sts)
Rows 37 and 38: Ch 1, turn. Sc in each st across. (40 sts)
First Strap:
Row 39: Ch 1, turn. Sc in first 10 sts only. (10 sts)
Rows 40 through 48: Ch 1, turn. Sc in each st across. (10 sts)
Fasten off and weave in end.
Second Strap:
Join yarn in st 31 of Row 38.
Row 39: Ch 1, sc in same st and next 9 sts. (10 sts)
Rows 40 through 48: Ch 1, turn. Sc in each st across. (10 sts)
Fasten off.
Back Bodice and Straps with Buttonholes
Join yarn at Row 36 to work the back bodice.
Row 36: Ch 1, sc in remaining 40 sts. (40 sts)
Rows 37 and 38: Ch 1, turn. Sc in each st across. (40 sts)
First Back Strap:
Row 39: Ch 1, turn. Sc in first 10 sts only. (10 sts)
Rows 40 through 46: Ch 1, turn. Sc in each st across. (10 sts)
Row 47 (Buttonhole Row): Ch 1, turn. Sc in first 4 sts, ch 2, sk 2 sts, sc in last 4 sts. (8 sc, 2 ch)
Row 48: Ch 1, turn. Sc in each st and ch across. (10 sts)
Fasten off.
Second Back Strap:
Join yarn in st 31 of Row 38.
Row 39: Ch 1, sc in same st and next 9 sts. (10 sts)
Rows 40 through 46: Ch 1, turn. Sc in each st across. (10 sts)
Row 47 (Buttonhole Row): Ch 1, turn. Sc in first 4 sts, ch 2, sk 2 sts, sc in last 4 sts. (8 sc, 2 ch)
Row 48: Ch 1, turn. Sc in each st and ch across. (10 sts)
Fasten off.
Rainbow Appliqué Instructions
This is the fun part! The rainbow appliqué is worked in simple arches, with each color building on the last.
First Arch (Coral/Outer):
Ch 20. Sc in 2nd ch from hook and each ch across. (19 sts) Fasten off.
Second Arch (Peach):
Ch 18. Sc in 2nd ch from hook and each ch across. (17 sts) Fasten off.
Third Arch (Yellow):
Ch 16. Sc in 2nd ch from hook and each ch across. (15 sts) Fasten off.
Fourth Arch (Mint):
Ch 14. Sc in 2nd ch from hook and each ch across. (13 sts) Fasten off.
Fifth Arch (Light Blue):
Ch 12. Sc in 2nd ch from hook and each ch across. (11 sts) Fasten off.
Sixth Arch (Lavender/Inner):
Ch 10. Sc in 2nd ch from hook and each ch across. (9 sts) Fasten off.
Curve each strip into an arc and stack them, largest on the bottom, securing with a few stitches between layers.
Cloud Appliqués (Make 2)
With white yarn:
Ch 4, sl st in first ch to form ring.
Round 1: Ch 1, 6 sc in ring. Do not join. (6 sts)
Round 2: 2 sc in each st around. (12 sts)
Round 3: *Sc in next st, 2 sc in next st.* Rep around. (18 sts)
Sl st to first st and fasten off, leaving a long tail for sewing.
Pinch and shape the cloud, adding a few stitches to create the puffy cloud silhouette.
Finishing Your Baby Dress
Assembly:
Overlap front straps over back straps, matching buttonholes to button placement. Sew buttons securely through both layers.
Sewing the Appliqué:
Position the rainbow with clouds in the lower right corner of the dress front. Pin in place. Using matching yarn, whipstitch around the edges, catching just the outer loops to keep stitches invisible from the front.
Weaving Ends:
Take your time here. Weave each end through several stitches on the wrong side, then double back. Trim close.
Blocking (Optional):
For cotton yarns, a light steam block helps even out your stitches and gives a professional finish.
Tips for Success
Counting stitches: After the shell rows, I like to count every few rows to make sure my stitch count stays consistent. It only takes a moment and saves heartache later.
The buttonholes: If the ch-2 space seems too small for your buttons, try ch-3 instead. Test before finishing.
Appliqué placement: Take a photo before sewing to make sure you like the position. You can adjust easily before committing.
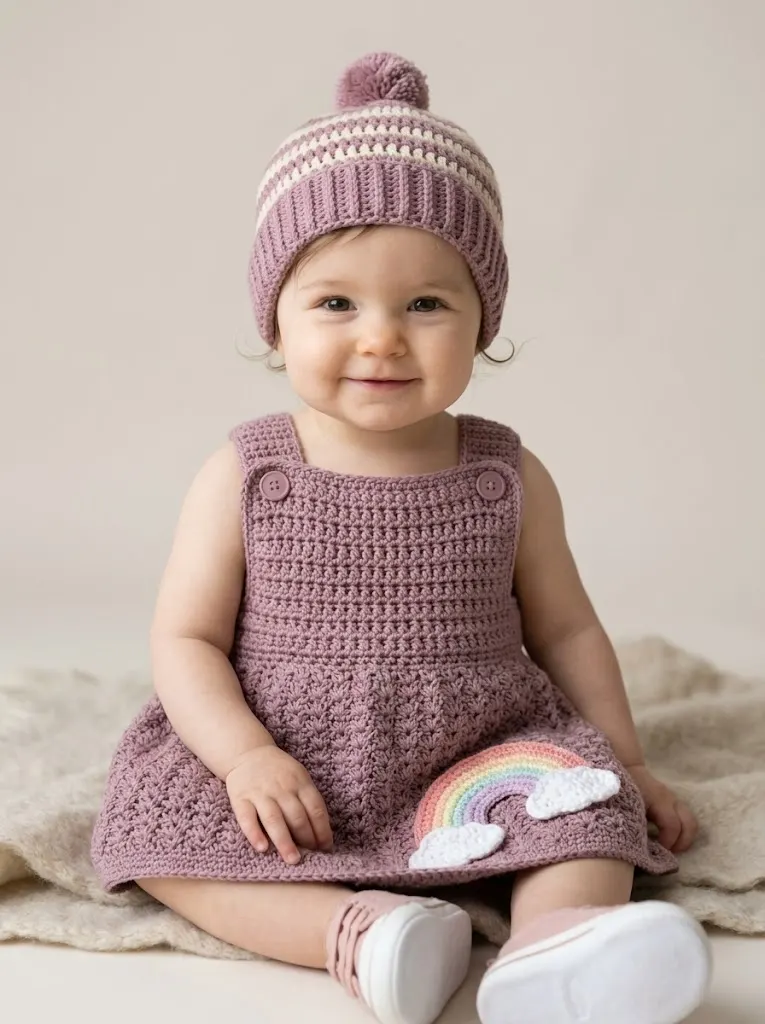
Gifting: This dress pairs beautifully with a coordinating hat like the striped beanie shown. Consider making a set!
Customization Ideas
This crochet pattern adapts beautifully to different styles. Skip the rainbow for a classic look. Try a heart appliqué for Valentine’s Day. Swap the dusty mauve for bright coral, soft sage, or classic cream.
For a larger size, add more foundation chains in multiples of 6 (for the shell repeat) and add extra rows to the skirt and bodice proportionally.
I really hope you enjoy making this sweet little dress as much as I enjoyed designing it. If you create one, I would absolutely love to see it! Save this pattern to your Pinterest boards so you can find it when you’re ready to start, and please drop a comment below if you make one. Seeing your finished projects honestly makes my whole day.