
Granny squares look intimidating, right? All those color changes, keeping corners neat, wondering if your squares will actually line up. I hear this from crocheters all the time. But here’s the truth: the classic granny square is one of the most forgiving, beginner-friendly patterns in all of crochet. If you can chain, double crochet, and slip stitch, you can absolutely make this blanket. This Mint and Lemon Spring Granny Square Blanket uses one continuous square worked from the center out, so there’s no joining, no seaming, and no stress about matching squares. Whether you’re brand new to granny squares or you’ve made dozens, this pattern breaks everything down step by step. You’ve got this.
Why You’ll Love This Crochet Pattern
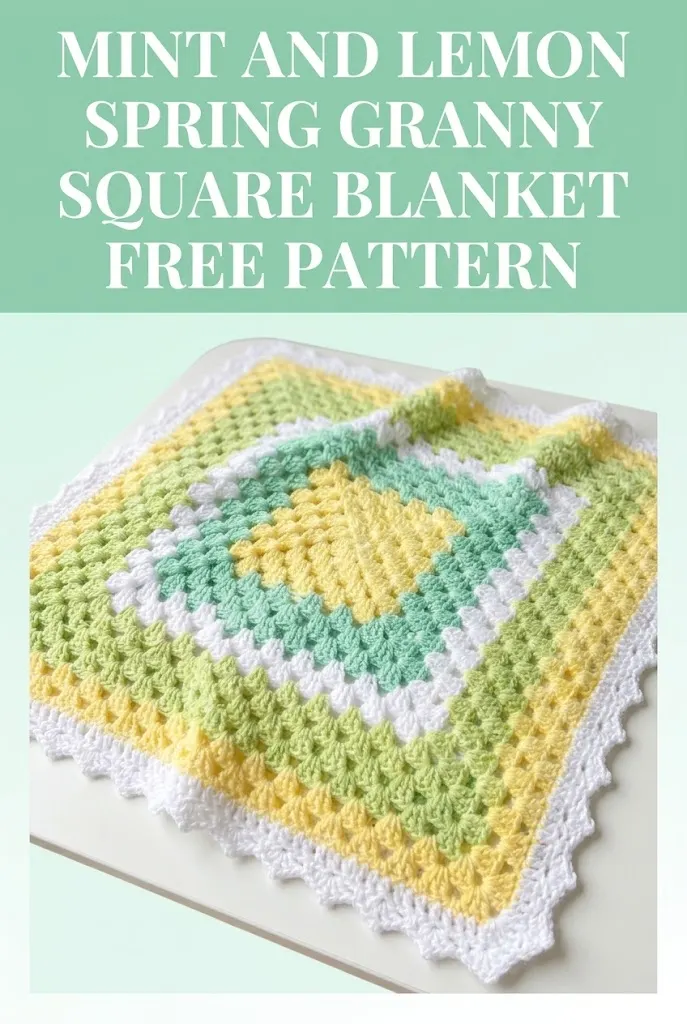
This blanket is pure springtime in yarn form. The soft mint greens, cheerful lemon yellow, fresh lime, and crisp white create a color palette that feels bright without being overwhelming. It’s perfect for a baby shower gift, a lightweight throw for warmer months, or a cheerful addition to any room in your home.
The construction couldn’t be simpler. You start with a small center square and work outward in continuous rounds, changing colors as you go. The blanket grows quickly because granny clusters create a lot of fabric with relatively few stitches. Most crocheters find this incredibly satisfying to watch come together.
Best of all, this is a one-piece project. No individual squares to join. No counting dozens of motifs. Just one square that gets bigger and bigger until you have a beautiful blanket.
Skill Level
Beginner to Easy Intermediate
If you’ve never made a granny square before, this is an excellent first project. The repetitive stitch pattern helps you build muscle memory quickly. If you’re already comfortable with granny squares, you’ll fly through this blanket and enjoy the meditative rhythm of the clusters.
Finished Measurements
Based on the proportions visible, this blanket measures approximately:
The beauty of a continuous granny square blanket is that you control the final size. Want it bigger? Keep going. Happy with a smaller lovey size? Stop earlier. I’ll show you exactly how to adjust as we go.
Materials Needed
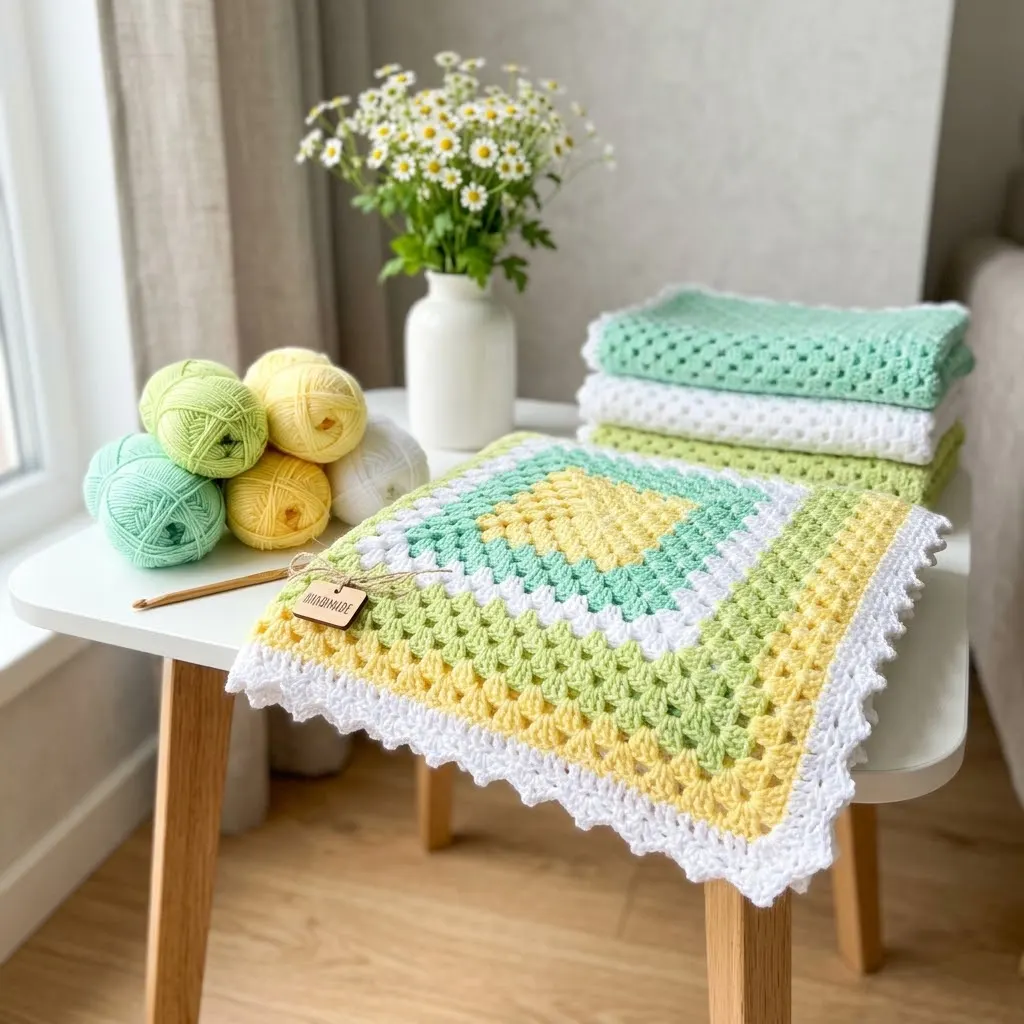
Yarn
– Lemon Yellow: approximately 180 yards (165 meters)
– Lime Green: approximately 200 yards (183 meters)
– Mint Green: approximately 220 yards (201 meters)
– Seafoam/Light Mint: approximately 200 yards (183 meters)
– White: approximately 280 yards (256 meters)
Total Yardage: Approximately 1,080 yards (988 meters)
Yarn Suggestions: Paintbox Yarns Simply DK, Lion Brand 24/7 Cotton, Stylecraft Special DK, or any smooth light worsted weight yarn with good stitch definition.
Tools
Gauge
4 granny clusters and 8 rows = 4 inches (10 cm) in granny square pattern
A note about gauge: Granny square blankets are forgiving. If your gauge is slightly off, your blanket will simply be a bit larger or smaller. This won’t affect the pattern. Just make sure your fabric feels nice to you, not too stiff and not too loose and holey.
Abbreviations and Stitch Definitions
Let me walk you through every stitch you’ll need. No surprises here.
ch = chain: Yarn over, pull through loop on hook. This creates the foundation and spacing in your work.
sl st = slip stitch: Insert hook, yarn over, pull through both the stitch and the loop on your hook in one motion. Used for joining rounds.
dc = double crochet: Yarn over, insert hook, yarn over and pull up a loop (3 loops on hook), yarn over and pull through 2 loops (2 loops remain), yarn over and pull through remaining 2 loops. This is the main stitch of granny squares.
sp = space: The gap or opening between stitches where you’ll work your next stitches.
sk = skip: Pass over the indicated stitch or space without working into it.
3-dc cluster = three double crochet stitches worked into the same space: This is the building block of the granny square. Work 3 dc into a chain space, creating a small bundle of stitches.
corner = (3 dc, ch 2, 3 dc) worked into the same corner space: This creates the 90-degree turn that keeps your square flat.
Understanding Granny Square Construction
Before we begin, let me explain what makes this work. A granny square grows from the center outward. Each round adds more clusters along each side, with a special corner treatment that creates the square shape.
The key to flat squares: Always work (3 dc, ch 2, 3 dc) into each corner space. This ch-2 space gives your corners room to turn without curling.
The key to straight sides: Work (3 dc) into each ch-1 space along the sides, with ch 1 between each cluster.
Don’t worry if this sounds complicated right now. Once you complete a few rounds, it will become second nature.
Mint and Lemon Spring Granny Square Blanket Pattern Instructions
Beginning Your Granny Square
Round 1 (Lemon Yellow)
Start with a magic ring (also called magic circle or adjustable ring).
If magic rings frustrate you, here’s an alternative: ch 4, sl st to first ch to form a ring. Both methods work perfectly.
Into the ring, work:
Ch 3 (counts as first dc throughout pattern), 2 dc, ch 2, *3 dc, ch 2* three times, sl st to top of beginning ch-3 to join.
You should have: 4 clusters of 3 dc each, separated by ch-2 corner spaces. (12 dc total)
Pull your magic ring closed if you used one.
Round 2 (Lemon Yellow)
Sl st across top of next 2 dc and into corner ch-2 space.
Ch 3, 2 dc, ch 2, 3 dc (first corner made), ch 1, *(3 dc, ch 2, 3 dc) in next corner sp, ch 1* three times, sl st to top of beginning ch-3 to join.
You should have: 4 corners plus one 3-dc cluster on each side. (24 dc total)
Round 3 (Lime Green)
Fasten off yellow. Join lime green in any corner space with a sl st.
Ch 3, 2 dc, ch 2, 3 dc (corner), ch 1, 3 dc in next ch-1 sp, ch 1, *(3 dc, ch 2, 3 dc) in corner sp, ch 1, 3 dc in ch-1 sp, ch 1* three times, sl st to join.
You should have: 4 corners plus two 3-dc clusters on each side. (36 dc total)
Continuing the Pattern
Round 4 (Lime Green)
Sl st to corner space.
Ch 3, 2 dc, ch 2, 3 dc (corner), *ch 1, 3 dc in next ch-1 sp* across side to next corner, (3 dc, ch 2, 3 dc) in corner, repeat around, sl st to join.
You should have: 4 corners plus three 3-dc clusters on each side. (48 dc total)
Here’s the beautiful thing: From now on, every round follows the same rhythm. Work a corner in each corner space, and work a 3-dc cluster in each ch-1 space along the sides.
Rounds 5-6 (Mint Green)
Fasten off lime green. Join mint green.
Continue the established pattern, adding one more cluster per side with each round.
After Round 5: 60 dc total
After Round 6: 72 dc total
Rounds 7-8 (Seafoam/Light Mint)
Fasten off mint. Join seafoam.
Continue pattern.
After Round 7: 84 dc total
After Round 8: 96 dc total
Rounds 9-10 (White)
Fasten off seafoam. Join white.
Continue pattern.
After Round 9: 108 dc total
After Round 10: 120 dc total
Color Sequence for Full Blanket
Repeat this 10-round color sequence, or create your own arrangement:
Then begin again with yellow, or adjust colors as desired. The blanket shown uses approximately 20-24 total rounds.
Continue until your blanket reaches desired size. For baby size, work until blanket measures approximately 30 inches before border.
Scalloped Border Instructions
The delicate white scalloped edge gives this blanket a sweet, finished look. This border is worked in white.
Border Round 1 (White)
Join white in any corner space.
Ch 1, 3 sc in corner sp, *sc in each dc and ch-1 sp across to next corner, 3 sc in corner sp* around, sl st to first sc to join.
Tip: You’re essentially working 1 sc in each dc (3 per cluster) and 1 sc in each ch-1 space between clusters.
Border Round 2 (White)
Ch 1, sc in first st, *sk 2 sts, 5 dc in next st (shell made), sk 2 sts, sc in next st* around, adjusting as needed at corners to keep work flat.
At corners: Work a shell directly into the center corner stitch.
Sl st to first sc to join. Fasten off.
Finishing
Weave in all ends using your tapestry needle. I recommend weaving each end through at least 2 inches of stitches, then doubling back for security.
Blocking (optional but recommended): Wet block or steam block your blanket to even out stitches and open up the lacy pattern. Lay flat on a blocking mat, gently stretch to shape, and allow to dry completely.
Tips for Success
Changing colors cleanly: On your last stitch before a color change, work until you have 2 loops on hook. Drop old color, yarn over with new color, and pull through. This places the new color exactly where you need it.
Keeping your square flat: If your square cups or ruffles, your tension may be too tight or too loose. Try going up or down a hook size.
Counting your clusters: Each side should have the same number of clusters. Count after each round to catch mistakes early.
Managing multiple colors: Wind your yarn into center-pull balls to prevent tangling. Keep unused colors in a project bag to stay organized.
Customization Ideas
This granny square blanket pattern is endlessly adaptable. Consider these variations:
Why Granny Squares Are Perfect for Beginners
I want to circle back to something important. If you’ve been nervous about trying granny squares, this Mint and Lemon Spring Granny Square Blanket crochet tutorial is designed with you in mind.
The granny stitch creates natural spacing between clusters, which means small mistakes blend right in. The repetitive nature of the pattern builds your confidence with each round. And because you can see your progress so quickly, you stay motivated to keep going.
Many crocheters tell me that their first granny square project was the turning point when crochet finally "clicked" for them. The rhythm of cluster, chain, cluster, chain becomes almost meditative.
Care Instructions
For best results with acrylic yarn:
This blanket will soften beautifully with each wash, becoming even cozier over time.
Make It Your Own
I hope this step-by-step crochet pattern gives you everything you need to create your own Mint and Lemon Spring Granny Square Blanket. There’s something deeply satisfying about watching a blanket grow from a tiny center ring into a finished, cuddle-worthy creation.
Thank you so much for choosing this pattern for your next project. I genuinely appreciate you being here. If you make this blanket, I would absolutely love to see it! Tag me on Instagram or share a photo in my Facebook group. Seeing your creations brings me so much joy.
If this pattern caught your eye, go ahead and save it to your Pinterest boards so you can find it whenever you’re ready to cast on. And if you do make this blanket, drop a comment below. I love hearing which colors you chose and who you’re making it for. Happy crocheting, friend!