
I’ve been calling this one the "Spring Morning Cardigan" in my head ever since I sketched it out in my old design notebook last year. It was originally meant for my niece’s birthday, but then life got busy and the idea just sat there, waiting. When I finally pulled out that notebook again this spring, I knew it was time to bring this little cardigan to life. The grid stitch creates the sweetest open texture, and those tie closures down the front? They add just the right amount of whimsy without being fussy. I’m so happy to finally share this pattern with you.
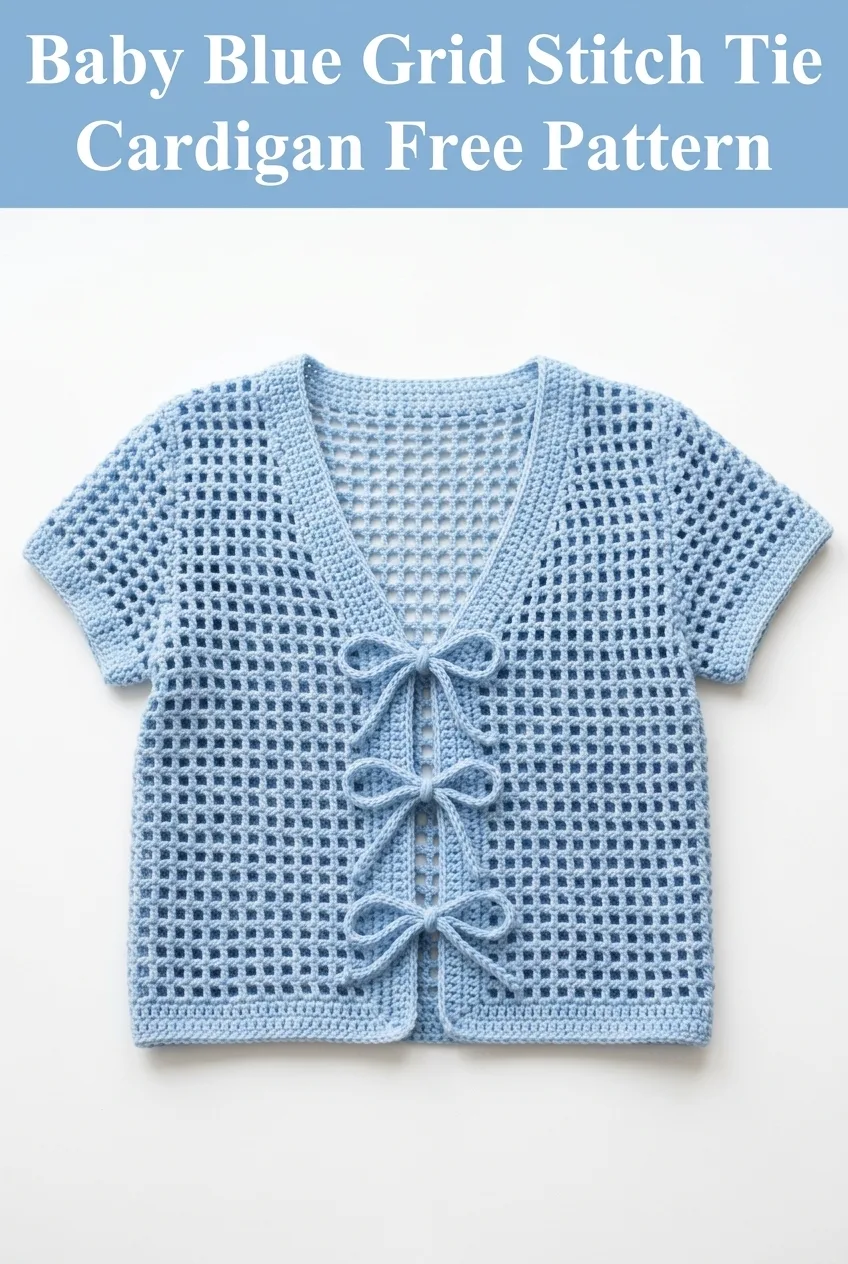
This crochet cardigan pattern works up beautifully in a lightweight yarn and features that classic grid stitch that looks so much harder than it actually is. If you’ve been wanting to try garment construction but felt intimidated, this is your sign. The construction is straightforward, the shaping is minimal, and the finished piece looks like something you’d find in a boutique.
What Makes This Crochet Cardigan Special
The grid stitch, sometimes called the filet mesh stitch, creates an open, breathable fabric that’s perfect for layering in warmer months. You’re essentially creating small squares or "windows" throughout the fabric using a combination of chains and double crochet stitches. The result is lightweight, airy, and absolutely gorgeous.
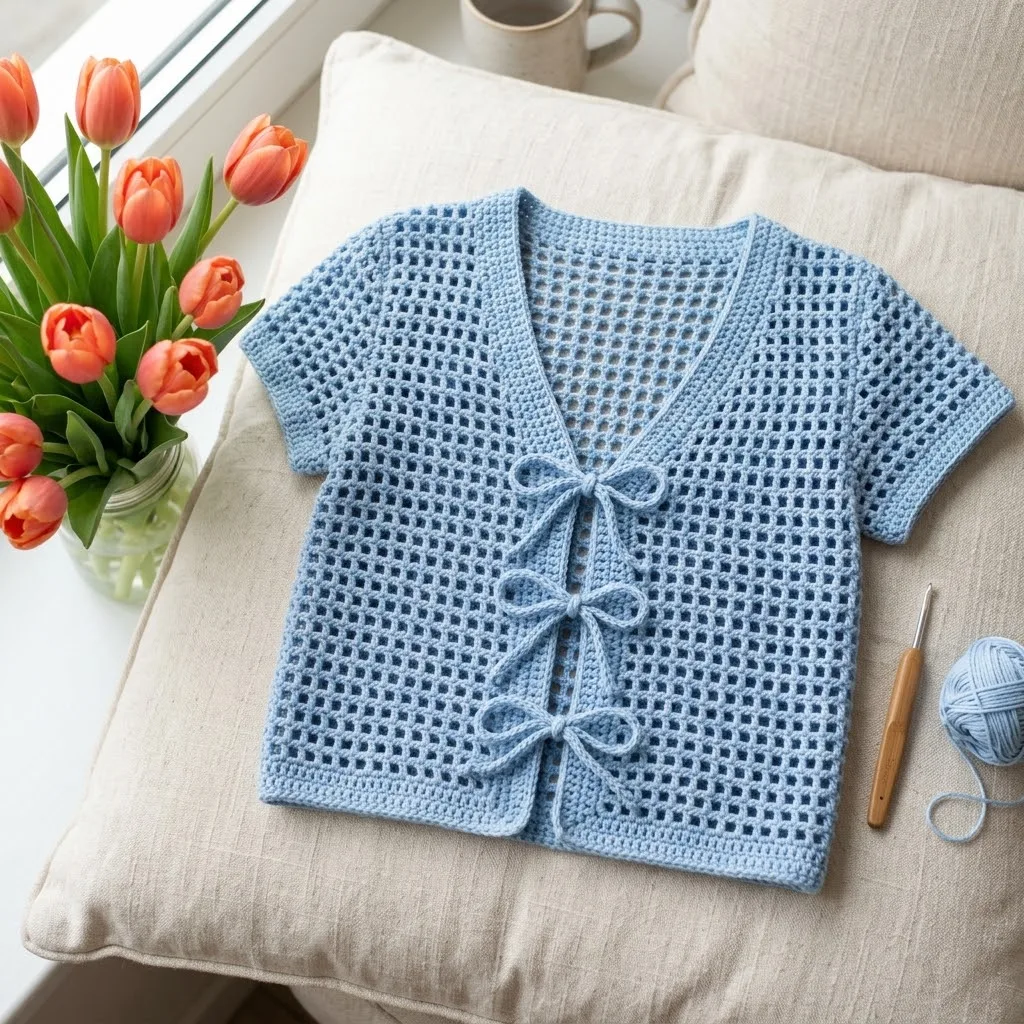
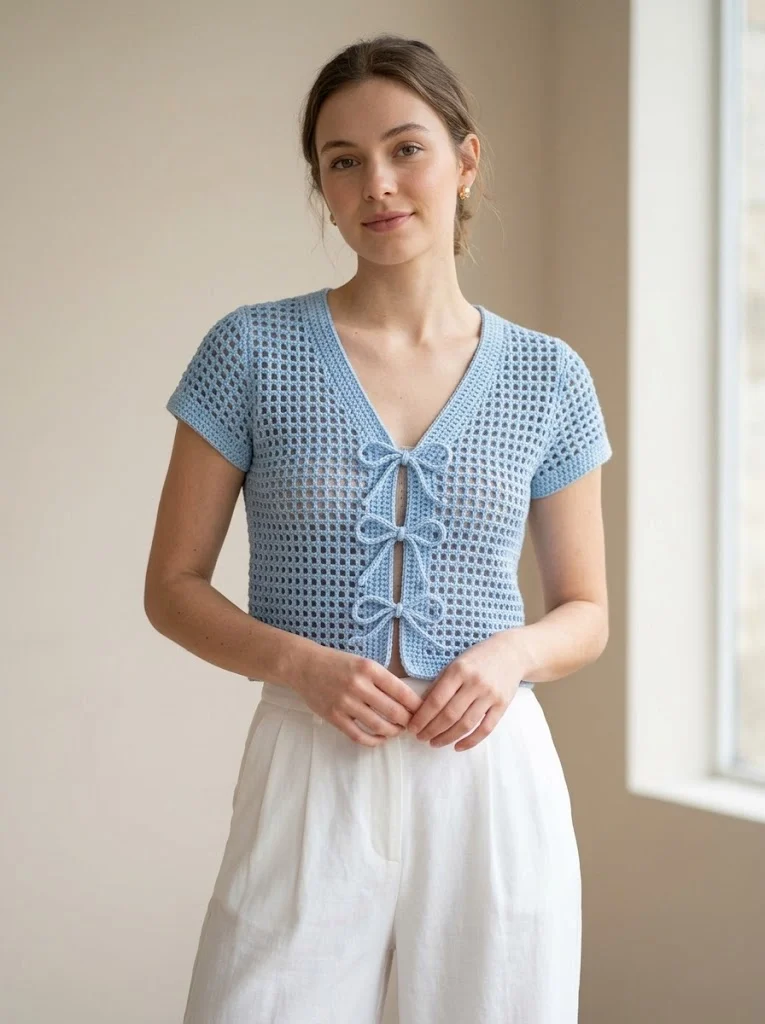
What I love most about this design is the tie front closure. Instead of buttons or a zipper, you’ll create simple crocheted ties that bow at the center front. It gives the cardigan a romantic, vintage feel without any complicated finishing work.
The V-neckline is flattering on everyone and is created naturally as you work the front panels separately. No tricky neck shaping required.
Skill Level
This pattern is rated intermediate beginner to intermediate. If you can work a double crochet and count stitches, you can absolutely make this cardigan. The construction involves working flat panels and seaming them together, which is a great introduction to garment making.
Don’t worry if you’ve never made a wearable before. I’ll walk you through every step.
Materials Needed
Yarn:
Approximately 800 to 1000 yards of DK weight yarn (weight category 3). The sample is made in a soft baby blue cotton blend. I recommend choosing a yarn with good stitch definition. Cotton, cotton blends, or bamboo blends work wonderfully for this airy grid texture.
Suggested brands: Lion Brand 24/7 Cotton, Paintbox Yarns Cotton DK, or Drops Safran.
Hook:
4.0mm (US G/6) crochet hook, or size needed to obtain gauge.
Notions:
Gauge
Gauge matters for garments. Please take time to check yours.
16 stitches and 8 rows = 4 inches in grid stitch pattern
To test your gauge, chain 22 and work the grid stitch pattern for 10 rows. Measure the center section. If your swatch is too small, go up a hook size. If it’s too large, go down a hook size.
Finished Measurements
This pattern is written for size Small with a finished bust measurement of approximately 36 inches. The cardigan has about 2 to 4 inches of positive ease for a relaxed fit.
Finished chest: 36 inches
Length from shoulder: 18 inches
Sleeve length: 6 inches (short sleeve)
For larger sizes, add multiples of 6 stitches to your starting chain for the back and 3 stitches for each front panel. Each additional 6 stitches adds approximately 1.5 inches to the width.
Abbreviations and Stitch Definitions
Let me define every stitch you’ll need before we begin.
Ch = Chain. Wrap yarn over hook and pull through the loop on your hook. This creates one chain stitch.
Sl st = Slip stitch. Insert hook into stitch, yarn over, pull through both the stitch and the loop on your hook in one motion.
Sc = Single crochet. Insert hook into stitch, yarn over and pull up a loop (2 loops on hook), yarn over and pull through both loops.
Dc = Double crochet. Yarn over, insert hook into stitch, yarn over and pull up a loop (3 loops on hook), yarn over and pull through 2 loops (2 loops remain), yarn over and pull through remaining 2 loops.
Sk = Skip. Pass over the indicated stitch without working into it.
Rep = Repeat.
RS = Right side. The side of your work that faces outward when worn.
WS = Wrong side. The side of your work that faces your body when worn.
Understanding the Grid Stitch Pattern
Before jumping into the cardigan pieces, let’s practice the grid stitch so you feel confident.
Grid Stitch Pattern (worked flat over a multiple of 3 + 2 stitches):
Foundation: Ch any multiple of 3, then add 2 more chains. For example, ch 32 (which is 30 + 2).
Row 1 (RS): Dc in 4th ch from hook (the skipped chains count as your first dc), *ch 1, sk 1 ch, dc in next ch*, rep from * across. Turn.
Row 2: Ch 3 (counts as first dc), sk first dc, dc in next ch-1 space, *ch 1, dc in next ch-1 space*, rep from * across, ending with dc in top of turning chain. Turn.
Rep Row 2 for pattern.
See how the chain spaces stack on top of each other to create those little windows? That’s your grid. Once you get the rhythm, it practically works itself.
Pattern Instructions
Back Panel
Ch 74.
Row 1 (RS): Dc in 4th ch from hook, *ch 1, sk 1 ch, dc in next ch*, rep from * across. Turn. (72 sts including chains and dc stitches, 36 dc and 35 ch-1 spaces)
Row 2: Ch 3, sk first dc, dc in first ch-1 space, *ch 1, dc in next ch-1 space*, rep from * across, ending with dc in top of turning chain. Turn.
Rows 3 through 36: Rep Row 2.
Your back panel should measure approximately 18 inches long and 18 inches wide.
Fasten off and weave in ends.
Left Front Panel
Ch 38.
Row 1 (RS): Dc in 4th ch from hook, *ch 1, sk 1 ch, dc in next ch*, rep from * across. Turn. (36 sts, 18 dc and 17 ch-1 spaces)
Row 2: Ch 3, sk first dc, dc in first ch-1 space, *ch 1, dc in next ch-1 space*, rep from * across, ending with dc in top of turning chain. Turn.
Rows 3 through 26: Rep Row 2.
Begin V-Neck Shaping:
Row 27: Ch 3, sk first dc, dc in first ch-1 space, *ch 1, dc in next ch-1 space*, rep from * across until 2 ch-1 spaces remain unworked. Turn, leaving remaining stitches unworked. (Working decrease at neck edge)
Row 28: Sl st into first ch-1 space, ch 3, dc in next ch-1 space, *ch 1, dc in next ch-1 space*, rep from * across. Turn.
Rows 29 through 36: Continue in grid pattern, decreasing 1 stitch at neck edge every other row by leaving the last ch-1 space unworked. You should have approximately 12 dc remaining at shoulder.
Fasten off.
Right Front Panel
Work same as Left Front Panel through Row 26.
Begin V-Neck Shaping (mirrored):
Row 27: Sl st across first 2 ch-1 spaces, ch 3, dc in next ch-1 space, *ch 1, dc in next ch-1 space*, rep from * across. Turn.
Row 28: Ch 3, sk first dc, dc in first ch-1 space, *ch 1, dc in next ch-1 space*, rep from * across to last 2 ch-1 spaces, leaving them unworked. Turn.
Rows 29 through 36: Continue in grid pattern, decreasing at neck edge to mirror left front.
Fasten off.
Sleeves (Make 2)
Ch 62.
Row 1 (RS): Dc in 4th ch from hook, *ch 1, sk 1 ch, dc in next ch*, rep from * across. Turn. (60 sts)
Rows 2 through 12: Work in grid stitch pattern.
Sleeves should measure approximately 6 inches long and 15 inches wide.
Fasten off.
Assembly
Take a deep breath. Seaming is easier than you think.
1. Join Shoulders: Place back panel and front panels with right sides together. Using yarn needle and matching yarn, whip stitch or mattress stitch shoulder seams together, leaving center open for neckline.
2. Attach Sleeves: Find the center of each sleeve’s top edge. Pin to shoulder seam. Sew sleeves to body, easing in any fullness.
3. Side and Underarm Seams: Sew side seams from hem to underarm, then continue down sleeve seams.
Turn right side out and try it on. Feel that accomplishment.
Neckline and Front Band Edging
With RS facing, join yarn at bottom right front corner.
Row 1: Sc evenly up right front edge, around neckline, and down left front edge. Work approximately 3 sc for every 2 rows to keep the edge flat. Turn.
Row 2: Ch 1, sc in each sc across. Fasten off.
This creates a clean, stable edge for your tie placements.
Tie Closures (Make 6)
Ch 60.
Row 1: Sc in 2nd ch from hook and in each ch across. (59 sc)
Fasten off, leaving a 6 inch tail for attaching.
These ties should measure approximately 12 inches long each.
Attaching the Ties
Lay your cardigan flat with front edges meeting. Decide on tie placement. I placed mine at:
Sew one tie to each front edge at each placement point. When tied in bows, they create that sweet closure you see in the photos.
Finishing Touches
Weave in all remaining ends. Block your cardigan by soaking it in lukewarm water, gently pressing out excess water with a towel, and laying flat to dry. Pin to measurements if needed. Blocking opens up the grid pattern beautifully and evens out your stitches.
Customization Ideas
Want longer sleeves? Simply add more rows before fastening off.
Prefer a longer length? Add rows to both the back and front panels before beginning neck shaping.
Try different colors. This cardigan looks stunning in cream, soft pink, sage green, or even a variegated yarn for something more playful.
Add a pocket. Work a small grid stitch square and sew it to one or both front panels.
Tips for Success
Work your first few rows slowly until the grid stitch rhythm clicks. Once it does, you’ll fly through this project.
Count your stitches at the end of each row for the first several rows. The grid stitch can be tricky to count at first since you’re counting both dc stitches and chain spaces.
If your edges look uneven, try working your turning chain more loosely or tightly until you find what works for your tension.
Why You’ll Love This Pattern
This crochet tutorial takes you step by step through creating a garment you’ll actually wear. The grid stitch cardigan pattern is beginner friendly while still resulting in something that looks impressive. It’s the perfect project for building your garment making confidence.
The Baby Blue Grid Stitch Tie Cardigan works up faster than you might expect thanks to that open stitch pattern. You’ll use less yarn than a solid fabric cardigan, and the breathable texture makes it ideal for spring and summer layering.
I hope you enjoy making your own Spring Morning Cardigan as much as I enjoyed designing it. There’s something so satisfying about wearing something you made with your own hands, and this one is going to turn heads.
Thank you so much for choosing this pattern. I truly appreciate you being here, and I hope this cardigan brings you as much joy as it brought me. If you make one, I would absolutely love to see it. Tag me on Instagram or share a photo in my Facebook group. Your projects always make my day.
If you loved this pattern, go ahead and save it to your Pinterest boards so you can find it whenever you’re ready to cast on. And please drop a comment below if you make this cardigan or have any questions along the way. I read every single one and love hearing from you.