
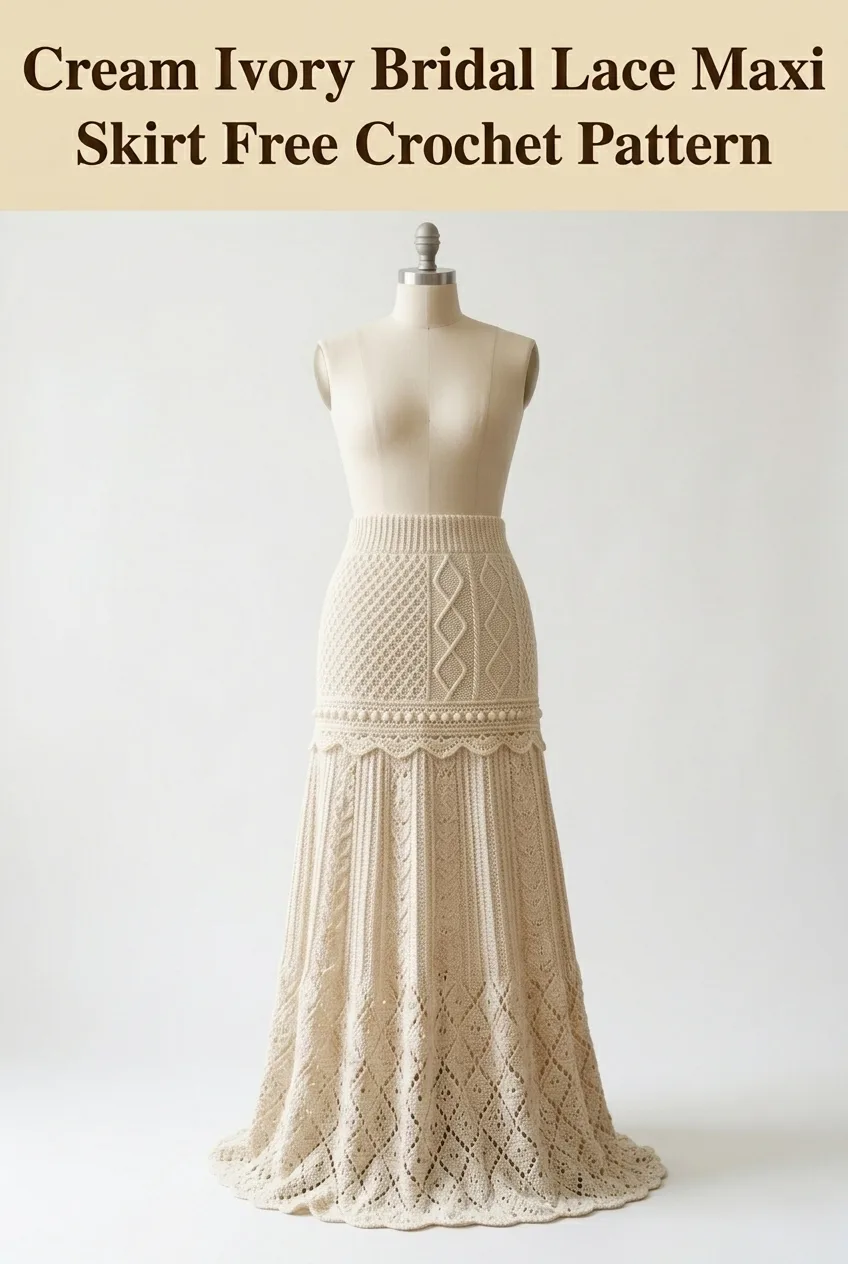
Okay, yarn lovers, this is your sign to dig into that stash and pull out those gorgeous skeins of cotton or linen blend you’ve been saving for something special. This cream ivory bridal lace maxi skirt crochet pattern is absolutely that project. The construction combines a fitted waistband with textured panels that transition into a dramatic flowing skirt section featuring lace diamond motifs. I won’t sugarcoat it. This is an intermediate to advanced project that requires patience and attention to detail. But if you’ve been wanting to level up your garment skills, this stunning piece will teach you so much about shaping, texture work, and joining techniques.
About This Cream Ivory Lace Maxi Skirt Crochet Pattern
This elegant floor-length skirt features three distinct sections that create visual interest and flattering fit. The upper hip section uses a combination of textured stitches including raised diamond cables and an open lattice pattern. A decorative scalloped border separates this from the flowing lower section, which showcases dramatic lace panels that gradually widen toward the hem.
The ivory colorway makes this piece perfect for bohemian brides, beach weddings, or festival season. You could also work it in deeper tones for everyday elegance.
Skill Level: Intermediate to Advanced
Finished Measurements:
Materials Needed
Gathering your supplies before starting this crochet tutorial will make the process so much smoother. Trust me on this one.
Yarn:
Hook:
Notions:
Gauge
Main body gauge: 18 stitches and 10 rows = 4 inches in double crochet using 4.0mm hook
Waistband gauge: 20 stitches and 22 rows = 4 inches in single crochet ribbing using 3.5mm hook
Please, please take time to check your gauge. A skirt this long will grow significantly if your gauge is even slightly loose. Swatch and wash your swatch before measuring.
Abbreviations and Stitch Definitions
Let me walk you through every stitch you’ll need. Even if you know these already, a quick refresher never hurts.
ch = chain: Yarn over, pull through loop on hook
sl st = slip stitch: Insert hook, yarn over, pull through stitch and loop on hook in one motion
sc = single crochet: Insert hook, yarn over, pull up loop (2 loops on hook), yarn over, pull through both loops
dc = double crochet: Yarn over, insert hook, yarn over, pull up loop (3 loops on hook), yarn over, pull through 2 loops, yarn over, pull through remaining 2 loops
hdc = half double crochet: Yarn over, insert hook, yarn over, pull up loop (3 loops on hook), yarn over, pull through all 3 loops
FPdc = front post double crochet: Yarn over, insert hook from front to back to front around post of stitch below, complete as regular dc. This creates raised texture.
BPdc = back post double crochet: Yarn over, insert hook from back to front to back around post of stitch below, complete as regular dc
ch-sp = chain space: The gap created by chains in previous row
sk = skip: Miss the indicated number of stitches
V-st = V-stitch: Work (dc, ch 1, dc) all in same stitch or space
Special Techniques
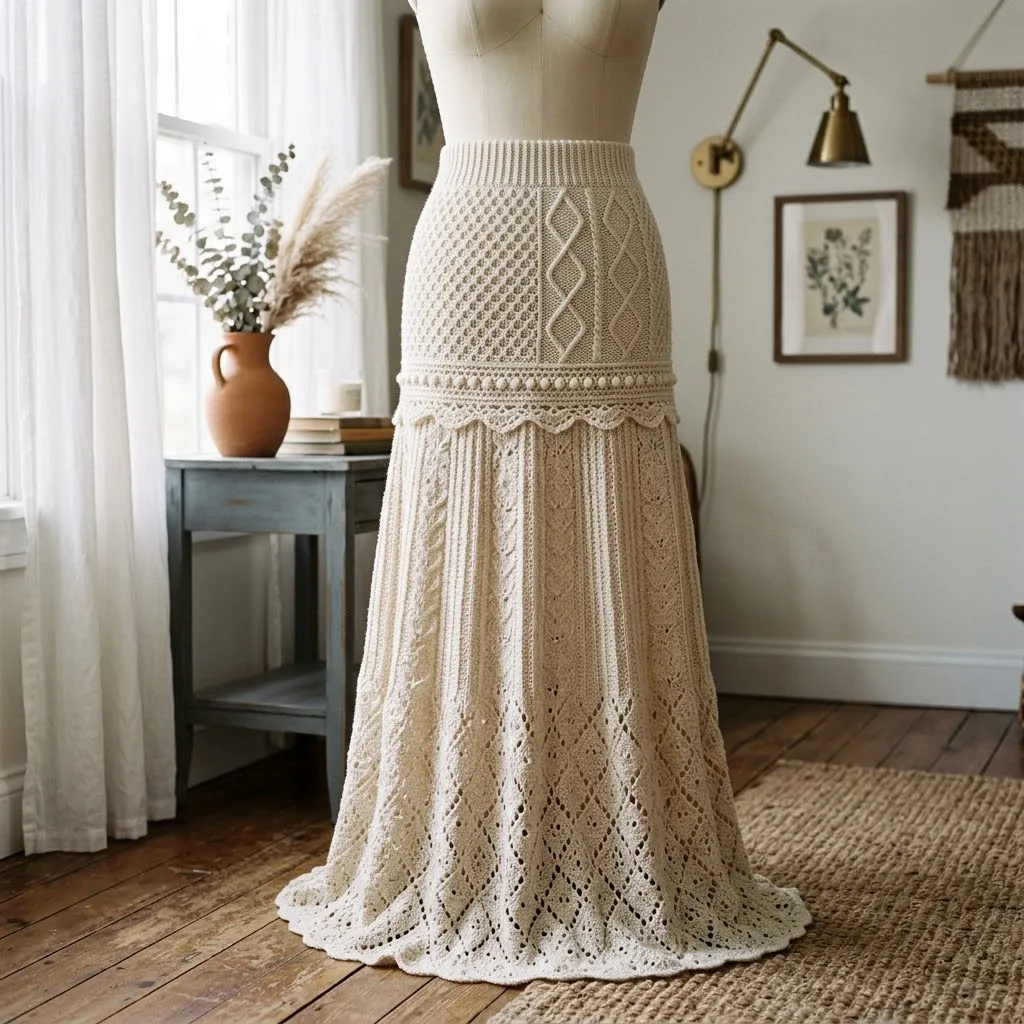
Raised Diamond Cable Panel
This creates those gorgeous textured diamonds you see running vertically on the hip section. The technique uses front and back post stitches to create the raised effect.
Lattice Lace Pattern
The open mesh sections use a combination of chains and double crochet clusters that cross over each other. Sounds tricky, but once you get the rhythm, it becomes almost meditative.
Scalloped Trim Border
The decorative border between sections uses shell stitches that create those lovely curved edges.
Step by Step Crochet Pattern Instructions
Section 1: Waistband with Elastic Channel
We’re starting from the top and working down. The waistband is worked sideways in rows, then joined into a circle.
Using smaller 3.5mm hook, ch 13.
Row 1: Sc in 2nd ch from hook and in each ch across, turn. (12 sts)
Row 2: Ch 1, working in back loops only (BLO), sc in each st across, turn. (12 sts)
Rows 3-80 (90, 100, 110): Repeat Row 2.
This creates a ribbed stretchy fabric. The number of rows determines your waist size. Try it on as you go.
Joining: Fold piece so Row 1 meets final row. Sl st through both layers to join into tube, leaving top edge open for elastic insertion.
Section 2: Upper Hip with Cable and Lattice Panels
Switch to larger 4.0mm hook. You’ll be working in the round from here.
Setup Round: Working along long edge of waistband, sc evenly around, placing 144 (160, 176, 192) sts. Join with sl st to first sc. Place marker. (144/160/176/192 sts)
Round 1: Ch 3 (counts as dc throughout), dc in each st around, join. (144/160/176/192 sts)
Round 2 (Establish Panels): Ch 3, dc in next 17 (19, 21, 23) sts, place marker, *work FPdc around next st, dc in next 2 sts, FPdc around next st*, dc in next 14 (16, 18, 20) sts, place marker. Repeat from * around, creating 4 cable panels with lattice sections between. Join.
Rounds 3-6: Continue working dc sections with cable panels. In cable sections, cross your FPdc stitches every 4th round to create the diamond shape.
Cable Cross (worked on Rounds 6, 10, 14, etc.): Skip next FPdc, FPdc around following FPdc, FPdc around skipped stitch (working in front of stitch just made).
Rounds 7-30: Continue pattern, maintaining 4 cable panels. The lattice sections between cables use this pattern:
Lattice Pattern:
This creates the beautiful open mesh texture visible in the upper skirt.
Section 3: Scalloped Divider Border
This decorative border creates visual separation between the fitted hip and flowing lower section. It also adds those darling scalloped edges.
Border Round 1: Ch 1, sc in each st and ch-sp around. (144/160/176/192 sts)
Border Round 2: Ch 1, sc in first st, *sk 2 sts, 5 dc in next st (shell made), sk 2 sts, sc in next st*. Repeat around, adjusting as needed to end pattern correctly. Join.
Border Round 3: Ch 3, 2 dc in same st, *sc in center dc of shell, 5 dc in next sc*. Repeat around. Join.
Border Round 4: Sl st to center of first shell, ch 1, sc in same st, *ch 3, sc in center of next shell*. Repeat around. Join.
Section 4: Flowing Lace Skirt Section
Here’s where the magic happens. The skirt flares dramatically using strategic increases and stunning diamond lace panels.
Increase Round: Ch 3, dc in same st, dc in next st, *2 dc in next st, dc in next st*. Repeat around. Join. (216/240/264/288 sts)
Round 1 (Establish Lace Panels): Ch 3, dc in next 5 sts, *ch 2, sk 2, dc in next 4 sts*. Repeat around. Join.
Round 2: Ch 3, dc in next 4 sts, *ch 2, dc in ch-sp, ch 2, sk 1 dc, dc in next 3 sts*. Repeat around. Join.
Round 3: Ch 3, dc in next 3 sts, *(ch 2, dc in ch-sp) twice, ch 2, sk 1 dc, dc in next 2 sts*. Repeat around. Join.
Rounds 4-10: Continue expanding the diamond openings by adding one more ch-2 space each round while decreasing the dc columns between.
Rounds 11-16: Now close the diamonds by reversing the process, working fewer ch-2 spaces and more dc stitches each round.
Rounds 17-60: Repeat the diamond lace pattern (Rounds 1-16) approximately 3 more times, adding 12 stitches evenly distributed every 16 rounds for gradual flare.
Increase Rounds (work on Rounds 17, 33, 49): *Dc in next 17 (19, 21, 23) sts, 2 dc in next st*. Repeat around.
Vertical Cable Strips
Those beautiful raised vertical lines running through the lace section are worked separately and sewn on. This is optional but adds tremendous visual impact.
Cable Strip (make 8):
Ch 8.
Row 1: Dc in 4th ch from hook, dc in next 4 ch, turn. (6 sts including ch-3)
Row 2: Ch 3, FPdc around next 2 sts, BPdc around next 2 sts, dc in top of turning ch, turn.
Rows 3-100: Continue alternating FPdc and BPdc to create twisted cable effect. Cross cables every 8 rows for diamond pattern.
Fasten off, leaving long tail for sewing.
Section 5: Hem Border
Hem Round 1: Ch 1, sc in each st around. Join.
Hem Round 2: Ch 1, sc in first st, *sk 2, 7 dc in next st (large shell), sk 2, sc in next st*. Repeat around. Join.
Hem Round 3: Sl st to center dc of shell, ch 1, sc in same st, *ch 4, sc in center of next shell*. Repeat around. Join.
Hem Round 4: *7 dc in ch-4 sp, sl st in sc*. Repeat around. Join. Fasten off.
Assembly and Finishing
1. Weave in all ends using tapestry needle. Take your time with this step. There will be many ends on a project this size.
2. Attach cable strips if using. Pin in place first, spacing them evenly around the skirt. Whip stitch along both edges using matching yarn.
3. Insert elastic through waistband channel. Overlap ends by 1 inch and sew securely. Stitch channel closed.
4. Block your skirt. Soak in lukewarm water with a splash of fabric softener. Gently squeeze out water (never wring). Pin to blocking mats, stretching lace sections gently to open up the pattern. Allow to dry completely.
Customization Options
Length adjustment: Add or remove pattern repeats in Section 4. Each full diamond repeat adds approximately 7 inches.
Color variations: This design looks stunning in ivory, but imagine it in dusty rose for a romantic garden party or deep burgundy for fall. The lace patterns show beautifully in any solid color.
Lining: For less sheerness, sew in a jersey knit lining that matches your skin tone or the skirt color.
Tips for Success
This cream ivory lace maxi skirt crochet pattern requires commitment, but breaking it into sessions makes it manageable. Work the waistband in one sitting. Then tackle the hip section over a few days. The flowing skirt section is actually quite rhythmic once you establish the pattern.
Count your stitches religiously at the end of each round. One missed stitch early on will compound into major problems 40 rounds later. Ask me how I know.
If you’re nervous about the cable work, practice the front post and back post stitches on a small swatch first. Once your hands understand the motion, working around the post becomes second nature.
Final Thoughts on This Bridal Lace Skirt Pattern
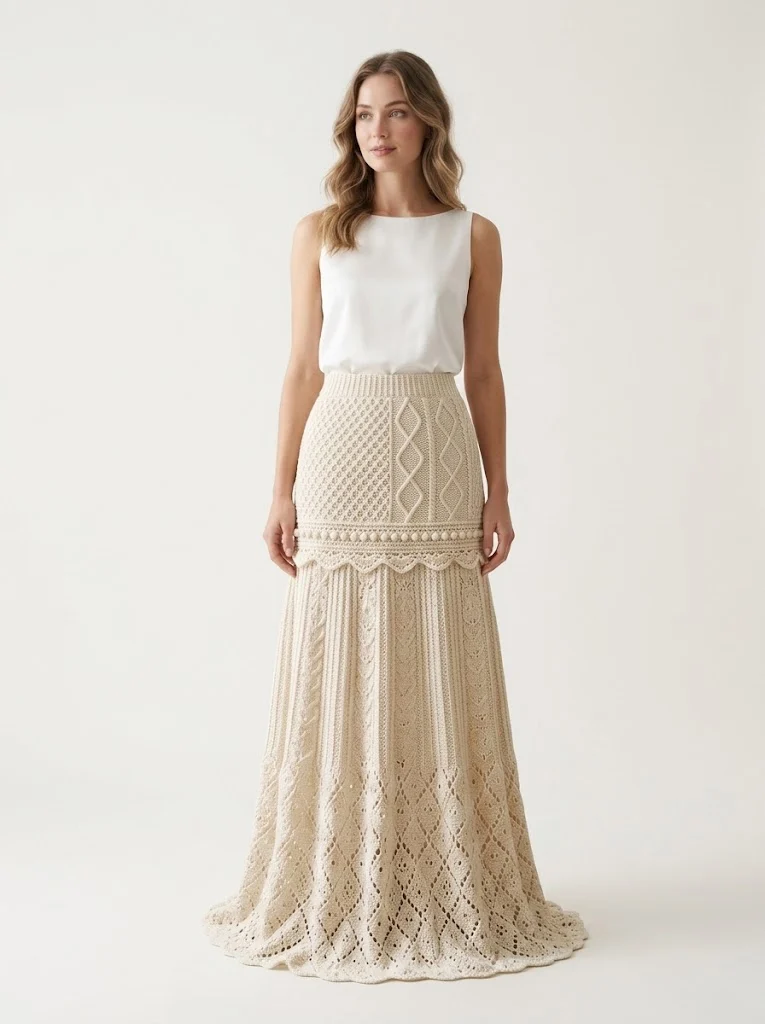
You’ve just completed an heirloom piece. Seriously. This handcrafted skirt will turn heads and spark conversations for years to come. The combination of textured cables, delicate lattice work, and dramatic lace panels creates something truly special.
Whether you’re wearing this for your wedding day, a special celebration, or simply because you deserve beautiful things you made with your own hands, I hope you feel incredibly proud.
Thank you so much for choosing this pattern for your next project. It means the world to me when makers trust my designs with their precious time and yarn.
I would absolutely love to see your finished skirt! Tag me on Instagram or share your photos in our Facebook group. Seeing your creations brings me so much joy.
If you loved this pattern, go ahead and pin it to your Pinterest boards so you can find it easily later. And please drop a comment below if you make this beauty. I read every single one and can’t wait to hear how your skirt turns out!