
Alright, yarn lovers. This is your sign to dig into that stash and pull out that beautiful cotton cord you have been saving for something special. These crochet platform wedge sandals are unlike anything you have probably made before. The construction combines a delicate lace motif upper with a fully crocheted wedge platform, and yes, it is as satisfying to create as it looks. I will be honest with you. This is an intermediate to advanced project that requires patience and precision. But if you are ready for a challenge that results in actual wearable footwear, let us dive in together.
About This Crochet Platform Sandals Pattern
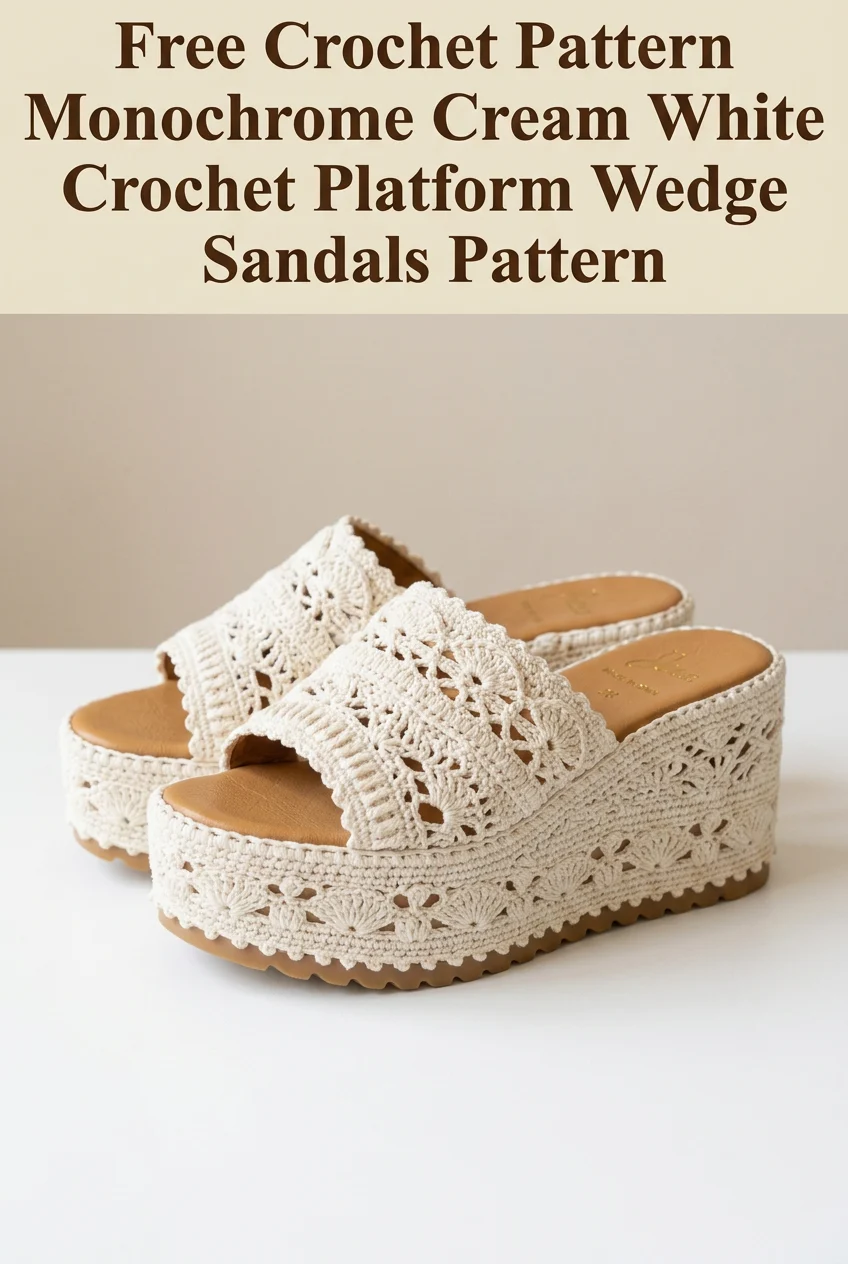
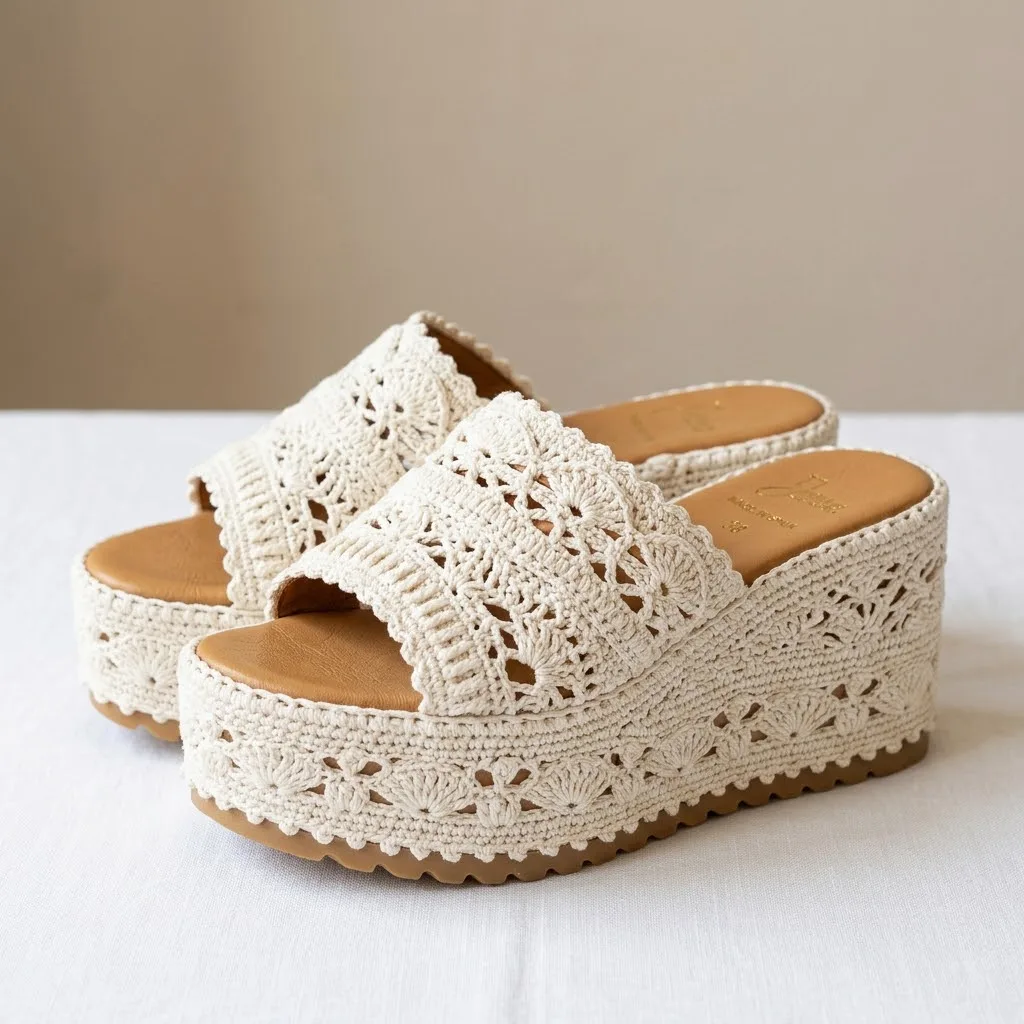
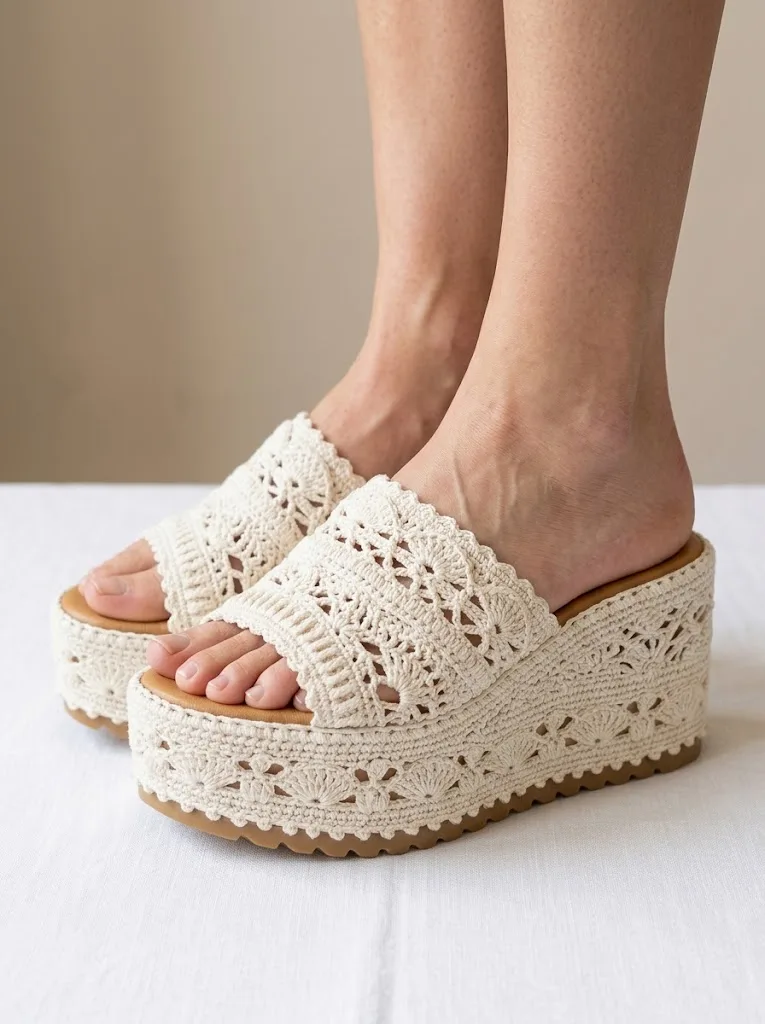
These stunning monochrome cream white crochet platform wedge sandals feature intricate lacework on both the upper strap and the platform sides. The design showcases a beautiful shell stitch and fan motif pattern that creates an airy, vintage aesthetic while remaining structurally sound for walking.
What makes this crochet pattern truly special is the full coverage of crochet work. The platform wedge itself is wrapped entirely in coordinating lacework, creating a cohesive look from every angle. The scalloped edging along the top of the strap and around the platform base adds a feminine finishing touch that elevates these from craft project to boutique quality footwear.
The tan leather insole provides comfort and durability, while the rubber outsole with its textured grip ensures these sandals are practical for actual wear. This is not just a decorative piece. These are functional shoes you can proudly walk in.
Skill Level
Intermediate to Advanced
This project requires comfort with working in the round, creating motifs, joining pieces seamlessly, and attaching crochet work to non-fabric surfaces. You should be confident reading patterns and adjusting for fit.
Finished Measurements
Materials Needed
Yarn
Cotton is essential for this project. It holds its shape, does not stretch like acrylic, and can withstand the wear and tear of being walked on. Do not substitute with wool or acrylic blends.
Tools
Platform Base
You will need to purchase blank platform wedge sandal bases. Look for slides with:
These are available from shoe craft suppliers, Amazon, or specialty craft stores. The base does the structural work while your crochet covers and beautifies it.
Gauge
18 stitches and 10 rows = 4 inches (10 cm) in single crochet with recommended yarn and hook.
Gauge matters here. Too loose and your covering will sag. Too tight and it will not stretch over the platform. Make a swatch and adjust your hook size if needed.
Abbreviations and Stitch Definitions
Before we begin, let me walk you through every stitch abbreviation you will encounter in this crochet tutorial.
Pattern Notes
Read through the entire pattern before starting. This project has multiple components that must be made to fit your specific sandal base.
Measure your platform sides and upper strap area before crocheting. Your measurements may differ slightly from mine based on your shoe size and brand of base.
All pieces are worked separately and then attached using strong adhesive. Take your time with assembly. Rushing will show in the final product.
Step by Step Crochet Pattern
Part 1: Platform Side Panels (Make 4 total, 2 per sandal)
The platform sides feature a gorgeous lace pattern with shell motifs. You will create panels that wrap around the outer and inner sides of each wedge.
Measuring First
Measure the length and height of your platform side from heel to toe. Write these measurements down. My sample measures approximately 8 inches long and 2 inches at the highest point (heel), tapering to 1 inch at the toe.
Foundation Row
Ch 37 (or adjust to match your platform length plus 1 inch for overlap).
Row 1 (RS): Sc in 2nd ch from hook and in each ch across. Turn. (36 sc)
Row 2: Ch 1, sc in first st, *sk 2 sts, 5 dc in next st (shell made), sk 2 sts, sc in next st*. Repeat from * across. Turn. (6 shells)
Row 3: Ch 3 (counts as dc), 2 dc in first sc, *sc in center dc of shell, 5 dc in next sc*. Repeat from * across, ending with 3 dc in last sc. Turn.
Row 4: Ch 1, sc in first dc, *5 dc in next sc, sc in center dc of shell*. Repeat from * across. Turn.
Row 5: Repeat Row 3.
Row 6: Repeat Row 4.
Continue alternating Rows 3 and 4 until panel height matches your platform side measurement when slightly stretched.
Edging Row: Ch 1, work sc evenly around entire panel, working 3 sc in each corner. Join with sl st to first sc. Fasten off.
Repeat to make 4 panels total.
Part 2: Upper Strap (Make 2)
The strap features the same shell lace pattern with a decorative scalloped edge.
Measuring
Measure across the top of your foot where the strap will sit. My sample strap measures approximately 4 inches wide and 7 inches long.
Foundation
Ch 32 (adjust for your strap width).
Row 1: Sc in 2nd ch from hook and in each ch across. Turn. (31 sc)
Rows 2-8: Work shell pattern as established in Part 1, continuing until strap reaches desired length (approximately 7-8 inches or enough to cover from one side of the platform across your foot to the other side).
Scalloped Top Edge
With RS facing, work along the top long edge:
*Sl st in first st, sk 1 st, 5 dc in next st, sk 1 st, sl st in next st*. Repeat from * across entire edge. Fasten off.
Bottom Edge (Attachment Edge)
Work 1 row of sc evenly along bottom edge. This creates a stable edge for gluing.
Part 3: Scalloped Trim for Platform Base Edge
This trim runs along the bottom edge of the platform where the crochet meets the rubber sole.
Foundation
Ch 4, join with sl st to form ring.
Round 1: Ch 1, 8 sc in ring, join with sl st. (8 sc)
Round 2: Ch 3, 4 dc in same st, sk 1 st, sc in next st, *sk 1 st, 5 dc in next st, sk 1 st, sc in next st*. Continue in this manner, chaining additional foundation chains as needed to create a long strip of scallops.
Work until strip measures the entire circumference of your platform base (measure around the bottom edge where platform meets sole).
Part 4: Assembly Instructions
This is where patience pays off. Take your time here.
Step 1: Prepare Your Base
Clean your platform sandal base with rubbing alcohol to remove any oils or residue. Let dry completely.
Step 2: Attach Side Panels
Apply a thin, even layer of adhesive to the platform side. Working in sections, press your crochet panel firmly against the platform. Use straight pins to hold in place while drying. The panel should wrap slightly onto the top edge and bottom edge of the platform.
Repeat for all four side panels (inner and outer sides of both sandals).
Step 3: Attach Bottom Trim
Apply adhesive along the seam where your side panel meets the rubber sole. Press the scalloped trim into place, scallops facing downward to create that beautiful decorative edge.
Step 4: Attach Upper Strap
Position your strap across the platform top, checking placement with your foot. The strap should feel secure but not tight. Mark placement, apply adhesive, and press firmly. Allow to cure according to your adhesive instructions (typically 24-72 hours for full strength).
Finishing Tips
Trim any excess crochet fabric neatly. Use a lighter (carefully) to seal any fraying cotton ends if needed.
For extra durability, you can apply a thin coat of fabric stiffener to the crochet work once assembled. This helps it hold shape and resist dirt.
Store your sandals stuffed with tissue paper to maintain shape between wears.
Customization Ideas
Troubleshooting Common Issues
My panels are too small: Add additional rows of the shell pattern. It is better to have slightly too much fabric (which can be tucked under) than too little.
The crochet is not sticking: Make sure you are using strong craft adhesive meant for fabric to rubber bonding. E6000 works well. Allow full cure time before wearing.
My gauge is off: Go up a hook size if your work is too tight, down if too loose. This affects both appearance and fit.
The strap feels loose: You can add a small button or snap closure to secure the strap more firmly to the platform if needed.
Care Instructions
Spot clean with a damp cloth and mild soap. Do not submerge in water. Allow to air dry completely before wearing. Store in a cool, dry place away from direct sunlight to prevent yellowing.
I really hope this crochet platform wedge sandals pattern inspires you to try something completely different with your crochet skills. These sandals make an incredible statement piece and an even better conversation starter. Everyone will want to know where you got them, and you get to say you made them yourself.
If you loved working on this crochet tutorial, I would absolutely love to see your finished sandals. Tag me on Instagram or share in my Facebook group so I can cheer you on. Every pair is going to look slightly different based on your base sandals and your personal tension, and that is the beauty of handmade.
Thank you so much for trusting me with your crafting time. It means the world.
If you want to come back to this pattern later, go ahead and save it to your Pinterest boards so it is easy to find when you are ready. And please drop a comment below if you make these beauties. I read every single one and love hearing about your projects.