
I’ve been looking for the perfect cozy sock pattern for ages, and this one finally hits every mark. After testing dozens of designs, this is my favourite for texture, fit, and pure comfort. The bubble stitch body paired with that ribbed cuff creates something that looks impressive but works up smoothly once you find your rhythm.
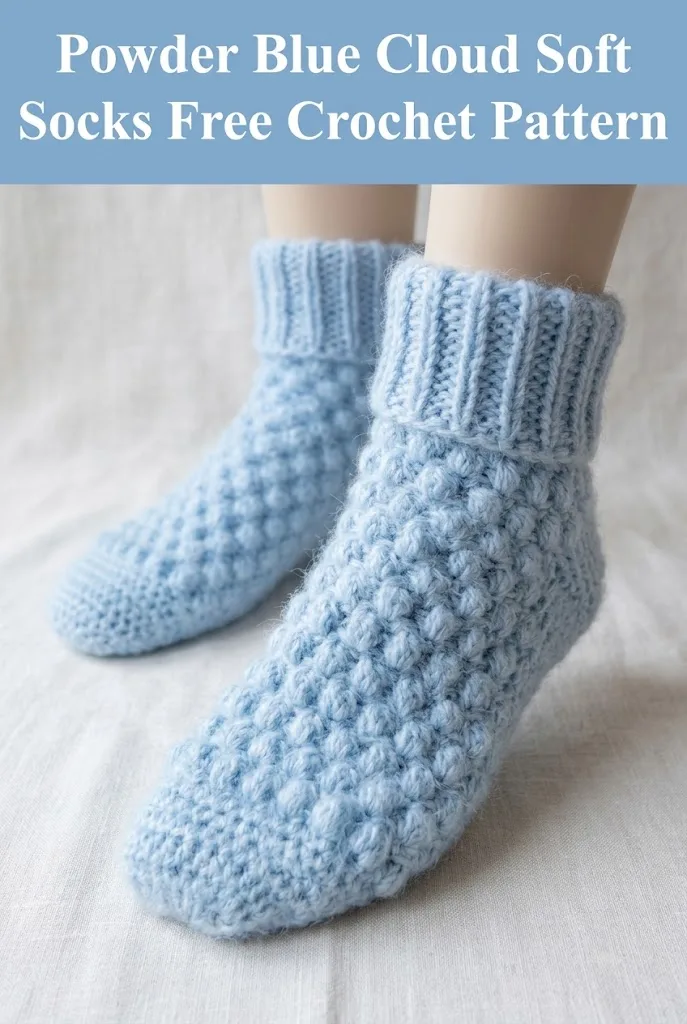
These powder blue beauties are the kind of project that makes you want to clear your schedule for a weekend. The construction is smart, the finished socks are squishy and warm, and they fit snugly without cutting off circulation. If you’ve been nervous about crocheting socks, this is the pattern I’d hand you first.
Why You’ll Love This Crochet Sock Pattern
Let me tell you what makes this design special. The bubble stitch creates that gorgeous textured body you see in the photos. It looks complicated, but it’s really just a combination of stitches you probably already know. The ribbed cuff adds stretch and style, making these socks stay put while looking polished.
The construction works from the toe up, which means you can try them on as you go. No more finishing a sock only to discover it doesn’t fit. You’ll work in continuous rounds for most of the pattern, with clear shaping at the heel and a simple fold-down cuff at the top.
These socks use a light worsted or DK weight yarn with a soft hand. The sample shows a gorgeous powder blue, but any solid or semi-solid colour will show off that texture beautifully. Variegated yarns can work too, though the stitch pattern may get lost in busy colourways.
Materials and Tools You’ll Need
Yarn:
Hook:
Notions:
Gauge:
Finished Size:
Skill Level
This pattern is intermediate level. You should be comfortable working in the round, increasing and decreasing, and following a stitch repeat. If you’ve made a hat or amigurumi project, you have the skills needed here.
Don’t let that scare you if you’re newer to crochet. I’ll walk you through each stitch, and the pattern repeats quickly become second nature.
Stitches and Abbreviations
Let me break down every stitch you’ll encounter:
ch = chain: Wrap yarn over hook and pull through the loop on your hook. This creates a foundation or turning chain.
sl st = slip stitch: Insert hook into stitch, yarn over, pull through both the stitch and the loop on your hook in one motion. Used for joining rounds.
sc = single crochet: Insert hook into stitch, yarn over and pull up a loop (2 loops on hook), yarn over and pull through both loops. Creates a short, tight stitch.
hdc = half double crochet: Yarn over, insert hook into stitch, yarn over and pull up a loop (3 loops on hook), yarn over and pull through all 3 loops. Slightly taller than single crochet.
dc = double crochet: Yarn over, insert hook into stitch, yarn over and pull up a loop (3 loops on hook), yarn over and pull through 2 loops, yarn over and pull through remaining 2 loops. Creates a taller, more open stitch.
BLO = back loop only: Instead of inserting your hook under both loops of the stitch, insert it only under the back loop. This creates ribbing texture.
inc = increase: Work 2 stitches into 1 stitch from the previous round.
dec = decrease: Work 2 stitches together as one, reducing your stitch count.
Bubble Stitch: This is where the magic happens. To make one bubble, work 5 dc into the same stitch, remove your hook from the loop, insert it through the top of the first dc, grab the dropped loop, and pull it through. This draws all 5 double crochets together into a tight bubble. Follow with 1 sc in the next stitch to anchor it.
Step by Step Crochet Pattern
Toe Section
We begin at the very tip of the toe and work outward in continuous rounds. Place a stitch marker at the beginning of each round and move it up as you go.
Round 1: Make a magic ring. Work 6 sc into the ring. Pull tight. (6 sts)
Round 2: Inc in each st around. (12 sts)
Round 3: *Sc in next st, inc in next st* repeat around. (18 sts)
Round 4: *Sc in next 2 sts, inc in next st* repeat around. (24 sts)
Round 5: *Sc in next 3 sts, inc in next st* repeat around. (30 sts)
Round 6: *Sc in next 4 sts, inc in next st* repeat around. (36 sts)
Round 7: *Sc in next 5 sts, inc in next st* repeat around. (42 sts)
Round 8: *Sc in next 6 sts, inc in next st* repeat around. (48 sts)
Your toe should now measure about 2.5 to 3 inches across when laid flat. If you need a smaller sock, stop at 42 stitches. For larger sizes, continue the increase pattern until the toe matches your foot width.
Foot Section with Bubble Stitch
Now we transition into the beautiful textured body. This section works in a 2-round repeat.
Round 9: Sc in each st around. (48 sts)
Round 10 (Bubble Round): *Bubble st in next st, sc in next st* repeat around. (24 bubbles, 48 sts total)
Round 11: Sc in each st around, working into the top of each bubble and each sc from the previous round. (48 sts)
Round 12 (Offset Bubble Round): Sc in first st, *bubble st in next st, sc in next st* repeat around, ending with sc in last st. (24 bubbles, 48 sts total)
Round 13: Sc in each st around. (48 sts)
Repeat Rounds 10 through 13 until your foot section measures approximately 5 inches from the tip of the toe, or about 2 inches shorter than your actual foot length. This allows room for the heel.
End on a plain sc round.
Heel Construction
The heel uses short rows to create a shaped cup that hugs your heel. This part looks tricky on paper, but trust the process.
Setting up: Your next round will only work across half of your stitches (24 sts) for the heel. The remaining 24 stitches form the instep and will be worked later.
Heel Row 1 (RS): Ch 1, sc in next 24 sts, turn. Leave remaining 24 sts unworked. (24 sts)
Heel Row 2 (WS): Ch 1, sc in next 22 sts, turn. Leave last 2 sts unworked. (22 sts)
Heel Row 3: Ch 1, sc in next 20 sts, turn. (20 sts)
Heel Row 4: Ch 1, sc in next 18 sts, turn. (18 sts)
Heel Row 5: Ch 1, sc in next 16 sts, turn. (16 sts)
Heel Row 6: Ch 1, sc in next 14 sts, turn. (14 sts)
Now we reverse direction to fill in the heel cup:
Heel Row 7: Ch 1, sc in next 14 sts, sc in next unworked st, turn. (15 sts)
Heel Row 8: Ch 1, sc across all sts, sc in next unworked st, turn. (16 sts)
Continue in this manner, picking up one unworked stitch at the end of each row, until all 24 heel stitches have been worked back into the row.
Final Heel Row: Sc across all 24 heel sts. Do not turn.
Rejoining for Leg
Now we rejoin to work in the round again.
Joining Round: Continue around by working sc evenly along the side of the heel (approximately 8 to 10 sts), sc across the 24 instep stitches, sc evenly along the other side of the heel (8 to 10 sts), sl st to first sc of heel to join. Place marker. (approximately 48 to 52 sts)
If your stitch count is not 48, work an adjustment round with a few decreases evenly spaced to return to 48 stitches.
Leg Section
Resume the bubble stitch pattern for the leg portion.
Rounds 1 through 12: Repeat the bubble stitch pattern (Rounds 10 through 13 from the foot section) three times total.
Your leg should now measure approximately 3 to 4 inches from the top of the heel.
Ribbed Cuff
Switch to your smaller hook if desired for a snugger cuff.
Cuff Round 1: Ch 8. Working in BLO, sl st in 2nd ch from hook and in each ch across (7 sl sts). Sl st to next st on sock, turn.
Cuff Row 2: Working in BLO, sl st in each st across the ribbing strip. Sl st to next st on sock, turn. (7 sts in ribbing)
Repeat Cuff Row 2 around the entire top of the sock, attaching each row of ribbing to the next stitch of the sock body. When you complete the full round, sl st to the first row of ribbing to close the cuff.
Fasten off and weave in all ends.
Finishing
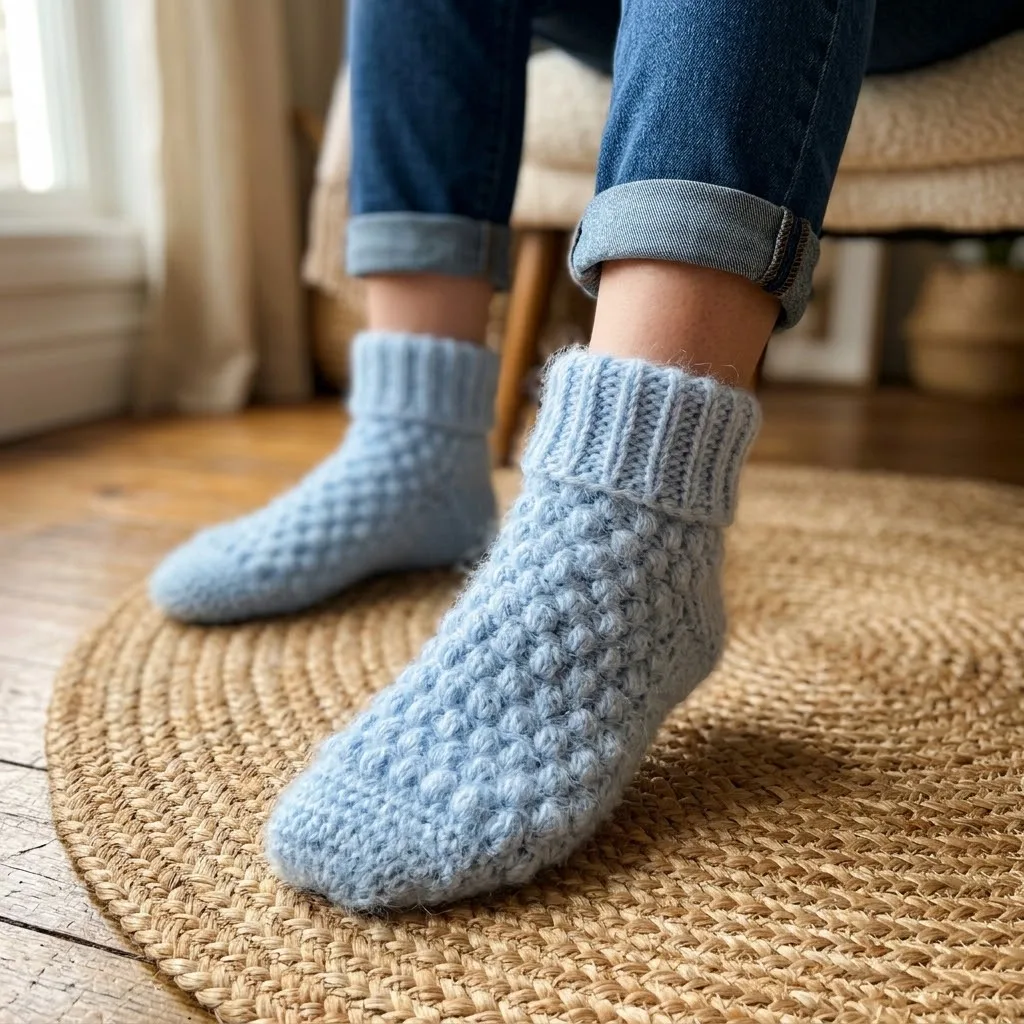
Fold the cuff down once for that polished look you see in the photos. The ribbing naturally wants to fold, creating a beautiful finished edge.
Weave in all your ends securely. For socks, I recommend weaving ends in two directions to prevent them from working loose with wear.
Make a second sock following the same instructions.
Tips for Success
Try on as you go. Because we work toe up, you can slip the sock onto your foot at any point to check the fit. Do this before starting the heel to make sure your foot length is right.
Block gently. Wet blocking can help even out your stitches, but don’t stretch the socks aggressively. You want them to retain their natural elasticity.
Add grip. If you plan to wear these on hard floors, consider adding fabric paint dots or purchasing non-slip sole pads to prevent slipping.
Use a lifeline. Before starting the heel, thread a piece of scrap yarn through your live stitches. If anything goes wrong, you can rip back to this point without losing your work.

Making These Your Own
This pattern adapts beautifully to different looks. Try a contrasting colour for the ribbed cuff. Use a self-striping yarn for subtle colour changes throughout. Or work the entire sock in simple single crochet if you prefer a smooth texture over bubbles.
For gift giving, these socks pair wonderfully with a cozy mug and some hot cocoa mix. They work up in a weekend and feel much more special than store-bought options.
Thank you so much for choosing this pattern for your next cozy project. I truly hope these socks bring warmth to your feet and joy to your crafting time. If you make a pair, please tag me on Instagram or share a photo in my Facebook group. I absolutely love seeing your finished projects and colour choices.
If this pattern made your to-do list, save it to your Pinterest boards so you can find it when you’re ready to cast on. And please drop a comment below if you have questions or just want to share how yours turned out. I read every single one and love hearing from you.