
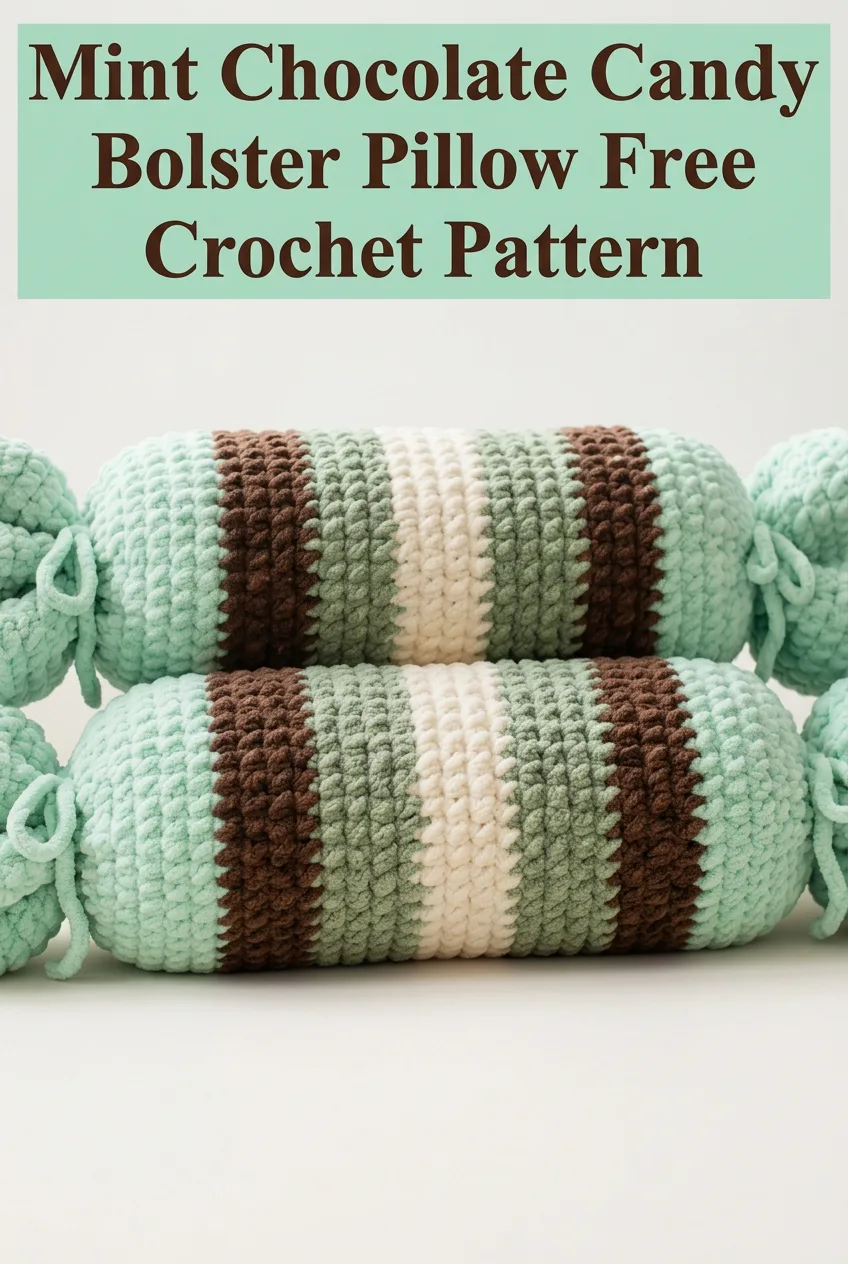
Grab that chunky chenille yarn you’ve been hoarding and put it to work. You know the one. It’s been sitting in your stash, too soft and pretty to use on just anything. This candy-shaped bolster pillow is the perfect project to finally break it out. The construction is surprisingly straightforward, worked flat in simple single crochet rows, then seamed into a tube and gathered at the ends like a wrapped piece of candy. The chunky yarn makes this a quick weekend project, and even confident beginners can tackle it with ease.
Why You’ll Love This Crochet Bolster Pillow Pattern
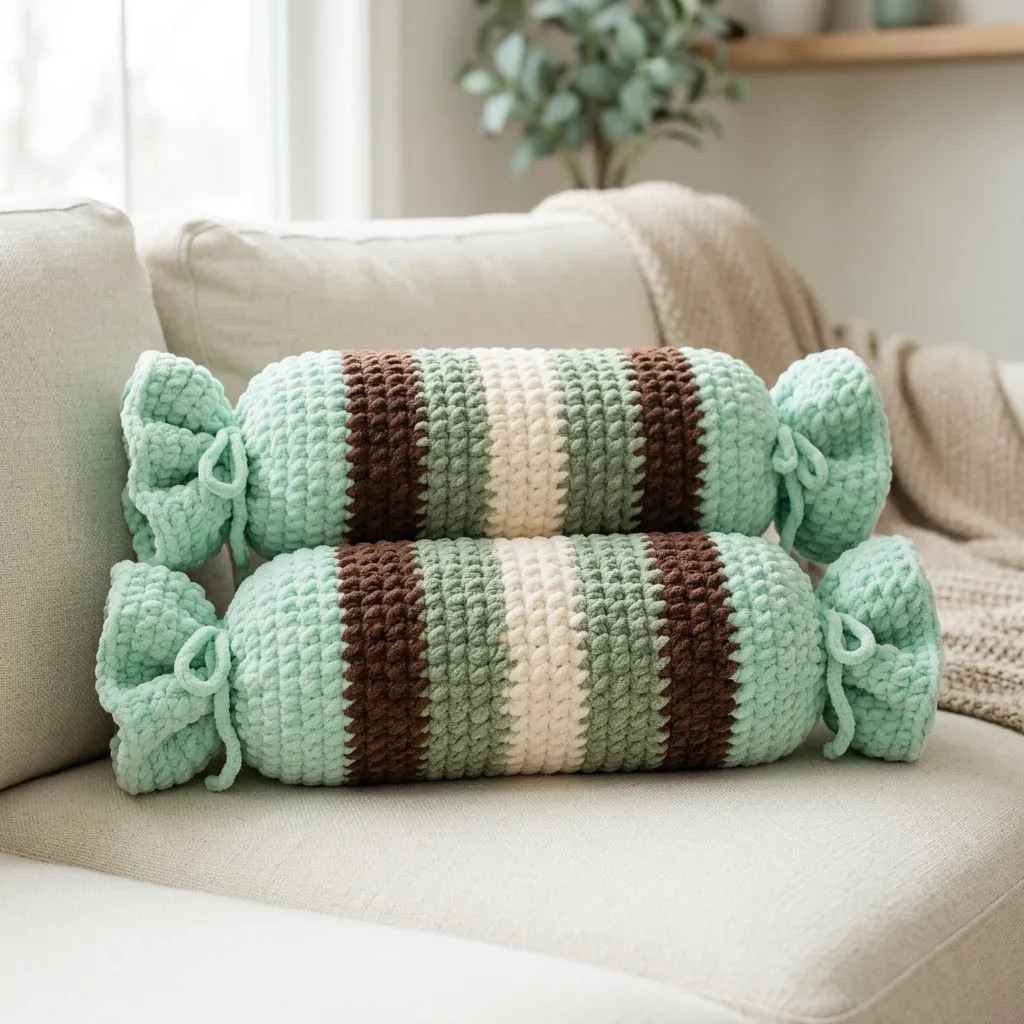
This mint chocolate candy bolster pillow combines whimsy with function in the best possible way. The striped body reminds me of those fancy wrapped chocolates you find in gift boxes, and the gathered mint ends tied with bows add such a playful touch. It’s decorative, it’s useful for neck support, and honestly, it just makes people smile.
The project works up fast because you’re using super bulky chenille yarn. We’re talking a finished pillow in an afternoon or a relaxed weekend. The stitch pattern is nothing but single crochet (sc), so if you can chain and single crochet, you can absolutely make this.
I designed this with color changes in mind, but don’t let that intimidate you. You’re simply finishing one color, joining the next, and continuing. No fancy colorwork techniques required.
Skill Level
Confident Beginner to Intermediate
You should be comfortable with basic crochet stitches, working in rows, changing colors, and basic seaming. If you’ve made a dishcloth or simple scarf, you’re ready for this.
Finished Dimensions
Approximately 14 inches long in the main body section, with 4-inch gathered candy ends on each side. Total length including ends is roughly 22 inches. Circumference is approximately 18 inches when stuffed.
These measurements are approximate and will vary based on your gauge, stuffing firmness, and how tightly you gather the ends.
Materials Needed
Yarn:
Hook:
Notions:
Gauge
8 single crochet stitches and 9 rows = 4 inches in single crochet with super bulky chenille yarn.
Gauge matters here because it affects your final pillow size. If your gauge is off, your pillow will be larger or smaller than intended. Take a few minutes to check it. I promise it’s worth it.
Abbreviations and Stitch Definitions
Let me break down every abbreviation you’ll see in this pattern. Even if you know these stitches, a quick refresher never hurts.
Ch = Chain. Wrap yarn over hook, pull through loop on hook. This creates your foundation.
Sc = Single crochet. Insert hook into stitch, yarn over, pull up a loop (two loops on hook), yarn over, pull through both loops. This is the workhorse stitch for this entire pattern.
St(s) = Stitch(es). Refers to the loops you’re working into.
FO = Fasten off. Cut yarn, pull tail through last loop to secure.
Pattern Notes Before You Begin
A few things to keep in mind as you work through this crochet tutorial:
Turning chains: The turning chain 1 at the beginning of each row does NOT count as a stitch. Work your first single crochet into the first stitch of the row.
Color changes: When changing colors, complete the last single crochet of the old color until you have two loops on your hook. Then yarn over with the new color and pull through to complete the stitch. This gives you a cleaner color transition.
Chenille yarn tips: This yarn can be slippery and sometimes splits. Work slowly, especially at the beginning. Good lighting helps you see your stitches more clearly.
Seaming: You’ll seam this tube with the wrong sides facing out, then flip it right side out for a cleaner seam.
Step by Step Crochet Pattern
Main Body Panel
This pillow is worked flat as a rectangle, then seamed into a tube. The stripes create that beautiful candy wrapper effect.
With Color A (Mint), ch 37.
Row 1: Sc in 2nd ch from hook and in each ch across, turn. (36 sts)
Rows 2-8: Ch 1, sc in each st across, turn. (36 sts)
You now have a mint section approximately 3.5 inches tall. This forms the first candy wrapper end.
Color Change to Color D (Chocolate Brown)
Row 9: Ch 1, sc in each st across, turn. (36 sts)
Rows 10-12: Ch 1, sc in each st across, turn. (36 sts)
Fasten off Color D. You have a brown stripe approximately 1.5 inches tall.
Color Change to Color C (Sage Green)
Row 13: Join Color C, ch 1, sc in each st across, turn. (36 sts)
Rows 14-16: Ch 1, sc in each st across, turn. (36 sts)
Fasten off Color C.
Color Change to Color B (Cream)
Row 17: Join Color B, ch 1, sc in each st across, turn. (36 sts)
Rows 18-24: Ch 1, sc in each st across, turn. (36 sts)
This cream section is the widest stripe, creating a nice visual center. Fasten off Color B.
Color Change to Color C (Sage Green)
Row 25: Join Color C, ch 1, sc in each st across, turn. (36 sts)
Rows 26-28: Ch 1, sc in each st across, turn. (36 sts)
Fasten off Color C.
Color Change to Color D (Chocolate Brown)
Row 29: Join Color D, ch 1, sc in each st across, turn. (36 sts)
Rows 30-32: Ch 1, sc in each st across, turn. (36 sts)
Fasten off Color D.
Color Change to Color A (Mint)
Row 33: Join Color A, ch 1, sc in each st across, turn. (36 sts)
Rows 34-40: Ch 1, sc in each st across, turn. (36 sts)
Fasten off Color A, leaving a long tail approximately 24 inches for seaming.
Your completed panel should measure approximately 18 inches wide by 22 inches tall.
Seaming the Tube
Now we turn this flat panel into a cylinder. Don’t worry, this is easier than it sounds.
1. Fold your panel in half lengthwise with wrong sides facing outward.
2. Using your tapestry needle and the long tail from your last row, whip stitch the long edges together. Work through both layers, keeping your stitches even and not too tight.
3. When you reach the end, secure your yarn but don’t cut it yet. You can use this same tail to help with the finishing if needed.
4. Turn your tube right side out. The seam should now be hidden on the inside.
Gathering the Candy Ends
This is where the magic happens and your pillow transforms into a piece of candy.
Making the Drawstring Ties (make 2):
With Color A, ch 80. Fasten off.
Alternatively, you can cut a strand of yarn approximately 36 inches long. Both methods work beautifully.
Gathering the First End:
1. With your tapestry needle threaded with one drawstring, weave in and out through the edge stitches along one mint end of the tube. Work approximately 1 inch from the edge, going through every other row or so.
2. Pull the drawstring to gather the fabric, creating that classic candy wrapper look.
3. Tie the drawstring in a bow. Adjust the gathers so they’re evenly distributed.
4. Do not stuff yet.
Stuffing:
Before closing the second end, stuff your pillow firmly with polyester fiberfill. Really pack it in there. Chenille yarn is forgiving and will accommodate generous stuffing. A firm pillow holds its shape better.
Gathering the Second End:
Repeat the gathering process on the remaining mint end. Pull tight, tie a bow, and you’re done.
Finishing Touches
Weave in any remaining yarn ends using your tapestry needle. With chenille yarn, I like to weave ends back through several stitches, then reverse direction and weave back. This keeps everything secure.
Fluff your pillow and adjust the gathered ends so both bows face the same direction if desired.
Customization Ideas
Size adjustments: For a larger pillow, add more chains to your foundation and more rows to each color section, keeping the proportions similar.
Different color schemes: Try pink and white for peppermint, yellow and orange for citrus candy, or go monochrome for a more sophisticated look.
Add tassels: Instead of bows, attach chunky tassels to the gathered ends.
Gift idea: This makes an absolutely adorable baby shower gift, housewarming present, or holiday decoration.
Troubleshooting Common Issues
My stripes look uneven: Check that you’re maintaining the same stitch count in every row. Count your stitches periodically, especially after color changes.
The seam is visible: Make sure you turned your tube right side out after seaming. If the seam still shows, you can position it at the back of the pillow.
The gathered ends won’t stay closed: Pull your drawstring tighter before tying. You can also add a few stitches through the gathered fabric to secure it permanently.
My pillow looks lumpy: You may need to add more stuffing and distribute it evenly before closing the second end.
Care Instructions
Spot clean your bolster pillow as needed. If you must wash it, use cold water on a gentle cycle and tumble dry on low heat. Chenille yarn is durable but can shed if treated roughly.
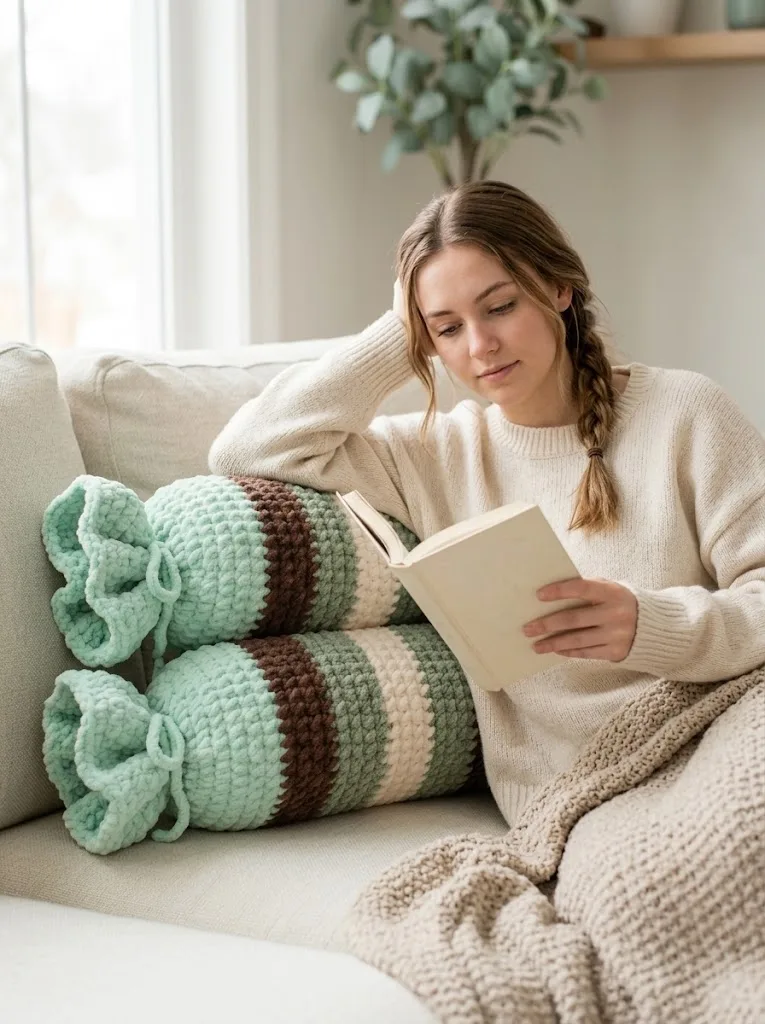
I really hope you enjoy making this mint chocolate candy bolster pillow pattern as much as I enjoyed designing it. These pillows look absolutely stunning on a sofa or bed, and they make such thoughtful handmade gifts. Thank you for choosing this pattern for your next project.
If you make one, I would absolutely love to see it. Tag me on Instagram or share a photo in our Facebook group. Seeing your creations is honestly the best part of sharing patterns.
Don’t forget to save this crochet bolster pillow pattern to your Pinterest boards so you can find it when you’re ready to start. And if you do make one, please leave a comment below. I love hearing how your projects turn out and seeing what color combinations you choose.