
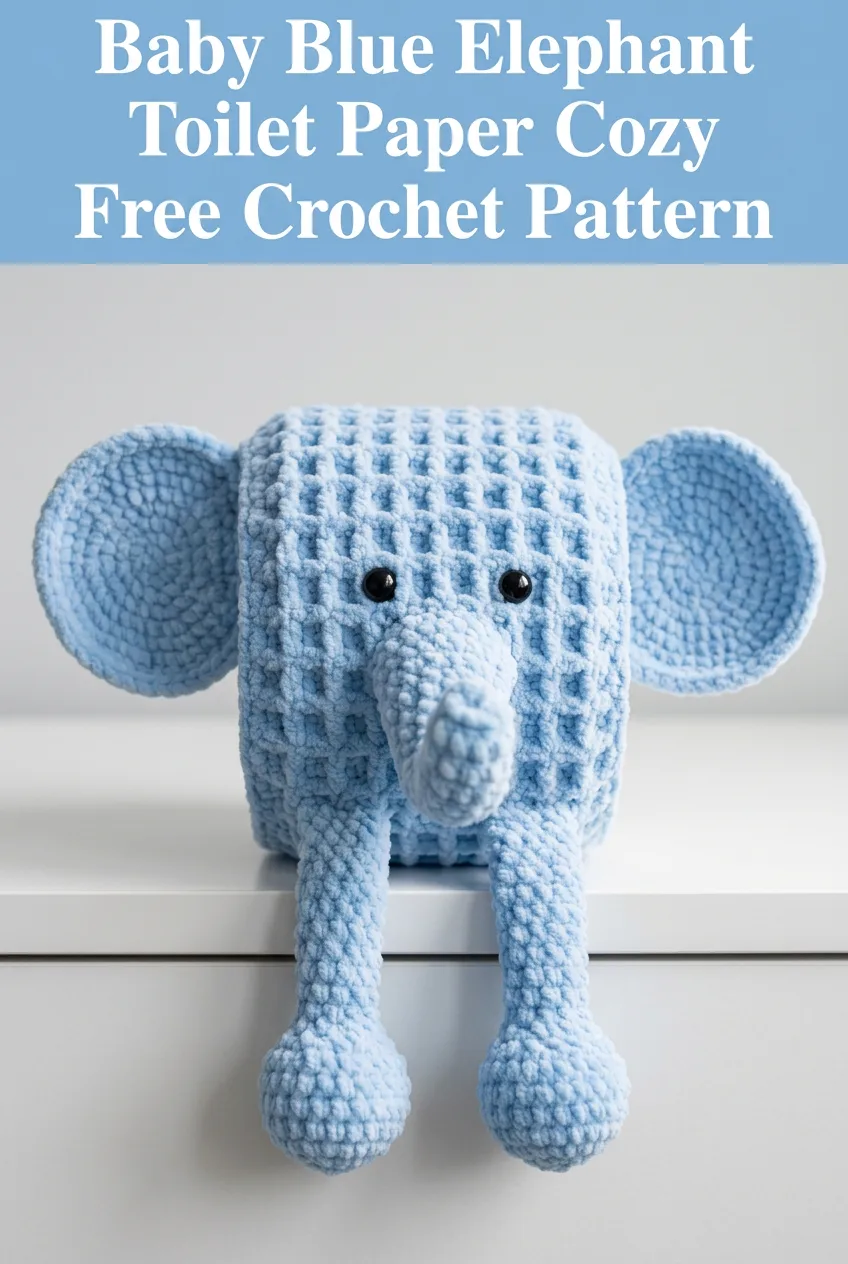
THIS is one of my absolute favorite projects to whip up, and I am SO excited to share it with you! We are talking a quick weekend make that looks incredibly impressive sitting on your bathroom shelf. This adorable elephant toilet paper cozy works up in just a few hours using chunky chenille yarn, and the result is pure cuteness overload. Trust me when I say this pattern will become your go-to gift for baby showers, housewarming parties, or anyone who appreciates a touch of whimsy in their bathroom décor. The cozy texture, those floppy dangling legs, and that sweet little trunk make this elephant toilet paper cozy an instant conversation starter!
Why You Will Love This Elephant Toilet Paper Cozy Crochet Pattern
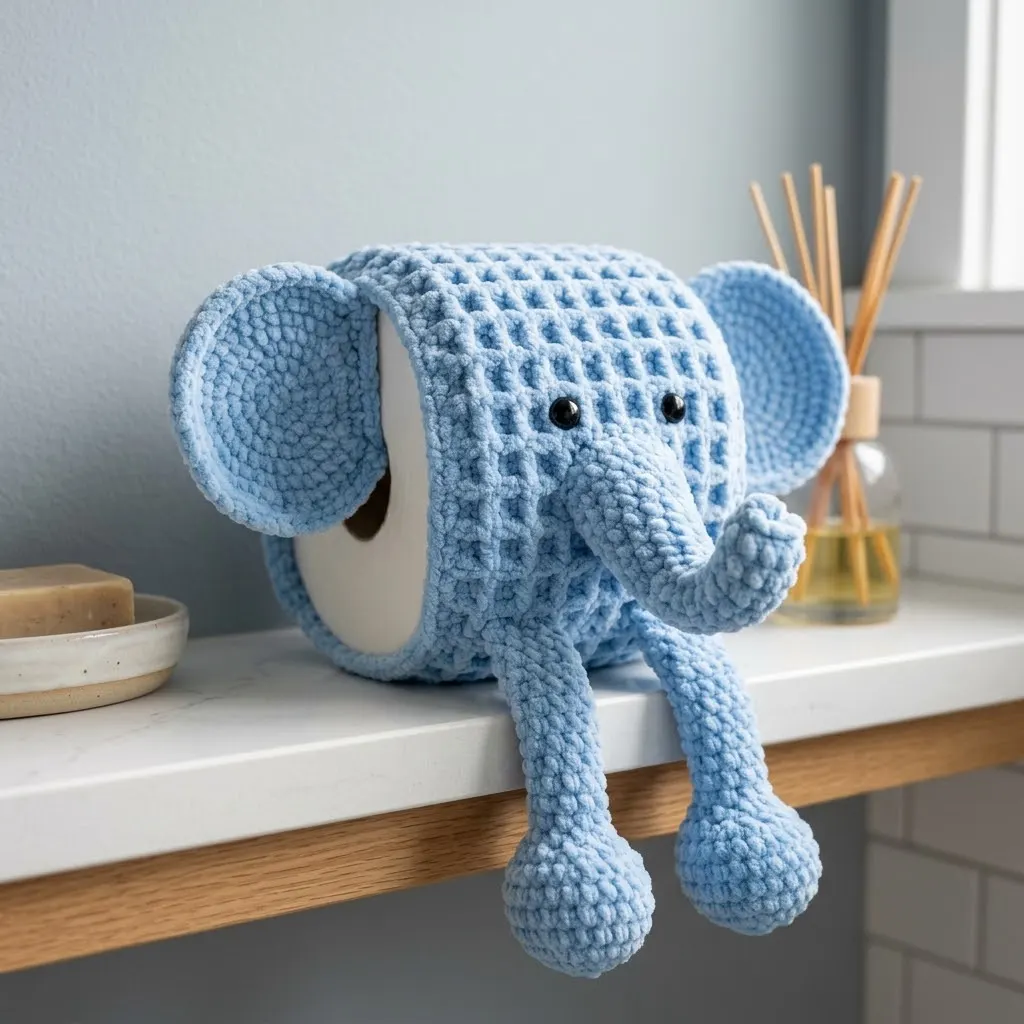
Let me tell you what makes this crochet pattern such a winner. First, the construction is surprisingly straightforward. You are essentially creating a cylinder with some added character pieces. The waffle stitch texture on the main body adds visual interest without complicated colorwork or shaping. And those dangling legs? They are simple tubes that hang over the edge of your shelf, giving your elephant that playful "sitting" look.
This project is perfect for using up that soft chenille yarn you have been hoarding. The plush texture mimics elephant skin beautifully and makes the finished piece irresistibly squishy. Your bathroom guests will not be able to resist giving it a little squeeze.
Skill level: Confident beginner to intermediate
Finished dimensions: Approximately 5 inches tall by 5 inches wide, designed to fit a standard toilet paper roll
Materials Needed for Your Elephant Cozy
Gathering your supplies before you start makes the whole process smoother. Here is everything you will need:
Yarn:
Hook:
Notions:
Gauge: 10 stitches and 8 rows = 4 inches in single crochet with chenille yarn. Gauge is not critical for this project, but your cover should fit snugly around a standard toilet paper roll.
Stitch Abbreviations and Definitions
Before we dive into the step by step instructions, let me explain each stitch you will use. Even if you are familiar with these, a quick refresher never hurts.
Ch (Chain): The foundation stitch. Wrap yarn over hook and pull through the loop on your hook. Think of it like creating links in a chain.
Sl st (Slip Stitch): Insert hook into stitch, yarn over, pull through both the stitch and the loop on your hook in one motion. This creates an invisible join.
Sc (Single Crochet): Insert hook into stitch, yarn over and pull up a loop (2 loops on hook), yarn over and pull through both loops. This is your basic short stitch.
Hdc (Half Double Crochet): Yarn over, insert hook into stitch, yarn over and pull up a loop (3 loops on hook), yarn over and pull through all 3 loops. Slightly taller than single crochet.
Dc (Double Crochet): Yarn over, insert hook into stitch, yarn over and pull up a loop (3 loops on hook), yarn over and pull through 2 loops, yarn over and pull through remaining 2 loops. This is your tall stitch for the waffle texture.
FPdc (Front Post Double Crochet): Yarn over, insert hook from front to back around the POST of the stitch below (not into the top of the stitch), yarn over and pull up a loop, complete as a regular double crochet. This creates raised texture.
Inc (Increase): Work 2 stitches into the same stitch.
Dec (Decrease): Work 2 stitches together as one, reducing your stitch count.
Crochet Pattern Instructions
Now for the fun part! I have broken this elephant toilet paper cozy pattern into separate components. Work each piece individually, then assemble at the end.
Main Body Cover
The body is worked in rounds from the top down. Do not join rounds unless instructed. Use a stitch marker to track your first stitch.
Round 1: Using a magic ring, work 6 sc into the ring. Pull tight. (6 sts)
Round 2: Inc in each st around. (12 sts)
Round 3: *Sc 1, inc in next st* repeat around. (18 sts)
Round 4: *Sc 2, inc in next st* repeat around. (24 sts)
Round 5: *Sc 3, inc in next st* repeat around. (30 sts)
Round 6: *Sc 4, inc in next st* repeat around. (36 sts)
Round 7: *Sc 5, inc in next st* repeat around. (42 sts)
At this point, your circle should be roughly 4.5 inches across. If it is smaller, add another increase round.
Rounds 8-10: Sc in each st around. (42 sts)
Now we begin the waffle stitch texture. This is where the magic happens!
Round 11: Ch 2 (counts as first dc), dc in each st around, sl st to top of ch-2 to join. (42 sts)
Round 12: Ch 2, *FPdc around next st, dc in next st* repeat around, sl st to join. (42 sts)
Round 13: Ch 2, *dc in next st, FPdc around next st* repeat around, sl st to join. (42 sts)
Rounds 14-17: Repeat Rounds 12 and 13 two more times.
Round 18: Sc in each st around. (42 sts)
Round 19: Sc in each st around. Fasten off and weave in ends. (42 sts)
The bottom remains open so you can slide the toilet paper roll inside. The cover should fit snugly but not too tight.
Trunk
The trunk is what really brings this little elephant to life! Work in continuous rounds.
Round 1: Using a magic ring, work 6 sc into the ring. (6 sts)
Round 2: Inc in each st around. (12 sts)
Rounds 3-12: Sc in each st around. (12 sts)
After 10 rounds of straight single crochet, your trunk should be approximately 3 inches long. Add light stuffing as you work to help it hold its curved shape.
Round 13: *Sc 1, dec* repeat around. (8 sts)
Round 14: Sc in each st around. (8 sts)
Fasten off, leaving a long tail for sewing. Stuff the trunk lightly, keeping it flexible enough to curve upward.
Ears (Make 2)
The ears give your elephant that sweet, recognizable silhouette.
Round 1: Using a magic ring, work 6 sc into the ring. (6 sts)
Round 2: Inc in each st around. (12 sts)
Round 3: *Sc 1, inc in next st* repeat around. (18 sts)
Round 4: *Sc 2, inc in next st* repeat around. (24 sts)
Rounds 5-6: Sc in each st around. (24 sts)
Round 7: Fold the ear in half and sc through both layers to close. (12 sts)
Fasten off, leaving a long tail. The fold creates that natural ear curve you see in the photo.
Optional inner ear contrast: Before closing, you can single crochet a smaller oval in pink or cream and sew it to the center of each ear for added detail.
Front Legs (Make 2)
These adorable dangling legs are what make the cozy look like it is sitting on your shelf!
Round 1: Using a magic ring, work 6 sc into the ring. (6 sts)
Round 2: Inc in each st around. (12 sts)
Rounds 3-5: Sc in each st around. (12 sts)
Round 6: *Sc 1, dec* repeat around. (8 sts)
Rounds 7-20: Sc in each st around. (8 sts)
This creates approximately 4 inches of leg length. Adjust if you want longer or shorter legs based on where your cozy will sit.
Fasten off, leaving a long tail. Stuff the foot portion firmly and the leg portion lightly so the legs can dangle freely.
Back Legs (Make 2)
The back legs are slightly shorter since they sit behind the front legs.
Round 1: Using a magic ring, work 6 sc into the ring. (6 sts)
Round 2: Inc in each st around. (12 sts)
Rounds 3-5: Sc in each st around. (12 sts)
Round 6: *Sc 1, dec* repeat around. (8 sts)
Rounds 7-15: Sc in each st around. (8 sts)
Fasten off, leaving a tail. Stuff the same way as the front legs.
Tail (Optional)
A tiny tail adds the finishing touch!
Ch 12. Working back along the chain, sl st in 2nd ch from hook, sc in next 2 ch, hdc in next 2 ch, sc in remaining ch.
Fasten off, leaving a tail for sewing. The tail will naturally curl a bit.
Assembly Instructions
This is where your elephant comes together! Take your time with placement.
Step 1: Position the eyes on the front of the body, about 2 inches down from the top and 1.5 inches apart. Insert safety eyes and secure with backings before sewing anything else. If you are making this for a child under 3, embroider the eyes instead.
Step 2: Sew the trunk between and slightly below the eyes. Angle it so the tip curves upward in that classic elephant pose.
Step 3: Attach the ears to either side of the head, level with the eyes. The folded edge should face forward.
Step 4: Position the front legs at the bottom front edge of the body. Sew them securely so they hang down in front.
Step 5: Sew the back legs behind the front legs, slightly toward the sides.
Step 6: Attach the tail at center back, near the bottom edge.
Weave in all remaining ends. Give your elephant a gentle squeeze to even out the stuffing.
Helpful Tips for Success
Working with chenille yarn can be tricky if you are not used to it. The fibers tend to hide your stitches, so count carefully at the end of each round. A stitch marker is your best friend here.
If your cover seems too loose, try going down a hook size. Too tight? Go up a size. The beauty of this crochet pattern is that exact gauge does not matter as long as the fit works.
For gift giving, consider making a set in different colors. Gray, pink, and sage green elephants look stunning displayed together.
Perfect for Every Bathroom Style
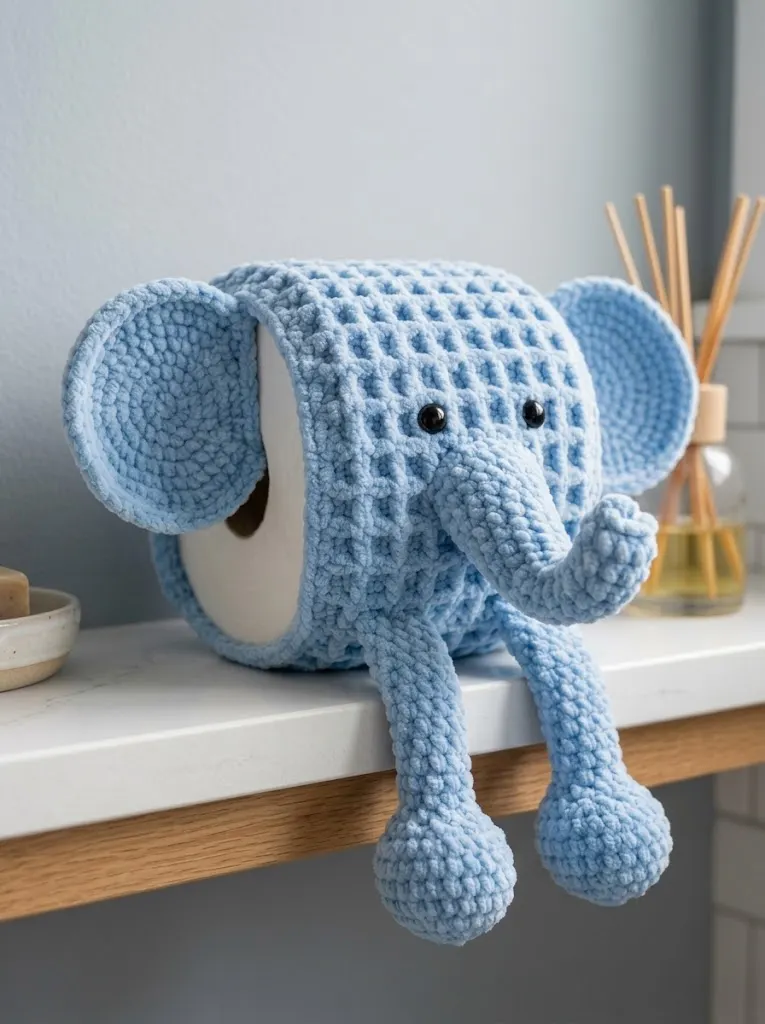
What I love about this elephant toilet paper cozy is how it works in so many settings. Nursery bathroom? Absolutely. Guest powder room that needs a conversation piece? Perfect. Your own bathroom because you deserve something cute? One hundred percent yes.
The baby blue colorway shown here is classic and gender neutral, but this crochet tutorial works beautifully in any shade. Imagine a soft gray elephant or a blush pink version for a baby girl’s nursery.
I really hope you enjoy making this sweet little elephant as much as I enjoyed designing it! If you create your own version, I would absolutely love to see it. Tag me on Instagram or share a photo in my Facebook group. There is nothing better than seeing your beautiful finished projects pop up in my feed.
Do not forget to save this pattern to your Pinterest boards so you can find it whenever the crocheting mood strikes. And please drop a comment below if you have any questions or just want to say hello. Happy hooking, friend!