
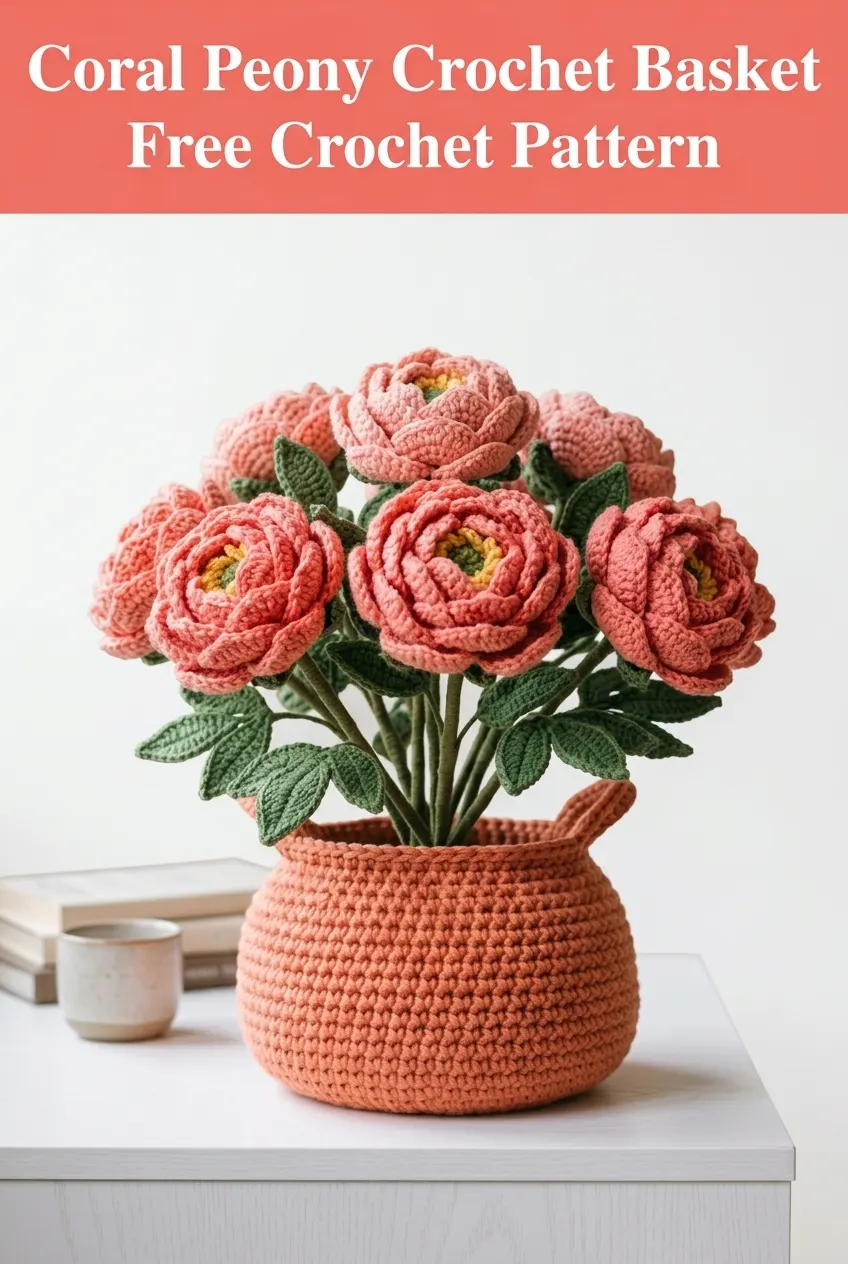
Looking for a gorgeous handmade gift that doubles as stunning home decor? This coral peony crochet basket combines lush, layered flowers with a practical storage basket, making it perfect for Mother’s Day, housewarmings, or brightening up your own living space. The pattern uses basic stitches like single crochet and double crochet throughout, so confident beginners can absolutely tackle this project. Each peony works up in about an hour, and the whole arrangement makes an impressive centerpiece that never wilts or needs watering.
Why You’ll Love This Crochet Peony Basket Pattern
This crochet pattern delivers serious visual impact without requiring advanced skills. The peonies look incredibly realistic thanks to their layered petal construction, but each layer uses familiar stitches worked in the round. The sturdy basket base keeps everything contained and adds to the handmade charm.
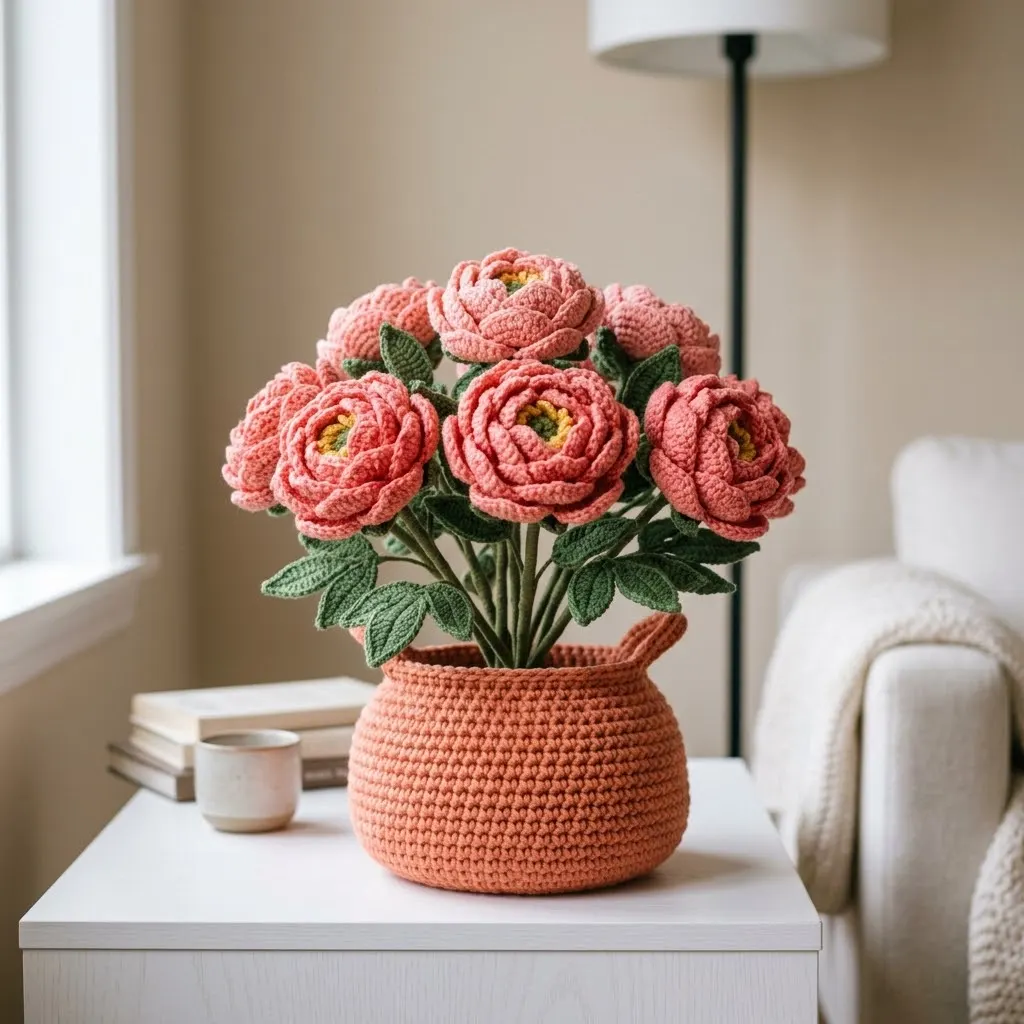
I love that this project lets you use multiple colors from your stash. The coral pink peonies, golden yellow centers, deep green leaves, and warm terracotta basket create a cohesive palette that works in almost any room. You can easily customize the colors to match your decor or the recipient’s taste.
What makes this pattern special:
Materials Needed for Your Crochet Peony Basket
Before you begin, gather these supplies. Having everything ready makes the project flow smoothly.
Yarn:
I recommend 100% cotton or a cotton blend for this project. Cotton holds its shape beautifully and gives the peonies that slightly structured look you see in the photos. Acrylic works too, but choose a yarn with good stitch definition.
Tools:
Finished Dimensions:
Skill Level and Gauge Information
Skill Level: Confident Beginner to Intermediate
If you can work in the round and are comfortable with basic increases and decreases, you can make this pattern. The layered petals might look complex, but they are simply multiple rounds of stitches worked into a foundation ring.
Gauge: Gauge is not critical for this decorative project. Your peonies may be slightly larger or smaller depending on your tension, and that is perfectly fine. Flowers in nature vary in size too.
Abbreviations and Stitch Definitions
Let me walk you through every stitch abbreviation you will encounter. If you are newer to crochet, read through these before starting.
ch = chain. Wrap yarn over hook and pull through the loop on your hook. This creates one chain stitch.
sl st = slip stitch. Insert hook into stitch, yarn over, pull through both the stitch and the loop on your hook in one motion. Used for joining rounds.
sc = single crochet. Insert hook into stitch, yarn over and pull up a loop (2 loops on hook), yarn over and pull through both loops.
hdc = half double crochet. Yarn over, insert hook into stitch, yarn over and pull up a loop (3 loops on hook), yarn over and pull through all 3 loops.
dc = double crochet. Yarn over, insert hook into stitch, yarn over and pull up a loop (3 loops on hook), yarn over and pull through 2 loops (2 loops remain), yarn over and pull through remaining 2 loops.
tr = treble crochet. Yarn over twice, insert hook into stitch, yarn over and pull up a loop (4 loops on hook), yarn over and pull through 2 loops three times until 1 loop remains.
inc = increase. Work 2 stitches into the same stitch.
dec = decrease. Work 2 stitches together as one. For single crochet decrease, insert hook in first stitch, pull up a loop, insert hook in next stitch, pull up a loop (3 loops on hook), yarn over and pull through all 3 loops.
Crochet Peony Pattern Instructions
Each peony consists of three parts: the center, the inner petals, and the outer petals. You will make 6 complete peonies for this arrangement.
Flower Center (Make 6)
Using yellow yarn and 4.0mm hook:
Round 1: Make a magic ring. Ch 1, work 6 sc into the ring. Pull ring closed. Do not join, work in continuous rounds. (6 sts)
Round 2: Inc in each st around. (12 sts)
Round 3: *Sc in next st, inc in next st* repeat around. (18 sts)
Round 4: Sc in each st around. (18 sts)
Round 5: *Sc in next st, dec* repeat around. (12 sts)
Add a small amount of fiberfill if desired for a fuller center. This step is optional.
Round 6: Dec around until opening closes. Fasten off, leaving a 6 inch tail for sewing.
Inner Petals (Make 6)
Using coral pink yarn and 4.0mm hook:
Foundation: Ch 4, sl st to first ch to form a ring.
Round 1: Ch 1, work 8 sc into the ring. Sl st to first sc to join. (8 sts)
Round 2 (First Petal Layer): *Ch 3, dc in same st, dc in next st, ch 3, sl st in same st as last dc* repeat around. You will create 4 small petals. Sl st to base of first petal to join.
Round 3 (Second Petal Layer): Working behind the first petal layer, sl st into the back loop of any sc from Round 1. *Ch 4, tr in same st, tr in next st, ch 4, sl st in same st as last tr* repeat around, working into the back loops only. You will create 4 medium petals. Fasten off, leaving a tail for sewing.
Outer Petals (Make 6)
Using coral pink yarn and 4.0mm hook:
Foundation: Ch 5, sl st to first ch to form a ring.
Round 1: Ch 1, work 10 sc into the ring. Sl st to first sc to join. (10 sts)
Round 2 (Large Petal Layer): *Ch 5, 2 tr in same st, 2 tr in next st, ch 5, sl st in same st as last tr* repeat around. You will create 5 large petals. Sl st to base of first petal to join.
Round 3 (Extra Large Petal Layer): Working behind the previous layer, sl st into the back loop of any sc from Round 1. *Ch 6, 3 tr in same st, 3 tr in next st, ch 6, sl st in same st as last tr* repeat around. You will create 5 extra large petals. Fasten off, leaving a long tail for assembly.
Assembling Each Peony
This is where the magic happens. Take your time with this step.
1. Place the flower center on top of the inner petals, aligning them so the petals fan out around the yellow center.
2. Using the yellow tail, sew the center to the inner petal piece with small whip stitches around the base.
3. Place this combined piece on top of the outer petals, again centering it so all petal layers are visible.
4. Using the coral tail from the outer petals, sew everything together securely at the base.
5. Gently shape and fluff the petals with your fingers. Curl some petals inward for a more realistic look.
Crochet Leaf Pattern Instructions
Each stem will have 2 to 3 leaves attached. Make approximately 15 to 18 leaves total.
Using green yarn and 4.0mm hook:
Foundation: Ch 12.
Row 1: Starting in 2nd ch from hook, sl st in first ch, sc in next ch, hdc in next 2 ch, dc in next 3 ch, hdc in next 2 ch, sc in next ch, sl st in last ch. (11 sts)
Row 2: Ch 1, turn. Working down the opposite side of the foundation chain, sl st in first ch, sc in next ch, hdc in next 2 ch, dc in next 3 ch, hdc in next 2 ch, sc in next ch, sl st in last ch. Fasten off, leaving a tail for attaching to stem.
You now have a pointed oval leaf shape. The leaf should naturally curl slightly, which adds to the realistic appearance.
Crochet Stem Instructions
The stems give your peonies structure and height. You will cover floral wire with crocheted tubes.
Using green yarn and 4.0mm hook:
Foundation: Ch 2.
Round 1: Work 6 sc into the 2nd ch from hook. Do not join, work in a continuous spiral. Place a stitch marker in the first stitch of each round.
Rounds 2 through 25: Sc in each st around. (6 sts per round)
This creates a tube approximately 8 inches long. Adjust the number of rounds if you want shorter or taller stems.
Fasten off, leaving a long tail.
Inserting the Wire:
Slide the floral wire through the crocheted tube. Use the yarn tail to sew the top of the tube closed around the wire. Wrap the bottom inch of exposed wire with green floral tape to prevent poking.
Attaching the Flower:
Sew the completed peony to the top of the stem using the tails from your flower assembly. Make sure it is secure.
Attaching the Leaves:
Sew 2 to 3 leaves along each stem at varying heights. Angle them outward slightly for a natural look.
Crochet Basket Pattern Instructions
The basket provides a beautiful base for your arrangement and hides the stem ends.
Using terracotta yarn and 5.0mm hook:
Basket Base
Round 1: Make a magic ring. Ch 1, work 6 sc into the ring. Sl st to first sc to join. (6 sts)
Round 2: Ch 1, inc in each st around. Sl st to join. (12 sts)
Round 3: Ch 1, *sc in next st, inc in next st* repeat around. Sl st to join. (18 sts)
Round 4: Ch 1, *sc in next 2 sts, inc in next st* repeat around. Sl st to join. (24 sts)
Round 5: Ch 1, *sc in next 3 sts, inc in next st* repeat around. Sl st to join. (30 sts)
Round 6: Ch 1, *sc in next 4 sts, inc in next st* repeat around. Sl st to join. (36 sts)
Round 7: Ch 1, *sc in next 5 sts, inc in next st* repeat around. Sl st to join. (42 sts)
Round 8: Ch 1, *sc in next 6 sts, inc in next st* repeat around. Sl st to join. (48 sts)
Your base should measure approximately 4.5 to 5 inches across. If you need it larger, continue increasing in this pattern for additional rounds.
Basket Sides
Round 9: Ch 1, working in back loops only, sc in each st around. Sl st to join. (48 sts)
This creates the corner that makes the base transition into the sides.
Rounds 10 through 22: Ch 1, sc in both loops of each st around. Sl st to join. (48 sts)
Round 23 (Optional Decorative Round): Ch 1, *sc in next 5 sts, skip 1 st, 5 dc in next st (shell made), skip 1 st* repeat around. Sl st to join. Fasten off.
If you prefer a plain rim, simply work another round of sc and fasten off.
Weave in all ends securely.
Assembling Your Crochet Peony Basket
Now for the fun part. Arrange your completed peony stems in the basket.
1. Bend the bottom inch of each stem wire at a 90 degree angle. This helps anchor the stems.
2. Place the stems in the basket, starting with the tallest flowers in the center.
3. Add shorter stems around the outside, angling them outward.
4. Fill any gaps with additional leaves or adjust the arrangement until you are happy with it.
5. If needed, add a small amount of fiberfill or fabric scraps to the bottom of the basket to help hold stems in place.
Tips for Success with This Crochet Peony Pattern Tutorial
Blocking: You can lightly steam block the leaves to flatten them if they curl too much. Do not wet block the peonies, as this may flatten the dimensional petals.
Color Variations: This pattern works beautifully in white, blush pink, deep burgundy, or even yellow for a different look. Consider making a mixed bouquet with several colors.
Yarn Choice: Cotton and cotton blends give the crispest stitch definition. Acrylic works but may result in slightly softer, less structured flowers.
Storage: Dust occasionally with a soft brush. Store in a box if putting away seasonally to protect the petals.
Make This Crochet Peony Basket Your Own
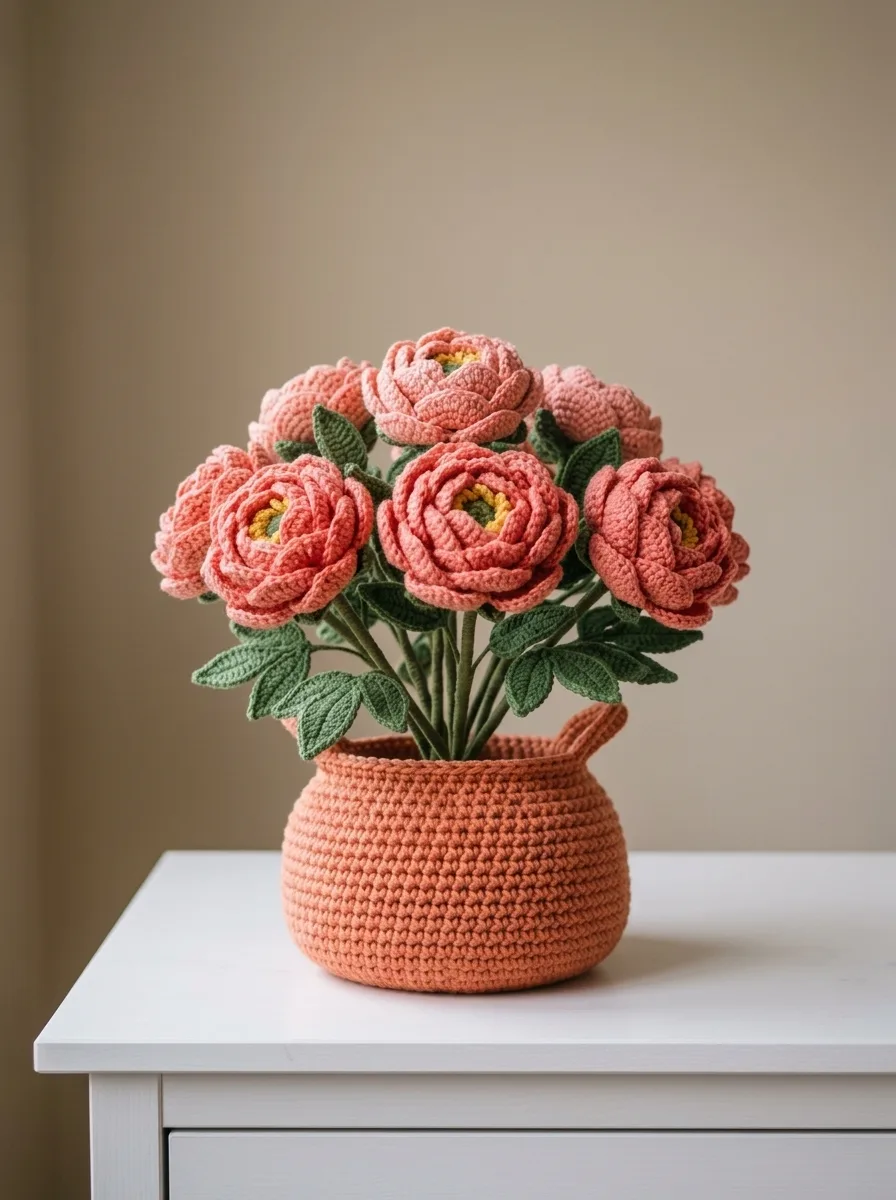
One of my favorite things about this step by step crochet tutorial is how customizable it is. Make more peonies for a fuller arrangement, or fewer for a minimalist look. Try a different basket color to match your decor. Add some crocheted greenery like ferns or baby’s breath for extra texture.
This beginner friendly crochet pattern also makes wonderful gifts. Pair a smaller version with a handwritten note for a thoughtful hostess gift, or make a full arrangement for a special birthday or anniversary.
I really hope you enjoy making this coral peony crochet basket as much as I enjoyed designing it. If this pattern brightens your home or makes someone smile, that is exactly what handmade is all about. Save this post to your Pinterest boards so you can find it when you are ready to start, and please leave a comment below if you give it a try. I would absolutely love to see your finished arrangements.