
Think crocheting a realistic monstera plant with those iconic leaf splits is way beyond your skill level? I promise you, it is not. This stunning black monstera crochet plant looks incredibly complex, but it breaks down into simple techniques that any confident beginner can handle. The fenestrations, those signature holes and splits in monstera leaves, are created with basic chain spaces rather than complicated cutwork. If you can work single crochet and chain stitches, you can absolutely make this. Intermediate crocheters will breeze through it, and beginners who take their time will feel like absolute rockstars when they finish.
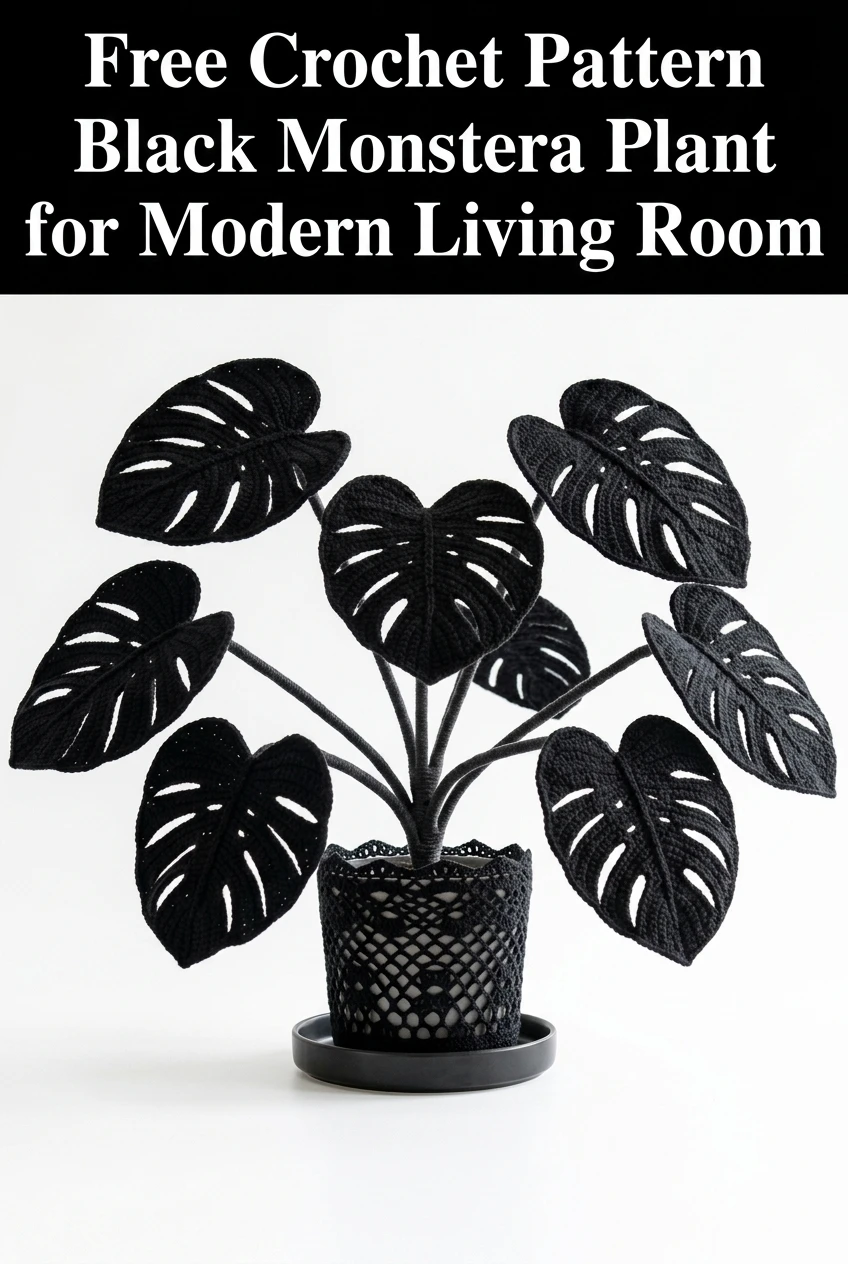
This crochet monstera plant pattern creates a bold, dramatic statement piece for modern home decor. The all-black colorway transforms a tropical houseplant into something edgy and contemporary. No watering required, no sunlight needed, and it will never die on you. Perfect for plant lovers with busy schedules or dark apartments.
Why You Will Love This Crochet Monstera Pattern
This crochet plant pattern gives you everything you love about monstera deliciosa without the maintenance. The finished project sits beautifully in a decorative pot and looks stunning on shelves, side tables, or as a centerpiece. Black yarn creates a striking silhouette that works with minimalist, gothic, or modern boho aesthetics.
Each leaf takes roughly 45 minutes to complete once you get the hang of the construction. The entire plant with eight leaves, stems, and pot cover works up in a weekend. It makes an unforgettable housewarming gift or a unique addition to your own space.
The construction is simpler than it appears. You will create flat leaf panels, add wire for structure, then wrap stems and arrange everything in a weighted base. Breaking it into small steps makes this crochet tutorial feel completely manageable.
Materials Needed
Yarn:
Hook:
Additional Supplies:
Skill Level
Intermediate Beginner to Intermediate
You should be comfortable with basic stitches and reading patterns. The leaf shaping uses increases and decreases, but I will walk you through each step. The fenestrations (leaf holes) are created as you go using chain spaces, not cut afterward.
Finished Measurements
Abbreviations and Stitch Definitions
Ch = Chain: Yarn over, pull through loop on hook. This creates the foundation and the openings in your leaves.
Sl st = Slip stitch: Insert hook, yarn over, pull through stitch and loop on hook in one motion. Used for joining and creating the central vein.
Sc = Single crochet: Insert hook, yarn over, pull up a loop (2 loops on hook), yarn over, pull through both loops. Your main stitch for leaf body.
Inc = Increase: Work 2 single crochet stitches into the same stitch. This makes your leaf wider.
Dec = Decrease (invisible decrease): Insert hook through front loops only of next 2 stitches, yarn over, pull through both stitches (2 loops on hook), yarn over, pull through both loops. This shapes your leaf edges cleanly.
Sk = Skip: Miss the indicated number of stitches and work into the next one.
Gauge
16 sc and 18 rows = 4 inches in single crochet with 4.0mm hook
Gauge matters for achieving the right leaf size and ensuring your fenestrations are proportional. Take time to check this.
Step by Step Crochet Pattern
Large Monstera Leaf (Make 3)
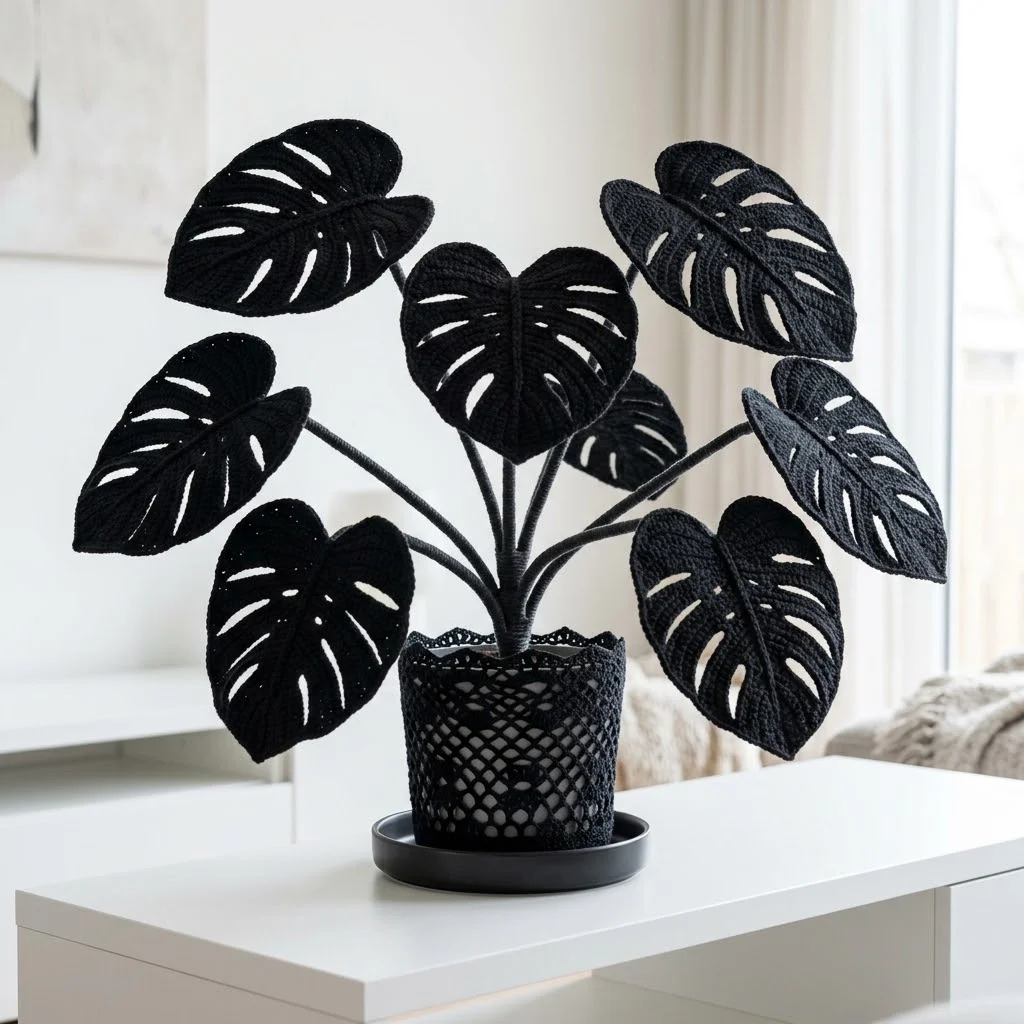
This leaf features the classic monstera shape with deep splits along the edges and interior fenestrations.
Foundation and Lower Leaf Section:
Row 1: Ch 2, work 3 sc in second ch from hook, turn. (3 sts)
Row 2: Ch 1, inc in first st, sc in next st, inc in last st, turn. (5 sts)
Row 3: Ch 1, inc in first st, sc across to last st, inc in last st, turn. (7 sts)
Rows 4-6: Repeat Row 3, increasing at both ends. (13 sts after Row 6)
Row 7: Ch 1, sc in each st across, turn. (13 sts)
Row 8: Ch 1, inc in first st, sc in next 5 sts, inc in next st, sc in next 5 sts, inc in last st, turn. (16 sts)
Creating the First Fenestration:
Row 9: Ch 1, sc in first 4 sts, ch 3, sk 3, sc in next 2 sts, ch 3, sk 3, sc in last 4 sts, turn. (8 sc, 2 ch-3 spaces)
Row 10: Ch 1, sc in first 4 sts, 3 sc in ch-3 space, sc in next 2 sts, 3 sc in ch-3 space, sc in last 4 sts, turn. (16 sts)
Building the Leaf Lobes:
Row 11: Ch 1, sc in first 3 sts, ch 4, sk 4, sc in next 2 sts, ch 4, sk 4, sc in last 3 sts, turn. (8 sc, 2 ch-4 spaces)
Row 12: Ch 1, sc in first 3 sts, 4 sc in ch-4 space, sc in next 2 sts, 4 sc in ch-4 space, sc in last 3 sts, turn. (16 sts)
Row 13: Ch 1, inc in first st, sc in next 6 sts, inc in next 2 sts, sc in next 6 sts, inc in last st, turn. (20 sts)
Creating Edge Splits:
Row 14: Ch 1, sc in first 5 sts, turn, leaving remaining sts unworked. Work on this section only.
Row 15: Ch 1, sc in each st across, turn. (5 sts)
Row 16: Ch 1, dec, sc in next st, dec, turn. (3 sts)
Row 17: Ch 1, sc3tog. Fasten off. (1 st)
Rejoin yarn at the center after skipping 2 sts from Row 14.
Row 14b: Sc in next 6 sts, turn.
Rows 15b-17b: Work even, then decrease to point as above.
Rejoin yarn and repeat for third lobe on remaining stitches.
Central Vein
With the leaf facing you, work a line of slip stitches from the bottom point up through the center to create the raised central vein. This adds dimension and realism.
Row 1: Join yarn at bottom point, sl st loosely in each row end up the center of the leaf to the top. Fasten off.
Medium Monstera Leaf (Make 3)
Work the same as the large leaf but stop after Row 12, then work the edge splits with fewer rows. Omit one fenestration row for a slightly simpler leaf.
Rows 1-10: Work as for large leaf.
Row 11: Ch 1, sc across, increasing at center. (18 sts)
Row 12: Begin edge splits as for large leaf, working 3 lobes with 4 sts each.
Shape lobes over 3 rows each, decreasing to a point.
Small Leaf (Make 2)
These younger leaves have no fenestrations, just the classic heart shape.
Row 1: Ch 2, 3 sc in second ch from hook, turn. (3 sts)
Rows 2-8: Increase at both ends every row. (17 sts after Row 8)
Rows 9-10: Work even. (17 sts)
Row 11: Begin working in two sections for the heart indent at the top.
Work first 8 sts, decreasing to a point over 3 rows. Fasten off.
Rejoin yarn, sk 1 st at center, work remaining 8 sts to match.
Add central vein with slip stitches as before.
Creating Structured Stems
Cut floral wire to desired stem length plus 4 inches. Fold one end into a small loop.
Wrapping the stem:
Row 1: Ch 2, work 6 sc around the wire loop to anchor, join with sl st. (6 sts)
Round 2 and onward: Working in continuous rounds, sc in each st around the wire, keeping stitches snug. Continue until the entire wire is covered.
Fasten off, leaving a long tail to attach to the leaf.
Tip: Work slowly and push stitches together for complete coverage. The wire should not show through.
Attaching Leaves to Stems
Position the covered wire along the back of the leaf, following the central vein line. Using the yarn tail, whip stitch the stem to the leaf back, securing firmly at the base and along the vein for about 2 inches.
The wire allows you to bend and pose each leaf naturally.
Pot Cover Pattern
This decorative mesh cover slips over any basic pot.
Round 1: Using 3.5mm hook, ch 4, join with sl st to form ring. (4 ch)
Round 2: Ch 3 (counts as dc), 11 dc in ring, join with sl st to top of ch-3. (12 sts)
Round 3: Ch 5, skip 1 st, *dc in next st, ch 2, skip 1 st* around, join with sl st to 3rd ch of ch-5. (6 dc, 6 ch-2 spaces)
Rounds 4-10: Continue in open mesh pattern, increasing as needed to fit your pot. Work ch 2 spaces between dc stitches, adding extra dc stitches every other round for gradual widening.
Rounds 11-15: Work even in mesh pattern without increases for the pot sides.
Top edge: Sc evenly around the opening for a finished look. Fasten off.
Assembly Instructions
Step 1: Fill your pot with polyfill stuffing or insert a foam block. The base needs weight for stability.
Step 2: Cover the pot with your crocheted pot cover, tucking edges under if needed.
Step 3: Arrange stems in the pot center, pushing wire ends into the foam or stuffing. Start with small leaves in the center, medium leaves around them, and large leaves on the outside.
Step 4: Bend and pose each leaf. Real monsteras have leaves that face different directions and sit at various heights. Some droop slightly, others reach upward. Play with positioning until it looks natural.
Step 5: If leaves feel wobbly, add a small amount of hot glue at the base where stems enter the pot.
Customization Ideas
Color variations: Try deep forest green for a traditional look, white for a minimalist vibe, or variegated yarn for a trendy Thai constellation effect.
Size adjustments: Add more rows before fenestrations for larger leaves, or stop earlier for smaller ones. This pattern scales easily.
Pot styling: Use a ceramic pot, a macrame hanger, or a woven basket. The black leaves look dramatic against natural textures.
Mixed arrangements: Combine with other crochet plants like pothos vines or snake plants for a full indoor jungle.
Troubleshooting Common Issues
Leaves curling? Your tension may be too tight. Try going up a hook size. Cotton yarn also relaxes after blocking.
Fenestrations looking messy? Make sure you are working the correct number of single crochets into each chain space on the following row.
Stems too floppy? Use heavier gauge wire or double up thinner wire. The stem needs to support the leaf weight.
Pot cover too loose? Decrease fewer times in the mesh rounds, or switch to a smaller hook.
Care Instructions
Dust occasionally with a soft brush or lint roller. Spot clean with cool water if needed. Keep away from direct sunlight to prevent fading, especially with black yarn. Store flat if packing away to maintain leaf shape.
I truly hope you enjoy making this black monstera crochet plant pattern as much as I enjoyed designing it. Watching each dramatic leaf take shape is so satisfying, and the finished plant makes such a statement in any room.
If you make this crochet monstera, please save this pattern to your Pinterest boards so you can find it easily later. I would absolutely love to see your finished plants, so drop a comment below or tag me in your photos. Seeing your creations honestly makes my day!