
Last month, my sister came to visit and spent an embarrassingly long time in my bathroom. When she finally emerged, she announced that my toilet paper situation was "sad" and needed "serious help." I laughed it off, but honestly, she had a point. Spare rolls just sitting there on the counter? Not exactly a design statement. So I grabbed some chunky yarn from my stash and decided to fix the problem in the most ridiculous way possible. Enter this adorable jellyfish toilet paper cozy. It hides your extra roll, makes guests smile, and gives your bathroom some serious personality. Plus, it works up in just a couple of hours. My sister now wants three of them.
Why This Jellyfish Toilet Paper Cozy Pattern Works
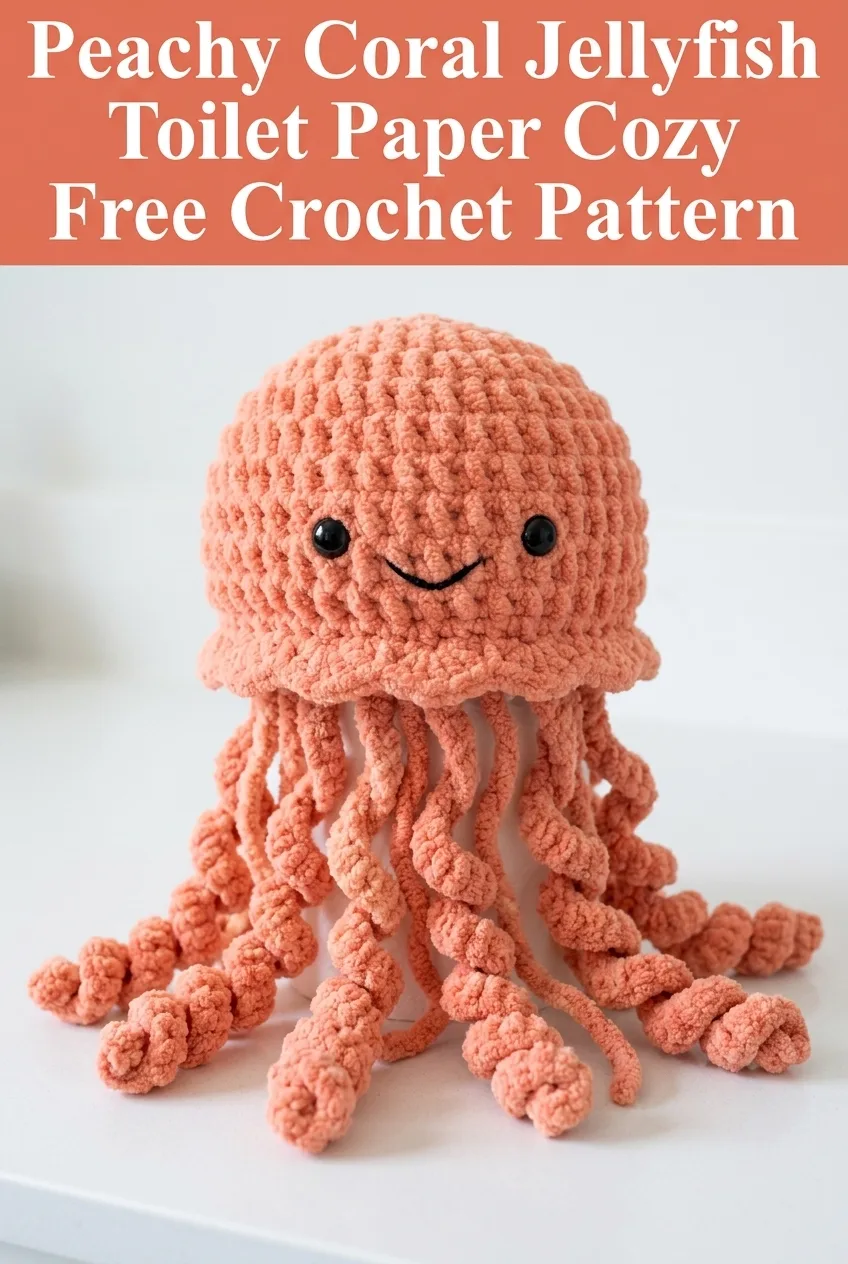
This crochet pattern combines function with pure whimsy. The dome-shaped body fits perfectly over a standard toilet paper roll, keeping it dust-free and adding a pop of coral color to your space. Those curly tentacles? They are not just cute. They help disguise what is underneath while creating that unmistakable jellyfish silhouette.
The construction is surprisingly simple once you understand the basic shape. You are essentially making a rounded cap using single crochet (sc) stitches worked in continuous rounds, then adding tentacles along the bottom edge. The chenille yarn creates that plush, squishy texture you see in the photo without any complicated stitch work.
If you have ever made an amigurumi project or a basic beanie, you already have the skills for this. If you are newer to crochet, this is a fantastic project to practice working in the round and increasing evenly.
Materials You Will Need
Before you start, gather these supplies. Having everything ready makes the process much smoother.
Yarn:
Bernat Blanket yarn or similar chenille-style yarn works beautifully for this project. The plush texture hides any small inconsistencies in your stitches, which is perfect for beginners.
Hook:
Notions:
Finished Dimensions
The completed jellyfish measures approximately 6 inches tall for the dome portion and 8 to 10 inches for the tentacle length. The opening at the bottom fits a standard toilet paper roll with about half an inch of ease. Total height including tentacles is roughly 16 to 18 inches.
Skill Level
This pattern is beginner friendly with some intermediate elements. You should be comfortable with:
If continuous rounds are new to you, do not worry. I will walk you through exactly how it works.
Stitch Abbreviations and Definitions
Let me break down every stitch you will use in this crochet tutorial.
Magic Ring (MR): An adjustable starting loop that pulls closed completely, leaving no hole. You wrap yarn around your finger, insert your hook, pull up a loop, chain one, then work your stitches into the ring. When you pull the tail, it closes tight. If magic rings intimidate you, chain 2 and work your stitches into the first chain instead.
Chain (ch): The foundation stitch. Yarn over, pull through the loop on your hook. That is one chain.
Single Crochet (sc): Insert hook into stitch, yarn over, pull up a loop (two loops on hook), yarn over, pull through both loops. This creates a short, dense stitch.
Increase (inc): Work two single crochet stitches into the same stitch. This adds one stitch to your count. For example, if you had 6 stitches and work an increase in each one, you now have 12 stitches.
Invisible Decrease (dec): Insert hook through the front loops only of the next two stitches, yarn over, pull through both front loops, yarn over, pull through both loops on hook. This creates a neater decrease than the standard method, especially with chunky yarn.
Slip Stitch (sl st): Insert hook into stitch, yarn over, pull through the stitch and the loop on your hook in one motion. Used for joining or finishing.
Gauge
Gauge is flexible for this project since we want a loose, squishy fabric. Working with an 8mm hook and super bulky chenille yarn, you should get approximately 8 to 9 single crochet stitches and 9 to 10 rows per 4 inches. If your cozy ends up slightly larger or smaller, it will still function perfectly.
Pattern Notes
This jellyfish toilet paper cozy is worked from the top down in continuous spiral rounds. You will not join at the end of each round or chain up. Instead, you keep working in a spiral, using a stitch marker to track the beginning of each round.
Move your stitch marker up as you complete each round. This is crucial with chenille yarn because the stitches blend together and become nearly impossible to count otherwise.
The tentacles are worked separately and attached at the end. You will make a mix of curly tentacles and straight tentacles for visual interest, just like in the photo.
Step by Step Crochet Pattern
Jellyfish Dome (Main Body)
Using your 8mm hook and coral chenille yarn, begin with a magic ring.
Round 1: Work 6 sc into the magic ring. Pull the tail to close the ring tight. Place your stitch marker in the first stitch. (6 sts)
Round 2: Inc in each stitch around. (12 sts)
Round 3: *Sc 1, inc* repeat around. (18 sts)
Round 4: *Sc 2, inc* repeat around. (24 sts)
Round 5: *Sc 3, inc* repeat around. (30 sts)
Round 6: *Sc 4, inc* repeat around. (36 sts)
Round 7: *Sc 5, inc* repeat around. (42 sts)
Round 8: *Sc 6, inc* repeat around. (48 sts)
At this point, your flat circle should measure approximately 5 to 5.5 inches across. This creates the top of the jellyfish dome.
Rounds 9 through 16: Sc in each stitch around. Do not increase. Work 8 rounds even. (48 sts)
These straight rounds create the sides of the dome that will hug around the toilet paper roll.
Round 17: *Sc 6, dec* repeat around. (42 sts)
Round 18: Sc in each stitch around. (42 sts)
Round 19: *Sc 5, dec* repeat around. (36 sts)
Round 20: Sc in each stitch around. (36 sts)
Before continuing, pause here to attach the safety eyes. Position them between rounds 12 and 13, spaced about 8 to 10 stitches apart. Push the post through the fabric from the outside, then secure the washer on the inside. Once the washer clicks on, safety eyes cannot be removed, so take your time getting the placement right.
Add a small amount of fiberfill stuffing to the top dome area. You want the top to hold its rounded shape, but leave the bottom half unstuffed so it can slip over the toilet paper roll.
Round 21: *Sc 4, dec* repeat around. (30 sts)
Round 22: Sc in each stitch around. (30 sts)
Round 23: Sl st in the next stitch. Fasten off, leaving a long tail for sewing.
The opening should now fit comfortably over a toilet paper roll. Test the fit and adjust your tension for future makes if needed.
Embroidering the Smile
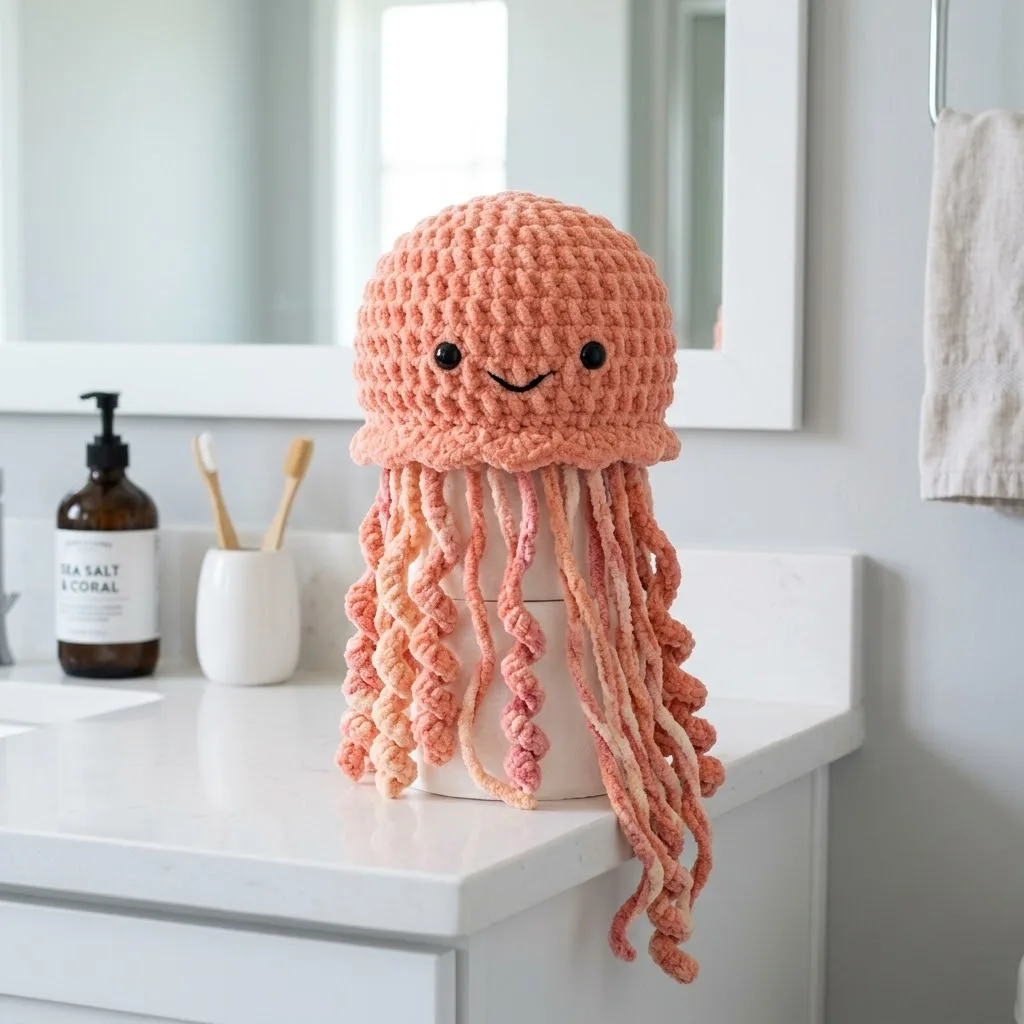
Thread your yarn needle with black yarn or embroidery floss. Position the smile centered below the eyes, about 2 to 3 rounds down. Use a simple backstitch to create a gentle curved line. The smile in the photo has a subtle upward curve at each end. Keep it small and sweet. Secure your ends inside the dome where they will be hidden.
Curly Tentacles (Make 8 to 10)
The curly tentacles create that signature jellyfish look. Here is where you can play with different coral, peach, pink, and cream shades.
Using your 8mm hook (or 6mm for tighter curls), chain 30.
Row 1: Starting in the second chain from the hook, work 3 sc in each chain across. (87 sts)
The extra stitches force the chain to spiral and curl naturally. Fasten off, leaving a long tail for attaching.
Repeat to make 8 to 10 curly tentacles in various colors. Mix it up for visual interest.
Straight Tentacles (Make 4 to 6)
These provide contrast to the curly ones and help fill out the jellyfish silhouette.
Using your 8mm hook, chain 35 to 40 (vary the lengths).
Row 1: Starting in the second chain from the hook, sc in each chain across. Fasten off, leaving a long tail.
Make 4 to 6 straight tentacles in different lengths and colors.
Assembly
Lay out your tentacles around the bottom opening of the dome. Arrange them with curly and straight tentacles alternating. The photo shows roughly 14 to 16 tentacles total, distributed evenly.
Using your yarn needle and the long tails, sew each tentacle to the inside edge of round 23. Weave the needle through the stitches of the dome, then through the base of the tentacle, and secure with a few small stitches. Weave in the ends securely.
Work your way around the entire opening until all tentacles are attached. Fluff the curly ones to separate them and arrange everything to your liking.
Helpful Tips for Success
Working with chenille yarn: This yarn is slippery and can be tricky to frog (undo). Work slowly and count often. If you do need to rip back, do it gently to avoid damaging the fibers.
Stitch marker reminder: Seriously, do not skip this. Chenille yarn is notorious for hiding your stitches. Move that marker every single round.
Adjusting the fit: If your cozy ends up too loose, try going down a hook size. Too snug? Go up a size. The beauty of this pattern is its flexibility.
Safety eyes alternative: For a child-safe version, embroider the eyes using French knots or sew on felt circles instead.
Color variations: This pattern works beautifully in any color scheme. Try ocean blue, lavender, or rainbow tentacles. Make a whole family of jellyfish in different sizes by adjusting your starting rounds.
Why This Makes an Amazing Gift
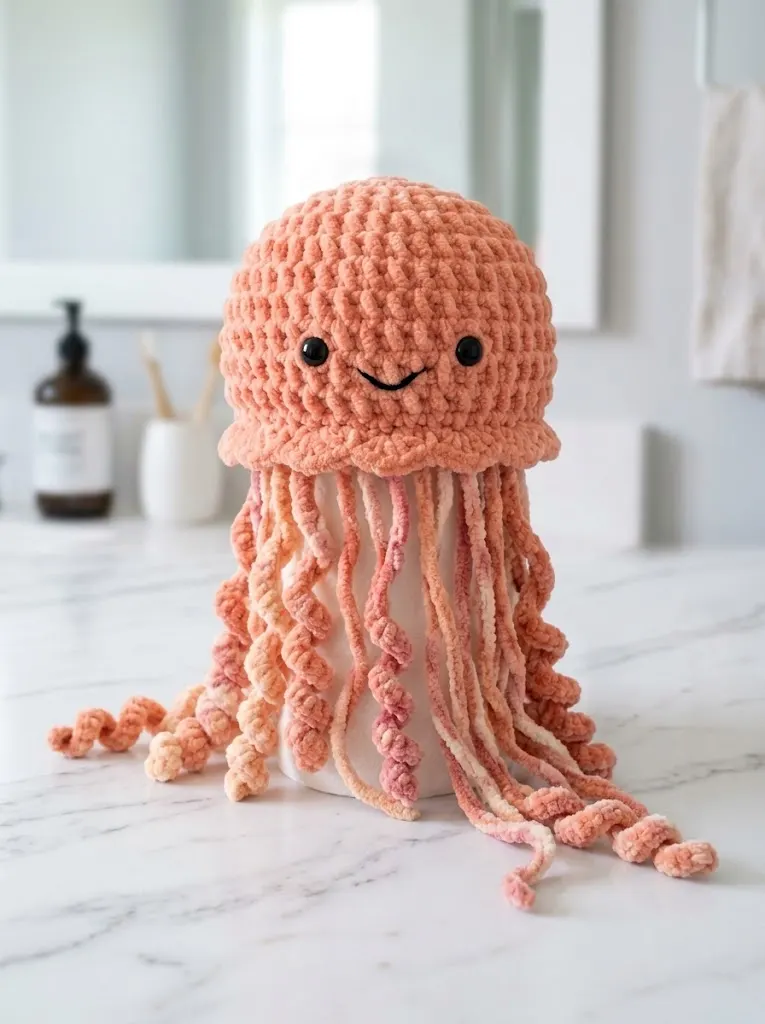
This jellyfish toilet paper cozy is a perfect housewarming gift, white elephant exchange item, or birthday surprise for the friend who has everything. It is unexpected, handmade, and genuinely useful. The conversation it starts is worth the couple of hours you will spend making it.
For craft fairs, this pattern works up quickly enough to make multiples. The unique design stands out on tables filled with typical crochet items.
I hope this crochet pattern brings as much joy to your bathroom as it did to mine. That little smiling face peeking out from the counter genuinely makes me happy every time I see it. And my sister? She finally admitted my bathroom is no longer "sad."
If you make your own jellyfish cozy, I would absolutely love to see it! Tag me on Instagram or share a photo in my Facebook group. Seeing your finished projects is honestly the best part of sharing patterns.
Save this pattern to your Pinterest boards so you can find it when you are ready to start. And please leave a comment below if you give it a try. I love hearing how your projects turn out and answering any questions along the way. Happy crocheting, friend!