
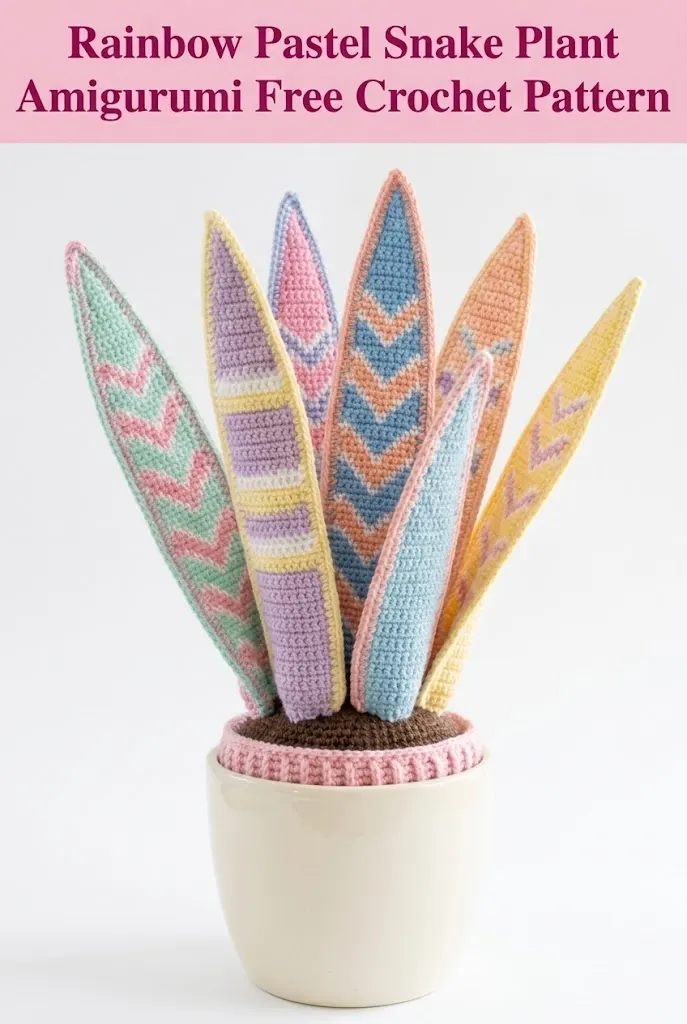
Looking for the perfect handmade gift that never needs watering? This rainbow pastel snake plant amigurumi is exactly what you need. The leaves use simple single crochet stitches with colorwork details like chevrons and stripes. It works up beautifully for anyone who loves plants but struggles to keep them alive. The finished piece makes an adorable desk decoration, a thoughtful housewarming gift, or a cheerful addition to any bookshelf. Best of all, you can customize the colors to match any room.
Why You’ll Love This Crochet Snake Plant Pattern
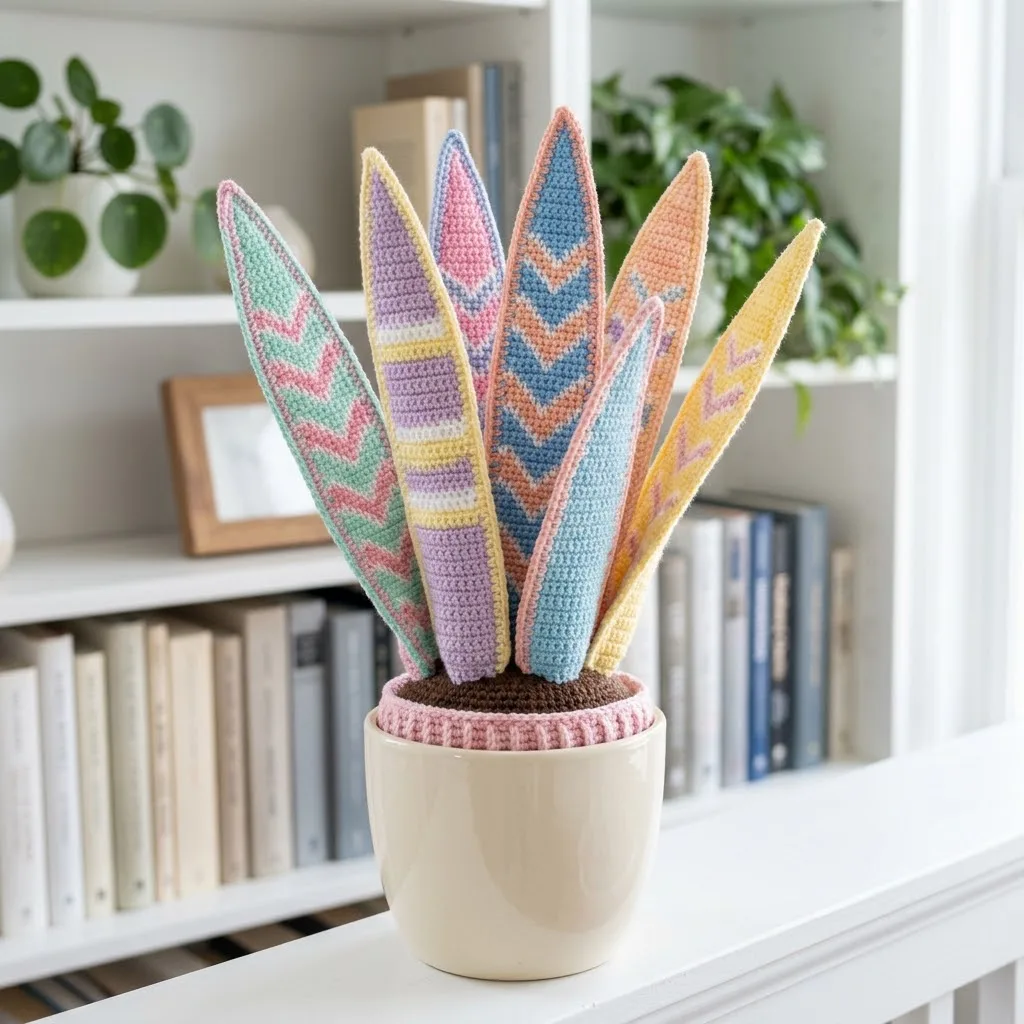
This crochet pattern combines the trendy look of houseplants with the charm of amigurumi. Each leaf features a different colorwork design, from bold chevron patterns to simple horizontal stripes. The pastel rainbow palette gives it a modern, whimsical feel that brightens any space.
I designed this project to be approachable for confident beginners while still being interesting enough for experienced crocheters. The leaves are worked flat in rows, then seamed together and lightly stuffed. The colorwork uses simple color changes rather than complicated intarsia or tapestry techniques.
The finished plant stands approximately 10 to 12 inches tall when displayed in a 4-inch pot. You can adjust the leaf sizes to fit different containers or create a fuller arrangement by making additional leaves.
Materials Needed for Your Amigurumi Snake Plant
Yarn
You will need worsted weight yarn (weight 4) in the following colors:
For the leaves:
For the pot and soil:
I recommend 100% cotton yarn for this project. Cotton holds its shape beautifully and gives the leaves a crisp, clean appearance. Acrylic yarn works too if you prefer something softer or more budget friendly.
Tools and Supplies
Gauge
Working in single crochet, 18 stitches and 20 rows equals 4 inches. Gauge is not critical for amigurumi, but working tightly prevents stuffing from showing through.
Abbreviations and Stitch Definitions
Let me walk you through every stitch abbreviation you will encounter. I know abbreviations can feel overwhelming at first, so I have included plain language explanations.
ch = chain. Wrap yarn over hook and pull through the loop on your hook. This creates the foundation for most crochet projects.
sl st = slip stitch. Insert hook into stitch, yarn over, pull through both the stitch and the loop on your hook in one motion. Used for joining and invisible seaming.
sc = single crochet. Insert hook into stitch, yarn over and pull up a loop (2 loops on hook), yarn over and pull through both loops. This is the main stitch for the entire pattern.
inc = increase. Work 2 single crochet stitches into the same stitch. This adds one stitch to your total count.
dec = decrease (invisible decrease). Insert hook through the front loops only of the next 2 stitches, yarn over and pull through both front loops, yarn over and pull through both loops on hook. This removes one stitch while keeping the decrease nearly invisible.
sc2tog = single crochet two together. Another way to decrease by working 2 stitches together as one.
FO = fasten off. Cut yarn leaving a tail, pull tail through final loop to secure.
Pattern Notes Before You Begin
Construction method: Each leaf is worked flat in rows, creating two identical panels that are seamed together and stuffed. The pot cover is worked in the round.
Color changes: When changing colors for stripes or chevrons, complete the last yarn over of your final stitch in the old color with the new color. This creates a cleaner color transition.
Chevron technique: The chevron patterns are created using simple colorwork where you carry the unused color loosely behind your work. For beginners, I recommend starting with the striped leaf designs first.
Stuffing tips: Stuff leaves lightly but firmly. You want them to hold their shape without becoming too rigid. Use small pieces of stuffing and distribute evenly.
Step by Step Crochet Pattern Instructions
Basic Leaf Panel (Make 2 for Each Leaf)
This is the foundation for all leaves. You will make two identical panels, then seam and stuff them. Each leaf needs two panels.
Row 1: Ch 3, sc in 2nd ch from hook, sc in next ch. (2 sts)
Row 2: Ch 1, turn, inc in first st, inc in last st. (4 sts)
Row 3: Ch 1, turn, inc in first st, sc in next 2 sts, inc in last st. (6 sts)
Row 4: Ch 1, turn, inc in first st, sc across to last st, inc in last st. (8 sts)
Rows 5 through 8: Repeat Row 4, increasing 2 stitches each row. (16 sts after Row 8)
Rows 9 through 30: Ch 1, turn, sc in each st across. (16 sts)
This creates the straight body of the leaf. Adjust the number of rows here to make longer or shorter leaves. I made leaves ranging from 25 to 35 rows for variety.
Row 31: Ch 1, turn, dec, sc across to last 2 sts, dec. (14 sts)
Rows 32 through 38: Repeat Row 31, decreasing 2 stitches each row until 2 stitches remain.
Row 39: Ch 1, turn, dec. (1 st)
FO, leaving a long tail for seaming.
Chevron Leaf Variation
For the chevron pattern on leaves like the mint green with coral or the blue with orange, follow this color change sequence during the straight section (Rows 9 through 30):
Work 2 rows in the main color, then create the chevron by changing colors as follows:
Chevron Row: Sc 3 in main color, sc 2 in accent color, sc 6 in main color, sc 2 in accent color, sc 3 in main color. (16 sts)
Offset each chevron row by 1 stitch on alternating rows to create the diagonal V pattern.
Don’t worry if your first chevron attempt looks a little wobbly. The pattern becomes clearer after a few rows, and small imperfections add handmade charm.
Striped Leaf Variation
For horizontal stripes like the lavender and yellow leaf, simply change colors every 2 to 4 rows during the straight section. Carry the unused color up the side of your work to avoid cutting and rejoining constantly.
Assembling Each Leaf
1. Hold two completed panels together with wrong sides facing out.
2. Using a tapestry needle and matching yarn, whip stitch around the edges. Leave a 2-inch opening at the base.
3. Turn right side out through the opening.
4. Stuff lightly with polyester fiberfill.
5. Whip stitch the opening closed, leaving the yarn tail attached for attaching to the soil base.
Soil Circle
The soil circle holds all leaves together and sits inside the pot cover.
Round 1: Using dark brown yarn, create a magic ring. Sc 6 into the ring. Pull tight. (6 sts)
Round 2: Inc in each st around. (12 sts)
Round 3: *Sc 1, inc* repeat around. (18 sts)
Round 4: *Sc 2, inc* repeat around. (24 sts)
Round 5: *Sc 3, inc* repeat around. (30 sts)
Round 6: *Sc 4, inc* repeat around. (36 sts)
Round 7: *Sc 5, inc* repeat around. (42 sts)
Continue increasing by 6 stitches each round until the circle measures approximately 3.5 inches in diameter, or slightly smaller than your pot opening.
FO, leaving a long tail.
Pot Cover
This ribbed cover wraps around the inside rim of your pot for a polished look.
Row 1: Using dusty pink yarn, ch 8. Sc in 2nd ch from hook and each ch across. (7 sts)
Row 2: Ch 1, turn, working in back loops only, sc in each st across. (7 sts)
Repeat Row 2 until the piece measures approximately 12 inches long, or enough to wrap around the inside circumference of your pot.
FO, leaving a long tail. Seam short ends together to form a ring.
Final Assembly of Your Rainbow Snake Plant
1. Arrange leaves on soil circle: Position 7 to 9 finished leaves on top of the soil circle in a pleasing arrangement. Taller leaves toward the center, shorter leaves around the edges.
2. Attach leaves: Using the yarn tails from each leaf base, stitch securely to the soil circle. Reinforce each leaf with several stitches to ensure stability.
3. Prepare the pot: Place the ribbed pot cover inside the rim of your ceramic or plastic pot.
4. Insert arrangement: Nestle the completed leaf arrangement into the pot cover. The soil circle should rest just below the pot rim.
5. Adjust and fluff: Bend and arrange leaves to look natural and full.
Tips for Customizing Your Amigurumi Plant
Color variations: Try monochromatic schemes, rainbow brights, or earth tones. Variegated yarn creates beautiful effects without any colorwork.
Leaf patterns: Beyond chevrons and stripes, try polka dots using surface slip stitch, or simple embroidered details added after assembly.
Size adjustments: For a larger plant, use bulky weight yarn with a 5mm hook. For a miniature version, try sport weight yarn with a 2.75mm hook.
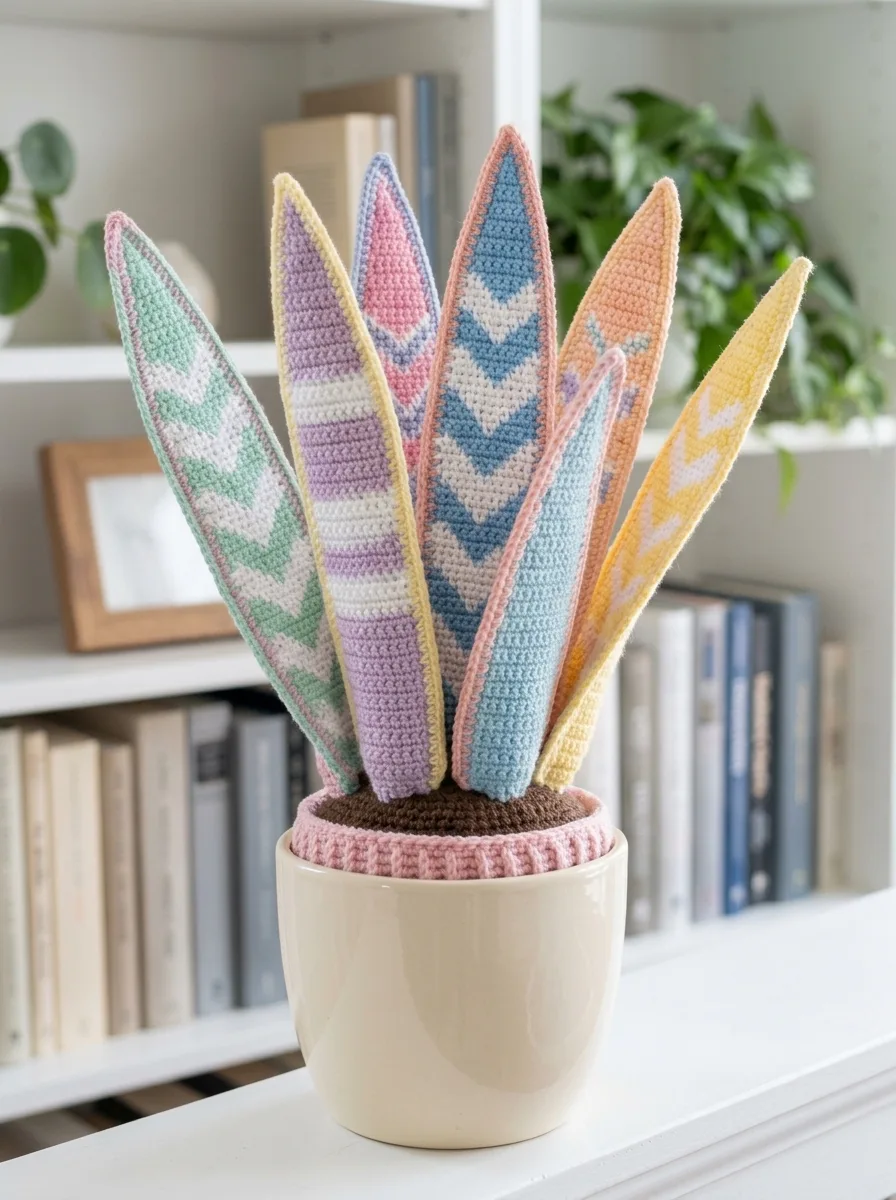
Gift presentation: This snake plant makes an unforgettable gift for plant lovers, new homeowners, dorm room dwellers, or anyone who appreciates handmade decor.
Troubleshooting Common Issues
Leaves won’t stand up: Add more stuffing, particularly at the base. You can also insert a pipe cleaner or floral wire down the center before closing the seam.
Colorwork looks messy: Make sure to carry your yarn loosely behind the work. Pulling too tight causes puckering.
Pot cover doesn’t fit: Adjust the length of the ribbed strip. It should fit snugly but not stretch the pot.
I really hope you enjoy making this rainbow pastel snake plant amigurumi crochet pattern as much as I enjoyed designing it. If you give it a try, I would absolutely love to see your finished creation. Tag me on Instagram or share in my Facebook group so I can cheer you on.
If this pattern made you smile, go ahead and pin it to your favorite Pinterest board so you can find it later. And please drop a comment below if you make one. I read every single comment and love hearing which color combinations you choose!