
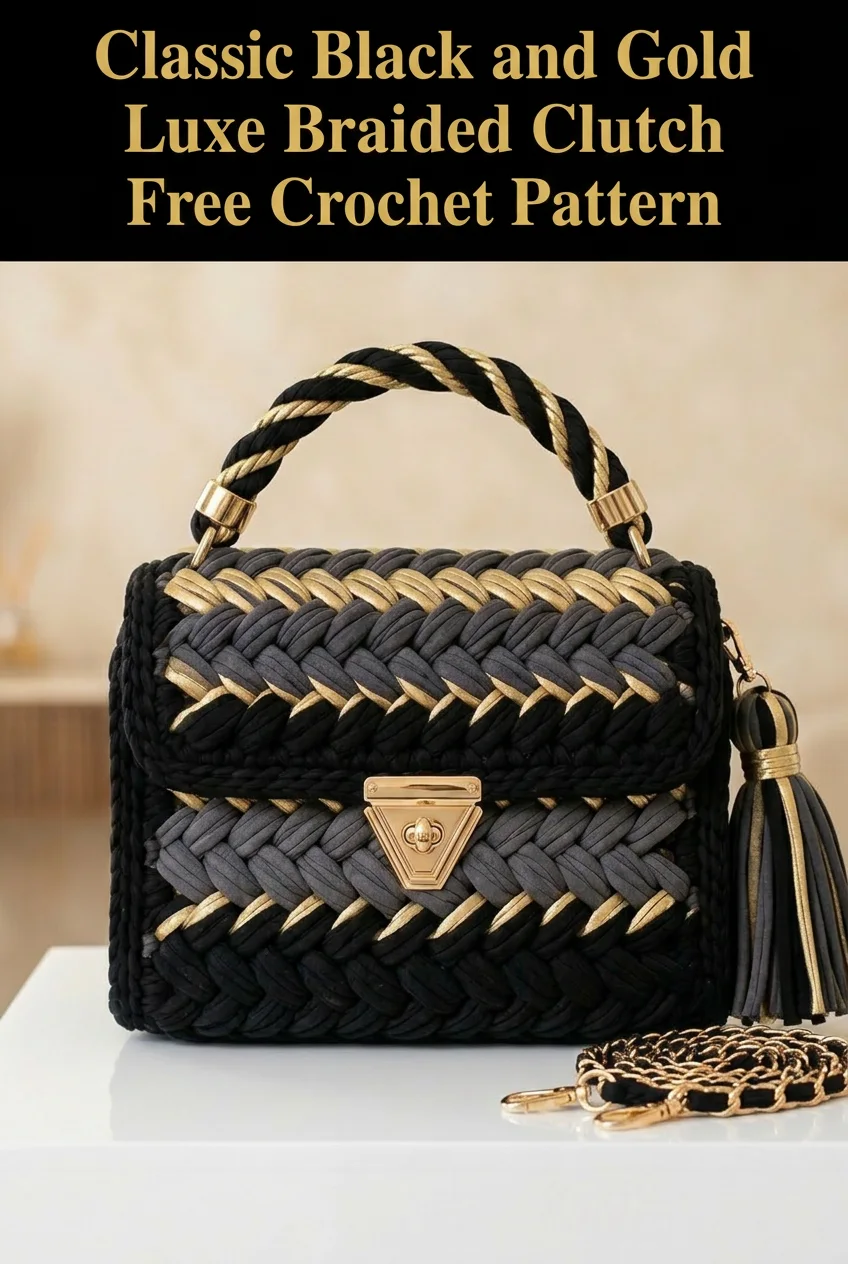
I don’t know about you, but I have always believed that a stunning handbag can transform even the simplest outfit into something memorable. This Classic Black and Gold Luxe Braided Clutch delivers all the designer vibes with none of the designer price tag. The moment I finished this piece, I knew it was something special. That satisfying weight in your hands, the way the gold catches the light, and the structured silhouette that looks like it belongs in a boutique window. If you have been searching for a crochet pattern that creates a truly luxurious accessory, you just found it.
About This Luxe Braided Clutch Crochet Pattern
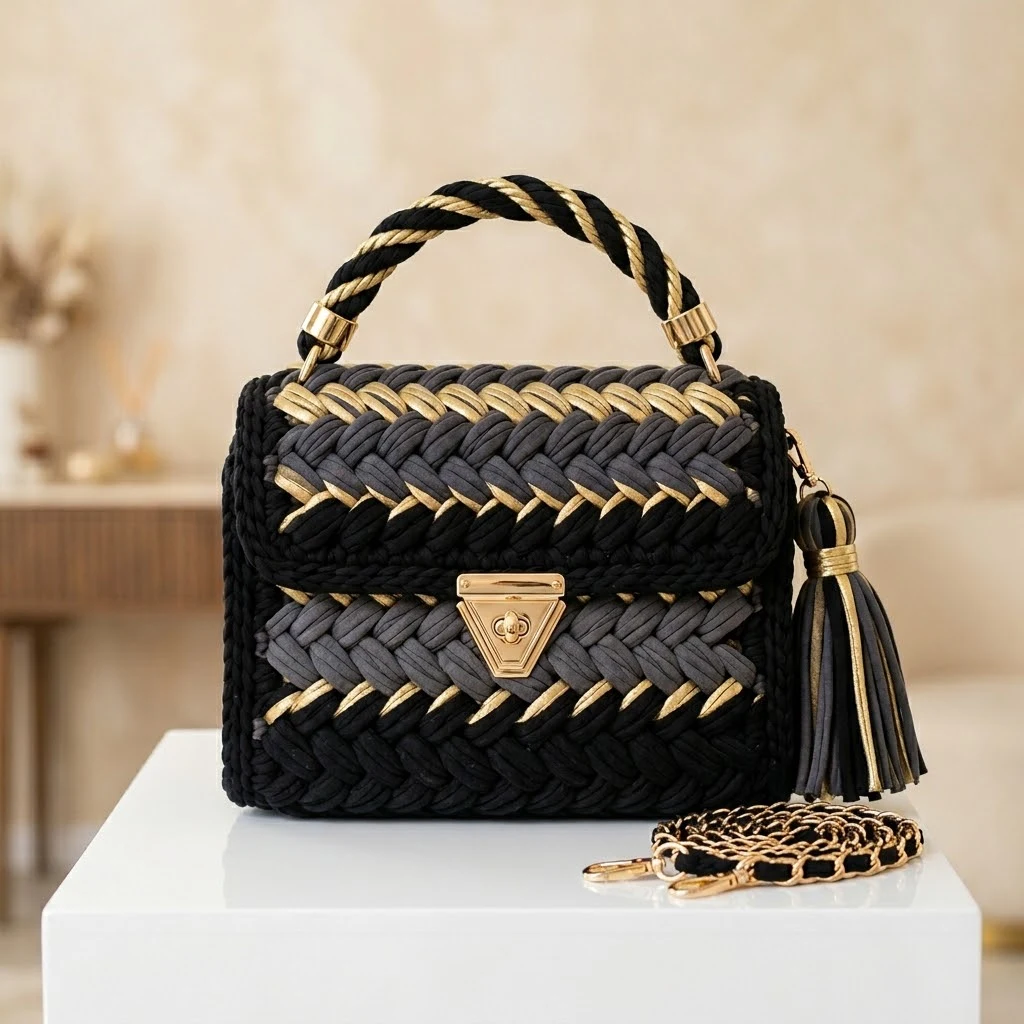
This structured handbag uses t-shirt yarn (also called trapillo or ribbon yarn) to create a dense, professional-looking fabric with a distinctive braided texture. The stitch pattern creates those gorgeous chevron-like diagonal lines you see running across the bag body. Combined with the three-color palette of black, charcoal grey, and metallic gold, this clutch looks far more expensive and complicated than it actually is to make.
The construction is straightforward once you understand the technique. You will work the bag body in rows using a variation of the herringbone stitch combined with slip stitch crochet to achieve that woven, braided appearance. The bag is built around a structured base, likely using a crochet bag base insert or stiffened crocheted panel.
Skill Level: Intermediate
This pattern requires comfort with basic stitches and the ability to maintain even tension with bulky yarn. The colorwork is worked in stripes rather than intarsia, so color changes are manageable.
Materials Needed for Your Braided Clutch
Yarn
– Black: approximately 200 yards (180 meters)
– Charcoal grey: approximately 150 yards (135 meters)
– Metallic gold or champagne: approximately 100 yards (90 meters)
Popular t-shirt yarn brands include Hoooked Zpagetti, Tek-Tek, or Yarn Art Maccheroni. Look for yarn that is approximately 7-8mm wide when flat.
Hook
Notions
Gauge
10 stitches and 8 rows = 4 inches (10cm) in herringbone slip stitch pattern
Gauge matters for this project because you want the fabric dense enough to hold its structure. If your stitches look loose or floppy, go down a hook size.
Finished Dimensions
Abbreviations and Stitch Definitions
Before we dive into the step-by-step crochet tutorial, let me break down the stitches and terms you will encounter.
ch = chain: wrap yarn over hook, pull through loop on hook
sl st = slip stitch: insert hook, yarn over, pull through stitch AND loop on hook in one motion
sc = single crochet: insert hook, yarn over, pull up a loop (2 loops on hook), yarn over, pull through both loops
hbss = herringbone slip stitch: insert hook into next stitch, yarn over, pull through stitch AND loop on hook simultaneously while inserting into the back bump of the previous stitch. This creates that signature diagonal braided texture.
st(s) = stitch(es)
rep = repeat
RS = right side (the side that faces out)
WS = wrong side (the inside of your bag)
Special Technique: Herringbone Slip Stitch
This is the magic behind that beautiful braided texture. Here is how to crochet this stitch:
1. Insert your hook into the next stitch
2. Yarn over and pull through the stitch
3. Before completing the slip stitch, also insert your hook under the back bump of the stitch you just made
4. Pull the yarn through everything on your hook at once
The motion feels awkward at first, but after a few stitches, your hands will find the rhythm. Take your time on the first row. Once you understand how the yarn travels, it becomes almost meditative.
If this technique feels too challenging, you can substitute regular slip stitches worked through the back loop only. You will still get a lovely texture, just slightly different from the original.
Pattern Instructions
The Base
With black yarn:
Row 1: Ch 21. Sc in 2nd ch from hook and in each ch across. (20 sc)
Rows 2-10: Ch 1, turn. Sc in each st across. (20 sc)
Fasten off. This creates a rectangular base approximately 7 inches by 3.5 inches.
Tip: If using a premade bag base insert, you can crochet a simple slip stitch border around the insert instead, attaching your yarn directly to the holes in the base.
The Body
You will now work in continuous rounds around the base, building the walls of your clutch upward.
Round 1 (Join round): With RS facing and black yarn, join with sl st in any corner of base. Ch 1. Work 20 sc across the long edge, 3 sc in corner, 10 sc across short edge, 3 sc in corner, 20 sc across long edge, 3 sc in corner, 10 sc across short edge, 3 sc in corner. Join with sl st to first sc. (72 sc)
Place a stitch marker in the first stitch of the round. Move it up as you work.
Round 2: Ch 1. Working in back loops only, hbss in each st around. Join. (72 hbss)
Rounds 3-4: Rep Round 2 with black yarn. (72 hbss each round)
Round 5 (Color change to gold): Drop black, join gold. Ch 1. Hbss in each st around. Join. (72 hbss)
Round 6: With gold, hbss in each st around. Join. (72 hbss)
Round 7 (Color change to grey): Drop gold, join charcoal grey. Ch 1. Hbss in each st around. Join. (72 hbss)
Rounds 8-9: With grey, hbss in each st around. Join. (72 hbss each round)
Round 10 (Color change to gold): Drop grey, join gold. Hbss in each st around. Join. (72 hbss)
Round 11: With gold, hbss in each st around. Join. (72 hbss)
Round 12 (Color change to black): Drop gold, join black. Hbss in each st around. Join. (72 hbss)
Rounds 13-14: With black, hbss in each st around. Join. (72 hbss each round)
Round 15 (Color change to gold): Drop black, join gold. Hbss in each st around. Join. (72 hbss)
Round 16: With gold, hbss in each st around. Join. (72 hbss)
Round 17 (Color change to grey): Drop gold, join grey. Hbss in each st around. Join. (72 hbss)
Rounds 18-20: With grey, hbss in each st around. Join. (72 hbss each round)
Fasten off grey. Weave in ends.
The Flap
The flap is worked flat, attached to one long edge of the bag opening.
With black yarn:
Row 1: With RS facing, join black with sl st to the 5th stitch from corner on one long edge. Ch 1. Hbss in same st and in next 29 sts. (30 hbss)
Rows 2-3: Ch 1, turn. Hbss in each st across. (30 hbss)
Row 4 (Color change to gold): Drop black, join gold. Ch 1, turn. Hbss in each st across. (30 hbss)
Row 5 (Color change to grey): Drop gold, join grey. Ch 1, turn. Hbss in each st across. (30 hbss)
Rows 6-7: With grey, ch 1, turn. Hbss in each st across. (30 hbss)
Row 8 (Color change to gold): Drop grey, join gold. Ch 1, turn. Hbss in each st across. (30 hbss)
Row 9 (Color change to black): Drop gold, join black. Ch 1, turn. Hbss in each st across. (30 hbss)
Rows 10-12: With black, ch 1, turn. Hbss in each st across. (30 hbss)
Edging Row: Ch 1, do not turn. Work 1 sc in each row end down the side of the flap, 3 sc in corner, 1 sc in each st across bottom, 3 sc in corner, 1 sc in each row end up the other side. Fasten off.
The Handle
The twisted rope handle is created separately and attached with hardware.
Make 2 strands:
Black strand: Ch 80. Fasten off.
Gold strand: Ch 80. Fasten off.
Hold both chains together. Secure one end and twist the strands together tightly. The more you twist, the more defined your rope will be. Fold the twisted piece in half and allow it to twist back on itself naturally. Secure the ends together.
Attach handle connectors to each end of your twisted rope handle.
Assembly and Finishing
Installing Hardware
1. Position the push lock clasp on the front center of your bag body, approximately 2 inches from the top edge. Mark the placement with pins.
2. Make a small slit in the fabric where the back piece of the clasp will go through. Push the prongs through and secure on the inside.
3. Position the front piece of the clasp on your flap, aligning it so the bag closes properly. Install the same way.
4. Attach D-rings to the sides of the bag where you want your chain strap to connect. You can sew them directly to the bag or use purchased bag strap connectors.
5. Connect your chain strap to the D-rings.
6. Attach the handle using the handle connectors at the top corners of the bag.
7. Add the tassel to one D-ring or to the clasp hardware.
Weaving in Ends
With t-shirt yarn, you have some bulk to manage. Weave each end through at least 3 inches of stitches on the wrong side, then trim close to the fabric. The density of your stitches will hold everything in place.
Blocking (Optional)
T-shirt yarn does not require traditional blocking, but you can steam the fabric lightly to even out any uneven stitches. Hold your steamer a few inches away and let the heat relax the fibers. Do not touch the yarn directly with a hot iron.
Customization Ideas
Color variations: This luxe braided clutch crochet pattern works beautifully in other color combinations. Try navy and silver for winter elegance, or blush pink and rose gold for a feminine touch.
Size adjustments: Want a larger bag? Increase your base dimensions and add more rounds to the body. Each additional 5 stitches to your base chain adds approximately 1 inch to your width.
Skip the hardware: If you prefer a softer look, you can crochet a button loop closure instead of installing the push lock clasp. Simply chain 10 at the center of your flap tip, skip 3 stitches, and slip stitch to join. Sew a large decorative button to the bag front.
Troubleshooting Tips
My stitches look uneven. T-shirt yarn can be inconsistent in width throughout the skein. Try to maintain even tension and accept that slight variation adds to the handmade charm.
The bag feels floppy. Your gauge may be too loose. Try going down one or two hook sizes. You can also stiffen the finished bag with fabric stiffener spray.
Color changes look messy. Make sure you complete your last stitch with the new color. Insert hook, pull up old color, then yarn over with new color and complete the stitch.
The flap does not lay flat. Block the flap by pinning it into shape and steaming gently. The weight of the clasp hardware will also help it hang properly.
Why This Pattern Works
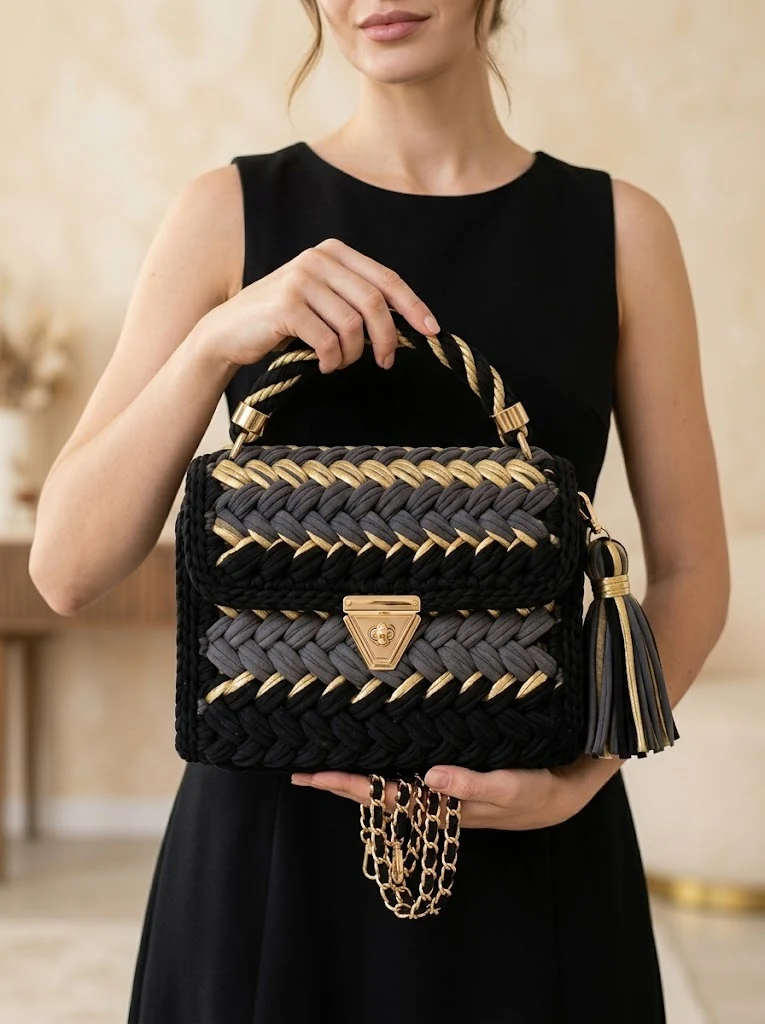
This crochet tutorial combines simple techniques with strategic design choices to create something that looks professionally made. The herringbone slip stitch does most of the heavy lifting, creating that coveted braided texture without any actual braiding. The color placement enhances the diagonal lines and adds visual interest. And the hardware elevates everything from craft project to luxury accessory.
You do not need years of experience to make this. You need patience, good materials, and willingness to trust the process. The first few rounds might feel awkward as your hands learn the rhythm of the herringbone stitch. That is completely normal. By the time you reach the color changes, you will be working confidently.
I truly hope you enjoy making this Classic Black and Gold Luxe Braided Clutch as much as I enjoyed designing it. This beginner friendly structured bag makes an incredible gift or a treat-yourself project that you will reach for again and again. If you try this crochet pattern, I would absolutely love to see your finished clutch. Tag me on Instagram or share in our Facebook group so I can celebrate your beautiful work.
If this pattern caught your eye, go ahead and save it to your Pinterest boards so you can find it when you are ready to start. And please drop a comment below if you make one. I genuinely love hearing which colors you choose and seeing how you make each project your own.