
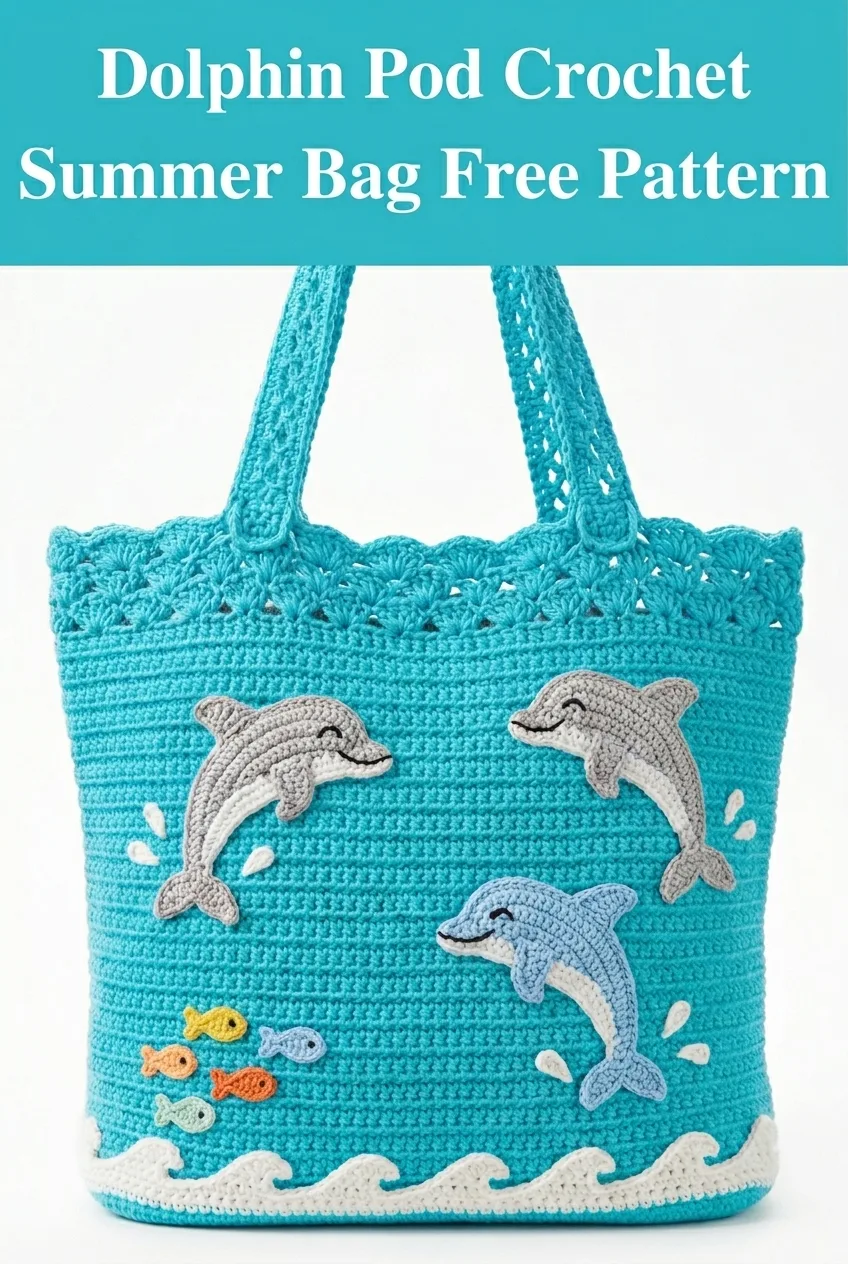
Go ahead and dig through that yarn stash because I know you have some gorgeous turquoise cotton hiding in there somewhere. This Dolphin Pod Crochet Summer Bag combines a classic tote construction with playful ocean-themed appliqués that will make you smile every time you grab it. The bag itself uses straightforward single crochet and half double crochet rows, so even if you have never made appliqués before, this project is absolutely doable. The dolphins, little fish, and wave border add personality without complicated colorwork. I will walk you through every piece, and I promise the construction is much simpler than it looks.
Why You Will Love This Crochet Summer Bag Pattern
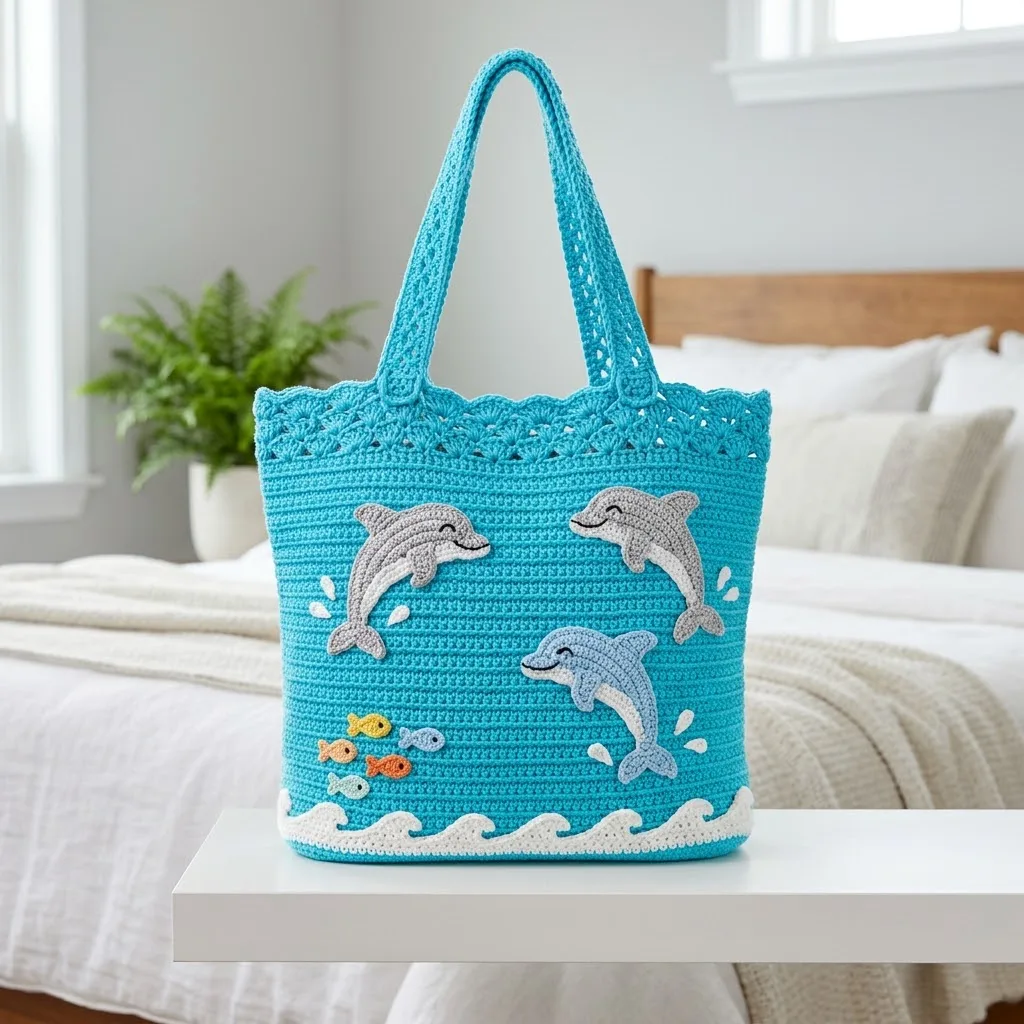
This beach-ready tote combines function with whimsy in a way that makes it perfect for summer adventures. The body of the bag works up in simple rows, creating that clean horizontal ribbed texture you see in the image. What makes this crochet tote bag pattern special is the layered details. You get an openwork border at the top with a pretty scalloped edge, sturdy handles with their own lacy pattern, and those adorable crochet dolphin appliqués swimming across the front.
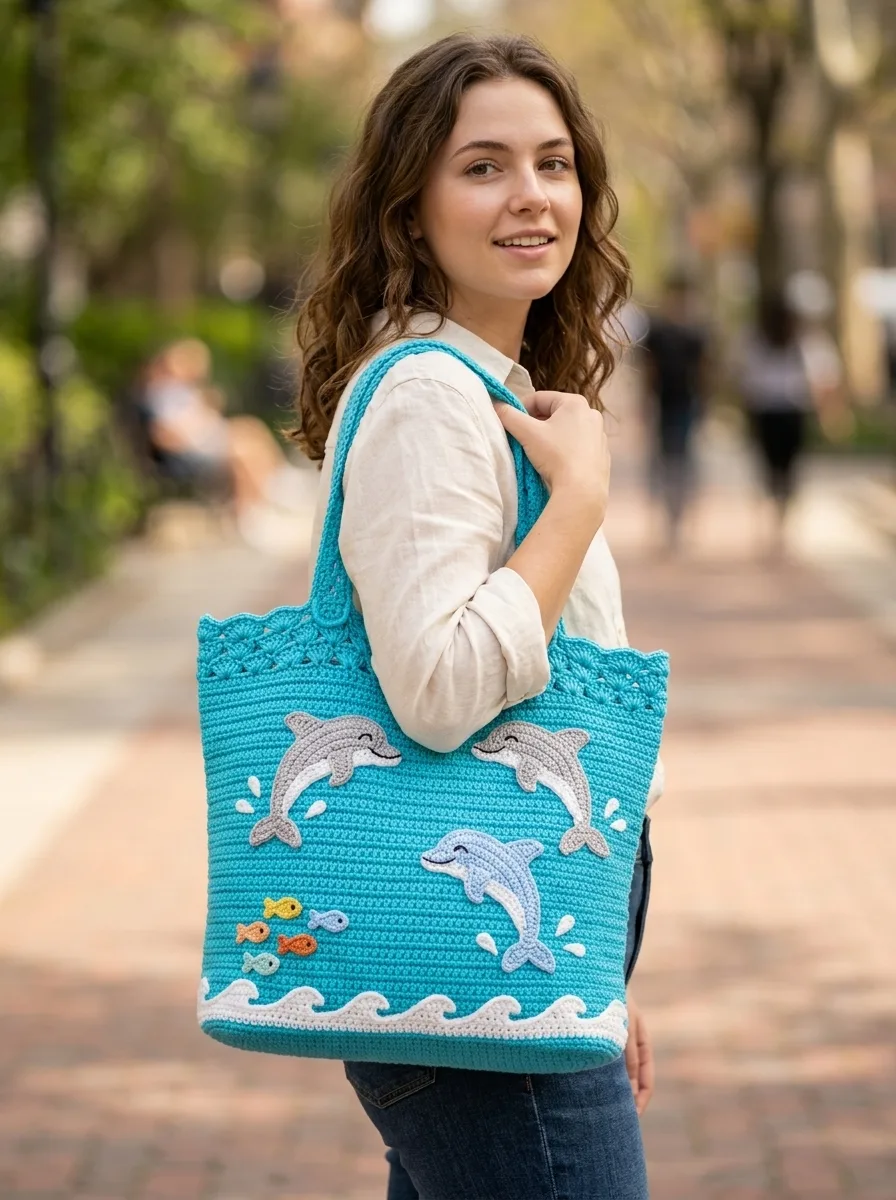
The bag measures approximately 15 inches wide by 13 inches tall (not including handles), making it roomy enough for towels, sunscreen, a good book, and all your beach day essentials. The handles add another 9 inches of drop, perfect for carrying over your shoulder.
Materials Needed
Yarn:
Cotton yarn works best for this project because it holds its shape, washes easily, and gets softer with use. I recommend Lily Sugar’n Cream or Paintbox Cotton Aran for durability.
Hook:
Notions:
Gauge
With size H hook and worsted weight cotton:
14 stitches and 16 rows = 4 inches in single crochet
Take time to check your gauge. Cotton yarn has no stretch, so if your gauge is off, your bag dimensions will change significantly.
Skill Level
Intermediate beginner. If you can work single crochet, half double crochet, and double crochet confidently, you can make this bag. The appliqués require basic shaping with increases and decreases, but I will explain every step.
Abbreviations and Stitch Definitions
Let me walk you through every stitch you will need before we begin.
Ch = Chain. Wrap yarn over hook and pull through the loop on your hook. This creates one chain.
Sl st = Slip stitch. Insert hook, yarn over, pull through both the stitch and the loop on your hook in one motion. Used for joining and invisible movement.
Sc = Single crochet. Insert hook into stitch, yarn over, pull up a loop (2 loops on hook), yarn over, pull through both loops. The shortest and tightest basic stitch.
Hdc = Half double crochet. Yarn over, insert hook, yarn over, pull up a loop (3 loops on hook), yarn over, pull through all 3 loops. Slightly taller than single crochet.
Dc = Double crochet. Yarn over, insert hook, yarn over, pull up a loop (3 loops on hook), yarn over, pull through 2 loops, yarn over, pull through remaining 2 loops. Creates a taller, more open fabric.
Inc = Increase. Work 2 stitches into the same stitch. This adds one stitch to your count.
Dec = Decrease (also called sc2tog for single crochet). Insert hook in first stitch, pull up a loop, insert hook in next stitch, pull up a loop (3 loops on hook), yarn over, pull through all 3. This removes one stitch from your count.
BLO = Back loop only. Instead of inserting your hook under both loops at the top of the stitch, only go under the back loop. This creates the ridged texture visible on the bag.
Crochet Summer Bag Pattern Instructions
Bag Base
The base is worked flat and then the sides are built up from it.
With MC and size H hook, ch 53.
Row 1: Sc in 2nd ch from hook and in each ch across. (52 sc)
Rows 2-12: Ch 1, turn, sc in BLO of each st across. (52 sc)
You should have a rectangle measuring approximately 15 inches by 3.5 inches. This creates the flat bottom of your bag.
Bag Body
Now we work in continuous rounds, building the sides up from the base.
Setup Round: Do not turn. Working around the entire base, sc evenly around all four sides as follows: sc in each of the 52 sts across the top edge, work 3 sc in corner, sc 12 sts along the short side, work 3 sc in corner, sc 52 along the bottom edge (working into the starting chain), work 3 sc in corner, sc 12 along the remaining short side, work 3 sc in corner. Place marker at the start of the round. (136 sc)
Rounds 1-45: Sc in BLO of each st around, moving marker up each round. (136 sc)
Working in the back loop only creates those beautiful horizontal ridges you see running across the bag. Your bag body should measure approximately 11 inches tall at this point.
Openwork Border Section
This decorative border adds visual interest and a pretty edge.
Round 46: Ch 1, hdc in each st around, join with sl st to first hdc. (136 hdc)
Round 47: Ch 3 (counts as dc), dc in next st, *ch 2, skip 2 sts, dc in next 2 sts* repeat around, adjusting final repeat as needed to end evenly, join with sl st to top of ch-3.
Round 48: Ch 3, dc in next dc, *2 dc in ch-2 space, dc in next 2 dc* repeat around, join. (136 dc)
Round 49: Ch 1, sc in each st around, join.
Scalloped Edge
Round 50: *Skip 1 st, 5 dc in next st (shell made), skip 1 st, sl st in next st* repeat around, join and fasten off.
This creates that lovely wavy scalloped edge at the top of the bag.
Crochet Handles (Make 2)
The handles feature a simple openwork pattern that matches the border.
With MC and size H hook, ch 71.
Row 1: Sc in 2nd ch from hook and in each ch across. (70 sc)
Row 2: Ch 1, turn, sc in each st across. (70 sc)
Row 3: Ch 3, turn, *dc in next st, ch 1, skip 1 st* repeat across, dc in last st.
Row 4: Ch 1, turn, sc in each dc and ch-1 space across. (70 sc)
Row 5: Ch 1, turn, sc in each st across. (70 sc)
Row 6: Sl st in each st across for a finished edge.
Fasten off, leaving a long tail for sewing.
Attaching Handles
Position handles approximately 4 inches from each side edge. Pin in place and whip stitch securely to the inside of the bag, reinforcing the attachment points by stitching through multiple times.
Crochet Dolphin Appliqué Pattern (Make 3)
Now for the fun part. These dolphins are worked in rows and shaped with increases and decreases. Make two in light gray, and one slightly smaller for variety.
Dolphin Body
With Color A and size G hook, ch 25.
Row 1: Sc in 2nd ch from hook, sc in next 10 ch, hdc in next 5 ch, dc in next 5 ch, 5 dc in last ch (this forms the nose curve), working along opposite side of chain: dc in next 5 ch, hdc in next 5 ch, sc in next 10 ch, 2 sc in last ch. Do not join. (54 sts around)
Row 2: Ch 1, turn, sc in first 12 sts, hdc in next 4 sts, dc in next 8 sts, 2 dc in next 3 sts (shaping the nose), dc in next 8 sts, hdc in next 4 sts, sc in remaining sts. Fasten off.
Dorsal Fin
With Color A, ch 8.
Row 1: Sc in 2nd ch from hook, sc in next 2 ch, hdc in next 2 ch, dc in next ch, 3 dc in last ch, continuing on opposite side: dc in next ch, hdc in next 2 ch, sc in next 3 ch. Fasten off.
Tail Flukes
With Color A, ch 6.
Row 1: Sc in 2nd ch from hook, hdc in next ch, dc in next ch, 2 dc in next ch, ch 3, sl st in same st, ch 3, 2 dc in same st (creating the split tail), dc in next ch, hdc in next ch, sc in last ch. Fasten off.
Flipper (Make 2 per dolphin)
With Color A, ch 5.
Sc in 2nd ch from hook, hdc in next ch, dc in next ch, 5 dc in last ch, working on opposite side: dc in next ch, hdc in next ch, sl st in last ch. Fasten off.
Sew dorsal fin, tail, and flippers to the body using the photo as placement reference. Add a small French knot or satin stitch eye in black. Embroider a small curved smile with black yarn.
Small Fish Appliqués (Make 4-5)
These tiny fish add so much charm swimming around the dolphins.
With your choice of Color C (yellow, orange, or light blue) and size G hook, ch 6.
Row 1: Sc in 2nd ch from hook, hdc in next ch, dc in next ch, hdc in next ch, sc in last ch. Do not fasten off.
Tail: Ch 3, sl st in 2nd ch from hook, sl st in next ch, sl st into the base of the fish body. Fasten off.
Add a tiny eye with black yarn. Make fish in different colors for variety.
Wave Border Appliqué
With Color B (white) and size G hook, ch 70 (or measure to fit across the bottom of your bag).
Row 1: Sc in 2nd ch from hook, *sc in next 2 ch, hdc in next ch, dc in next ch, hdc in next ch, sc in next 2 ch* repeat across. This creates the wave shape.
Row 2: Ch 1, turn, sl st in each st across for a finished edge.
Make a second wave piece if desired to layer behind the first for dimension.
Splash Details
For the small water splashes around the dolphins, make several small curved pieces.
With Color B, ch 5. Sl st in 2nd ch from hook, sc in next ch, hdc in next ch, dc in last ch. Fasten off.
Make 6-8 of these in varying sizes by adjusting your starting chain length.
Assembly and Finishing
Step 1: Block all pieces gently with steam or wet blocking. Cotton responds beautifully to blocking and your appliqués will lay flatter.
Step 2: Arrange your wave border across the bottom edge of the bag, approximately 2 inches from the base. Pin in place and whip stitch securely.
Step 3: Position your three dolphins as shown in the image, with two swimming together near the top and one below. Pin and sew in place.
Step 4: Scatter your small fish below and around the dolphins. Sew each one down.
Step 5: Add splash details around the dolphins to create a sense of movement.
Step 6: Weave in all remaining ends securely.
Optional Fabric Liner
I highly recommend adding a fabric liner to prevent items from poking through the stitches and to add structure. Cut two rectangles of cotton fabric to match your bag dimensions plus seam allowance. Sew together, fold the top edge under, and hand stitch to the inside of the bag just below the openwork border.
Care Instructions
Machine wash on gentle cycle in cold water or hand wash. Lay flat to dry to maintain shape. Cotton will soften beautifully with each wash. Avoid the dryer, as it may cause slight shrinkage.
Tips for Success with This Crochet Tote Pattern
Tension matters. Cotton yarn does not have the forgiveness of acrylic. Try to keep your tension consistent throughout the bag body. If you tend to crochet tightly, consider going up a hook size.
Pin before sewing. Take photos of your layout before committing to sewing appliqués. Move things around until you love the composition.
Reinforce handles. The attachment points bear all the weight. Take extra time to sew them securely with multiple passes.
Make it yours. Not a dolphin person? This same bag construction works with any appliqués. Try sea turtles, starfish, or even a simple striped design.
I hope you absolutely love making this Dolphin Pod Crochet Summer Bag as much as I enjoyed designing it. This cheerful tote is sure to get compliments everywhere you take it, and it makes a wonderful handmade gift for the ocean lovers in your life. If you make one, I would love to see it! Tag me on Instagram or share a photo in our Facebook group.
Save this pattern to your Pinterest boards so you can find it when you are ready to start, and please leave a comment below if you give it a try. I always love hearing how your projects turn out, and your questions help other crocheters too. Happy hooking!