
Last summer, I found myself standing in the checkout line at a craft fair, staring at a gorgeous handmade backpack with a price tag that made my eyes water. I remember thinking, "I could make that." Famous last words, right? But this time, I actually did it. After weeks of sketching, frogging, and more cups of coffee than I care to admit, I finally created the backpack I had been dreaming about. This Midnight Navy Classic Granny Backpack combines everything I love about traditional crochet with a modern, functional design that actually holds all my stuff without falling apart at the seams.
Why You’ll Love This Crochet Backpack Pattern
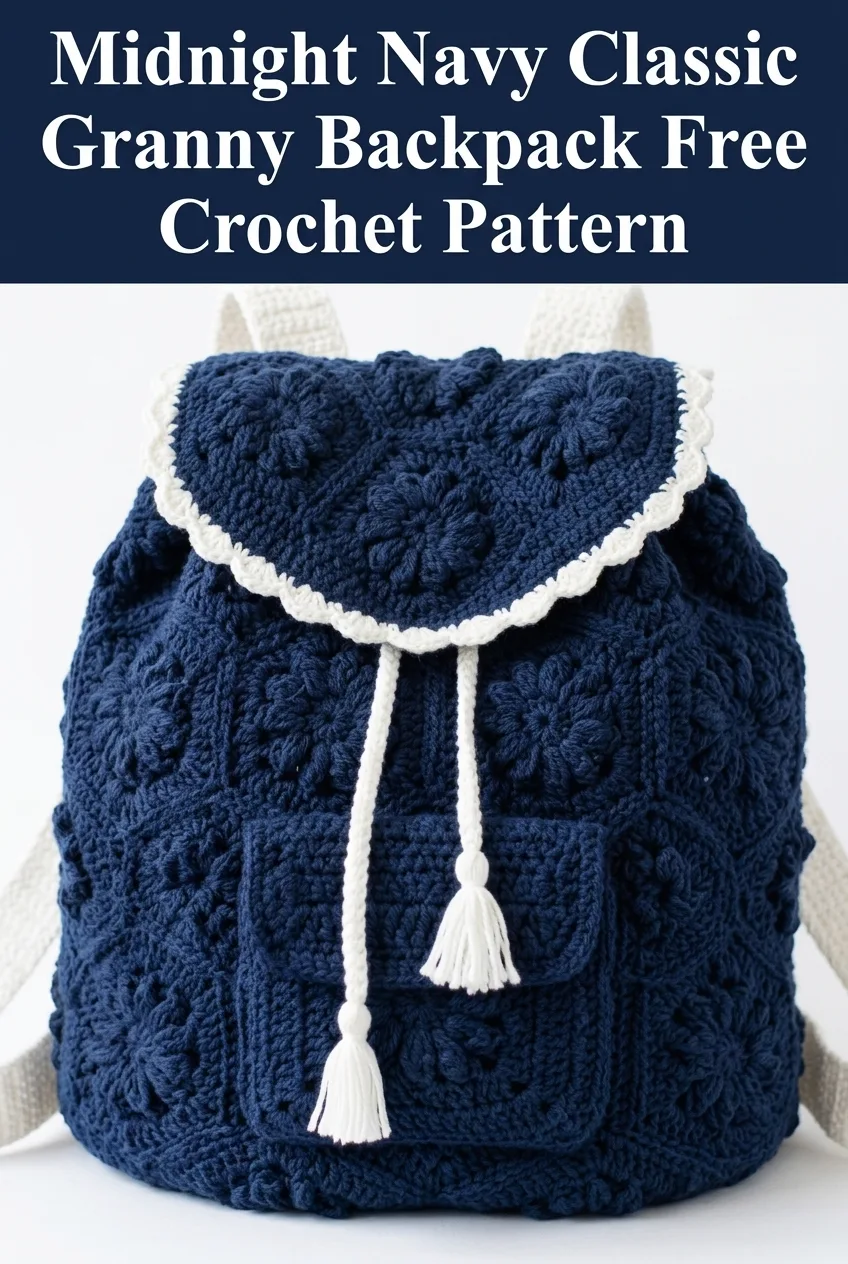
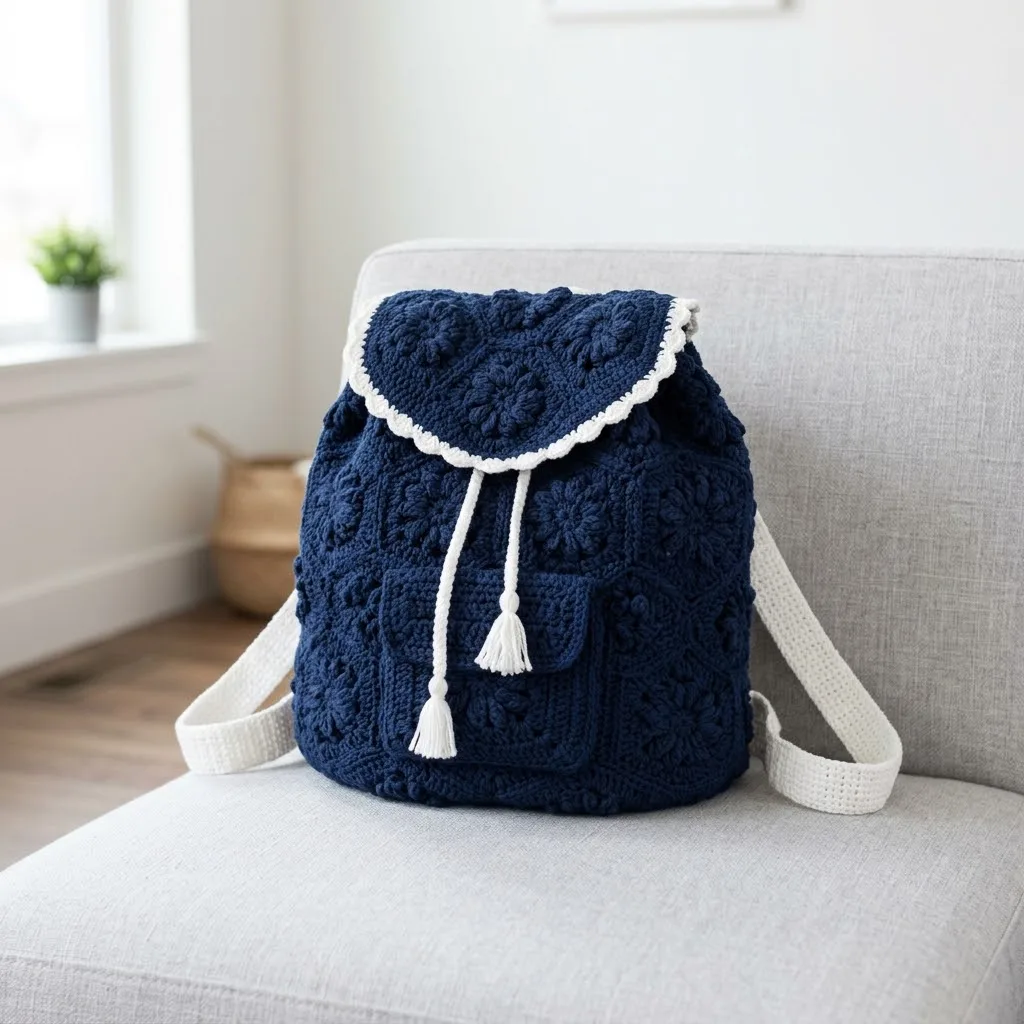
This backpack is the perfect marriage of vintage charm and everyday practicality. The body features a beautiful variation of the classic granny square, complete with textured puff flower motifs that add dimension and visual interest. The contrast between the deep navy main color and the crisp cream accents gives it a timeless look that works with almost any outfit.
What really sets this crochet backpack pattern apart is the thoughtful construction. You get a drawstring closure with adorable tassels, a scalloped flap for extra security, and even a front pocket for your phone or keys. The adjustable straps mean you can wear it comfortably whether you’re running errands or heading to a weekend market.
Skill level: Intermediate. If you’re comfortable with granny squares and basic shaping, you can absolutely tackle this project.
Materials Needed for Your Crochet Backpack
Before you dive in, gather everything you need. Trust me, there’s nothing worse than getting halfway through a project and realizing you’re short on yarn.
Yarn:
I recommend a sturdy cotton or cotton blend for durability. Acrylic works well too, but cotton holds its shape better for bags that will carry weight.
Hook:
Notions:
Finished Dimensions
Gauge
Using 5.0mm hook and worsted weight yarn:
One completed granny square motif measures approximately 4 inches by 4 inches (10 cm by 10 cm).
Gauge matters for this project. If your squares are too loose, your backpack won’t hold its shape. If they’re too tight, you’ll run out of yarn and your bag will be smaller than expected. Take five minutes to make a test square. Your future self will thank you.
Abbreviations and Stitch Definitions
Let me break down every stitch you’ll need for this crochet tutorial. Even if you know these stitches well, a quick refresher never hurts.
ch = chain: Yarn over, pull through loop on hook. This creates the foundation for most crochet work.
sl st = slip stitch: Insert hook, yarn over, pull through both the stitch and the loop on your hook in one motion. Used for joining and invisible movement.
sc = single crochet: Insert hook into stitch, yarn over and pull up a loop (2 loops on hook), yarn over and pull through both loops.
dc = double crochet: Yarn over, insert hook into stitch, yarn over and pull up a loop (3 loops on hook), yarn over and pull through 2 loops, yarn over and pull through remaining 2 loops.
hdc = half double crochet: Yarn over, insert hook into stitch, yarn over and pull up a loop (3 loops on hook), yarn over and pull through all 3 loops at once.
puff st = puff stitch: (Yarn over, insert hook into stitch, yarn over and pull up a loop) 3 times in same stitch (7 loops on hook), yarn over and pull through all 7 loops. This creates the raised flower effect you see in the squares.
ch-sp = chain space: The gap created by chains in the previous row. You work into this space, not into individual chain stitches.
Step by Step Crochet Pattern Instructions
Part 1: Puff Flower Granny Squares (Make 24)
These squares form the body of your backpack. The puff stitch center creates that gorgeous raised flower effect that makes this design so special.
Round 1: With MC, make a magic ring. Ch 3 (counts as first dc), work 2 dc into ring, ch 2, *3 dc into ring, ch 2* three times. Join with sl st to top of beginning ch-3. (12 dc, 4 ch-2 spaces)
Round 2: Sl st into next 2 dc and into corner ch-2 space. Ch 3, 2 dc in same space, ch 1, puff st in same space, ch 1, 3 dc in same space, ch 1. *In next corner ch-2 space work (3 dc, ch 1, puff st, ch 1, 3 dc, ch 1).* Repeat around. Join with sl st. (4 puff stitches, 24 dc)
Round 3: Ch 3, dc in next 2 dc, *ch 1, skip ch-1 space, dc in puff st, ch 2, dc in same puff st, ch 1, skip ch-1 space, dc in next 3 dc, ch 1, dc in next 3 dc.* Repeat around, adjusting last repeat as needed. Join with sl st. (32 dc)
Round 4: Ch 3, dc in each dc and ch-1 space around, working (2 dc, ch 2, 2 dc) in each corner ch-2 space. Join with sl st. (44 dc, 4 corner spaces)
Round 5: Ch 3, dc in each dc around, working (3 dc, ch 2, 3 dc) in each corner ch-2 space. Join with sl st. Fasten off. (60 dc, 4 corner spaces)
Weave in ends on each square before assembly. I know it’s tedious, but you’ll be glad you did.
Part 2: Square Assembly for Body
Lay out your squares in the following arrangement:
Back panel: 6 squares arranged 2 wide by 3 tall
Front panel: 6 squares arranged 2 wide by 3 tall
Side panels: 6 squares each, arranged 2 wide by 3 tall
Joining method: Hold two squares with wrong sides together. Using MC and your smaller hook, work sc through both layers along one edge, matching stitch for stitch. This creates a raised seam on the outside that adds texture.
First, join squares into vertical strips. Then join strips together to form panels. Finally, join panels to create the bag body, leaving the top open.
Part 3: Bottom of Backpack
Row 1: With MC, ch 25. Dc in 4th ch from hook and in each ch across. (22 dc)
Rows 2 through 8: Ch 3, turn. Dc in each dc across. (22 dc)
Fasten off, leaving a long tail for seaming.
Pin the bottom piece to the base of your assembled body. Using whip stitch or mattress stitch, sew the bottom securely in place. Take your time here. A sturdy bottom means a bag that lasts.
Part 4: Drawstring Channel
With the bag body complete, you’ll add the drawstring channel around the top opening.
Round 1: Join MC at any corner of the top edge. Ch 1, sc evenly around the entire opening, working approximately 3 sc per square edge. Join with sl st. Count your stitches. You need a multiple of 3 for the next round.
Round 2: Ch 4 (counts as dc plus ch 1), skip 1 st, *dc in next st, ch 1, skip 1 st.* Repeat around. Join with sl st to 3rd ch of beginning ch-4.
Round 3: Ch 1, sc in each dc and ch-1 space around. Join with sl st. Fasten off.
This creates the eyelets for your drawstring to weave through.
Part 5: Flap
The flap features more puff flower squares with that beautiful scalloped edging in cream.
Make 2 puff flower squares following the instructions in Part 1.
Join squares side by side using the same method as the body.
Scalloped Border:
Join CC at any corner of the joined squares.
Round 1: Ch 1, sc evenly around all edges, working 3 sc in each corner. Join with sl st.
Round 2: Ch 1, sc in first st, *skip 2 sts, 5 dc in next st (shell made), skip 2 sts, sc in next st.* Repeat around, adjusting at corners as needed for even spacing. Join with sl st. Fasten off.
Sew the flap to the back panel of the backpack, positioning it about 1 inch below the drawstring channel.
Part 6: Front Pocket
Make 1 puff flower square following Part 1 instructions.
Border:
Join MC at any corner. Work 2 rounds of sc evenly around, working 3 sc in each corner for turning.
Sew the pocket to the front panel of the backpack, centered and positioned comfortably for easy access.
Part 7: Drawstring Cord
With CC, ch 150. Sl st in 2nd ch from hook and in each ch across. Fasten off.
Make 2 cords.
Thread each cord through the drawstring channel, starting from opposite sides. This creates the classic drawstring closure when you pull both cords.
Tassels (Make 2):
Cut 20 strands of CC yarn, each about 8 inches long. Fold in half. Use another strand to wrap tightly around the folded end about half an inch down. Secure with a knot. Trim ends evenly.
Attach one tassel to each end of the drawstring cords.
Part 8: Shoulder Straps
Make 2:
With CC, ch 12.
Row 1: Sc in 2nd ch from hook and in each ch across. (11 sc)
Rows 2 through 140: Ch 1, turn. Sc in each sc across. (11 sc)
Fasten off, leaving a long tail.
For a sturdier strap, you can work these with two strands held together or add a fabric lining inside.
Attachment: Sew one end of each strap to the top corners of the back panel, just below the drawstring channel. Sew the other ends to the bottom corners of the back panel. Adjust placement for comfort.
Finishing Touches
Blocking: Lightly steam block your finished backpack to even out the stitches and help it hold its shape. Don’t press too hard on the puff stitches.
Lining (Optional): For added durability and to prevent smaller items from poking through, cut a fabric lining to match the interior dimensions and hand sew it in place.
Reinforcement: If you plan to carry heavier items, consider adding a plastic canvas insert to the bottom for structure.
Tips for Success with This Beginner Friendly Crochet Tutorial
Count your stitches. I cannot stress this enough. Granny squares are forgiving, but losing stitches adds up quickly.
Use stitch markers at the beginning of each round, especially when working the drawstring channel.
Weave in ends as you go. With 24 squares plus all the other components, you’ll have a lot of ends. Don’t save them all for the end or you’ll never finish.
Try different color combinations. This pattern looks stunning in sage green and cream, dusty rose and white, or even a rainbow of leftover yarns for a true scrap buster project.
Why This Crochet Backpack Pattern Works
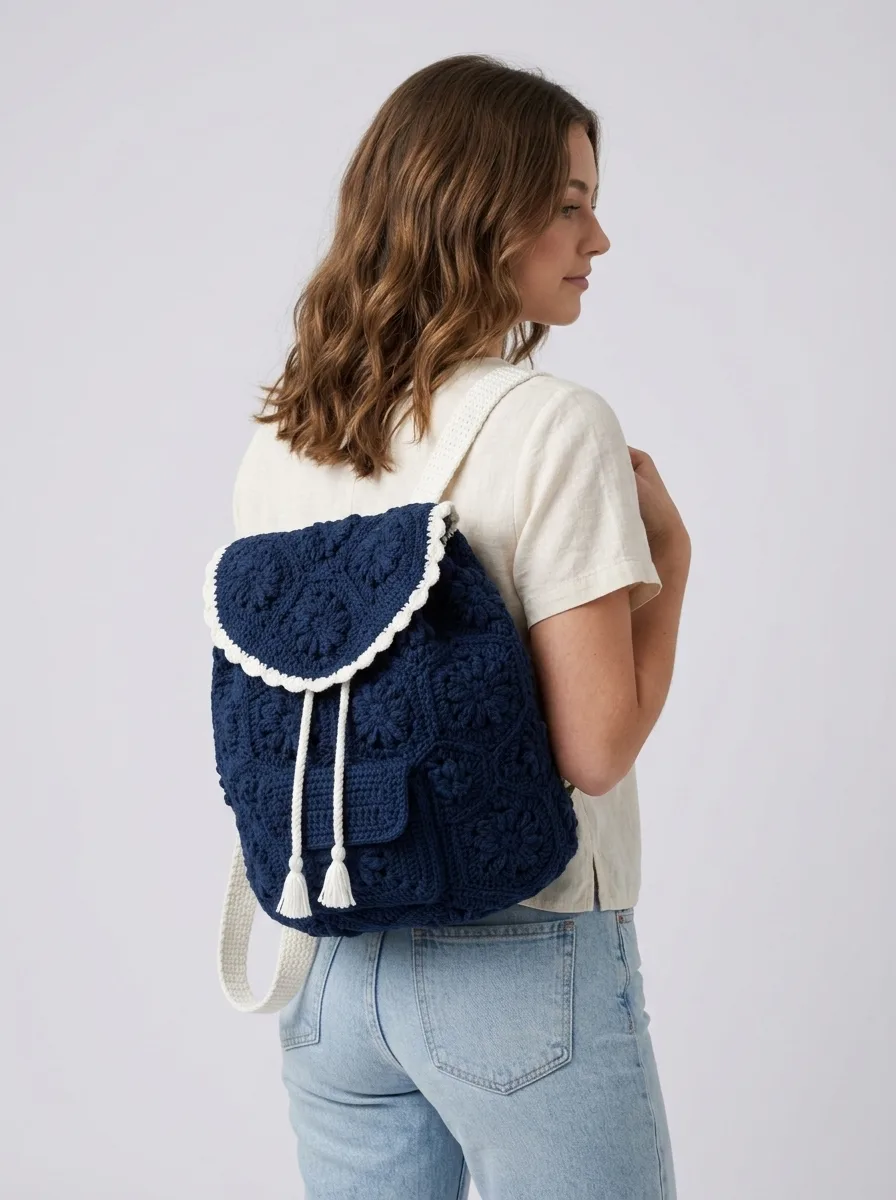
This step by step pattern breaks down what looks like a complicated project into manageable pieces. You’re really just making a bunch of granny squares, then assembling them thoughtfully. If you can make one square, you can make this entire backpack.
The puff flower motif adds just enough texture to make the finished piece interesting without being overwhelming. And those contrast details in cream? They pull everything together and give it that polished, intentional look.
Whether you’re making this for yourself or as a gift for someone special, this Midnight Navy Classic Granny Backpack is the kind of project that makes people say, "Wait, you MADE that?"
I really hope you love making this backpack as much as I loved designing it. If you want to find this pattern easily later, go ahead and save it to your Pinterest boards so it’s there when you’re ready to start. And please, if you make one, drop a comment below or tag me on social media. I absolutely love seeing your finished projects and hearing about the color combinations you choose!