
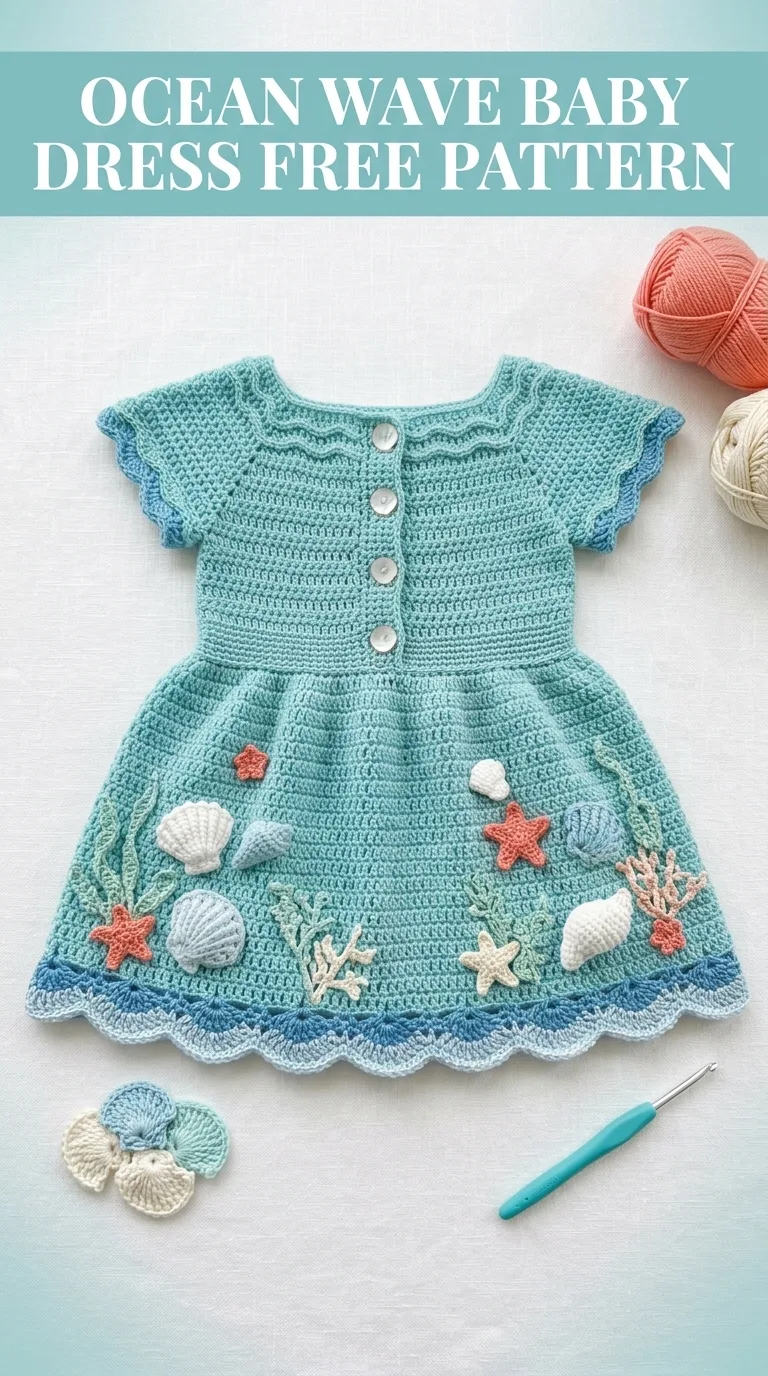
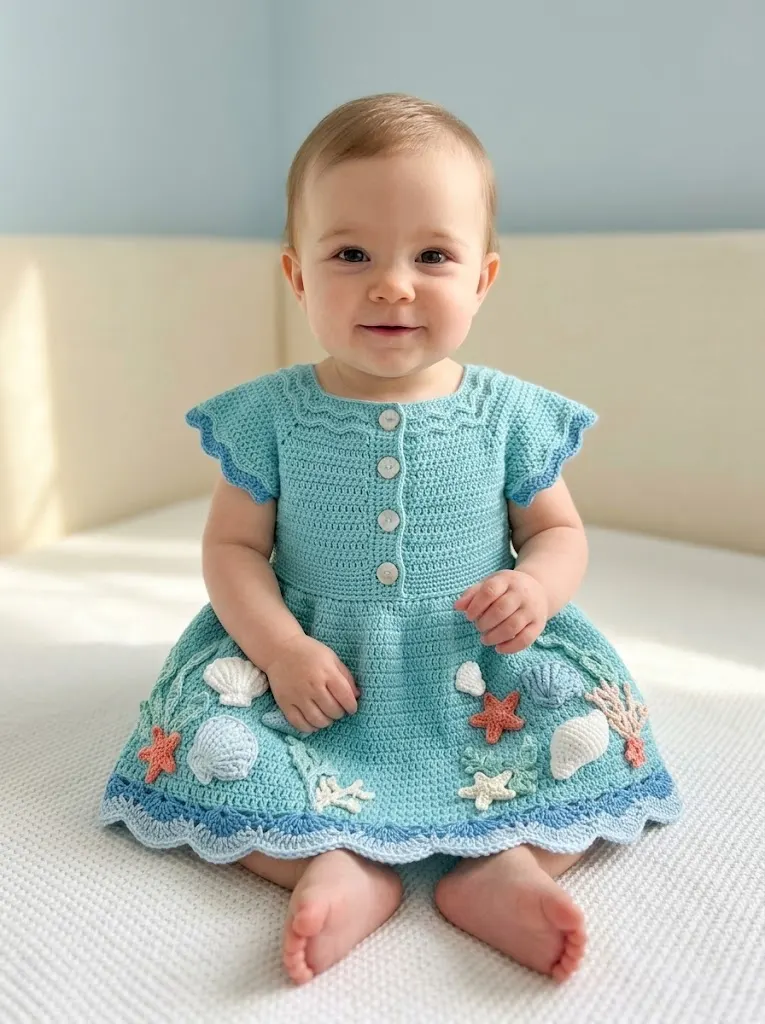
Looking for the perfect handmade gift for a baby shower or that sweet little one in your life? This Ocean Wave Baby Dress keeps tiny humans looking adorable while giving you a project that works up faster than you might expect. The bodice uses simple single and double crochet stitches, while the skirt features a gentle flare and a stunning ocean-themed border with crocheted seashells, starfish, and coral appliqués. This dress fits babies approximately 6 to 12 months and makes an unforgettable gift that parents will treasure. It also works beautifully for charity donations to organizations supporting families in need.
Why You Will Love This Crochet Baby Dress Pattern
This ocean wave baby dress combines beginner-friendly stitches with impressive decorative elements. The main body of the dress uses straightforward construction that even confident beginners can tackle. The real magic happens at the hem, where layered wave edging in graduating shades of blue creates that beautiful ocean floor effect.
The appliqués might look complicated, but I promise they are simpler than they appear. Each seashell, starfish, and coral piece is worked separately and sewn on at the end. This means you can customize the placement however you like. Want more starfish? Add them. Prefer a simpler look? Skip a few shells. You are in complete control.
The button-front closure runs down the center bodice, making diaper changes so much easier for caregivers. Those small details matter when you are making something for actual daily use.
Skill Level
Intermediate beginner to intermediate. You should be comfortable with basic stitches and increasing. The appliqués add complexity, but each one is small and quick to complete.
Finished Measurements
Materials Needed for This Crochet Tutorial
Yarn
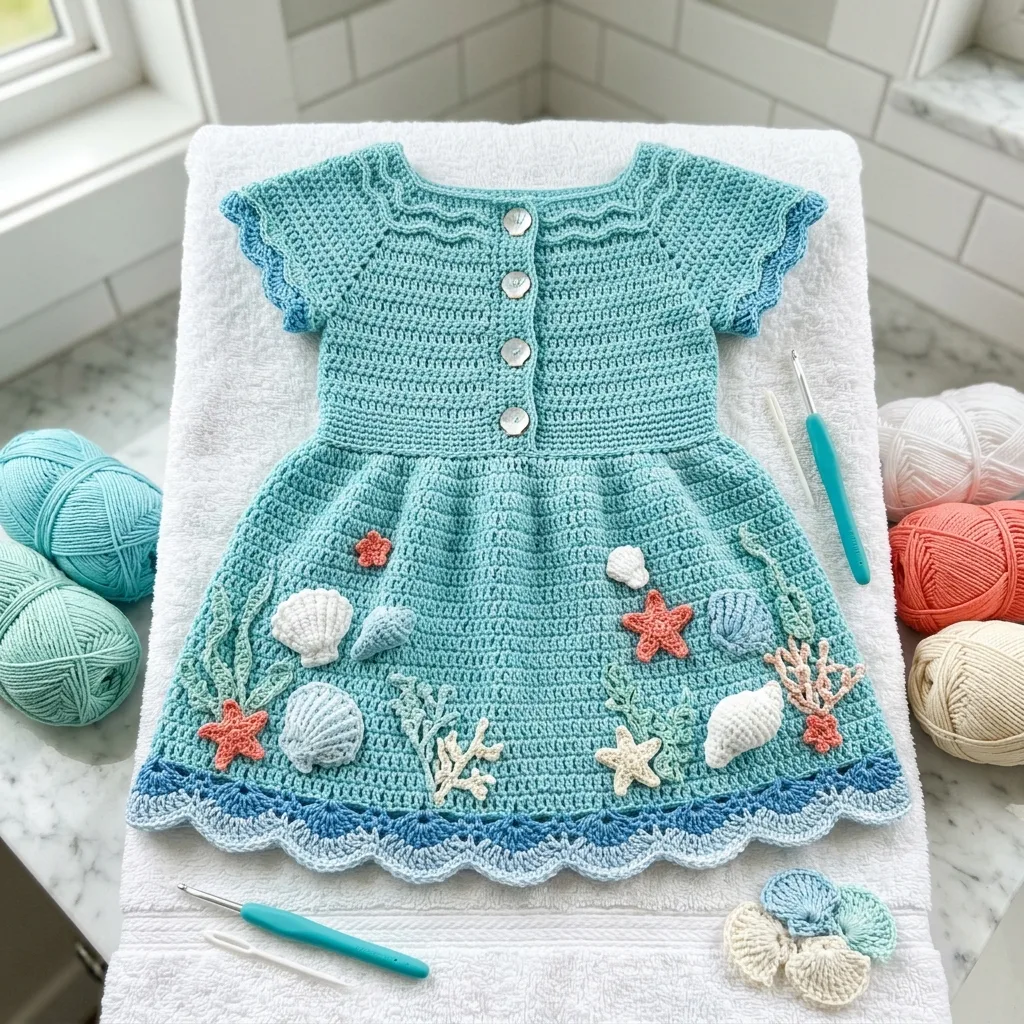
This pattern uses light worsted weight yarn (category 3) in the following colors and approximate amounts:
A soft cotton or cotton blend works beautifully for baby garments. Look for machine-washable options since baby clothes need frequent laundering.
Tools
Gauge
18 stitches and 20 rows = 4 inches in single crochet using 4.0mm hook
Please check your gauge before starting. A dress that comes out too small or too large will not fit properly. Make a small swatch, measure it, and adjust your hook size if needed.
Abbreviations and Stitch Definitions
Let me walk you through every stitch abbreviation you will see in this pattern:
Ch = Chain. Wrap yarn over hook, pull through loop on hook. This creates the foundation for most crochet projects.
Sl st = Slip stitch. Insert hook, yarn over, pull through both the stitch and the loop on your hook in one motion. Used for joining and moving across stitches without adding height.
Sc = Single crochet. Insert hook into stitch, yarn over, pull up a loop (2 loops on hook), yarn over, pull through both loops. This is the shortest basic stitch.
Dc = Double crochet. Yarn over, insert hook into stitch, yarn over and pull up a loop (3 loops on hook), yarn over and pull through 2 loops (2 loops remain), yarn over and pull through remaining 2 loops. Creates a taller stitch with nice drape.
Hdc = Half double crochet. Yarn over, insert hook, yarn over and pull up a loop (3 loops on hook), yarn over and pull through all 3 loops at once. Height falls between single and double crochet.
Inc = Increase. Work 2 stitches into the same stitch. This adds width to your work.
Dec = Decrease. Work 2 stitches together as one. This removes width.
Sk = Skip. Miss the indicated stitch and work into the next one.
RS = Right side. The side that will face outward when worn.
WS = Wrong side. The side that faces the body.
Step by Step Crochet Pattern Instructions
Bodice Back Panel
The bodice is worked flat in rows, starting from the bottom edge.
Foundation: With MC and 4.0mm hook, ch 42.
Row 1 (RS): Sc in 2nd ch from hook and in each ch across. (41 sts)
Row 2: Ch 1, turn. Sc in each st across. (41 sts)
Rows 3 through 20: Repeat Row 2. (41 sts)
You should now have a rectangular panel measuring approximately 9 inches wide and 4 inches tall.
Shape Armholes
Row 21: Ch 1, turn. Sl st in first 4 sts, ch 1, sc in next 33 sts, leave remaining 4 sts unworked. (33 sts)
Row 22: Ch 1, turn. Sc2tog over first 2 sts, sc across to last 2 sts, sc2tog. (31 sts)
Row 23: Ch 1, turn. Sc in each st across. (31 sts)
Rows 24 through 30: Repeat Row 23. (31 sts)
Shape Right Shoulder
Row 31: Ch 1, turn. Sc in first 8 sts, leave remaining sts unworked. (8 sts)
Row 32: Ch 1, turn. Sc2tog, sc across. (7 sts)
Fasten off and weave in ends.
Shape Left Shoulder
Skip center 15 stitches for neck opening. Join MC to next stitch with sl st.
Row 31: Ch 1, sc in same st and in next 7 sts. (8 sts)
Row 32: Ch 1, turn. Sc across to last 2 sts, sc2tog. (7 sts)
Fasten off.
Bodice Front Left Panel
Foundation: With MC, ch 23.
Row 1 (RS): Sc in 2nd ch from hook and in each ch across. (22 sts)
Rows 2 through 20: Ch 1, turn. Sc in each st across. (22 sts)
Shape Armhole
Row 21: Ch 1, turn. Sl st in first 4 sts, ch 1, sc in remaining 18 sts. (18 sts)
Row 22: Ch 1, turn. Sc across to last 2 sts, sc2tog. (17 sts)
Rows 23 through 28: Ch 1, turn. Sc in each st across. (17 sts)
Shape Neckline
Row 29: Ch 1, turn. Sc in first 10 sts, leave remaining 7 sts unworked. (10 sts)
Row 30: Ch 1, turn. Sc2tog, sc across. (9 sts)
Row 31: Ch 1, turn. Sc across to last 2 sts, sc2tog. (8 sts)
Row 32: Ch 1, turn. Sc2tog, sc across. (7 sts)
Fasten off.
Bodice Front Right Panel
Work same as Front Left Panel through Row 20, reversing shaping. This panel will mirror the left side.
Row 21: Ch 1, turn. Sc in first 18 sts, leave last 4 sts unworked. (18 sts)
Continue reversing all shaping through Row 32 to create matching shoulder. Fasten off.
Skirt
The skirt attaches directly to the bottom edge of the joined bodice and is worked in the round with increases for gentle flare.
Join all three bodice panels at shoulders using sl st or your preferred seaming method. Join side seams from bottom of bodice up to armhole openings.
Round 1: With RS facing, join MC at center back. Ch 1, work 82 sc evenly around entire bottom edge of bodice, sl st to first sc to join. (82 sts)
Round 2: Ch 3 (counts as dc throughout skirt), dc in each st around, sl st to top of ch-3. (82 dc)
Round 3: Ch 3, dc in same st, dc in next 3 sts, *2 dc in next st, dc in next 3 sts*, repeat from * around, sl st to join. (102 sts)
Rounds 4 through 6: Ch 3, dc in each st around, sl st to join. (102 sts)
Round 7: Ch 3, dc in same st, dc in next 4 sts, *2 dc in next st, dc in next 4 sts*, repeat from * around, sl st to join. (122 sts)
Rounds 8 through 12: Ch 3, dc in each st around, sl st to join. (122 sts)
Round 13: Ch 3, dc in same st, dc in next 5 sts, *2 dc in next st, dc in next 5 sts*, repeat from * around, sl st to join. (142 sts)
Rounds 14 through 20: Ch 3, dc in each st around, sl st to join. (142 sts)
Fasten off MC.
Wave Border
This is where the ocean theme really comes to life. You will work three rounds of wave edging in graduating blues.
Wave Round 1 (Color A, Medium Blue):
Join Color A with sl st to any st.
*Sc in next st, hdc in next st, dc in next 2 sts, hdc in next st, sc in next st*, repeat from * around, sl st to join. Fasten off.
Wave Round 2 (Color B, Light Blue):
Join Color B in any sc from previous round.
*Sc in sc, hdc in hdc, dc in next 2 dc, hdc in hdc, sc in sc*, repeat from * around, sl st to join. Fasten off.
Wave Round 3 (Color C, White):
Join Color C in any sc.
Work scallop edging: *Sk 1 st, 5 dc in next st (shell made), sk 1 st, sl st in next st*, repeat from * around. Fasten off.
Sleeves (Make 2)
With RS facing, join MC at center of underarm.
Round 1: Ch 1, work 28 sc evenly around armhole opening, sl st to join. (28 sts)
Rounds 2 through 5: Ch 1, sc in each st around, sl st to join. (28 sts)
Ruffle Round: Ch 3, dc in same st, 2 dc in each st around, sl st to join. (56 sts)
Edging Round: Ch 1, sc in each st around, sl st to join. Fasten off.
Neckline Edging
Round 1: With RS facing, join MC at center back neck. Work sc evenly around entire neckline, sl st to join.
Round 2: Ch 3, dc in same st, 2 dc in each st around for ruffle effect, sl st to join.
Round 3: Ch 1, sc in each st around, sl st to join. Fasten off.
Button Band (Right Front)
Row 1: With RS facing, join MC at bottom of right front opening. Work sc evenly up front edge to neckline. Turn.
Row 2: Ch 1, sc in each st across. Fasten off.
Buttonhole Band (Left Front)
Row 1: With RS facing, join MC at top of left front opening (at neckline). Work sc evenly down front edge. Turn.
Row 2: Ch 1, sc in first 2 sts, *ch 2, sk 2 sts, sc in next 6 sts*, repeat from * 4 more times for 5 buttonholes total, sc to end. Fasten off.
Ocean Appliqués
These small pieces bring the whole dress together. Work each with the 3.5mm hook for tighter stitches and better definition.
Seashell (Make 3 to 4)
With Color C or Color E, ch 10.
Row 1: Sc in 2nd ch from hook, hdc in next ch, dc in next 2 ch, hdc in next ch, sc in next ch, sl st in next ch, sc in next ch, hdc in last ch. Do not turn.
Row 2: Working along opposite side of foundation chain, hdc in first ch, sc in next ch, sl st in next ch, sc in next ch, hdc in next ch, dc in next 2 ch, hdc in next ch, sc in last ch.
Fasten off, leaving long tail for sewing.
Starfish (Make 3 to 4)
With Color D, make a magic ring.
Round 1: Ch 1, 5 sc into ring, sl st to join. (5 sts)
Arm 1: Ch 4, sl st in 2nd ch from hook, sc in next ch, hdc in next ch, sl st into next sc of center ring.
Repeat Arm instructions 4 more times for remaining arms. Fasten off.
Coral Branch (Make 2 to 3)
With Color D or Color F, ch 12.
Sl st in 2nd ch from hook, *ch 4, sl st in 2nd ch from hook, sc in next ch, sl st in next ch, sl st in next ch of main chain*, repeat from * twice more, sl st in remaining chains.
Fasten off.
Seaweed Strand (Make 2 to 3)
With Color F, ch 20.
*3 sc in 2nd ch from hook*, sc in next ch, *3 sc in next ch*, sc in next ch, continue alternating to create wavy strand.
Fasten off.
Assembly and Finishing
1. Weave in all ends on the dress body and all appliqués.
2. Block the dress by wetting it gently and laying flat to dry. This evens out your stitches and helps the skirt lay nicely.
3. Arrange appliqués on the skirt before sewing. I recommend placing larger shells and coral near the wave border, with starfish scattered between. Pin everything in place first.
4. Sew appliqués using matching thread and small whip stitches. Tack down securely since babies grab at everything.
5. Attach buttons to the right front band, aligning with buttonholes. Use sewing thread and secure tightly.
Beginner Friendly Tips for This How to Crochet Tutorial
Feeling nervous about the appliqués? Start with just one or two seashells. You can always add more later.
Worried about the wave border? Practice the shell stitch on a small swatch first. Once you get the rhythm, it works up quickly.
Not sure about color placement? Lay your appliqués out on a towel in the shape of the skirt. Take a photo to remember your favorite arrangement.
First time making a baby garment? This dress is more forgiving than fitted adult clothing. Babies grow fast, so a slightly larger fit just means more wear time.
Customization Ideas
This pattern adapts beautifully to different looks:
I really hope you enjoy making this ocean wave baby dress as much as I enjoyed designing it. There is something so satisfying about creating a garment that combines practical wearability with beautiful decorative touches. The look on a parent’s face when they receive a handmade gift like this? Absolutely priceless.
If you make this dress, I would absolutely love to see it. Tag me on Instagram or share your finished project in our Facebook group. Seeing your color choices and creative touches genuinely makes my day.
Save this pattern to your Pinterest boards so you can find it when you are ready to start stitching, and please drop a comment below if you make one. I love hearing which colors you chose and how your little recipient looked wearing it.