
I’ve had this little guy sketched in my notebook for almost two years now. Back then, I was obsessed with reptiles and wanted to create something that captured all those quirky chameleon features. The curled tail, the bulging eyes, that distinctive casque on top of the head. I finally sat down and brought him to life, and honestly? He’s become one of my favorite makes. Meet my Autumn Spice Chameleon, a cuddly amigurumi friend with serious personality.
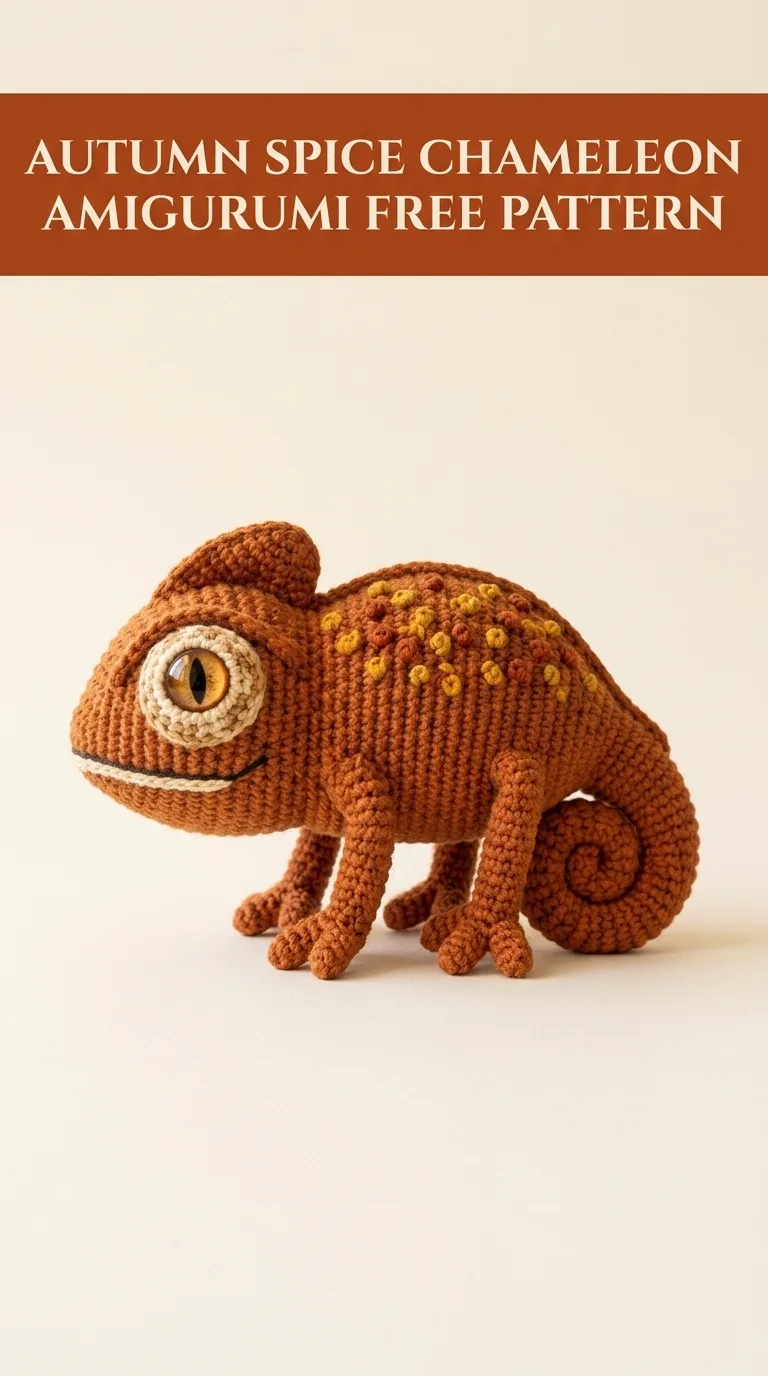
This crochet chameleon pattern combines simple single crochet construction with a few clever shaping techniques that give him his signature look. If you’ve made a basic amigurumi ball before, you already have the skills you need. The textured spots on his back add visual interest without complicated colorwork. Just surface crochet added at the end. Easy.
Let’s get you started on your own little color-changing companion.
Why You’ll Love This Crochet Chameleon Pattern
This amigurumi chameleon stands out from typical stuffed animals because of his realistic proportions and characterful details. The large protruding eyes with their gradient coloring give him an alert, curious expression. His curled tail actually spirals into that classic chameleon coil. The casque, that helmet-like ridge on his head, adds authenticity without being difficult to construct.
The warm autumn colorway uses rich burnt orange as the main color with mustard yellow accents. But you can absolutely customize the colors to create a green tropical chameleon, a blue fantasy version, or even a rainbow gradient if you’re feeling adventurous.
Finished size: Approximately 6 inches long from nose to base of tail, 4 inches tall. The curled tail adds another 2 inches to the overall length.
Skill level: Intermediate. You should be comfortable with basic amigurumi techniques including working in continuous rounds, increasing, decreasing, and sewing pieces together. The shaping involves some unusual decrease placements, but I’ll walk you through each step.
Materials Needed for Your Crochet Chameleon
Yarn:
Hook: 3.0mm crochet hook. Going down a hook size from the yarn recommendation creates tighter stitches so stuffing doesn’t show through.
Notions:
Abbreviations and Stitch Definitions
Before we dive into the pattern, let me explain each stitch you’ll use:
ch = chain. Wrap yarn over hook and pull through the loop on your hook. This creates the foundation for your work.
sc = single crochet. Insert hook into stitch, yarn over and pull up a loop (two loops on hook), yarn over and pull through both loops.
inc = invisible increase. Work two single crochet stitches into the same stitch. This adds one stitch to your round. For example, if you have 6 stitches and work an increase in each one, you’ll end with 12 stitches.
dec = invisible decrease. Insert hook through the front loops only of the next two stitches, yarn over and pull through both front loops, yarn over and pull through both loops on hook. This removes one stitch and creates a neater finish than a standard decrease.
sl st = slip stitch. Insert hook into stitch, yarn over and pull through both the stitch and the loop on your hook in one motion.
FLO = front loop only. Work into just the front loop of the stitch instead of both loops.
BLO = back loop only. Work into just the back loop of the stitch.
MR = magic ring. Create an adjustable loop that can be pulled tight to close the center of your work completely.
Crochet Chameleon Pattern Instructions
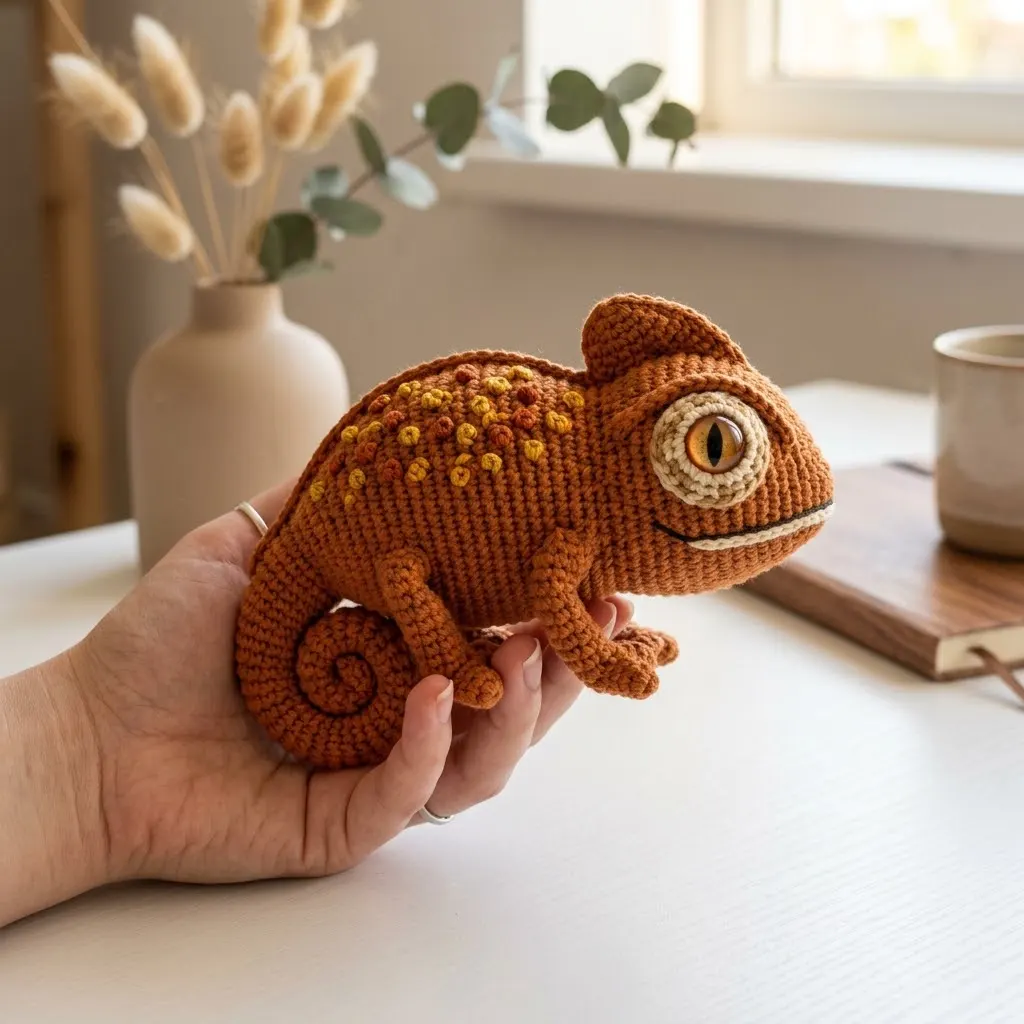
Body
The body is worked in one continuous piece from nose to back, then shaped with strategic decreases.
With MC:
Rnd 1: 6 sc in MR (6 sts)
Rnd 2: Inc in each st around (12 sts)
Rnd 3: (Sc 1, inc) 6 times (18 sts)
Rnd 4: (Sc 2, inc) 6 times (24 sts)
Rnd 5: (Sc 3, inc) 6 times (30 sts)
Rnd 6: (Sc 4, inc) 6 times (36 sts)
Rnds 7-9: Sc in each st around (36 sts)
Rnd 10: (Sc 5, inc) 6 times (42 sts)
Rnds 11-14: Sc in each st around (42 sts)
Rnd 15: (Sc 6, inc) 6 times (48 sts)
Rnds 16-22: Sc in each st around (48 sts)
This is the widest part of the body. Now we begin decreasing.
Rnd 23: (Sc 6, dec) 6 times (42 sts)
Rnds 24-25: Sc in each st around (42 sts)
Rnd 26: (Sc 5, dec) 6 times (36 sts)
Rnds 27-28: Sc in each st around (36 sts)
Begin stuffing the body firmly. Continue adding stuffing as you work the remaining rounds.
Rnd 29: (Sc 4, dec) 6 times (30 sts)
Rnd 30: Sc in each st around (30 sts)
Rnd 31: (Sc 3, dec) 6 times (24 sts)
Rnd 32: (Sc 2, dec) 6 times (18 sts)
Rnd 33: (Sc 1, dec) 6 times (12 sts)
Finish stuffing firmly.
Rnd 34: Dec 6 times (6 sts)
Fasten off, leaving a long tail. Use your yarn needle to weave through the front loops of the remaining 6 stitches, pull tight to close, and secure.
Eyes (Make 2)
The eyes are the star feature of this amigurumi chameleon. They’re constructed in layers to create that distinctive bulging look.
Eye Base (Make 2) with CC1:
Rnd 1: 6 sc in MR (6 sts)
Rnd 2: Inc in each st around (12 sts)
Rnd 3: (Sc 1, inc) 6 times (18 sts)
Rnd 4: (Sc 2, inc) 6 times (24 sts)
Rnds 5-8: Sc in each st around (24 sts)
Insert the 12mm safety eye in the center of the piece, between rounds 3 and 4.
Rnd 9: (Sc 2, dec) 6 times (18 sts)
Stuff the eye firmly so it holds its rounded shape.
Rnd 10: (Sc 1, dec) 6 times (12 sts)
Rnd 11: Dec 6 times (6 sts)
Fasten off, leaving a long tail for sewing. Close the hole as you did for the body.
Eye Ring (Make 2) with MC:
Rnd 1: 6 sc in MR (6 sts)
Rnd 2: Inc in each st around (12 sts)
Rnd 3: (Sc 1, inc) 6 times (18 sts)
Rnd 4: Working in BLO, sc in each st around (18 sts)
Fasten off, leaving a tail for sewing. This creates a flat ring that sits around the cream eye base.
Casque (Head Ridge)
This piece creates that signature chameleon silhouette.
With MC:
Rnd 1: 4 sc in MR (4 sts)
Rnd 2: Inc in each st around (8 sts)
Rnd 3: (Sc 1, inc) 4 times (12 sts)
Rnd 4: (Sc 2, inc) 4 times (16 sts)
Rnds 5-6: Sc in each st around (16 sts)
Rnd 7: (Sc 2, dec) 4 times (12 sts)
Do not stuff. Flatten the piece so it creates a ridge shape.
Fasten off, leaving a long tail for sewing.
Legs (Make 4)
The legs are simple tubes with split toes at the end.
With MC:
Rnd 1: 6 sc in MR (6 sts)
Rnd 2: Inc in each st around (12 sts)
Rnds 3-8: Sc in each st around (12 sts)
Stuff lightly. The legs should be slightly flexible.
Fasten off, leaving a long tail for sewing.
Toes: Using MC and your yarn needle, create split toes by making several chain stitches from the end of each leg and securing them back into the leg base. Each foot should have 2-3 small toe bumps.
Tail
The spiral tail is worked flat, then curled during assembly.
With MC:
Row 1: Ch 25, sc in 2nd ch from hook and each ch across (24 sts)
Row 2: Ch 1, turn, 2 sc in first st, sc in each st to last st, 2 sc in last st (26 sts)
Row 3: Ch 1, turn, 2 sc in first st, sc in each st to last st, 2 sc in last st (28 sts)
Rows 4-6: Ch 1, turn, sc in each st across (28 sts)
Row 7: Ch 1, turn, dec, sc in each st to last 2 sts, dec (26 sts)
Row 8: Ch 1, turn, dec, sc in each st to last 2 sts, dec (24 sts)
Row 9: Ch 1, turn, dec, sc in each st to last 2 sts, dec (22 sts)
Continue decreasing 2 stitches each row until 6 stitches remain.
Fasten off, leaving a long tail. Roll the piece into a tube shape, starting from the narrow end, and whipstitch the edges together as you go. The tail will naturally want to curl.
Assembly Instructions
Now comes the fun part. Bringing your chameleon to life.
Step 1: Position the eyes on either side of the head area (rounds 7-12 of the body). The eyes should bulge outward and sit fairly high on the head. Pin in place and sew securely using the cream yarn tail, then attach the orange eye rings around each eye base.
Step 2: Attach the casque to the top of the head, positioned between and slightly behind the eyes. It should point upward and backward, creating that distinctive chameleon profile.
Step 3: Sew the front legs to the body at approximately round 18, positioned on the lower sides. The back legs attach around round 26.
Step 4: Attach the wide end of the tail to the back of the body, letting it curl naturally downward and inward.
Step 5: Using black embroidery floss, create a curved mouth line beneath the eyes with a simple running stitch.
Adding the Textured Spots
The spots are added using surface crochet after assembly.
With CC2:
Insert your hook through the fabric of the body, yarn over, and pull up a loop. Create small clusters of 3-4 chain stitches, then insert your hook back into the fabric nearby to anchor. This creates raised bobble-like spots.
Scatter these spots across the back and upper sides of the body, concentrating them near the spine area and fading toward the belly. Looking at the finished chameleon, you want organic irregular placement. Not perfectly even rows.
Weave in all ends securely.
Tips for Best Results
Tension matters: Keep your stitches tight and consistent throughout. Loose stitches will show the stuffing and make your chameleon look lumpy.
Stuff as you go: Don’t wait until the end to stuff larger pieces. Add fiberfill gradually to ensure even distribution and proper shaping.
Pin before sewing: Take time to position all pieces with pins before committing to stitches. Step back and look at your chameleon from different angles.
Eye placement: The eyes make or break amigurumi. Spend extra time getting them symmetrical and at the right angle. These chameleon eyes should point slightly forward and outward.
Customization Ideas
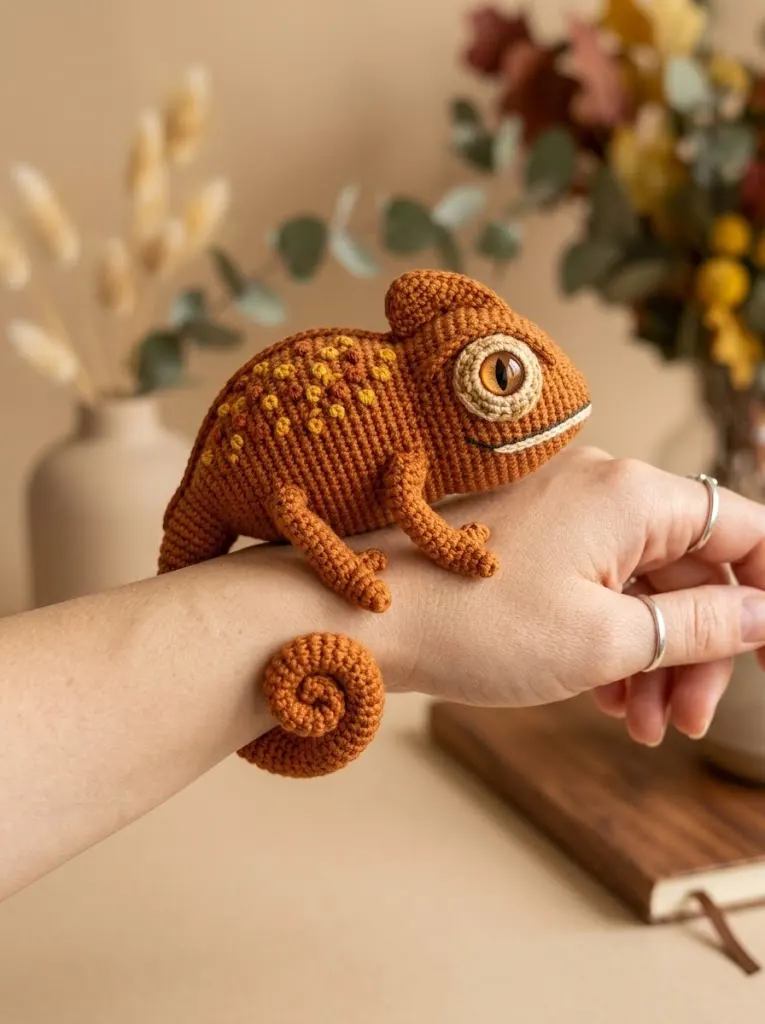
This crochet chameleon pattern works beautifully in any color combination. Try emerald green with lime spots for a tropical look. Use pastel rainbow stripes for a whimsical nursery gift. Create a purple and turquoise version for fantasy vibes.
You can also adjust the size by using different yarn weights. Sport weight yarn with a 2.5mm hook creates a smaller chameleon, perfect for keychains. Bulky yarn with a 5mm hook makes a larger huggable version.
I really hope you enjoy making this autumn spice chameleon amigurumi as much as I enjoyed designing him. He’s got so much personality sitting on my desk, and I know yours will too. If you make one, I would absolutely love to see your version. Tag me on Instagram or share in my Facebook group.
If you loved this crochet chameleon pattern, save it to your Pinterest boards so you can find it when you’re ready to start. And please drop a comment below if you give this pattern a try. I read every single one, and seeing your creations honestly makes my day.