
I set out to design a baby romper that would turn heads at every holiday gathering and special occasion. My goals were clear: I wanted ruffled tiers that actually stayed put, a classic nautical vibe with crisp white trim, and a fit that would work for wiggly babies. The bow detail at the waist was non-negotiable because every sailor-inspired outfit needs that finishing touch. I am SO pleased with how this Navy Blue Nautical Baby Romper turned out, and I cannot wait for you to make one too!
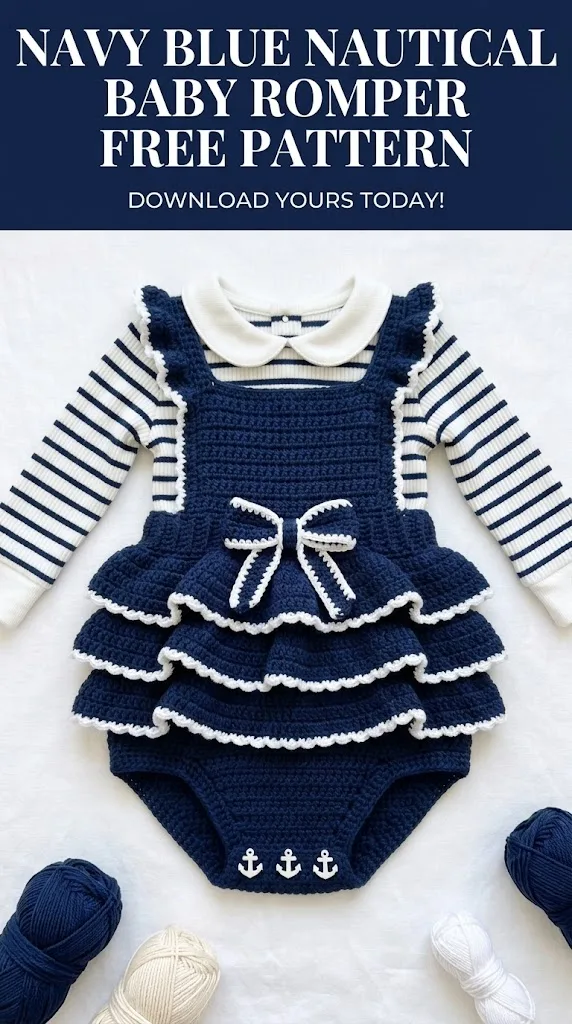
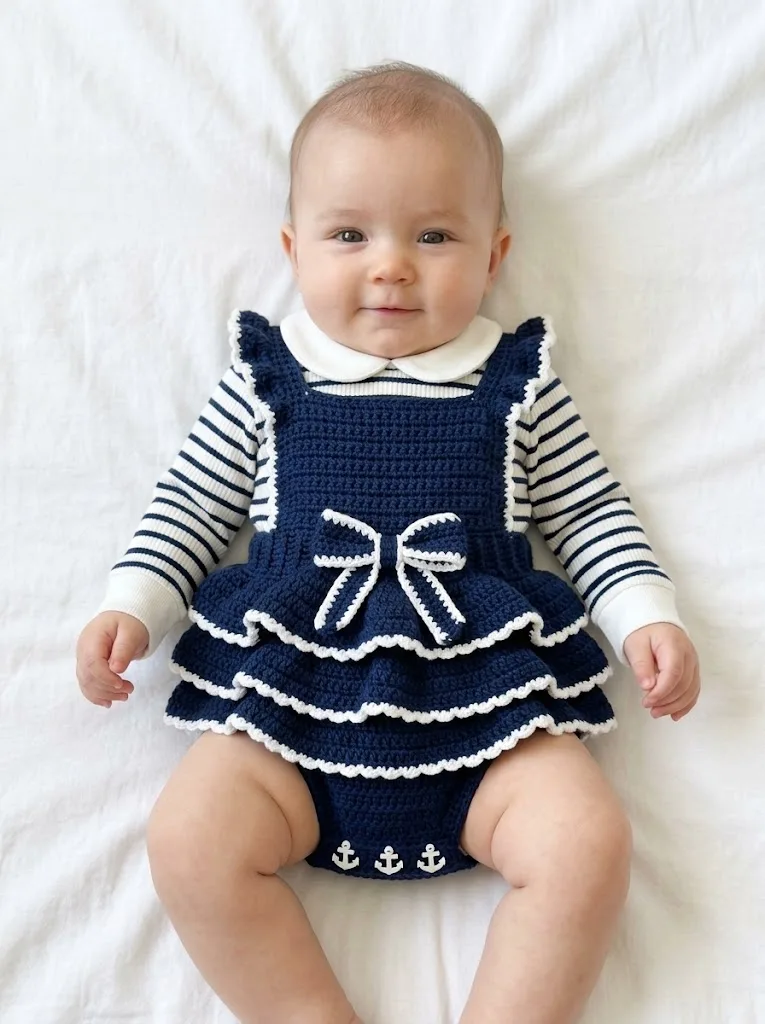
This crochet pattern combines classic construction techniques with adorable design elements. The result is a timeless piece that photographs beautifully and feels comfortable against baby’s skin. Whether you are making this for a Christmas photo session, a nautical-themed birthday party, or just because navy blue looks stunning on little ones, this romper delivers.
Why You Will Love This Baby Romper Crochet Pattern
This nautical baby romper crochet tutorial creates a showstopping piece that looks far more complicated than it actually is. The construction is straightforward once you understand the sections. You will work the bodice first, then add the ruffled skirt tiers, and finish with the bottom portion. Each piece builds on basic stitches that most crocheters already know.
The tiered ruffles give this romper its wow factor. Three layers of navy ruffles edged in white create movement and dimension. The decorative bow at the waist adds a sweet focal point. Small anchor appliqués on the bottom section complete the nautical theme perfectly.
Skill level: Intermediate. You should be comfortable with increasing, decreasing, and working in rows. If you have made a basic baby garment before, you can absolutely handle this project.
Materials Needed
Gathering your supplies before starting makes the whole process smoother. Here is everything you need for this step by step crochet baby romper:
Yarn:
Hook:
Notions:
Finished Measurements:
This pattern is written for size 6-12 months. Chest measures approximately 18 inches. Length from shoulder to bottom edge is approximately 14 inches.
Gauge
Getting your gauge right matters for fit, especially with baby garments. Using the 4.0mm hook and worsted weight yarn:
14 stitches and 16 rows = 4 inches in single crochet
Take time to make a gauge swatch. If your swatch is too small, go up a hook size. If it is too large, go down a hook size. This extra step saves frustration later.
Abbreviations and Stitch Definitions
Let me walk you through every stitch used in this pattern. Even if you know these stitches well, a quick refresher never hurts.
Ch = Chain. Wrap yarn over hook and pull through the loop on your hook. This creates the foundation for most crochet projects.
Sl st = Slip stitch. Insert hook into stitch, yarn over, pull through both the stitch and the loop on your hook in one motion. Used for joining rounds and creating invisible seams.
Sc = Single crochet. Insert hook into stitch, yarn over and pull up a loop (2 loops on hook), yarn over and pull through both loops. A short, tight stitch that creates sturdy fabric.
Hdc = Half double crochet. Yarn over, insert hook into stitch, yarn over and pull up a loop (3 loops on hook), yarn over and pull through all 3 loops. Slightly taller than single crochet.
Dc = Double crochet. Yarn over, insert hook into stitch, yarn over and pull up a loop (3 loops on hook), yarn over and pull through 2 loops, yarn over and pull through remaining 2 loops. Creates a taller, more open fabric.
Inc = Increase. Work 2 stitches into the same stitch. Adds one stitch to your count.
Dec = Decrease (sc2tog). Insert hook into first stitch, pull up a loop, insert hook into next stitch, pull up a loop (3 loops on hook), yarn over and pull through all 3 loops. Removes one stitch from your count.
BLO = Back loop only. Work into just the back loop of the stitch instead of both loops. Creates a ribbed texture.
Pattern Instructions
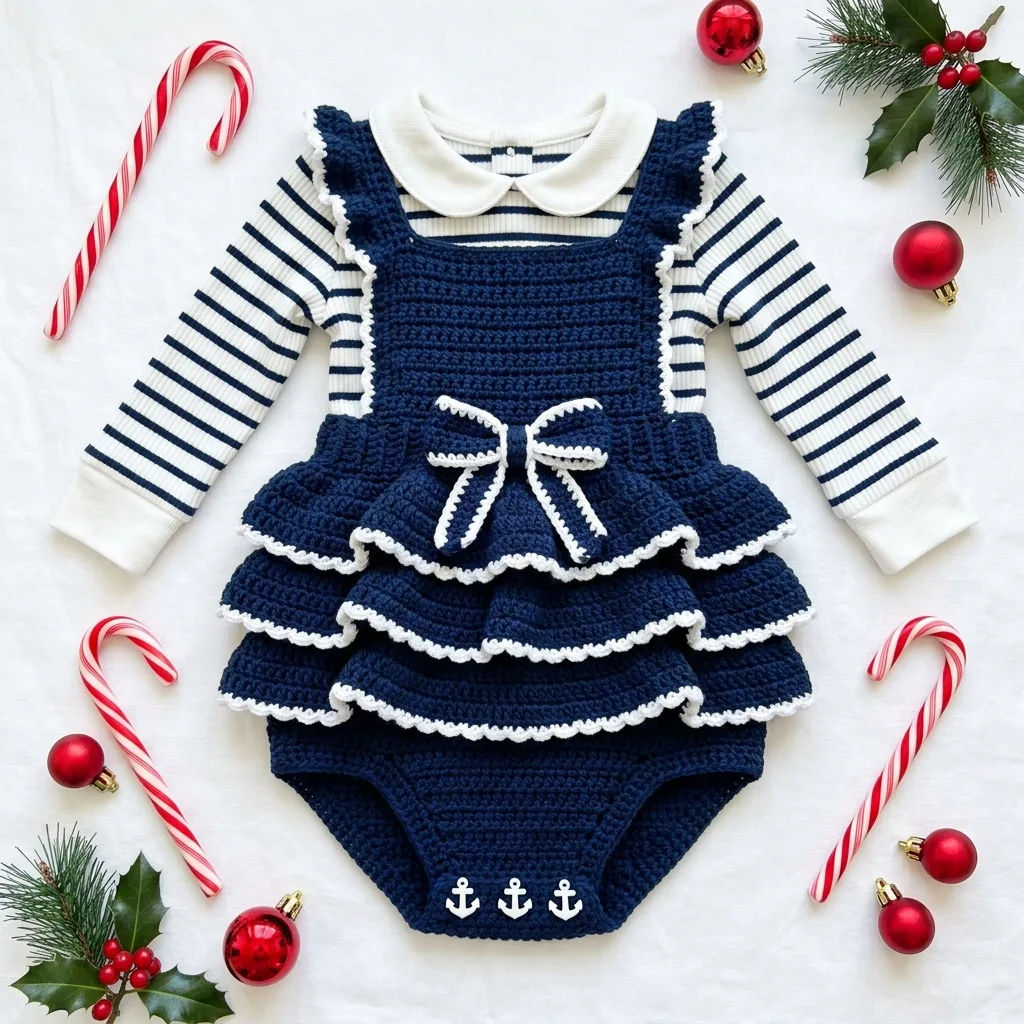
Bodice Front Panel
The bodice creates the structured top portion of the romper. You will work it flat in rows.
With navy yarn and 4.0mm hook:
Row 1: Ch 33, sc in 2nd ch from hook and in each ch across, turn. (32 sts)
Row 2: Ch 1, sc in BLO of each st across, turn. (32 sts)
Rows 3-6: Repeat Row 2. (32 sts)
This creates the ribbed texture you see across the chest area. The back loop only technique gives those horizontal ridges.
Row 7: Ch 1, sc in both loops of each st across, turn. (32 sts)
Rows 8-14: Ch 1, sc in each st across, turn. (32 sts)
Shape Armholes:
Row 15: Ch 1, skip first 3 sts, sc in next 26 sts, leave remaining 3 sts unworked, turn. (26 sts)
Row 16: Ch 1, dec over first 2 sts, sc in each st to last 2 sts, dec over last 2 sts, turn. (24 sts)
Rows 17-20: Ch 1, sc in each st across, turn. (24 sts)
Shape First Strap:
Row 21: Ch 1, sc in first 6 sts, turn. Leave remaining stitches unworked. (6 sts)
Rows 22-30: Ch 1, sc in each st across, turn. (6 sts)
Fasten off and weave in ends.
Shape Second Strap:
Skip center 12 stitches. Join navy yarn to next stitch with a sl st.
Row 21: Ch 1, sc in same st and next 5 sts, turn. (6 sts)
Rows 22-30: Ch 1, sc in each st across, turn. (6 sts)
Fasten off.
Bodice Back Panel
The back panel is nearly identical to the front. This keeps construction simple while ensuring a good fit.
Repeat Rows 1-20 of the Bodice Front Panel exactly.
Shape First Back Strap:
Row 21: Ch 1, sc in first 6 sts, turn. (6 sts)
Rows 22-28: Ch 1, sc in each st across, turn. (6 sts)
Fasten off.
Shape Second Back Strap:
Skip center 12 stitches. Join navy yarn to next stitch.
Row 21: Ch 1, sc in same st and next 5 sts, turn. (6 sts)
Rows 22-28: Ch 1, sc in each st across, turn. (6 sts)
Fasten off.
Joining the Bodice
Place front and back panels with right sides together. Using your yarn needle and navy yarn, whip stitch the side seams from the bottom edge up to the armhole shaping.
For the shoulder straps, you have two options. You can sew them together permanently, or you can add small buttons to the back straps and create buttonholes on the front straps. The button option makes dressing baby much easier.
To create buttonholes (optional):
On the front straps at Row 28, work: sc in first 2 sts, ch 2, skip 2 sts, sc in last 2 sts. This creates a small opening for the button.
Ruffle Skirt Section
This is where the magic happens! Each ruffle tier attaches to the bodice and cascades beautifully.
First Ruffle Tier:
With right side facing, join navy yarn at the side seam along the bottom edge of the bodice.
Round 1: Ch 1, work 64 sc evenly around the entire bottom edge of the bodice, sl st to first sc to join. (64 sts)
Round 2: Ch 3 (counts as dc), dc in same st, 2 dc in each st around, sl st to top of ch-3 to join. (128 sts)
Round 3: Ch 3, dc in each st around, sl st to top of ch-3 to join. (128 sts)
Round 4: Ch 3, dc in each st around, sl st to join. (128 sts)
White Trim:
Change to white yarn. Ch 1, sc in each st around, sl st to join. Fasten off white.
Second Ruffle Tier:
Join navy yarn to any stitch on Round 1 of the First Ruffle (the round attached to the bodice).
Round 1: Working in the unused loops of Round 1 from the first tier, ch 3, dc in same st, 2 dc in each st around, sl st to join. (128 sts)
Rounds 2-3: Ch 3, dc in each st around, sl st to join. (128 sts)
White Trim:
Change to white yarn. Ch 1, sc in each st around, sl st to join. Fasten off.
Third Ruffle Tier:
This tier attaches slightly lower. Working into Round 1 of the Second Ruffle (where it joins the first tier):
Round 1: Join navy yarn, ch 3, dc in same st, 2 dc in each st around, sl st to join. (128 sts)
Rounds 2-3: Ch 3, dc in each st around, sl st to join. (128 sts)
White Trim:
Change to white yarn. Ch 1, sc in each st around, sl st to join. Fasten off.
Bottom Section (Diaper Cover)
The bottom portion needs to be snug enough to stay in place but comfortable for baby. You will work this section separately and attach it to the bodice.
With navy yarn:
Row 1: Ch 41, sc in 2nd ch from hook and in each ch across, turn. (40 sts)
Rows 2-4: Ch 1, sc in each st across, turn. (40 sts)
Row 5: Ch 1, dec, sc to last 2 sts, dec, turn. (38 sts)
Rows 6-8: Ch 1, sc in each st across, turn. (38 sts)
Row 9: Ch 1, dec, sc to last 2 sts, dec, turn. (36 sts)
Rows 10-12: Ch 1, sc in each st across, turn. (36 sts)
Row 13: Ch 1, dec, sc to last 2 sts, dec, turn. (34 sts)
Rows 14-20: Ch 1, sc in each st across, turn. (34 sts)
Shaping for Leg Openings:
Row 21: Ch 1, sc in first 10 sts, turn. Leave remaining stitches unworked. (10 sts)
Rows 22-26: Ch 1, sc in each st across, turn. (10 sts)
Fasten off.
Skip center 14 stitches. Join yarn to next stitch.
Row 21: Ch 1, sc in same st and next 9 sts, turn. (10 sts)
Rows 22-26: Ch 1, sc in each st across, turn. (10 sts)
Fasten off.
Make a second identical bottom panel for the back.
Assembly
1. Place front and back bottom panels with right sides together.
2. Sew the side seams and the inner leg seams using whip stitch.
3. Turn right side out.
4. Pin the top edge of the bottom section to the inside of the bodice, just above where the third ruffle attaches.
5. Whip stitch securely in place, ensuring the ruffles drape naturally over the seam.
Decorative Bow
The bow is crocheted separately and sewn on. It adds that signature nautical charm.
With navy yarn:
Ch 31.
Row 1: Sc in 2nd ch from hook and in each ch across, turn. (30 sts)
Rows 2-8: Ch 1, sc in each st across, turn. (30 sts)
Fasten off, leaving a long tail.
White Edging:
Join white yarn at any corner. Work sc evenly around all four edges of the rectangle, placing 3 sc in each corner. Sl st to join. Fasten off.
Bow Center:
With navy yarn, ch 11. Sc in 2nd ch from hook and in each ch across. (10 sts)
Work 6 more rows of 10 sc each. Fasten off.
Assembly:
Pinch the large rectangle in the center to create the bow shape. Wrap the smaller piece around the center tightly. Sew in place on the back. Attach the completed bow to the waist area of the romper at the center front.
Anchor Appliqués
For the anchors on the bottom section, I recommend purchasing small anchor buttons or embroidered appliqués. You can sew three evenly spaced across the front of the bottom section. If you prefer to crochet tiny anchors, keep in mind they require very fine thread and patience!
Armhole and Strap Edging
With white yarn and 3.5mm hook:
Join white yarn at the underarm of one armhole. Sc evenly around the entire armhole opening, working approximately 36-40 sc total. Sl st to join. Fasten off.
Repeat for the second armhole.
For the straps, join white yarn at the back corner of one strap. Sc evenly around the outer edges of both straps, working up one side, across the top, and down the other side. Fasten off.
Finishing Touches
Weave in all remaining ends securely. For baby items, I weave ends back and forth at least three times to prevent them from working loose during washing.
Block the romper gently by dampening it and laying it flat to dry. This evens out your stitches and helps the ruffles lay beautifully.
If you added buttonholes, sew your buttons to the back straps now. Test the closure to make sure it fastens securely but is not too tight for easy dressing.
Care Instructions
This beginner friendly baby romper should be machine washed on a gentle cycle with cold water if made with acrylic yarn. Lay flat to dry to maintain the shape of the ruffles. If you used cotton yarn, you may tumble dry on low heat.
Customization Ideas
Want to put your own spin on this crochet pattern? Here are some ideas:
This pattern also adapts well to different sizes. For 0-6 months, reduce your starting chain by 4 stitches on both the bodice and bottom sections. For 12-18 months, add 4 stitches to each starting chain and add 2 extra rows to the bodice length.
Troubleshooting Common Issues
Ruffles are too stiff: Your gauge may be too tight. Try going up a hook size for the ruffle sections only.
Ruffles are too floppy: Your gauge may be too loose. Try going down a hook size or adding an extra row to each ruffle tier.
Leg openings are too tight: Add a few extra rows to the bottom section leg shaping, or use a larger hook for the leg edging.
Straps keep falling off baby’s shoulders: Make the straps slightly shorter by working fewer rows, or adjust the button placement.
I hope this Navy Blue Nautical Baby Romper crochet pattern brings you joy to make and brings smiles to everyone who sees the finished piece. There is nothing quite like watching a little one wear something you created with your own hands.
If you found this crochet tutorial helpful, I would love it if you saved this pattern to your Pinterest boards so you can find it easily when you are ready to start. And please, leave a comment below if you make this romper! I genuinely love seeing your finished projects and hearing about any modifications you try. Happy crocheting, friend!