
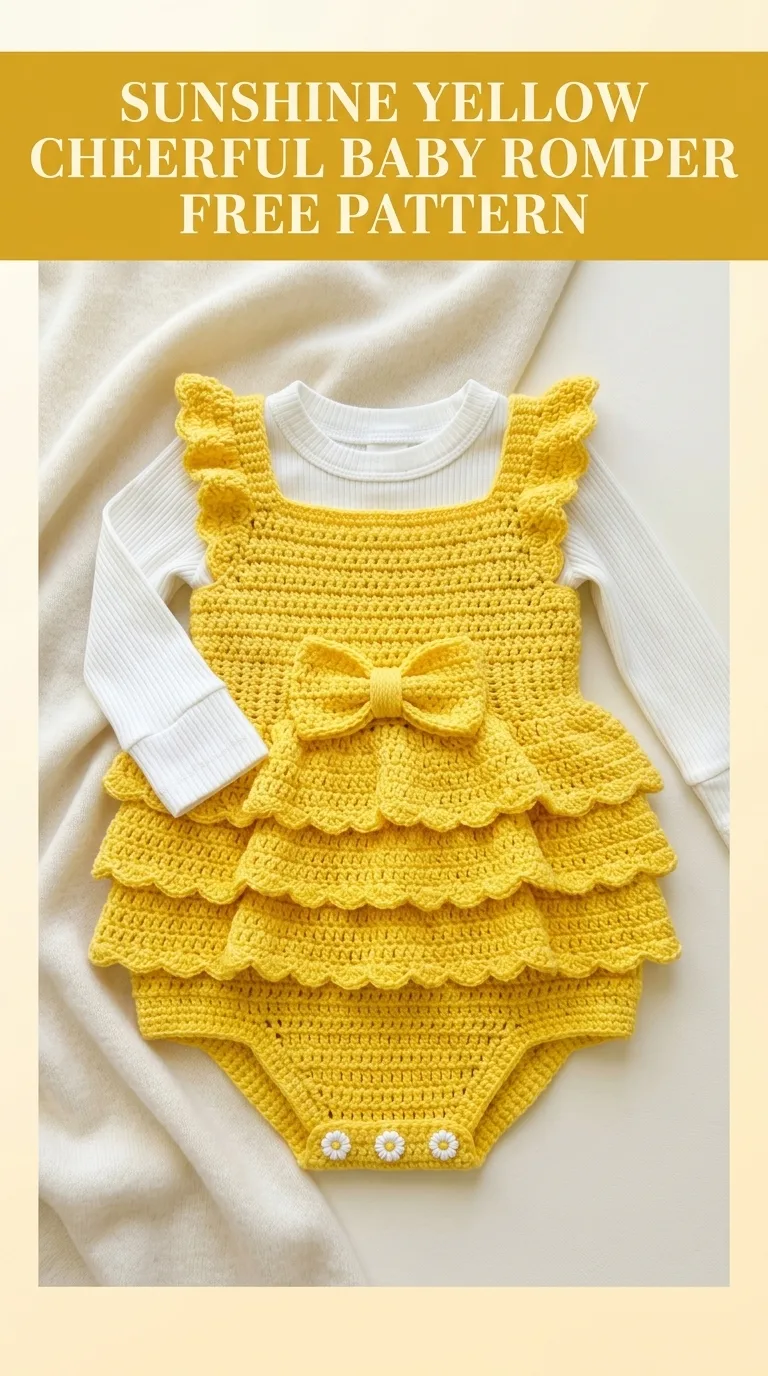
This adorable baby romper uses basic stitches to create a stunning layered look. You will work half double crochets for the body, simple chains for the straps, and shell stitches for those gorgeous scalloped ruffles. The pattern comes together in one piece with minimal seaming, making it perfect for confident beginners ready to try their first garment project.
Why You Will Love This Crochet Baby Romper Pattern
This cheerful baby romper brings together everything I love about crocheting for little ones. The bright sunshine yellow color practically radiates happiness, and those tiered ruffles add movement and dimension that photographs beautifully. Whether you are making this for a baby shower gift, a first birthday outfit, or just because you cannot resist crocheting tiny clothes, this pattern delivers impressive results without complicated techniques.
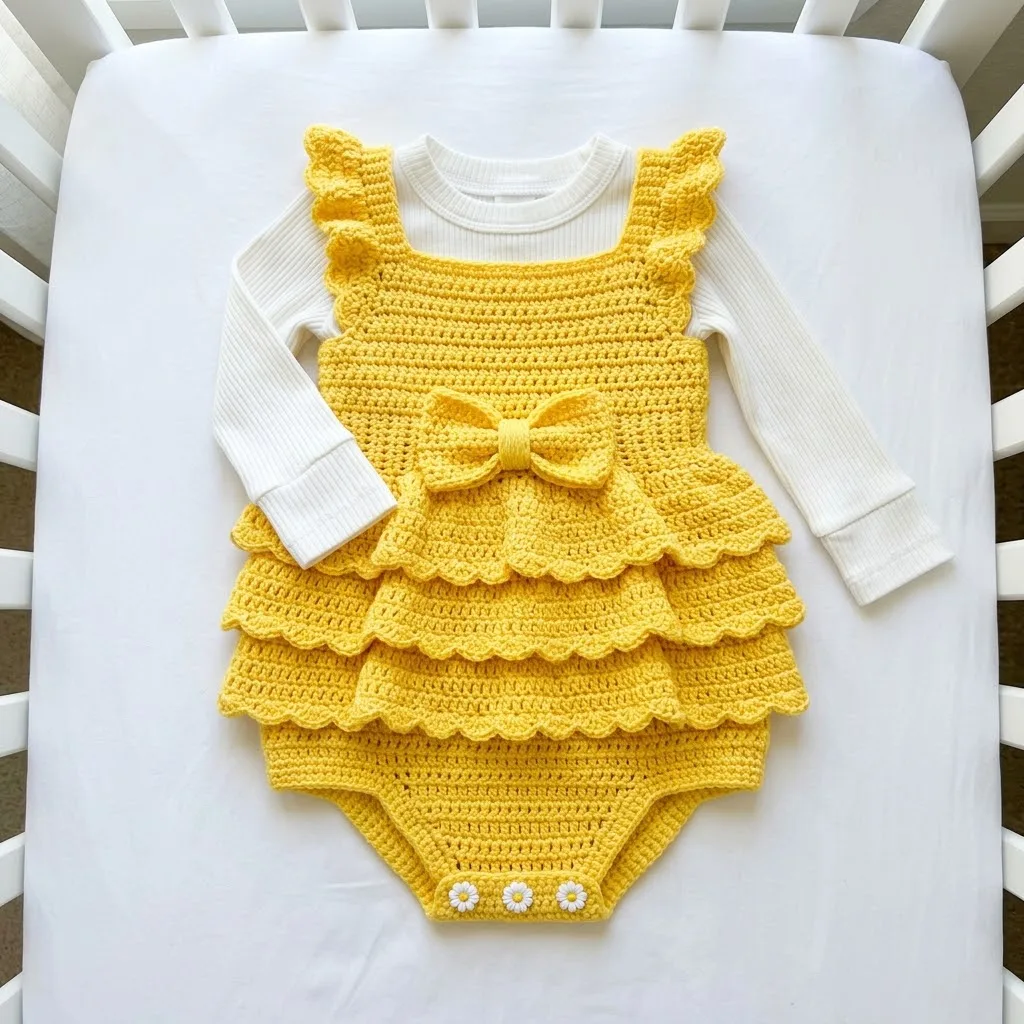
The construction method keeps things simple. You will start with the bodice, work down to the bottom portion, then add the ruffled skirt tiers separately. The straps attach at the end, and that sweet bow becomes the finishing touch that pulls everything together.
Skill level: Confident beginner to intermediate
Sizing: This pattern is written for 0 to 6 months. Finished measurements are approximately 14 inches around the chest and 16 inches from shoulder to crotch.
Materials Needed for Your Baby Romper
Gathering your supplies before you begin makes the crocheting process so much smoother. Here is everything you will need:
Yarn:
Hook:
Notions:
Gauge: 14 half double crochets and 10 rows equals 4 inches square. Please check your gauge before beginning. A too-loose gauge will result in a romper that is larger than intended.
Abbreviations and Stitch Definitions
Let me walk you through every stitch you will encounter in this crochet tutorial. Even if you know these stitches well, a quick refresher never hurts.
Ch = Chain. Wrap yarn over hook, pull through the loop on your hook. This creates one chain stitch.
Sl st = Slip stitch. Insert hook into stitch, yarn over, pull through both the stitch and the loop on your hook in one motion. Used for joining rounds.
Sc = Single crochet. Insert hook into stitch, yarn over and pull up a loop (2 loops on hook), yarn over and pull through both loops.
Hdc = Half double crochet. Yarn over, insert hook into stitch, yarn over and pull up a loop (3 loops on hook), yarn over and pull through all 3 loops at once.
Dc = Double crochet. Yarn over, insert hook into stitch, yarn over and pull up a loop (3 loops on hook), yarn over and pull through 2 loops (2 loops remain), yarn over and pull through remaining 2 loops.
Shell = Work 5 double crochets into the same stitch. This creates a fan-shaped cluster that forms the scalloped edges.
Skip = Miss the indicated number of stitches without working into them.
Inc = Increase. Work 2 stitches into the same stitch to add width.
Step by Step Crochet Pattern Instructions
Bodice Section
The bodice forms the top portion of your baby romper. You will work this flat in rows, then join it into a tube.
Foundation: Ch 50.
Row 1: Hdc in 2nd ch from hook and in each ch across. Turn. (49 hdc)
Row 2: Ch 2 (does not count as a stitch throughout), hdc in each st across. Turn. (49 hdc)
Rows 3 through 8: Repeat Row 2. (49 hdc)
At the end of Row 8, do not turn. Instead, fold your work so the short edges meet. Sl st the edges together to form a tube. This seam will sit at the back of the romper.
You will now work in continuous rounds. Place a stitch marker at the beginning of each round and move it up as you go.
Round 9: Ch 2, hdc in each st around. Do not join. (49 hdc)
Rounds 10 through 12: Hdc in each st around. (49 hdc)
At this point, your bodice should measure approximately 4 inches from the foundation chain.
Waist Shaping
This section adds a slight definition at the waist before the skirt ruffles begin.
Round 13: *Hdc in next 5 sts, hdc2tog (insert hook in next st, pull up loop, insert hook in following st, pull up loop, yarn over, pull through all 3 loops)* repeat around, hdc in remaining sts. (43 hdc approximately)
Rounds 14 and 15: Hdc in each st around. (43 hdc)
Place a stitch marker here. This marks where your first ruffle tier will attach.
Lower Bodice and Bottom Section
Continue working in rounds for the portion that will become the bottom part of the romper.
Rounds 16 through 20: Hdc in each st around. (43 hdc)
Round 21: Hdc in next 10 sts, ch 5, skip 11 sts (this creates the first leg opening), hdc in next 11 sts, ch 5, skip 11 sts (second leg opening). (22 hdc, 2 ch-5 spaces)
Leg Openings
Work around each leg opening to create a clean finished edge.
First Leg:
Join yarn at the edge of one leg opening.
Round 1: Sc evenly around the entire leg opening, working into the chain space and the skipped stitches. Sl st to first sc to join. (approximately 22 sc)
Round 2: Ch 1, sc in each st around. Sl st to join. (22 sc)
Fasten off and weave in ends.
Second Leg:
Repeat the same process for the other leg opening.
Ruffle Tiers (Make 3)
These beautiful shell stitch ruffles give the romper its signature look. Each tier attaches directly to the bodice at different points.
First Tier (Waist Level):
Join yarn at the stitch marker you placed at Round 15.
Round 1: Ch 3 (counts as first dc), dc in same st, *skip 2 sts, shell in next st, skip 2 sts, dc in next st* repeat around, adjusting as needed to end evenly. Sl st to top of ch-3 to join.
Round 2: Ch 3, 2 dc in same st, *sc in center dc of next shell, shell in next dc* repeat around. Sl st to join.
Round 3: Repeat Round 2.
Scallop Edge: Ch 1, *sc in first dc of shell, hdc in next dc, dc in center dc, hdc in next dc, sc in last dc, sl st in next sc* repeat around. Fasten off.
Second Tier:
Join yarn approximately 2 inches below the first ruffle (around Round 18). Repeat all 3 rounds plus the scallop edge.
Third Tier:
Join yarn just above the leg openings. Repeat all rounds and scallop edge.
Shoulder Straps (Make 2)
Foundation: Ch 35.
Row 1: Sc in 2nd ch from hook and in each ch across. Turn. (34 sc)
Row 2: Ch 1, sc in each st across. Turn. (34 sc)
Rows 3 and 4: Repeat Row 2. (34 sc)
Ruffle Edge: Working along one long edge, *skip 1 st, shell in next st, skip 1 st, sl st in next st* repeat to end. Fasten off.
Attach straps to the front and back of the bodice, spacing them approximately 3 inches apart. The ruffle edge should face outward.
Bow Embellishment
The bow adds such a sweet finishing touch to this baby romper crochet pattern.
Bow Center:
Ch 8.
Row 1: Sc in 2nd ch from hook and in each ch across. Turn. (7 sc)
Rows 2 through 6: Ch 1, sc in each st across. Turn. (7 sc)
Fasten off, leaving a long tail.
Bow Loop (Make 2):
Ch 20.
Row 1: Hdc in 2nd ch from hook and in each ch across. Turn. (19 hdc)
Rows 2 and 3: Ch 2, hdc in each st across. (19 hdc)
Fasten off.
Fold each bow loop piece in half to form a loop shape. Sew the ends together. Stack both loops on top of each other in an X formation. Wrap the bow center piece around the middle tightly and sew in place. Attach the completed bow to the front of the romper at the waist, centered over the first ruffle tier.
Finishing Your Baby Romper
Weave in all remaining yarn ends using your yarn needle. I recommend weaving through several stitches, then doubling back in the opposite direction for extra security.
If desired, attach three small buttons or decorative flower appliques to the bottom front of the romper near the leg openings. These are purely decorative but add such a charming detail.
Block your finished romper by lightly misting with water and laying flat to dry. This helps even out your stitches and gives the ruffles beautiful drape.
Tips for Beginner Crocheters
If this is your first garment project, here are some things that might help you along the way.
Do not stress about perfect stitch counts. Baby clothes have a lot of stretch, and a stitch or two off will not ruin your project.
Try the romper on as you go if you have access to the baby (or a similar sized doll). Babies vary so much in size that checking fit early saves frustration later.
The shell stitch might feel awkward at first. Working 5 double crochets into one tiny stitch feels like it will not fit, but the fabric naturally fans out. Trust the process.
Mark your rounds religiously. When working in continuous rounds, it is so easy to lose track. Moving that stitch marker every round takes seconds but saves so much counting later.
Care Instructions
This sweet romper deserves gentle care to keep it looking beautiful wash after wash.
Machine wash on delicate cycle with cold water. Use a mesh laundry bag to protect the ruffles from snagging. Lay flat to dry rather than using a dryer, as heat can distort the shape. If needed, lightly steam the ruffles to refresh their curl.
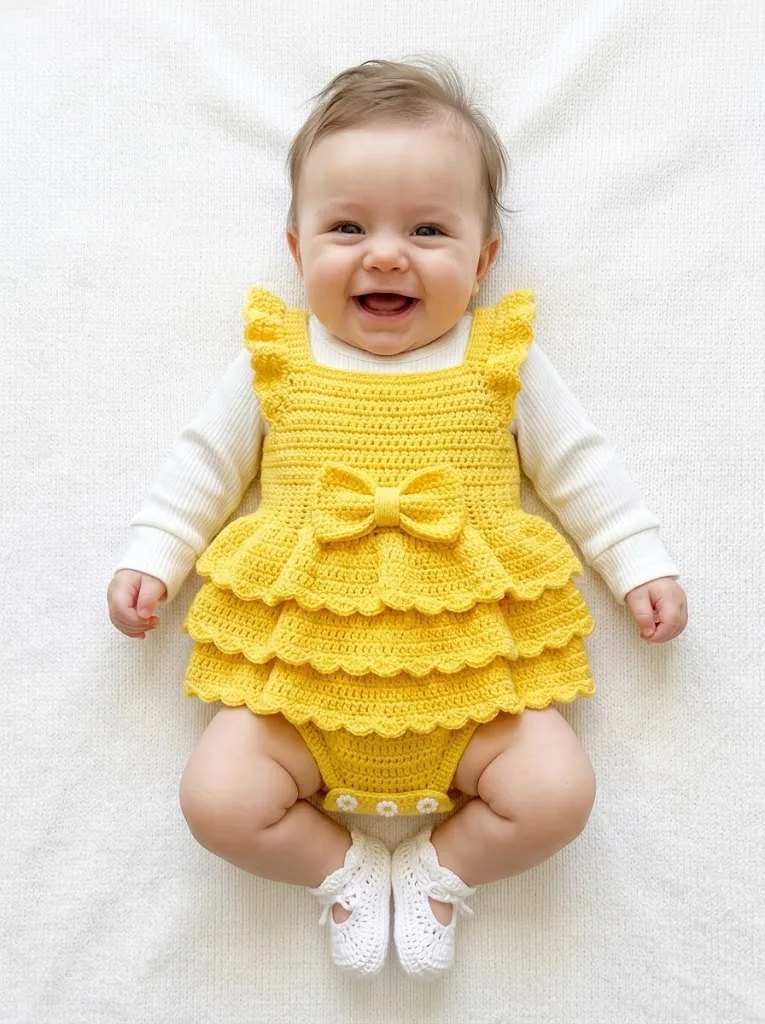
I hope you absolutely love making this Sunshine Yellow Cheerful Baby Romper. It makes such a thoughtful handmade gift, and the layered ruffles always get compliments. Thank you for choosing this pattern for your next crochet project. I would love to see your finished rompers, so please tag me on Instagram or share in my Facebook group.
If this pattern brightened your day, go ahead and pin it to your favorite Pinterest board so you can find it whenever you need a cheerful baby project. And please drop a comment below when you finish yours. I genuinely love seeing what colors you choose and how your little ones wear them.