
Last spring, my best friend called me in a complete panic. Her sister’s baby shower was three weeks away, and she had completely forgotten to order a gift. "Can you make something?" she asked, her voice desperate. Now, I’ve been crocheting for over fifteen years, and I’ve learned that the best handmade gifts are the ones that look incredibly impressive but don’t actually require you to sacrifice your sanity. So I grabbed some soft blush pink and cream yarn from my stash, and this adorable teddy bear blanket was born. It took me about two weeks of evening crafting sessions, and when my friend handed it over at the shower, every single person wanted to know where she bought it. That’s the magic of this project. It looks like it belongs in a boutique, but you’re going to make it yourself.
Why This Teddy Bear Granny Square Blanket Is Worth Your Time
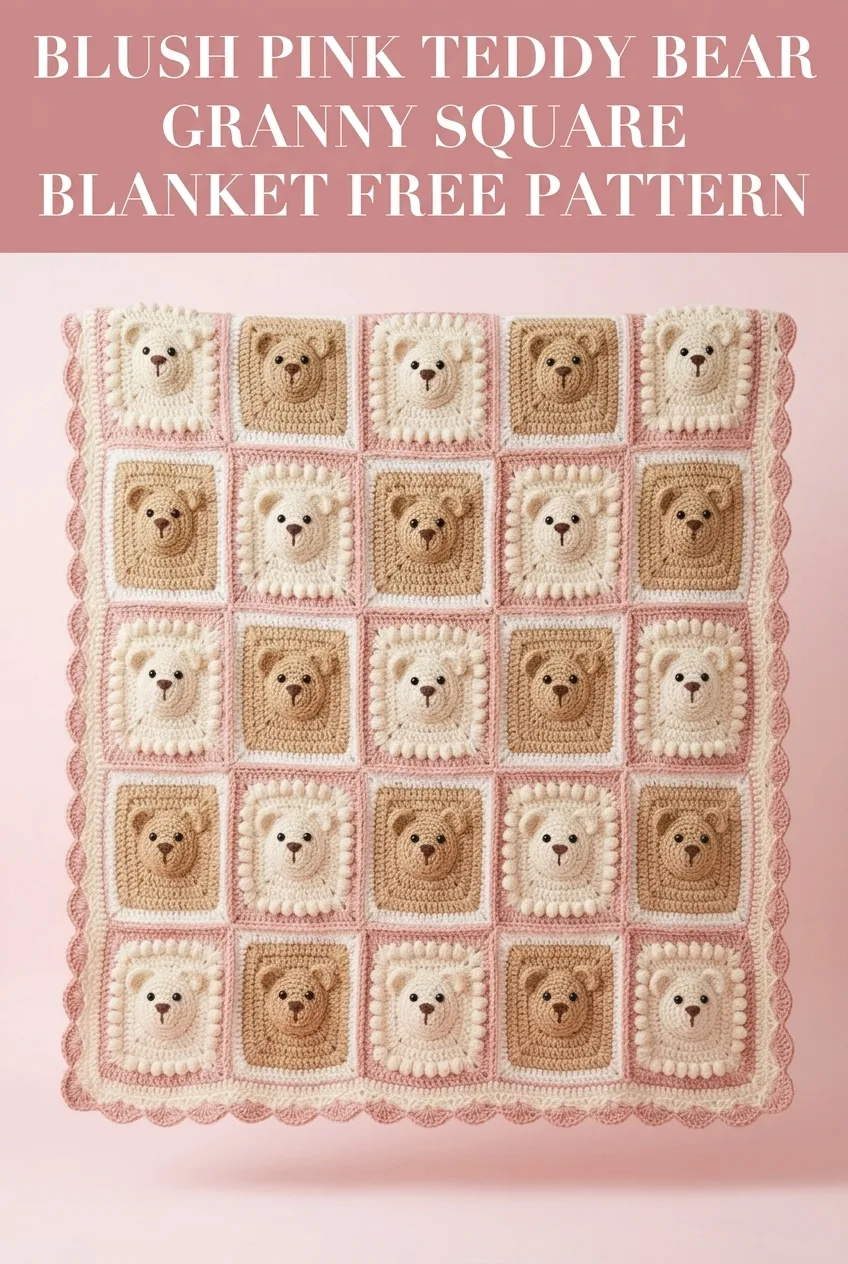
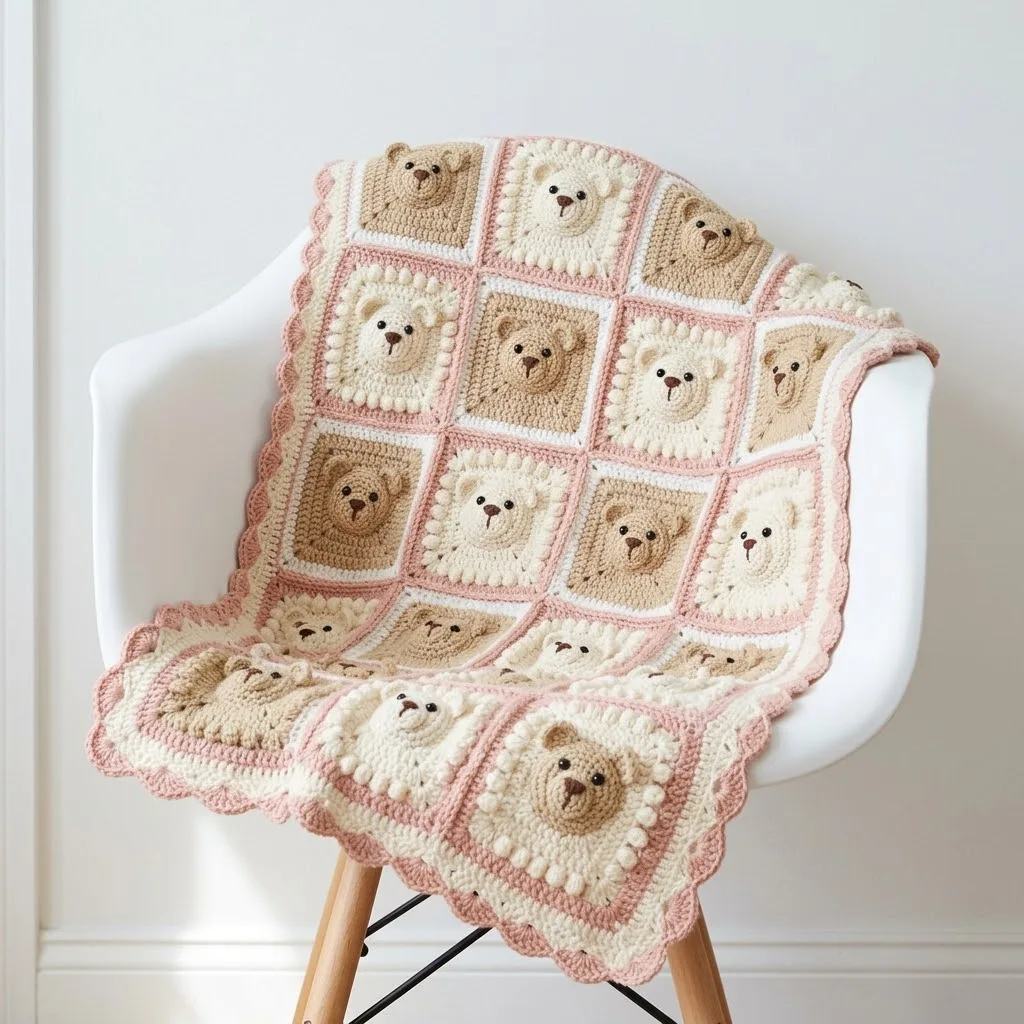
This crochet pattern combines classic granny square construction with the most precious little bear faces you’ve ever seen. Each square features a three dimensional teddy bear head with tiny rounded ears, a sweet embroidered nose, and little bead eyes that give each bear its own personality. The squares are joined together and finished with a gorgeous scalloped border in that perfect dusty rose pink that’s so popular in nurseries right now.
What I love most about this blanket is the color palette. The soft cream, warm tan, and blush pink tones work together beautifully. You could easily adapt the colors to suit any nursery theme, but there’s something about this particular combination that feels timeless and sophisticated.
Skill level: Intermediate. You should be comfortable with basic crochet stitches and working in the round. The bear faces require some simple increases and decreases, but I’ll walk you through every step.
Materials You’ll Need
Yarn:
– Cream (Color A): approximately 400 yards
– Light tan (Color B): approximately 350 yards
– Medium tan (Color C): approximately 200 yards
– Blush pink (Color D): approximately 300 yards
– White (Color E): approximately 150 yards
– Small amount of dark brown for noses
I recommend using a soft acrylic or cotton blend yarn. For baby blankets, you want something machine washable that holds up to frequent laundering. Brands like Lion Brand Vanna’s Choice, Caron Simply Soft, or Red Heart Soft work wonderfully.
Tools:
Gauge: Using the 5.0mm hook, 4 single crochet stitches and 4 rows equals 1 inch. Gauge isn’t critical for this project, but it will affect your finished size.
Finished Size: Approximately 32 inches by 40 inches, perfect for a baby blanket or stroller cover.
Abbreviations and Stitch Definitions
Let me break down every stitch you’ll encounter in this pattern:
ch = chain: Wrap yarn over hook, pull through loop on hook. This creates the foundation for most crochet projects.
sl st = slip stitch: Insert hook into stitch, yarn over, pull through both loops at once. Used for joining rounds.
sc = single crochet: Insert hook into stitch, yarn over, pull up a loop (2 loops on hook), yarn over, pull through both loops. This creates a short, dense stitch.
hdc = half double crochet: Yarn over, insert hook into stitch, yarn over, pull up a loop (3 loops on hook), yarn over, pull through all 3 loops.
dc = double crochet: Yarn over, insert hook into stitch, yarn over, pull up a loop (3 loops on hook), yarn over, pull through 2 loops, yarn over, pull through remaining 2 loops. This is your main granny square stitch.
inc = increase: Work 2 stitches into the same stitch to add width.
dec = decrease: Work 2 stitches together as one to reduce width. For single crochet decrease, insert hook into first stitch, pull up loop, insert hook into next stitch, pull up loop (3 loops on hook), yarn over, pull through all 3.
BLO = back loop only: Work into only the back loop of the stitch for a ribbed texture.
magic ring = adjustable starting loop: Create a loop with your yarn, work your first stitches into that loop, then pull the tail tight to close the center completely.
How to Crochet the Teddy Bear Face
This is the fun part! Each bear face is crocheted separately and then attached to your granny square. You’ll make 20 bear faces total for this blanket.
Using the 4.0mm hook and Color B or Color C (alternate between bears for variety):
Round 1: Create a magic ring. Ch 1 (does not count as a stitch), work 6 sc into the ring. Pull tight to close. Sl st to first sc to join. (6 sts)
Round 2: Ch 1, work 2 sc in each st around. Sl st to join. (12 sts)
Round 3: Ch 1, *sc in first st, 2 sc in next st* repeat around. Sl st to join. (18 sts)
Round 4: Ch 1, *sc in next 2 sts, 2 sc in next st* repeat around. Sl st to join. (24 sts)
Round 5: Ch 1, sc in each st around. Sl st to join. (24 sts)
Fasten off and leave a long tail for sewing.
Making the Ears (Make 2 per bear, 40 total)
Using the same color as your bear face:
Round 1: Create a magic ring. Work 6 sc into the ring. Pull tight. Sl st to join. (6 sts)
Round 2: Ch 1, work 2 sc in each st around. Sl st to join. (12 sts)
Fasten off, leaving a tail for sewing.
Assembling the Bear Face
Position the ears at the top of the face, slightly angled outward. Think about 10 o’clock and 2 o’clock positions. Sew securely using the yarn tail.
If using safety eyes, attach them now between Rounds 3 and 4, spaced about 6 stitches apart. If you prefer to embroider the eyes (safer for very young babies), use black yarn to create French knots or small satin stitches after the face is attached to the square.
For the nose, use dark brown yarn to embroider a small triangle shape between the eyes. Add a vertical line down from the triangle and a small curved line at the bottom to create that classic teddy bear smile.
Crocheting the Granny Squares
You’ll make 20 granny squares total. This blanket uses a 4 by 5 layout.
Using the 5.0mm hook:
Round 1: With your background color (alternate between Colors A, B, and D for visual interest), create a magic ring. Ch 3 (counts as first dc), work 2 dc into ring, ch 2, *3 dc into ring, ch 2* repeat 3 more times. Sl st to top of ch 3 to join. (4 groups of 3 dc with 4 corner spaces)
Round 2: Sl st into the ch 2 corner space. Ch 3, 2 dc, ch 2, 3 dc into same corner space. *Ch 1, skip to next corner, work (3 dc, ch 2, 3 dc) into corner space.* Repeat around all 4 corners. Sl st to join. (8 groups of 3 dc)
Round 3: Sl st to corner space. Ch 3, 2 dc, ch 2, 3 dc into corner. *Ch 1, 3 dc in ch 1 space, ch 1, (3 dc, ch 2, 3 dc) in corner.* Repeat around. Sl st to join. (12 groups of 3 dc)
Round 4: Continue the granny square pattern, adding one more 3 dc cluster per side. Sl st to corner. Ch 3, 2 dc, ch 2, 3 dc in corner. *Ch 1, 3 dc in next space, ch 1, 3 dc in next space, ch 1, (3 dc, ch 2, 3 dc) in corner.* Repeat around. Sl st to join. (16 groups of 3 dc)
Round 5: Work one more round in the same manner, continuing to add clusters along each side. (20 groups of 3 dc)
Fasten off and weave in ends.
Each finished square should measure approximately 6 inches by 6 inches.
Attaching the Bear Face to the Square
Center your completed bear face on the granny square. Using the long tail you left, whip stitch around the entire edge of the face to secure it firmly. The face should sit slightly raised from the square, creating that adorable three dimensional effect you see in the finished blanket.
Joining the Squares
Lay out your 20 completed squares in a 4 by 5 grid. Alternate your colors and bear shades to create visual interest. Step back and look at your arrangement before joining to make sure you’re happy with the distribution.
I recommend using the join as you go method or a simple whip stitch join. For the cleanest look:
Using Color D (blush pink) and your tapestry needle, hold two squares with wrong sides together. Whip stitch through the back loops only of both squares, matching stitches as you go. This creates a flat seam on the front with a subtle ridge.
Continue joining squares in rows first, then join the rows together.
Adding the Scalloped Border
This is where your blanket really comes together. The border frames all those sweet bear faces beautifully.
Round 1: Using Color E (white), join yarn in any corner. Ch 1, work 3 sc in corner space. Sc evenly around the entire blanket, working 3 sc in each corner. Aim for approximately 3 sc per granny cluster and 1 sc in each ch space. Sl st to join.
Round 2: Using Color D (blush pink), ch 1, sc in each st around, working 3 sc in center corner stitches. Sl st to join.
Round 3: Continue with Color D. Ch 1, sc in first st. *Skip 2 sts, 5 dc in next st (this creates your scallop shell), skip 2 sts, sc in next st.* Repeat around the entire blanket, adjusting as needed at corners to maintain the pattern. Sl st to join.
Round 4 (optional): Work one more round of sc in Color D to finish the edge. Work 1 sc in each sc and 1 sc in each dc of the shells.
Fasten off and weave in all remaining ends.
Tips for Success
Take your time with the bear faces. These are the stars of the show, so make sure each one is stuffed with personality. Vary the placement of your embroidered noses slightly to give each bear its own expression.
Block your squares before joining. A quick steam block or wet block will make your squares uniform and your joining much easier.
Safety first for babies. If this blanket is for a child under three years old, skip the safety eyes entirely. Embroidered eyes are just as cute and completely safe.
Count your stitches. I know it’s tedious, but counting after each round of your granny squares will save you headaches later when you’re trying to match up edges.
Caring for Your Finished Blanket
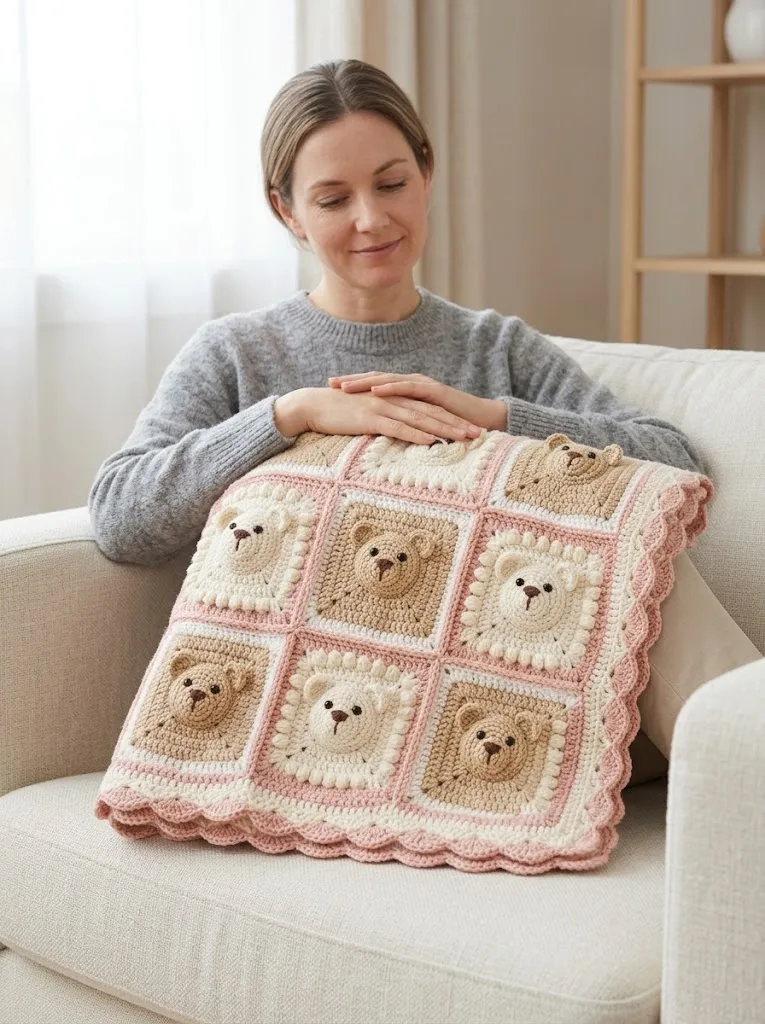
This blanket can be machine washed on a gentle cycle with cold water. Lay flat to dry to prevent stretching. If you used acrylic yarn, it will only get softer with each wash. Avoid high heat in the dryer as it can damage acrylic fibers and loosen your stitches.
This blush pink teddy bear granny square blanket is the kind of project that reminds you why you fell in love with crochet in the first place. It’s creative, it’s satisfying, and the finished result is something truly special. Whether you’re making it for your own little one, a baby shower gift, or just because you need something adorable in your life, this crochet pattern delivers on every level.
I hope you enjoy every stitch of this project as much as I did. There’s something incredibly rewarding about watching those little bear faces come to life and knowing you created something that will be treasured for years. Thank you so much for choosing this pattern for your next crochet adventure!
If you make this blanket, I would absolutely love to see your finished project. Tag me on Instagram or share your photos in my Facebook group. Seeing your creations honestly makes my whole day.
Save this pattern to your Pinterest boards so you can find it whenever inspiration strikes, and please drop a comment below if you give it a try. I read every single one and love hearing how your blankets turn out!