
Looking for a lightweight layer that works up quickly and looks absolutely adorable? This mint green lace tie cardigan is perfect for breezy spring days or cool summer evenings. The open mesh stitch pattern creates beautiful drape without overheating, making it ideal for layering over tank tops and sundresses. I designed this piece using simple double crochet and chain combinations, so even confident beginners can tackle it. The three decorative bow ties down the front add a sweet vintage touch, and the whole project works up faster than you might expect.
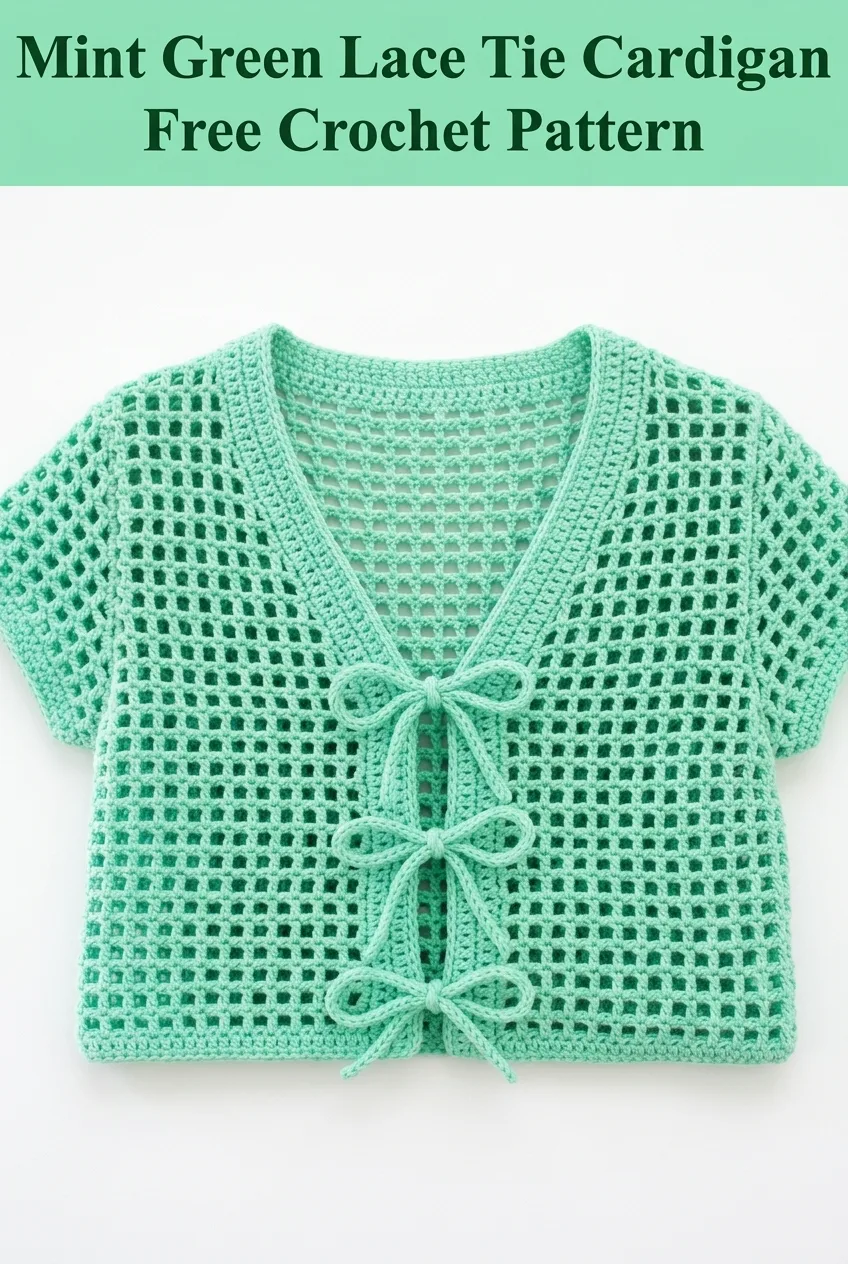
About This Lace Tie Cardigan Crochet Pattern
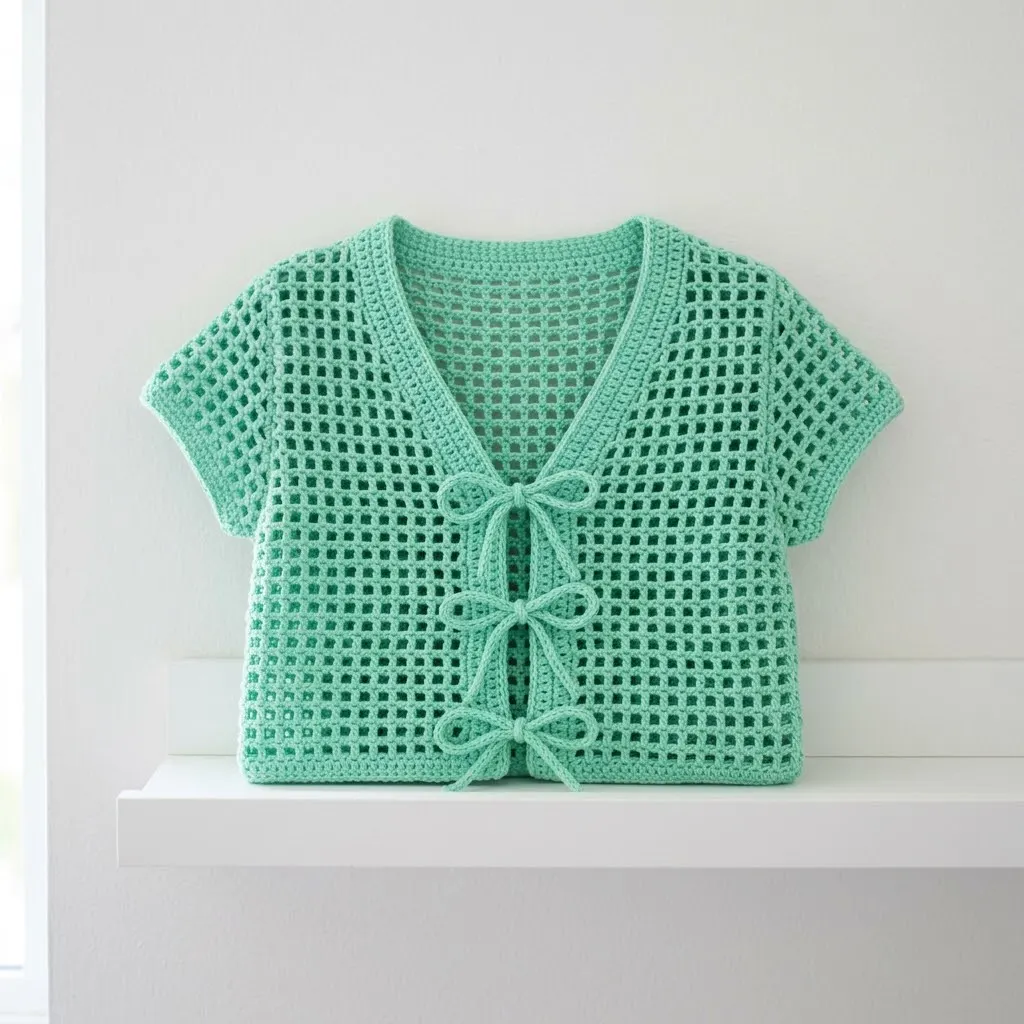
This cropped cardigan features an airy filet mesh construction that creates a grid-like pattern of small open squares. The design includes a flattering V-neckline, short cap sleeves, and a relaxed boxy fit. What makes this cardigan special are the three crocheted ties that close the front with charming little bows.
The entire body is worked in one simple two-row repeat pattern. Once you get the rhythm going, you can practically crochet this while watching your favorite show. The construction is straightforward too. You will work the back and two fronts as separate panels, then seam them together at the shoulders and sides.
Skill level: Confident beginner to intermediate
This pattern is perfect for you if you have mastered the basic stitches and want to try your first garment project. The mesh stitch is repetitive and meditative, and there is no complicated shaping to worry about.
Materials Needed
Yarn:
Hook:
Notions:
Gauge:
Stitch Abbreviations and Definitions
Let me walk you through each stitch you will need for this crochet tutorial.
Ch (chain): Yarn over, pull through the loop on your hook. This creates your foundation and the spaces in the mesh pattern.
Sl st (slip stitch): Insert hook into stitch, yarn over, pull through both the stitch and the loop on your hook in one motion. Used for joining and finishing edges.
Sc (single crochet): Insert hook into stitch, yarn over and pull up a loop (2 loops on hook), yarn over and pull through both loops. Creates a short, dense stitch used for edging.
Dc (double crochet): Yarn over, insert hook into stitch, yarn over and pull up a loop (3 loops on hook), yarn over and pull through 2 loops (2 loops remain), yarn over and pull through remaining 2 loops. This taller stitch forms the framework of your mesh.
Sk (skip): Pass over the indicated number of stitches without working into them. This creates the open spaces in your lace pattern.
Understanding the Mesh Stitch Pattern
The filet mesh in this cardigan is created by alternating double crochet stitches with chain spaces. Each "mesh square" consists of one double crochet, chain 1, skip 1, repeated across. This creates that lovely grid of open squares you see in the photos.
Here is a small practice swatch if you want to test the pattern before committing to the full cardigan:
Practice Swatch:
Ch 22.
Row 1: Dc in 4th ch from hook, *ch 1, sk 1, dc in next ch*, repeat across. (10 mesh squares)
Row 2: Ch 3 (counts as dc), turn, *dc in next dc, ch 1*, repeat across, ending with dc in top of turning ch.
Repeat Row 2 until you feel comfortable with the rhythm. See how the double crochets stack directly on top of each other? That is what creates those neat little squares.
Cardigan Sizing
This pattern is written for a relaxed fit cropped cardigan.
Finished measurements (approximate):
For a smaller or larger size, adjust your starting chain by multiples of 2 to maintain the mesh pattern.
How to Crochet the Lace Tie Cardigan
Back Panel
The back is worked flat from the bottom hem upward.
Foundation:
Ch 74 (or adjust for your size in multiples of 2, plus 4 for turning chain).
Row 1 (RS): Dc in 4th ch from hook (skipped chains count as first dc), *ch 1, sk 1 ch, dc in next ch*, repeat from * across. (36 mesh squares, 73 sts total including chains)
Row 2: Ch 3 (counts as dc throughout), turn. Dc in first ch-1 sp, *ch 1, dc in next ch-1 sp*, repeat across, ending with dc in top of turning ch. (36 mesh squares)
Rows 3 through 34: Repeat Row 2.
Your back panel should measure approximately 16 inches from foundation to top edge.
Fasten off and weave in ends. Set aside.
Left Front Panel
Foundation:
Ch 38.
Row 1 (RS): Dc in 4th ch from hook, *ch 1, sk 1 ch, dc in next ch*, repeat from * across. (18 mesh squares)
Row 2: Ch 3, turn. Dc in first ch-1 sp, *ch 1, dc in next ch-1 sp*, repeat across, ending with dc in top of turning ch. (18 mesh squares)
Rows 3 through 20: Repeat Row 2.
Begin V-Neck Shaping (Row 21):
Ch 3, turn. Work in pattern across first 16 mesh squares only. Leave remaining 2 mesh squares unworked. (16 mesh squares)
Row 22: Ch 3, turn. Sk first ch-1 sp (this creates the neck decrease), work in pattern across. (15 mesh squares)
Row 23: Work in pattern to last 2 mesh squares, leave remaining unworked. (14 mesh squares)
Rows 24 through 28: Continue decreasing 1 mesh square at neck edge every row until 10 mesh squares remain for the shoulder.
Rows 29 through 34: Work even in pattern on remaining 10 mesh squares.
Fasten off.
Right Front Panel
Work same as Left Front Panel through Row 20.
Begin V-Neck Shaping (Row 21):
Ch 3, turn. Sk first 2 mesh squares, join with sl st in next dc, ch 3, work in pattern across remaining 16 mesh squares.
Rows 22 through 34: Continue shaping as a mirror image of left front, decreasing at neck edge until 10 mesh squares remain for shoulder.
Fasten off.
Cap Sleeves
The sleeves are worked directly onto the body after seaming.
First, seam the shoulders using a mattress stitch or whip stitch. Join approximately 10 mesh squares on each shoulder, leaving the center back open for the neck.
Working the Sleeve:
With RS facing, join yarn at underarm seam area.
Round 1: Ch 3, work approximately 36 dc evenly spaced around the armhole opening, sl st to top of ch-3 to join.
Round 2: Ch 3, *dc in next dc, ch 1, sk next dc*, repeat around, sl st to join. (18 mesh squares approximately)
Rounds 3 and 4: Continue in mesh pattern.
Round 5 (Edging): Ch 1, sc in each dc and ch-1 sp around, sl st to join.
Fasten off.
Repeat for second sleeve.
Neckline and Front Edging
This single crochet border creates a polished finish along the entire front opening and neckline.
With RS facing, join yarn at bottom right front corner.
Row 1: Ch 1, work sc evenly up the right front edge, around the V-neck, and down the left front edge. Work approximately 3 sc for every 2 rows to keep the edge flat. Do not stretch or pucker.
Row 2: Ch 1, turn. Sc in each sc across.
Fasten off and weave in ends.
Bottom Hem Edging
Join yarn at one side seam along the bottom edge of the body.
Round 1: Ch 1, sc evenly around entire bottom hem, working 1 sc in each dc and 1 sc in each ch-1 sp. Sl st to join.
Fasten off.
Making the Bow Ties (Make 6)
Each decorative bow consists of two crocheted cords tied together. You will make 6 cords total for 3 sets of ties.
For each cord:
Ch 60.
Row 1: Sl st in 2nd ch from hook and in each ch across. (59 sl sts)
Fasten off, leaving a 6 inch tail for attaching.
These cords should measure approximately 8 to 9 inches each.
Attaching the Bow Ties
Position three pairs of ties evenly spaced down the front opening:
To attach:
Thread the tail of one cord onto your tapestry needle. Stitch the center of the cord securely to the front edge, making several passes through the fabric for a strong hold. Attach its matching cord to the opposite front edge at the same height.
Tie each pair into a bow when wearing. The bows shown in the photos have a sweet, slightly loose look. Do not pull them too tight.
Assembly Instructions
If you have not already done so during the sleeve section, complete the following seaming:
1. Shoulder seams: With wrong sides together, whip stitch or mattress stitch the front shoulder edges to the back shoulder edges on each side.
2. Side seams: Starting at the bottom hem, seam each side from hem to underarm. Leave the armhole area open for the sleeves.
3. Weave in all remaining ends securely. Take your time here. Nothing ruins a finished garment faster than ends poking out.
Finishing and Blocking
Blocking makes a huge difference with lace patterns. It opens up the mesh and evens out your stitches.
Wet blocking method:
1. Soak your finished cardigan in cool water with a drop of wool wash for 15 minutes.
2. Gently squeeze out excess water. Do not wring.
3. Lay flat on a blocking mat or towel.
4. Pin to measurements, gently stretching the mesh open.
5. Let dry completely before removing pins.
Your lace cardigan will look more professional and the mesh squares will be beautifully defined after blocking.
Styling Your Mint Lace Cardigan
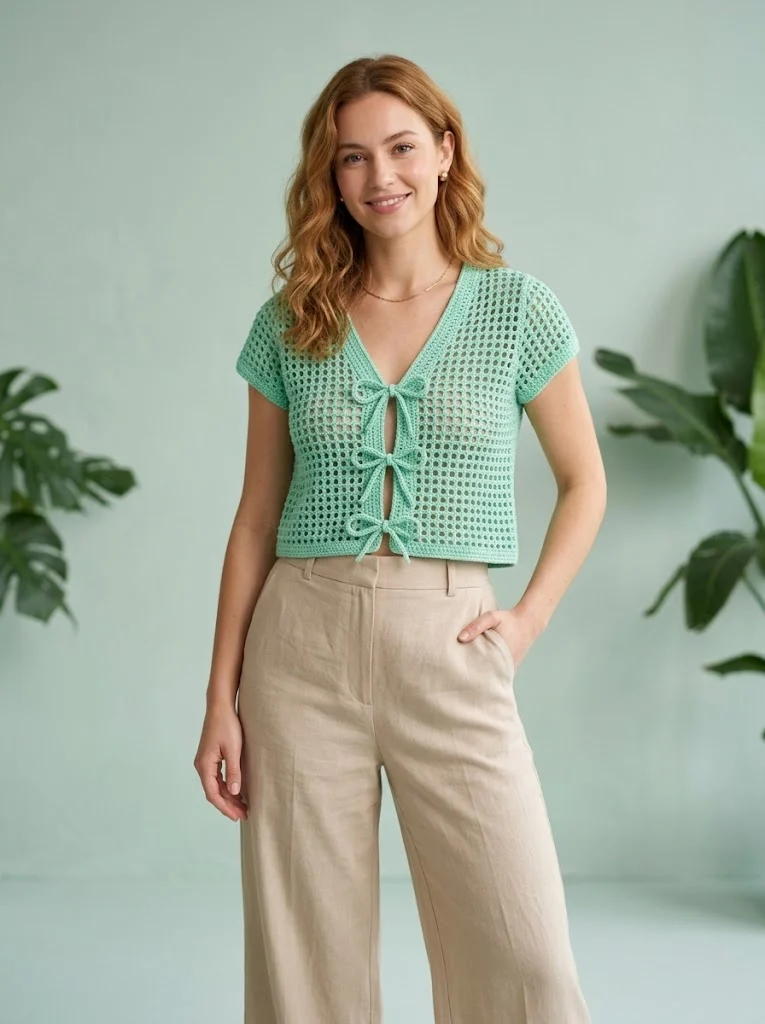
This versatile piece works for so many occasions. Layer it over a fitted tank for casual weekend outings. Pair it with a sundress for garden parties or outdoor brunches. The cropped length looks fantastic with high-waisted jeans or skirts.
The mint green color shown is perfect for spring and summer, but this pattern looks stunning in any shade. Consider soft blush pink for a romantic look, crisp white for classic elegance, or deep navy for something more sophisticated.
Tips for Success
Tension matters. Try to keep your tension consistent throughout. The mesh will look uneven if you crochet tightly in some sections and loosely in others.
Count your stitches at the end of each row for the first several rows. It is much easier to fix a mistake early than to unravel later.
Mark your right side. Place a stitch marker or piece of scrap yarn on the front of your work so you always know which side is which.
Try it on as you go. Once you have a few inches completed, hold the piece up to yourself to check the sizing. Adjustments are easier to make early in the project.
Common Questions
Can I make this cardigan longer?
Absolutely. Simply work additional rows on both the back and front panels before beginning the neck shaping. Add rows in multiples of 2 to maintain the pattern.
What if my gauge is off?
If your mesh squares are too large, try going down a hook size. If they are too small, go up a hook size. Even a half-millimeter difference can affect your finished measurements.
Can I use a different weight yarn?
Yes, but your finished size will change. Worsted weight will create a larger, denser cardigan. Fingering weight will create a smaller, more delicate piece. Adjust your starting chains accordingly.
I really hope you enjoy making this mint green lace tie cardigan as much as I enjoyed designing it. It is such a satisfying project, and those little bows add the sweetest finishing touch. Thank you for choosing to make this pattern. I cannot wait to see your finished cardigan.
If this pattern inspired you, save it to your Pinterest boards so you can find it easily when you are ready to start. And please leave a comment below if you make one. I love seeing your color choices and hearing how the project worked up for you.