
I call this one the Autumn Harvest Bouquet bracelet, and it has a story. About three years ago, I sketched out an idea in my pattern notebook for a wearable garden. Not just a simple flower, but an entire miniature floral arrangement that could wrap around your wrist. The notebook sat on my shelf collecting dust until last fall when I finally pulled it out, dusted off the concept, and brought it to life. This bracelet reminds me why I keep every scribbled idea. Some patterns just need time to bloom.
About This Crochet Flower Bracelet Pattern
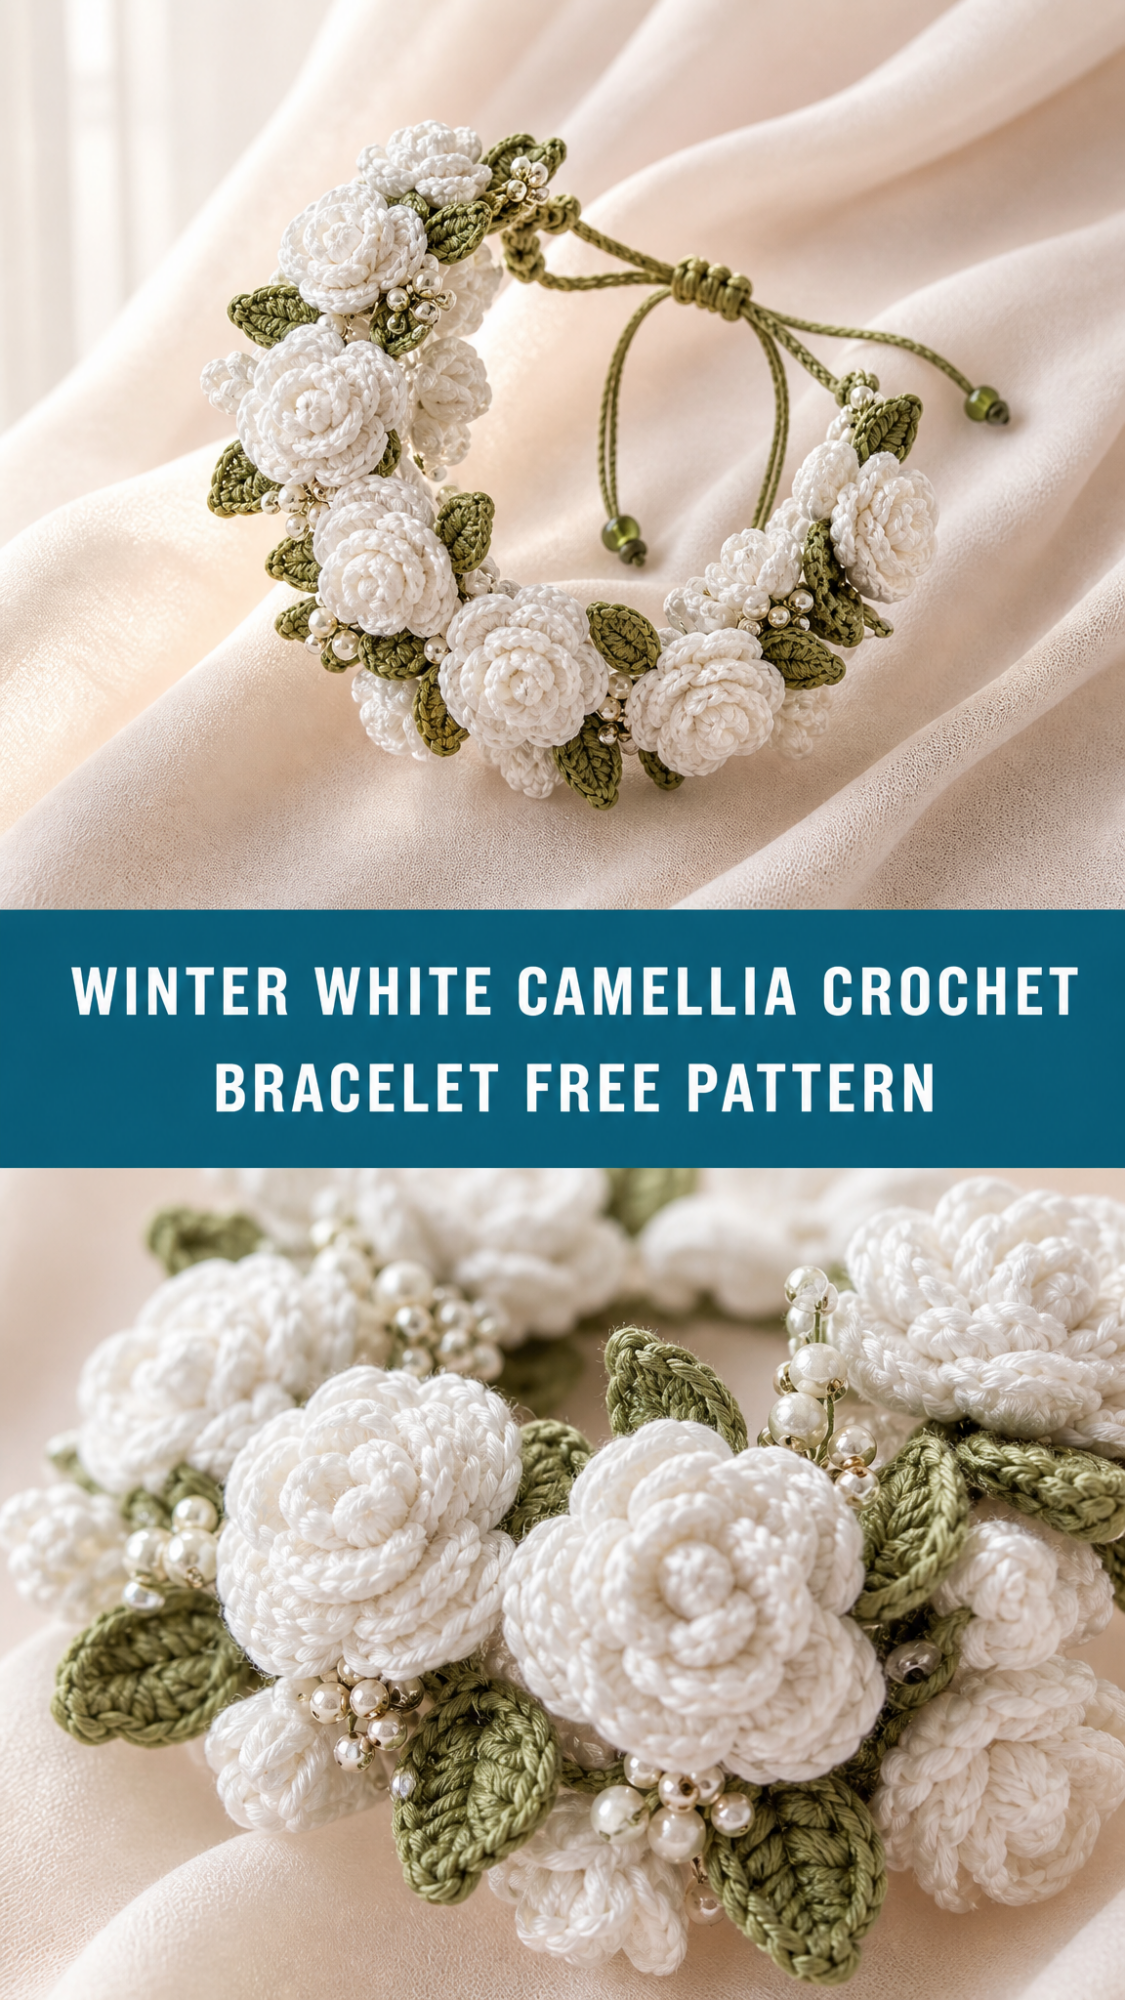
This stunning crochet bracelet features an abundance of tiny crocheted flowers and leaves arranged in a lush, garden-inspired design. The finished piece showcases multiple flower styles including rolled roses, layered chrysanthemums, and textured mum blooms in gorgeous autumn tones. Sage green leaves in various shapes fill the spaces between flowers, and tiny copper seed beads add just the right amount of sparkle.
The bracelet base uses a simple leather cord with an adjustable sliding knot closure, finished with amber glass beads at each end. This construction makes the bracelet one size fits most and keeps the focus entirely on those gorgeous crochet flowers.
Skill level: Intermediate. You should be comfortable working in the round, creating small motifs, and sewing tiny pieces together.
Finished measurements: The floral portion covers approximately 5 to 6 inches when worn, with the adjustable cord allowing wrist sizes from 6 to 8 inches.
Materials You Will Need
Yarn:
– Burnt orange (approximately 15 yards)
– Golden yellow/mustard (approximately 15 yards)
– Deep burgundy/wine (approximately 10 yards)
– Rust/terracotta (approximately 10 yards)
– Sage green (approximately 20 yards)
– Olive green (approximately 10 yards)
– Brown (approximately 5 yards)
I recommend DMC Natura Just Cotton or Aunt Lydia’s Classic Crochet Thread for this project. The tight twist holds the shape of these tiny flowers beautifully.
Tools:
Additional Supplies:
Stitch Abbreviations and Definitions
Before we dive into the pattern, let me explain every stitch you will use.
Ch = Chain. Yarn over, pull through the loop on your hook. This creates the foundation for most crochet work.
Sl st = Slip stitch. Insert hook, yarn over, pull through both the stitch and the loop on your hook in one motion. Used to join rounds or move across stitches invisibly.
Sc = Single crochet. Insert hook, yarn over, pull up a loop (2 loops on hook), yarn over, pull through both loops. The shortest and most basic crochet stitch.
Hdc = Half double crochet. Yarn over, insert hook, yarn over, pull up a loop (3 loops on hook), yarn over, pull through all 3 loops. Slightly taller than single crochet.
Dc = Double crochet. Yarn over, insert hook, yarn over, pull up a loop (3 loops on hook), yarn over, pull through 2 loops, yarn over, pull through remaining 2 loops. Creates a taller, more open stitch.
Tr = Treble crochet (also called triple crochet). Yarn over twice, insert hook, yarn over, pull up a loop, (yarn over, pull through 2 loops) three times. Even taller than double crochet.
Inc = Increase. Work 2 stitches into the same stitch to add width.
Magic ring = An adjustable starting loop that can be pulled tight to close the center hole. Essential for flower centers.
The Rolled Rose Pattern
Make 5 roses total: 2 in burnt orange, 2 in golden yellow, 1 in burgundy.
This rose is created as a flat strip that you roll into shape after crocheting.
Row 1: Ch 42. Sc in 2nd ch from hook, sc in next ch, *ch 3, skip 1 ch, sc in next 2 ch* repeat across. (27 sc, 13 ch-3 spaces)
Row 2: Ch 1, turn. Sc in first sc, *5 dc in ch-3 space (this creates a petal), skip 1 sc, sc in next sc* repeat across. Fasten off, leaving a 12 inch tail. (13 petals)
Assembly: Starting from the beginning of Row 1, roll the strip tightly for the center, then more loosely as you work outward. The petals will naturally fan out. Use your yarn tail to stitch through the base every few rolls to secure. Weave in ends on the underside.
The finished rose measures approximately 1 inch in diameter. Do not worry if your first one looks a bit wonky. They get better with practice, I promise.
The Layered Chrysanthemum Pattern
Make 4 chrysanthemums total: 2 in golden yellow, 1 in rust, 1 in burnt orange.
Round 1: Magic ring, ch 1, 6 sc into ring, pull ring closed, sl st to first sc to join. (6 sc)
Round 2: Ch 1, 2 sc in each st around, sl st to join. (12 sc)
Round 3: Ch 1, *sc in next st, 2 sc in next st* repeat around, sl st to join. (18 sc)
Round 4 (petal round): Working in front loops only, *ch 3, 2 dc in same st, skip 2 sts, sl st in next st* repeat around. (6 petals)
Round 5: Working in the unused back loops from Round 3, sl st to any back loop, *ch 4, 3 dc in same st, skip 2 sts, sl st in next st* repeat around. (6 petals)
Fasten off. Weave in ends. The second layer of petals sits behind the first, creating dimension.
The Textured Mum Bloom Pattern
Make 3 mums total: 1 in burgundy, 1 in burnt orange, 1 in rust.
These little flowers have lots of texture from the bobble-like stitches.
Round 1: Magic ring, ch 1, 6 sc into ring, pull ring closed, sl st to join. (6 sc)
Round 2: Ch 1, 2 sc in each st around, sl st to join. (12 sc)
Round 3: *Ch 2, 4 hdc in next st (creates a small puff), ch 2, sl st in next st* repeat around. (6 puffs)
Round 4: Working behind the puffs into the Round 2 stitches, *ch 3, 5 dc in next st, ch 3, sl st in next st, skip 1 st* repeat around. (6 larger petals behind)
Fasten off. Weave in ends.
The Leaf Patterns
You will need approximately 20 to 25 leaves in various sizes and shades of green. Here are three variations.
Simple Small Leaf (make 10)
Ch 8. Sc in 2nd ch from hook, hdc in next ch, dc in next 2 ch, hdc in next ch, sc in next ch, (sc, ch 2, sc) in last ch. Now working along the other side of the chain: sc in next ch, hdc in next ch, dc in next 2 ch, hdc in next ch, sc in next ch, sl st to first sc. Fasten off.
Pointed Medium Leaf (make 8)
Ch 10. Sl st in 2nd ch from hook, sc in next ch, hdc in next ch, dc in next 2 ch, hdc in next ch, sc in next ch, sl st in next ch, (sl st, ch 2, sl st) in last ch. Mirror the pattern back along the opposite side of the chain. Fasten off.
Rounded Large Leaf (make 7)
Ch 12. Sc in 2nd ch from hook, sc in next ch, hdc in next 2 ch, dc in next 3 ch, hdc in next ch, sc in next ch, (sc, ch 3, sc) in last ch. Work back along the other side. Ch 1, do not turn. Working surface slip stitches up the center of the leaf to create a vein (optional detail). Fasten off.
Adding the Bead Accents
Thread your sewing needle with coordinating thread. Attach copper seed beads randomly throughout the arrangement, clustering them near flower centers and tucking them between leaves. I used approximately 40 to 50 beads on my bracelet, but follow your instincts. More beads equal more sparkle.
Some beads can dangle on short thread loops if you want movement. Others should sit flat against the flowers.
Assembling the Bracelet Base
Cut your leather cord to 24 inches. Thread both amber glass beads onto the cord before creating the closure.
Creating the adjustable sliding knot closure:
1. Overlap the two cord ends by about 4 inches, pointing in opposite directions.
2. Take the left cord end and wrap it around both cords 3 to 4 times, moving toward the center. Thread the end through the loops you created and pull tight.
3. Repeat with the right cord end, wrapping in the opposite direction.
4. Slide each glass bead to the cord ends and tie a simple overhand knot below each bead to secure.
5. Dab fabric glue on each knot and let dry completely.
Test the closure by pulling the cord ends. The knots should slide smoothly to adjust the size.
Attaching the Flowers and Leaves
This is the fun part, and honestly, there is no wrong way to do it.
Lay your bracelet cord in a circle on your work surface. Arrange your flowers and leaves around it, overlapping generously. The goal is a lush, abundant look with no gaps.
Start by stitching the largest roses first, positioning them as focal points. Use your sewing needle and matching thread to secure each piece to the leather cord and to neighboring flowers.
Add the chrysanthemums and mums, filling the spaces between roses. Then tuck leaves underneath and around the flowers, securing as you go.
Keep trying the bracelet on as you work. You want the arrangement to curve naturally around your wrist without gaps or awkward bumps.
Tips for Success
Working with crochet thread can feel fiddly at first. Good lighting helps enormously. So does a magnifying lamp if you have one.
Block your leaves flat before assembly if they curl. A quick steam press works wonders.
If your roses look too loose, try going down a hook size. The tighter the stitches, the better these small flowers hold their shape.
This bracelet makes an absolutely beautiful handmade gift. Consider making a set in different seasonal colors, or create matching earrings using the smallest flowers.
Caring for Your Crochet Bracelet
Store flat or in a small box to prevent crushing. Spot clean gently with a damp cloth if needed. The leather cord can be treated with leather conditioner occasionally to keep it supple.
Avoid getting the bracelet thoroughly wet, as the flowers may lose their shape.
I truly hope you enjoy making this Autumn Harvest Bouquet bracelet as much as I enjoyed designing it. There is something deeply satisfying about creating wearable art from simple thread and a tiny hook. Thank you for trusting me with your crafting time.
If you make this crochet flower bracelet, I would absolutely love to see it. Tag me on Instagram or share a photo in my Facebook group. Seeing your creations honestly makes my whole week.
If this pattern caught your eye, go ahead and pin it to your Pinterest boards so you can find it when you are ready to start. And please drop a comment below if you make one. I read every single message and love hearing how your projects turn out.