
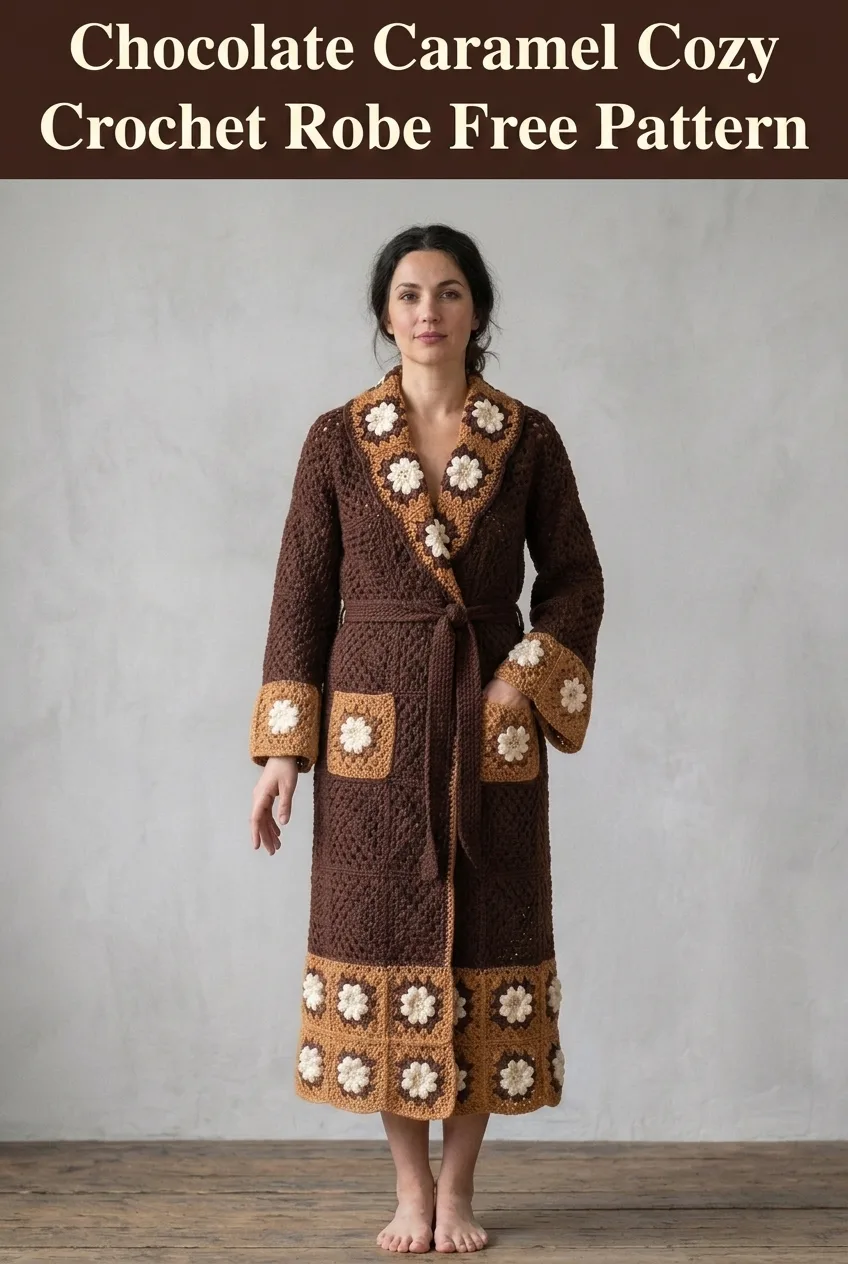
Last winter, I found myself shuffling around my house in an old fleece robe that had seen better days. You know the type. Pilling everywhere, the zipper stuck halfway, and somehow it never felt quite warm enough. I kept thinking about those gorgeous vintage robes from the 1970s, the ones with granny squares and beautiful earthy tones. One evening, wrapped in a blanket because my sad robe wasn’t cutting it, I grabbed my hook and started sketching. This chocolate caramel cozy crochet robe is what happened when nostalgia met necessity. It’s the most luxurious thing I’ve ever made for myself, and honestly, I wear it almost every single day now.
Why You’ll Love This Crochet Robe Pattern
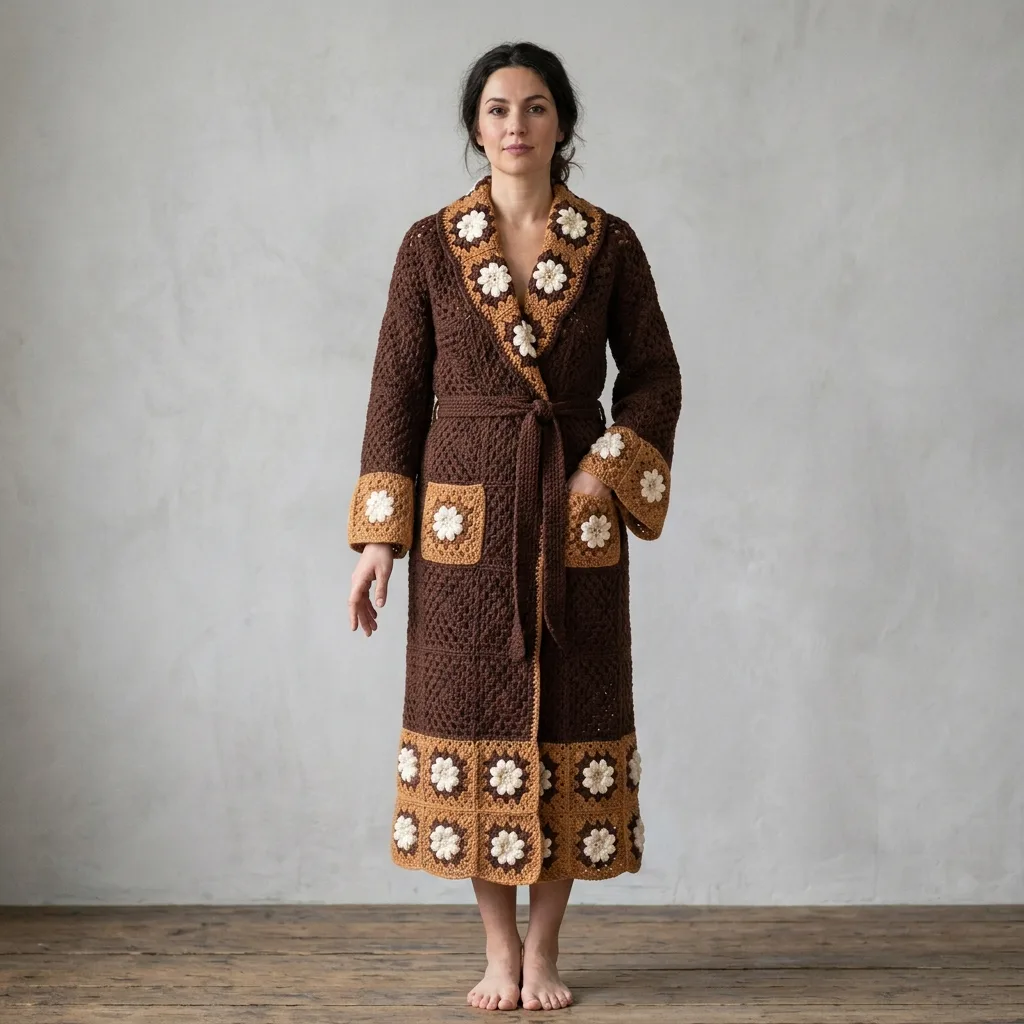
This stunning robe combines classic granny square construction with solid crochet panels to create a garment that’s both visually striking and wonderfully cozy. The rich chocolate brown serves as the perfect backdrop for caramel-toned granny squares, each featuring a creamy white flower center that pops beautifully against the warm palette.
The construction might look intimidating at first glance, but I promise it’s more approachable than it appears. You’ll work individual granny squares, solid panels, and then join everything together. If you can make a granny square and work basic stitches, you can absolutely make this robe.
Skill level: Intermediate. You should be comfortable with granny squares, increasing and decreasing, and seaming pieces together.
Finished measurements: Approximately 52 inches long from shoulder to hem, with a 44 inch bust circumference. Sleeves measure roughly 24 inches from shoulder to cuff.
Materials Needed for Your Crochet Robe
Yarn:
I recommend a soft acrylic blend or a washable wool for this project. You want something that drapes nicely but also holds its shape. Look for yarn labeled as weight 4 or medium weight on the skein.
Hook: Size H/8 (5.0mm) crochet hook, or size needed to obtain gauge
Notions:
Gauge
Granny square gauge: One completed 3-round granny square measures approximately 4 inches by 4 inches.
Solid panel gauge: 14 double crochet stitches and 8 rows equals 4 inches.
Take time to check your gauge before starting. A robe that’s too tight won’t wrap properly, and one that’s too loose will feel sloppy. Trust me on this one.
Abbreviations and Stitch Definitions
Ch = Chain. Wrap yarn over hook and pull through the loop on your hook. This creates one chain stitch.
Sl st = Slip stitch. Insert hook into stitch, yarn over, pull through both the stitch and the loop on your hook in one motion.
Sc = Single crochet. Insert hook into stitch, yarn over and pull up a loop (2 loops on hook), yarn over and pull through both loops.
Dc = Double crochet. Yarn over, insert hook into stitch, yarn over and pull up a loop (3 loops on hook), yarn over and pull through 2 loops (2 loops remain), yarn over and pull through remaining 2 loops.
Dc2tog = Double crochet two together. This is a decrease stitch. Yarn over, insert hook into next stitch, yarn over and pull up a loop, yarn over and pull through 2 loops, yarn over, insert hook into next stitch, yarn over and pull up a loop, yarn over and pull through 2 loops, yarn over and pull through all 3 loops on hook.
Granny cluster = 3 dc worked into the same stitch or space.
Step by Step Crochet Pattern
Flower Center Granny Squares (Make 32)
These beautiful squares feature a raised flower center that gives the robe its distinctive vintage charm.
Round 1 (Flower Center): With Color C (cream), create a magic ring. Ch 3 (counts as first dc throughout), work 2 dc into ring, ch 2. *Work 3 dc into ring, ch 2.* Repeat from * 2 more times. Sl st to top of beginning ch-3 to join. (4 granny clusters, 4 ch-2 spaces)
Round 2 (Flower Petals): Ch 1, sc in same st. *Ch 3, skip next 2 dc, sc in ch-2 corner space, ch 3, skip next dc, sc in next dc.* Repeat from * around, ending with sl st to first sc. Fasten off Color C. (8 ch-3 loops)
Round 3: Join Color B (caramel) in any corner ch-2 space from Round 1 (you’ll work behind the petals). Ch 3, 2 dc in same space, ch 2, 3 dc in same space (corner made). *Ch 1, work 3 dc in next ch-2 space from Round 1, ch 1, work (3 dc, ch 2, 3 dc) in next corner space.* Repeat from * around. Ch 1, sl st to top of beginning ch-3. (8 granny clusters, 4 corner ch-2 spaces)
Round 4: Sl st to corner ch-2 space. Ch 3, 2 dc in same space, ch 2, 3 dc in same space. *Ch 1, 3 dc in next ch-1 space, ch 1, 3 dc in next ch-1 space, ch 1, (3 dc, ch 2, 3 dc) in corner ch-2 space.* Repeat from * around, ending with ch 1, sl st to top of beginning ch-3. Fasten off Color B. (12 granny clusters, 4 corner ch-2 spaces)
Weave in ends on all squares before assembly. This saves so much frustration later.
Solid Granny Squares in Chocolate (Make 48)
These simpler squares form the body of the robe.
Round 1: With Color A (chocolate), create a magic ring. Ch 3, 2 dc into ring, ch 2. *3 dc into ring, ch 2.* Repeat from * 2 more times. Sl st to top of beginning ch-3. (4 granny clusters)
Round 2: Sl st to corner ch-2 space. Ch 3, 2 dc in same space, ch 2, 3 dc in same space. *Ch 1, (3 dc, ch 2, 3 dc) in next corner ch-2 space.* Repeat from * around. Sl st to top of beginning ch-3. (8 granny clusters)
Round 3: Sl st to corner ch-2 space. Ch 3, 2 dc in same space, ch 2, 3 dc in same space. *Ch 1, 3 dc in next ch-1 space, ch 1, (3 dc, ch 2, 3 dc) in corner ch-2 space.* Repeat from * around. Sl st to top of beginning ch-3. (12 granny clusters)
Round 4: Sl st to corner ch-2 space. Ch 3, 2 dc in same space, ch 2, 3 dc in same space. *Ch 1, 3 dc in next ch-1 space, ch 1, 3 dc in next ch-1 space, ch 1, (3 dc, ch 2, 3 dc) in corner ch-2 space.* Repeat from * around. Sl st to top of beginning ch-3. Fasten off. (16 granny clusters)
Robe Body Construction
Back Panel:
Arrange 4 chocolate squares across and 8 squares down (32 squares total for the back). Join squares using the flat slip stitch method: hold two squares with right sides together, insert hook through both corner spaces, slip stitch, then slip stitch through each corresponding stitch along the edge. This creates an almost invisible seam.
Front Panels (Make 2):
Each front panel uses 2 squares across and 8 squares down (16 squares each). For the bottom border, use flower granny squares. Arrange 2 flower squares across the bottom, then 2 chocolate squares above, continuing for 6 more rows of chocolate squares.
Join front panels to back panel at the shoulder seams, leaving approximately 10 inches open at the center top for the neck opening.
Sleeves (Make 2)
Each sleeve is worked from the shoulder down.
Round 1: Join Color A at the underarm. Ch 3, work 47 dc evenly around the armhole opening. Sl st to top of beginning ch-3. (48 dc)
Rounds 2-30: Ch 3, dc in each st around. Sl st to join. (48 dc)
Cuff: Join flower granny squares around the bottom of each sleeve. You’ll need 6 flower squares per cuff, joined in a strip and then sewn to the sleeve bottom.
Shawl Collar
The collar is what makes this robe feel truly luxurious.
Row 1: With right side facing, join Color A at the bottom right front corner. Ch 3, work 120 dc evenly up the right front edge, around the back neck, and down the left front edge. Turn. (120 dc)
Rows 2-8: Ch 3, dc in each st across. Turn. (120 dc)
Now add the flower square border to the collar. Join 7 flower squares in a strip. Sew this strip along the outer edge of the collar, curving gently around the back neck.
Pockets (Make 2)
Each pocket uses one flower granny square as the base.
Border Round: Join Color A to any corner of a flower square. Ch 3, work 2 dc in same space, ch 2, 3 dc in same space. Continue around in granny square pattern for 2 more rounds. Fasten off. (24 granny clusters on final round)
Position pockets at hip level on the front panels and whip stitch in place along three sides, leaving the top open.
Belt
Row 1: With Color A, ch 201. Dc in 4th ch from hook and in each ch across. Turn. (198 dc)
Rows 2-4: Ch 3, dc in each st across. Turn. (198 dc)
Fasten off and weave in ends. The belt should measure approximately 56 inches long and 2 inches wide.
Hem Border
Join flower granny squares along the bottom hem of the robe. You’ll need approximately 11 squares across the back and 5-6 squares across each front panel. Arrange them in a single row and sew to the bottom edge of the robe body using a whip stitch.
Finishing Your Crochet Robe
Block all pieces before final assembly if possible. For acrylic yarn, steam blocking works wonderfully. Lay the robe flat, hover your iron about an inch above the fabric (never touch the yarn directly), and let the steam relax the stitches.
Weave in any remaining ends. I like to weave ends through at least 2 inches of stitches, then double back for security.
Try on your robe and adjust the belt loops if needed. You can crochet two small loops (ch 15, sl st to form a ring) and sew them to the side seams at waist height.
Tips for Success
Don’t rush the squares. Make all your granny squares first, then lay them out before joining. This lets you catch any sizing inconsistencies early.
Use stitch markers generously. Mark your corners, mark your increases, mark anything that helps you keep track.
Try it on as you go. Once you’ve joined the back and front panels, do a quick fitting before adding sleeves. Better to adjust now than rip out later.
The flower centers might pucker at first. This is normal. They flatten beautifully after blocking.
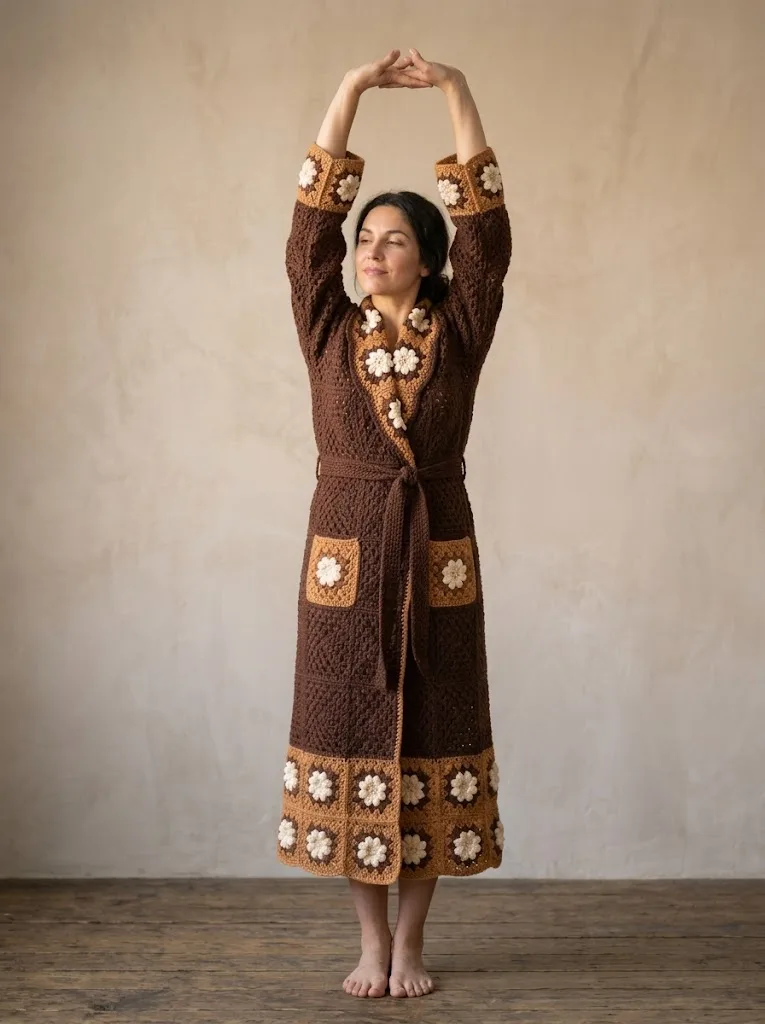
This chocolate caramel cozy crochet robe makes an incredible gift, though I’ll warn you now. Once you make one for yourself, you might not want to give it away. The combination of granny square tradition and modern silhouette creates something truly special that you’ll reach for again and again.
I really hope you love making this crochet robe pattern as much as I loved designing it. If you want to find it easily later, go ahead and save this post to your Pinterest boards. And please, if you make your own chocolate caramel robe, drop a comment below or tag me on social media. I would absolutely love to see your color combinations and finished projects!