
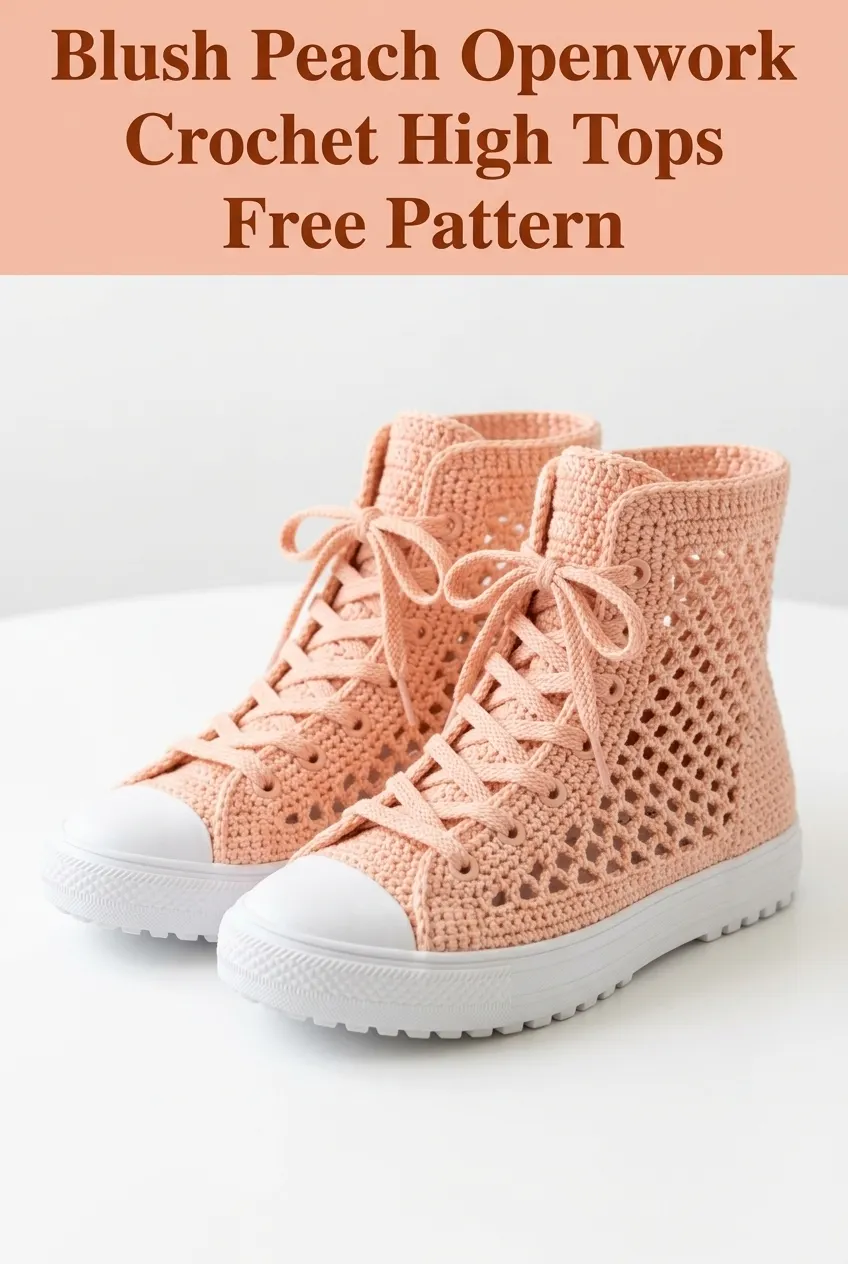
I’ve been looking for the perfect summer footwear project for months, and these crochet high tops are absolutely my favourite find. The openwork mesh design combined with that gorgeous blush peach colour creates something truly special. This is the pattern I keep coming back to when I want a project that looks impressive but actually works up faster than you’d expect.
Why You’ll Love This Crochet High Tops Pattern
These aren’t your grandmother’s slippers. We’re talking about actual sneaker-style high tops with a proper rubber sole, lace-up front, and that classic toe cap detail. The mesh openwork creates breathability for warmer months while the structured construction means these hold their shape beautifully.
I designed these with wearability in mind. The single crochet (sc) foundation keeps everything sturdy where you need it, while the chain space mesh pattern gives your feet room to breathe. Plus, that blush peach colour? Absolutely perfect for spring and summer wardrobes.
Let me walk you through everything you need to make your own pair.
Skill Level
Intermediate
Don’t let that scare you off if you’re a confident beginner. If you can work single crochet, chain stitches, and basic shaping, you can absolutely make these. The construction happens in sections, so you’re never juggling too many techniques at once. I’ll explain every step along the way.
Finished Measurements
These instructions create a Women’s US Size 7-8 (European 38-39).
To adjust sizing: Add or subtract foundation chain stitches in multiples of 2 for the sole, and adjust the number of mesh rounds for the upper portion.
Materials Needed
Yarn:
Hook:
Additional Supplies:
Optional:
Gauge
18 stitches and 20 rows = 4 inches (10 cm) in single crochet with 4.0mm hook
Gauge matters here because these need to fit actual feet. Take the time to check yours. If your gauge is too loose, go down a hook size. Too tight? Go up a hook size.
Abbreviations and Stitch Definitions
Let me break down every stitch we’ll use:
ch = chain: Yarn over, pull through loop on hook. This creates the foundation and spaces in the mesh.
sl st = slip stitch: Insert hook, yarn over, pull through both the stitch and the loop on hook in one motion. Used for joining rounds.
sc = single crochet: Insert hook into stitch, yarn over, pull up a loop (2 loops on hook), yarn over, pull through both loops. This creates the sturdy base sections.
dc = double crochet: Yarn over, insert hook into stitch, yarn over, pull up a loop (3 loops), yarn over, pull through 2 loops, yarn over, pull through remaining 2 loops. Creates taller stitches for structure.
ch-sp = chain space: The gap created by chain stitches. You’ll work into these spaces, not into individual chains.
sk = skip: Pass over the indicated number of stitches without working into them.
inc = increase: Work 2 stitches into the same stitch to add width.
dec = decrease: Work 2 stitches together as one (sc2tog) to reduce width.
Pattern Notes Before You Begin
A few things that will help you succeed:
This pattern is worked from the sole up. You’ll attach your crocheted upper directly to the rubber sole through the pre-punched holes. If your sole doesn’t have holes, you can carefully punch them yourself using an awl or small nail.
The mesh pattern is created using chains and single crochets in a repeating pattern. It looks complicated but it’s really just the same few stitches over and over.
Work tightly around the toe area for durability. This section takes the most wear, so don’t be afraid to use a smaller hook or just naturally tighten up your tension.
Mark the center front and center back of your sole with stitch markers before you begin. This helps you keep the shaping symmetrical.
These instructions make one shoe. Remember to make two!
Step-by-Step Crochet High Tops Pattern
Part 1: Attaching to the Sole
Foundation Round:
Starting at the back center of your rubber sole, join your yarn to one of the pre-punched holes with a slip stitch.
Round 1: Ch 1, work 1 sc through each hole around the entire perimeter of the sole. Place a stitch marker at the center front (toe area) and center back (heel area). Join with sl st to first sc.
*You should have approximately 50-60 sc depending on your sole size. Count your stitches and write down this number.*
Round 2: Ch 1, sc in each st around. Join with sl st. (Same stitch count)
Round 3: Ch 1, sc in each st around, working through back loops only. This creates a nice ridge that helps the upper stand up from the sole. Join with sl st. (Same stitch count)
Part 2: Building the Toe Cap
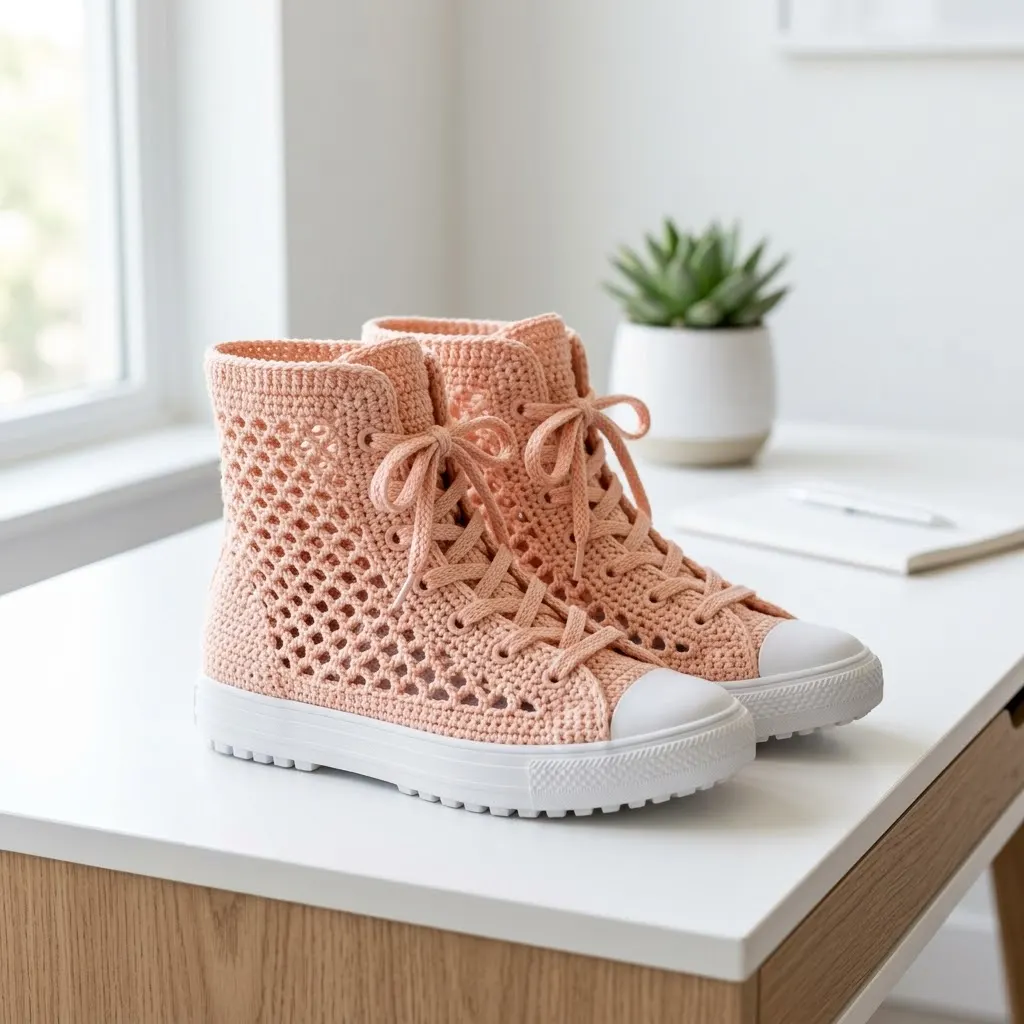
The white toe cap you see in the photo is created using a separate piece of white yarn worked directly onto the front portion of the sole.
Using white yarn and smaller hook (3.5mm):
Count 12 stitches on either side of your center front marker (24 stitches total for the toe section).
Row 1: Join white yarn to the stitch 12 stitches before center front marker. Ch 1, sc in same st and in next 23 sts. Turn. (24 sc)
Row 2: Ch 1, sc2tog (decrease made), sc in each st across to last 2 sts, sc2tog. Turn. (22 sc)
Row 3: Ch 1, sc2tog, sc across to last 2 sts, sc2tog. Turn. (20 sc)
Row 4: Ch 1, sc2tog, sc across to last 2 sts, sc2tog. Turn. (18 sc)
Row 5: Ch 1, sc2tog, sc across to last 2 sts, sc2tog. Turn. (16 sc)
Row 6: Ch 1, sc in each st across. Fasten off, leaving a long tail. (16 sc)
Weave in the ends neatly. The curved shape should cup nicely over the toe area.
Part 3: Creating the Openwork Mesh Upper
Now for the fun part. Switch back to your blush peach yarn and 4.0mm hook.
Setup Round: Join yarn at center back heel. Ch 1, sc in each st around the entire sole edge, including working across the top edge of your white toe cap piece to incorporate it into the upper. Join with sl st. Place marker for beginning of round.
Round 1 (Mesh Pattern Begins):
Ch 4 (counts as dc + ch 1), sk next st, *dc in next st, ch 1, sk 1 st* repeat around. Join with sl st to 3rd ch of beginning ch-4.
*This creates the foundation of your mesh pattern. You should have evenly spaced double crochets with chain-1 spaces between them.*
Round 2:
Ch 4, dc in next dc, ch 1, *dc in next dc, ch 1* repeat around. Join with sl st to 3rd ch of beginning ch-4.
Round 3:
Ch 1, sc in same st, ch 3, sk next ch-sp, *sc in next dc, ch 3, sk next ch-sp* repeat around. Join with sl st to first sc.
*This round creates the larger mesh openings you see in the photo.*
Round 4:
Ch 1, sc in same st, ch 3, *sc in next sc, ch 3* repeat around. Join with sl st to first sc.
Rounds 5-8: Repeat Round 4.
Round 9:
Ch 1, sc in same st, ch 2, *sc in next sc, ch 2* repeat around. Join with sl st to first sc.
*The smaller chain spaces start bringing the mesh in slightly as we move up toward the ankle.*
Rounds 10-12: Repeat Round 9.
Part 4: Creating the Lace Eyelets
The eyelets need to be positioned down the center front of the shoe. You’ll create these as you work by incorporating larger chain spaces.
Round 13:
Work in established pattern until you reach 3 stitches before center front. Ch 5, sk 2 sts (this creates your eyelet), continue in pattern around. Join with sl st.
Round 14:
Work in pattern, working 1 sc into the ch-5 eyelet space. Continue around. Join with sl st.
Rounds 15-16: Repeat Rounds 13-14 to create another eyelet.
Rounds 17-18: Repeat Rounds 13-14 for third eyelet.
Rounds 19-20: Repeat Rounds 13-14 for fourth eyelet.
*You should now have 4 eyelets running up the front of each shoe.*
Part 5: The Ankle Cuff
Round 21:
Ch 1, sc in each sc and 1 sc in each ch-sp around. Join with sl st. Count your stitches.
Rounds 22-24:
Ch 1, sc in each st around. Join with sl st. (Same stitch count each round)
Round 25 (Folded Cuff Edge):
Ch 1, working in back loops only, sc in each st around. Join with sl st.
Rounds 26-28:
Ch 1, sc in each st around. Join with sl st.
Fasten off. Weave in all ends securely.
Part 6: Making the Laces
Simple Chain Laces:
Ch 150 (or desired length), sl st in 2nd ch from hook, sl st in each ch across. Fasten off.
Make two laces per shoe if you want the authentic double-laced look, or one longer lace for traditional threading.
Part 7: Finishing and Assembly
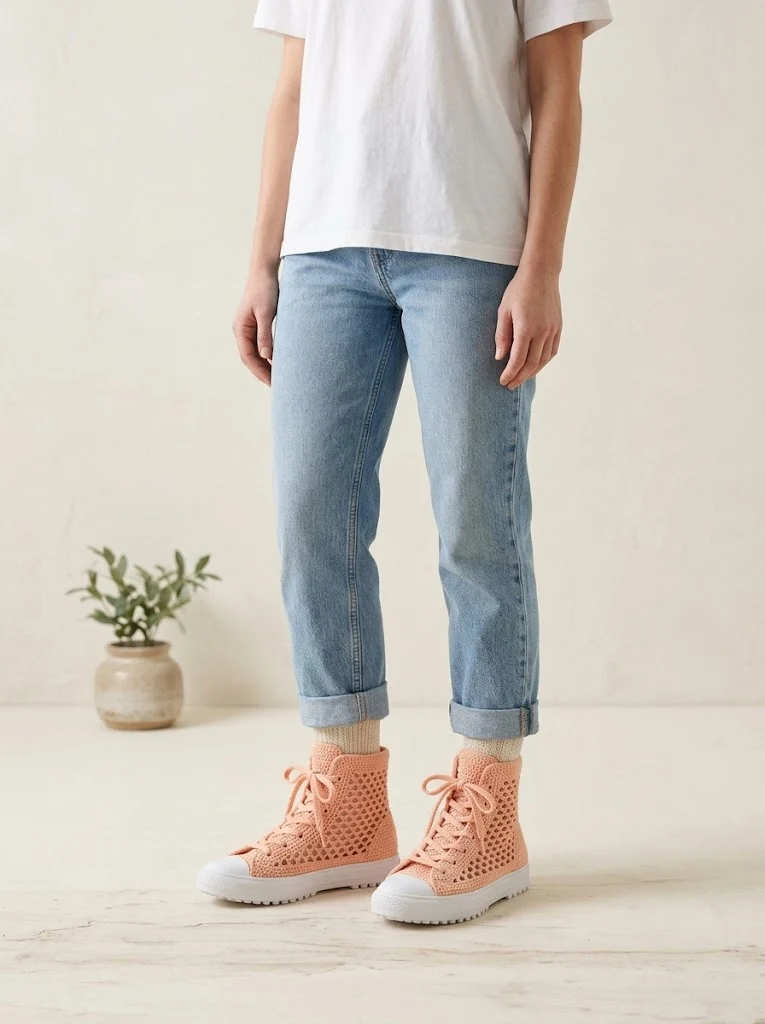
Thread your laces through the eyelets in a criss-cross pattern, just like regular sneakers. Start from the bottom and work your way up. Tie at the top in a bow.
Fold the cuff at Round 25 (where you worked in back loops only). This creates a clean folded edge at the top of the ankle.
Secure loose ends by weaving them through the wrong side of your work for at least 2-3 inches before trimming.
Optional: Apply a thin line of fabric glue where the crochet meets the sole for extra durability if you plan to wear these outdoors frequently.
Customization Ideas
Want to switch things up? Here are some ideas:
Change the mesh to solid single crochet for a warmer, more opaque shoe. Just replace the mesh rounds with straight sc rounds.
Add stripes by changing colours every few rounds. The mesh pattern looks especially beautiful with gradient or ombre colour changes.
Use cotton yarn for summer and wool blend for cooler months. The same pattern works with different fibres for different seasons.
Try different sole colours. Black soles give a sportier look, while natural rubber soles feel more casual.
Care Instructions
Hand wash in cool water with mild soap. Gently squeeze out excess water without wringing. Reshape and lay flat to dry away from direct heat or sunlight.
Do not machine wash as the sole attachment may loosen and the yarn may felt or shrink depending on fiber content.
Spot clean the rubber sole with a damp cloth as needed.
Troubleshooting Common Issues
Mesh looks uneven? Check your tension. The chain spaces should all be roughly the same size. Try counting out loud as you chain to keep consistent.
Sole attachment feels loose? Work your foundation stitches more tightly through the sole holes. You can also reinforce with a second round of slip stitches through both the crochet and the holes.
Shoe feels too tight or too loose? Adjust your foundation chain count and mesh round count accordingly. More stitches equals a bigger shoe.
Toe cap curling? This is normal with single crochet. Steam blocking or a light pressing with a damp cloth usually fixes this.
Thank you so much for choosing this pattern for your next project. I genuinely love seeing what you create, so please tag me on Instagram or share in our Facebook group when you finish your pair. Seeing these high tops in different colours and on different feet makes my whole day.
If you loved this blush peach openwork crochet high tops pattern, go ahead and save it to your Pinterest boards so you can find it whenever inspiration strikes. And I would absolutely love to hear from you in the comments below, whether you have questions, want to share your finished shoes, or just want to say hello. Happy crocheting!