
Last month I walked into my craft room and nearly tripped over a pile of yarn that had somehow migrated from my shelves to the floor. Again. I stood there staring at the chaos, scissors mixed with stitch markers, hooks scattered across my desk, and three half-finished projects I had completely forgotten about. That was the moment I knew I needed a storage solution that could hang on the wall and keep everything visible but contained. So I grabbed some cotton yarn in my favorite ocean blue and started experimenting. A few evenings later, this three-pocket wall organizer was born, and honestly, it has changed my entire crafting life.
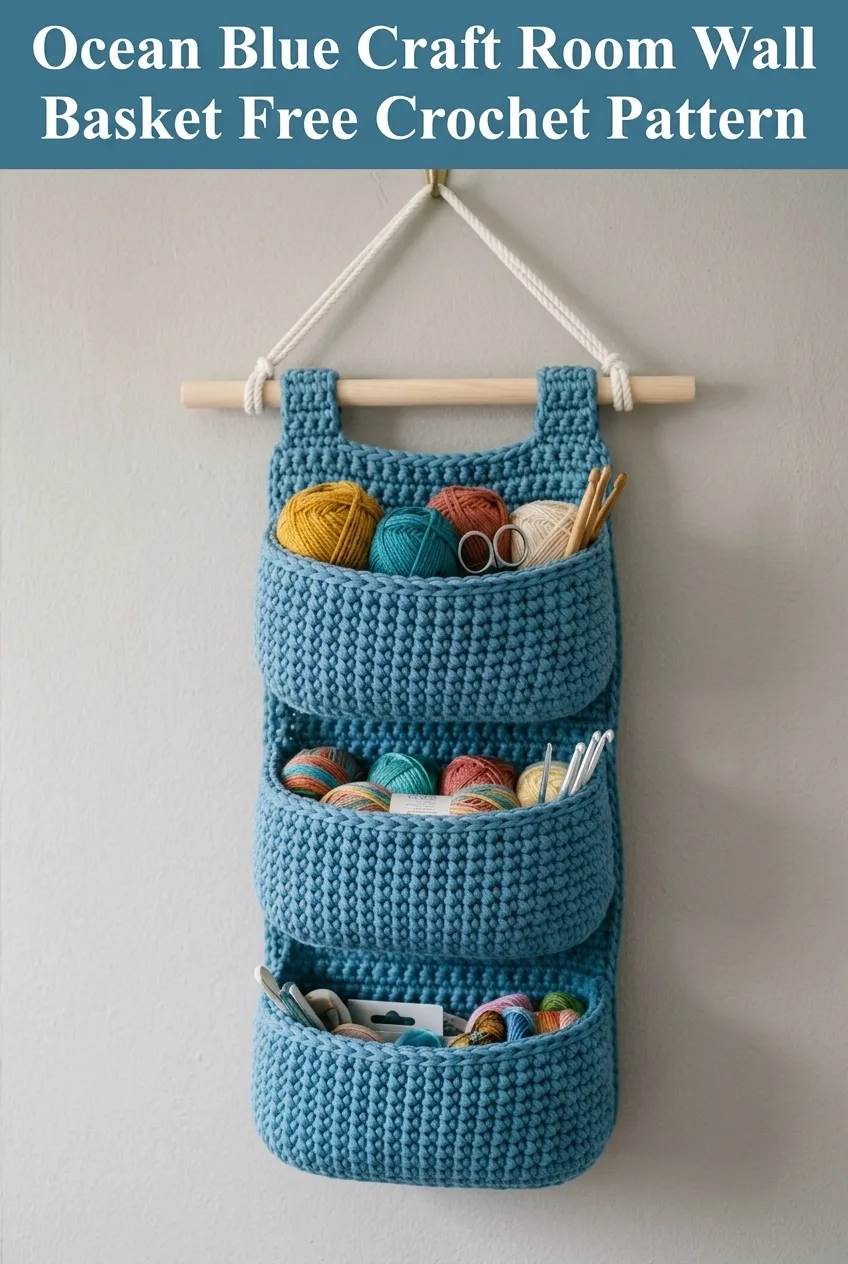
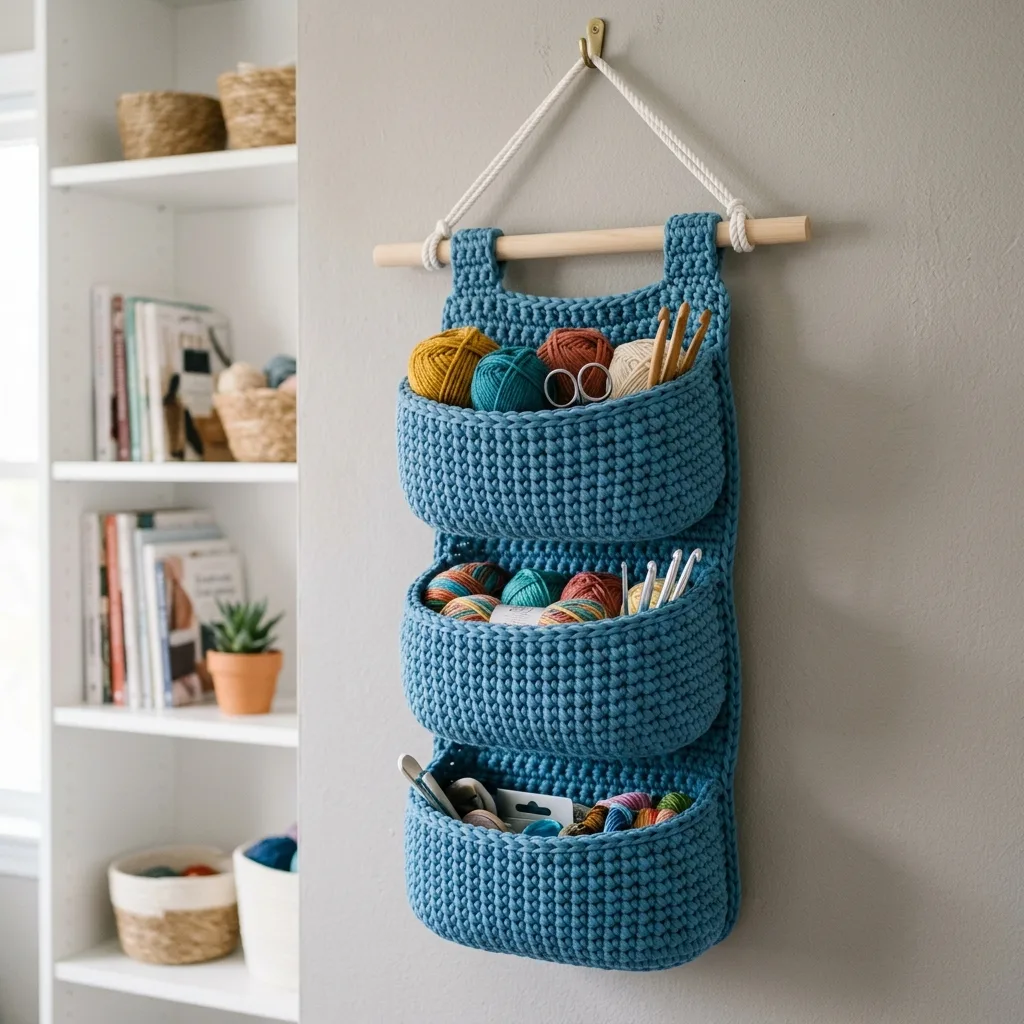
This crochet wall basket pattern creates a gorgeous tiered storage system perfect for organizing your craft supplies, bathroom essentials, or entryway odds and ends. The construction uses simple single crochet stitches throughout, making it ideal for confident beginners ready to try their first home decor project. You will work each pocket separately, then join them to a sturdy back panel that slides over a wooden dowel for hanging.
Why You Will Love This Crochet Wall Organizer Pattern
Let me tell you what makes this pattern special. Unlike flimsy fabric organizers that sag and lose their shape, this crocheted version holds up beautifully because of the dense stitch work. The single crochet fabric creates a tight weave that supports the weight of yarn skeins, hooks, and tools without stretching out.
The design is completely customizable. Want four pockets instead of three? Easy. Need larger pockets for bulkier items? I will show you exactly how to adjust. Prefer a different color? This pattern works in any shade you love.
Working this project also teaches valuable skills you will use again and again. You will practice:
Materials Needed for Your Crochet Hanging Basket
Gathering your supplies before you start makes the whole process smoother. Here is everything you need:
Yarn:
Hook:
Additional Supplies:
Gauge:
14 single crochet stitches and 16 rows equals 4 inches square. Check your gauge before starting. If your fabric feels loose or floppy, go down a hook size. Too tight and stiff? Go up a size.
Abbreviations and Stitch Definitions
Before we begin, let me explain every stitch you will use in this crochet tutorial.
Ch = Chain. Wrap yarn over hook, pull through loop on hook. This creates the foundation for most projects.
Sl st = Slip stitch. Insert hook, yarn over, pull through both the stitch and the loop on your hook in one motion. Used for joining and creating invisible seams.
Sc = Single crochet. Insert hook into stitch, yarn over and pull up a loop (2 loops on hook), yarn over and pull through both loops. This is your main stitch for the entire pattern.
Inc = Increase. Work 2 single crochet stitches into the same stitch. This makes your work wider or creates curves.
Sc2tog = Single crochet two together (decrease). Insert hook into first stitch, yarn over and pull up loop, insert hook into next stitch, yarn over and pull up loop (3 loops on hook), yarn over and pull through all 3 loops. This decreases your stitch count by one.
Step by Step Crochet Pattern Instructions
Part 1: Making the Pockets (Make 3)
Each pocket starts with an oval base, then you work up the sides in continuous rounds. The pockets are identical, so you will repeat this section three times.
Base:
Round 1: Ch 16. Sc in 2nd ch from hook and in next 13 ch. Work 3 sc in last ch (this creates the turn). Working along the opposite side of the foundation chain, sc in next 13 stitches. Work 2 sc in the last stitch where you started. Do not join. Place a stitch marker in the first stitch to track your rounds. (32 sts)
Round 2: Sc in next 14 sts, inc in next 3 sts, sc in next 14 sts, inc in next st. (36 sts)
Round 3: Sc in next 14 sts, (inc, sc) 3 times, sc in next 14 sts, (inc, sc) twice. (42 sts)
Round 4: Sc in each st around. (42 sts)
Building the Sides:
Rounds 5 through 18: Continue working sc in each stitch around without increasing. Your pocket will naturally start curving upward. Keep your tension consistent for even sides. (42 sts each round)
The pocket should measure approximately 6 inches wide, 3 inches deep, and 4 inches tall at this point.
Creating the Back Flap:
Now you will work flat rows to create the portion that attaches to the back panel.
Row 19: Sc in next 21 sts. Ch 1, turn, leaving remaining stitches unworked. (21 sts)
Row 20: Sc in each st across. Ch 1, turn. (21 sts)
Rows 21 through 24: Repeat Row 20. (21 sts)
Fasten off and weave in ends. Set aside and make two more pockets.
Part 2: Creating the Back Panel
The back panel provides structure and connects all three pockets.
Foundation:
Ch 26.
Row 1: Sc in 2nd ch from hook and each ch across. Ch 1, turn. (25 sts)
Rows 2 through 80: Sc in each st across. Ch 1, turn. (25 sts)
Your back panel should measure approximately 7 inches wide and 20 inches long. If you want more space between pockets, add additional rows here.
Do not fasten off. Continue to the border.
Border:
Round 1: Work 1 sc in each stitch across the top. At the corner, work 3 sc. Continue down the side, working approximately 1 sc per row (about 80 sts down the side). Work 3 sc in the corner. Sc across the bottom (25 sts). Work 3 sc in the corner. Sc up the remaining side. Work 3 sc in the final corner. Sl st to first sc to join.
Round 2: Ch 1, sc in each st around, working 3 sc in each corner stitch. Sl st to join.
Fasten off and weave in ends.
Part 3: Creating the Hanging Tabs (Make 2)
These tabs loop over your wooden dowel.
Ch 8.
Row 1: Sc in 2nd ch from hook and each ch across. Ch 1, turn. (7 sts)
Rows 2 through 20: Sc in each st across. Ch 1, turn. (7 sts)
Fasten off, leaving a long tail for sewing.
Part 4: Assembly
This is where your wall basket really comes together. Take your time with this section.
Positioning the Pockets:
Lay your back panel flat on a table. Position the first pocket near the top, leaving about 2 inches from the top edge. The back flap of the pocket should overlap the back panel by about 1.5 inches.
Using your tapestry needle and matching yarn, whip stitch the back flap to the back panel. I recommend using small, close stitches for durability.
Position the second pocket about 1.5 inches below the first pocket. Sew in place.
Position the third pocket about 1.5 inches below the second pocket. Sew in place.
Attaching the Tabs:
Fold each hanging tab in half lengthwise. Position them at the top corners of the back panel, about 1 inch from each edge. The folded loop should extend above the top of the panel by about 2 inches.
Sew both ends of each tab securely to the back panel.
Adding the Dowel:
Slide your wooden dowel through both hanging tabs. The tabs should fit snugly but allow the dowel to move freely.
Tie your rope or cord to each end of the dowel, creating a loop for hanging on your wall hook.
Tips for Crochet Beginners
If this is one of your first crochet projects beyond basic scarves, here are some things that might help.
Tension matters more than you think. When crocheting baskets and home decor, you want a firm fabric that holds its shape. If you can easily see through your stitches, your tension is too loose. Try holding your yarn a bit tighter or dropping down a hook size.
Count your stitches regularly. Especially during the pocket rounds, losing or gaining stitches will throw off your shape. I like to count every few rounds to catch mistakes early.
Do not worry about perfect circles. The oval base might look a bit wonky in the first few rounds. Trust the process. It evens out as you build the sides.
Blocking is optional but helpful. If your pockets seem floppy, you can wet block them over a similarly shaped container. Let them dry completely before assembly.
Customization Ideas for Your Wall Organizer
This crochet pattern is wonderfully adaptable. Here are some variations to consider.
Color variations: Try making each pocket a different shade in the same color family. Or use a self-striping yarn for beautiful gradient effects without changing colors.
Size adjustments: For larger pockets, increase your foundation chain and add more increase rounds at the base. For smaller pockets, do the opposite. Just remember to adjust your back panel width accordingly.
Pocket arrangement: Some crafters prefer a single column of pockets while others want two columns side by side. Adjust your back panel dimensions and create additional pockets as needed.
Different uses: This organizer works wonderfully in bathrooms for toiletries, in entryways for keys and sunglasses, or in kids’ rooms for small toys.
Finished Dimensions
Your completed wall basket should measure approximately:
These measurements may vary slightly based on your tension and yarn choice.
Caring for Your Crochet Wall Basket
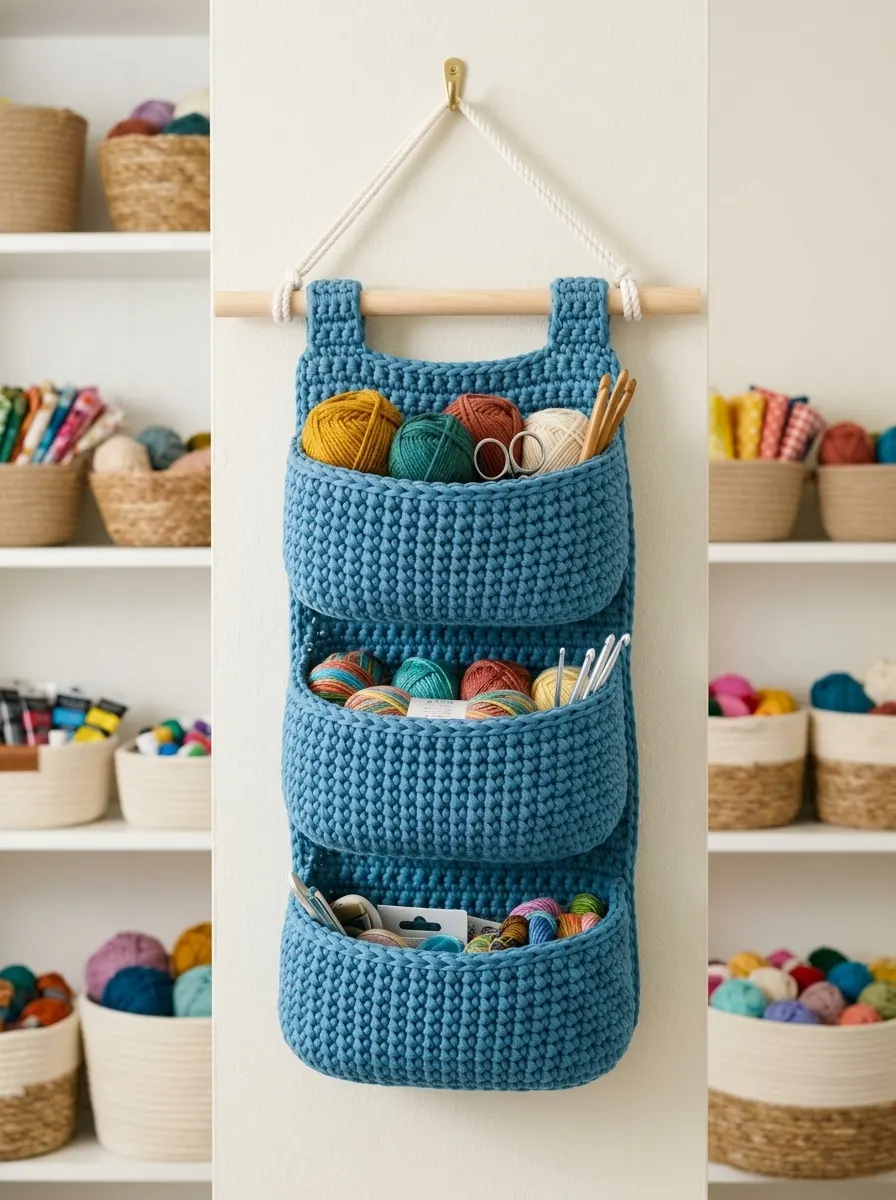
Cotton yarn is durable and easy to clean. If your basket gets dusty, simply wipe it with a damp cloth. For deeper cleaning, remove the dowel and hand wash in cool water with mild soap. Reshape while damp and allow to air dry completely before rehanging.
Avoid placing heavy items in the pockets that might stretch the fabric over time. This organizer works best for lightweight items like yarn skeins, toiletries, or craft supplies.
I really hope you enjoy making this ocean blue craft room wall basket as much as I enjoyed designing it. It has become one of my most reached for organizational tools, and I smile every time I grab a yarn skein from those cozy pockets. Thank you so much for choosing this pattern for your next project.
If you make your own version, I would absolutely love to see it! Tag me on Instagram or share a photo on Facebook. Nothing makes my day quite like seeing your beautiful creations.
Do not forget to save this crochet pattern to your Pinterest boards so you can find it when you are ready to start. And please drop a comment below if you make one. I read every single message and love hearing how your projects turn out!