
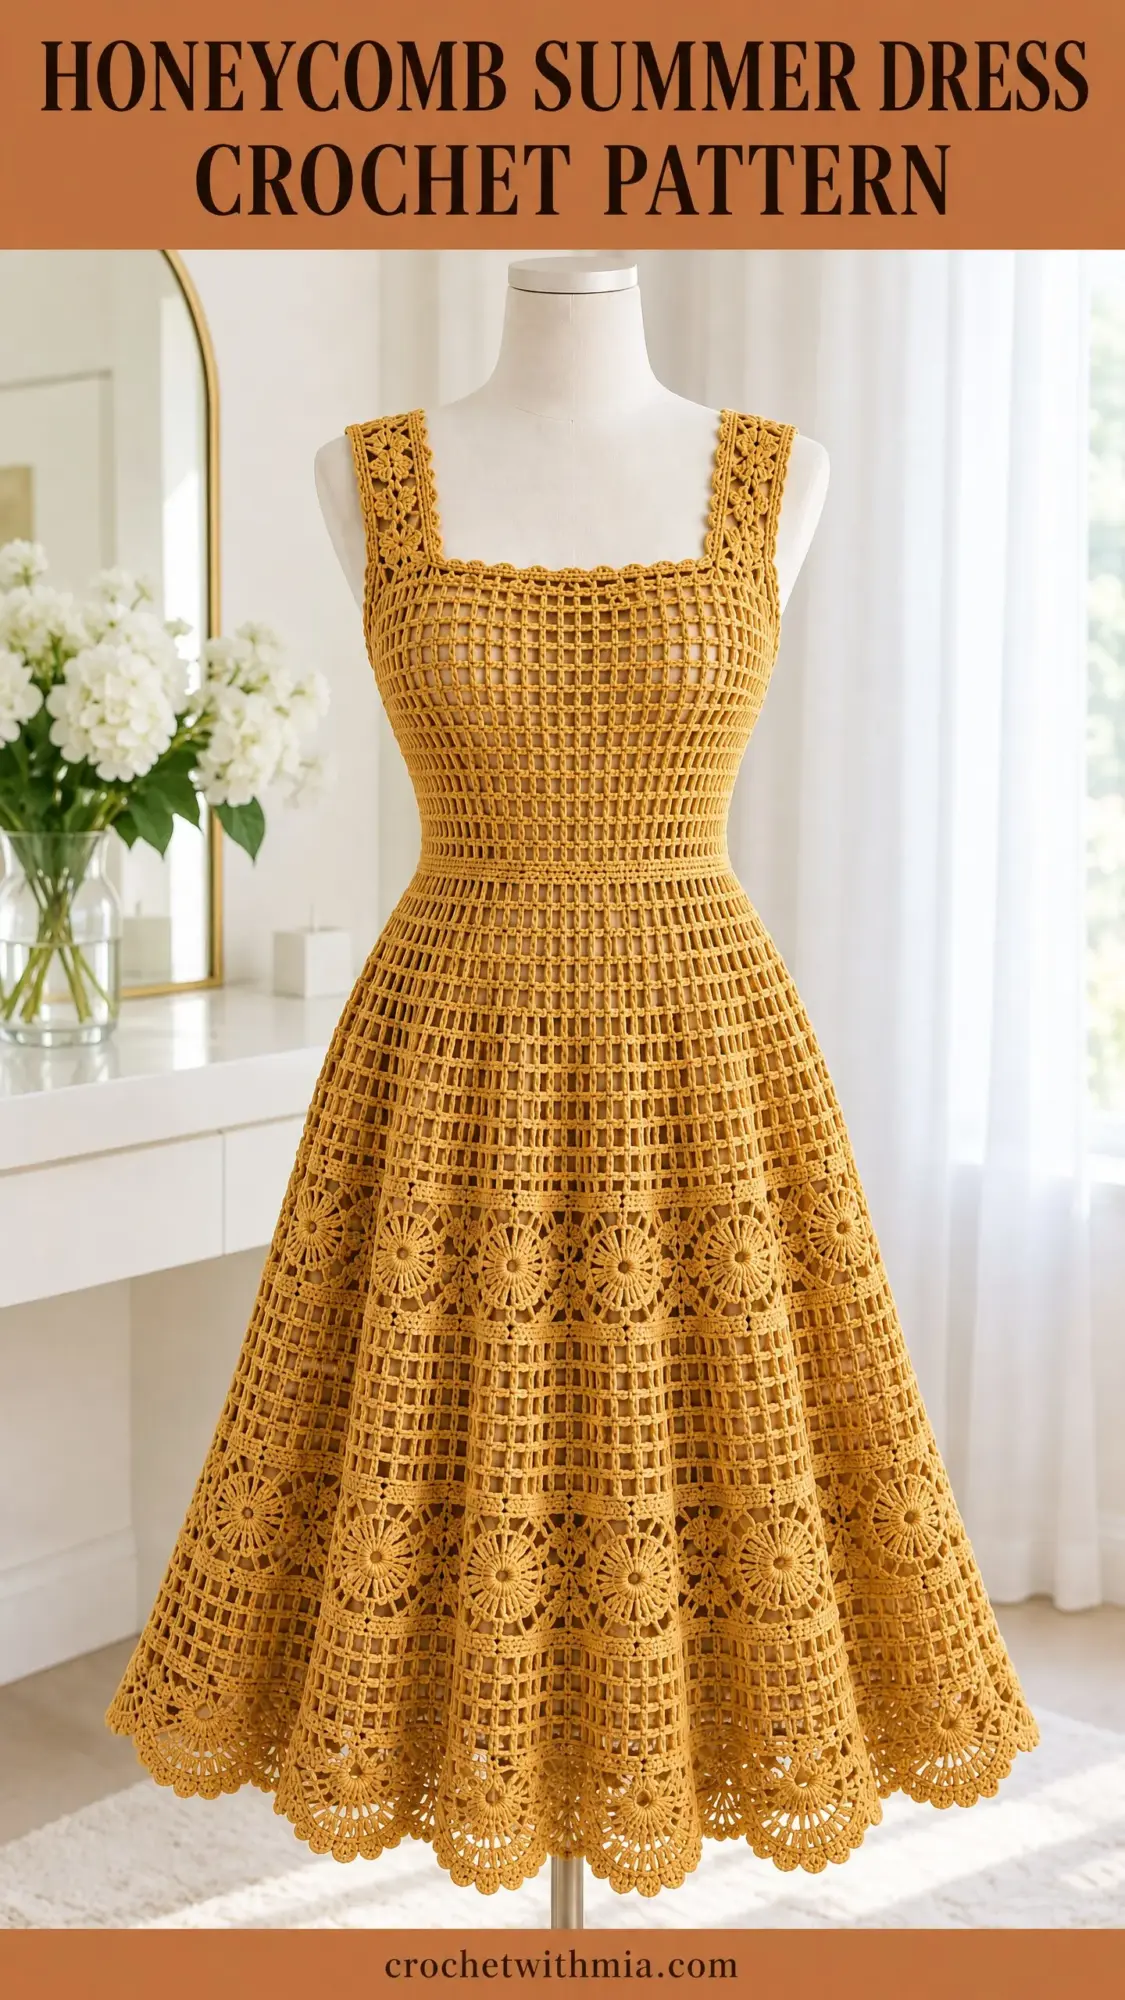
THIS ONE IS A SHOWSTOPPER. Seriously, if you have been looking for a summer crochet project that delivers maximum impact, this golden honey dress is it. The openwork mesh creates that breezy, elegant look perfect for warm weather, and the three-stage flared skirt gives you that dreamy silhouette without complicated shaping.
Get the Ad-Free PDF Pattern
Scroll down for the full pattern, or get the ad-free printable PDF from the shop.
Get the Printable PDF →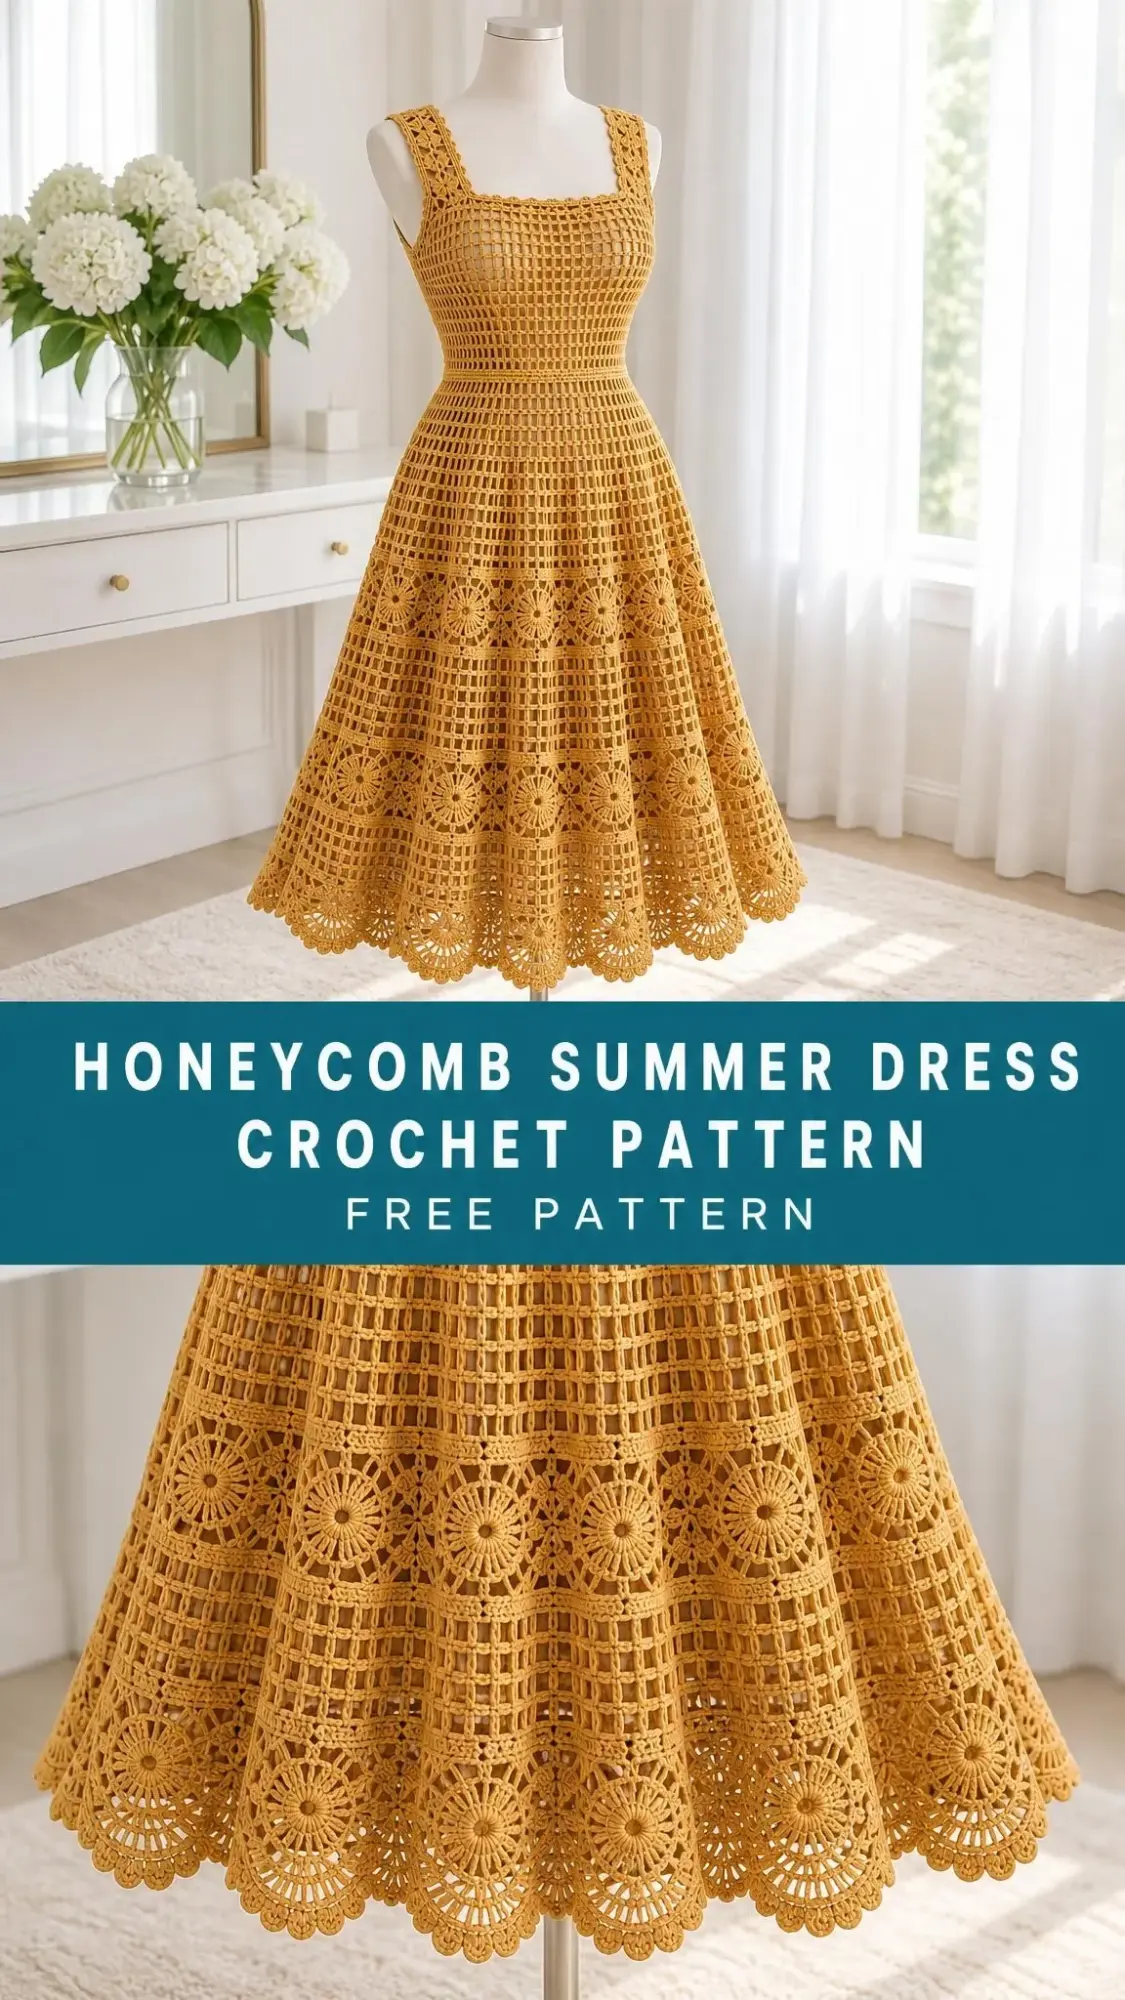
The best part? The construction is more straightforward than it appears. You will work flat bodice panels first, seam them together, then crochet the skirt downward in joined rounds. No fussy armhole shaping, no set-in sleeves to wrestle with. Just clean lines, simple mesh, and a gorgeous finished piece that looks like it took twice as long to make.
Whether you are planning ahead for vacation season or dreaming of garden parties, this dress pairs beautifully with an opaque slip underneath. The honeycomb mesh pattern lets the fabric breathe while the shell trim at the hem adds that polished, feminine finish. Let’s get into everything you need to bring this beauty to life.
About This Honeycomb Summer Dress Pattern
This openwork adult dress is designed for one sample size with a finished bust measurement of approximately 88 cm, making it suitable for an 80 to 84 cm bust. The waist gathers to 80 to 84 cm, the total length measures about 92 cm, and the hem circumference reaches approximately 218 cm for that lovely flared effect.
The design features a square neckline, sleeveless construction with wide shoulder straps, and a knee-length flared mesh skirt. The skirt includes decorative shell bands and a neat scalloped hem that adds visual interest without overwhelming the clean aesthetic.
Important note: This pattern has been reviewed for arithmetic and construction accuracy, but no physical sample or independent technical edit has been completed. The reference photograph does not reveal every stitch, so this represents an original visual reconstruction rather than the source designer’s instructions. Always make a gauge swatch before committing your yarn.
Materials and Tools You Will Need
Gathering your supplies before you begin makes the whole process smoother. Here is everything required for this crochet dress pattern:
Yarn:
- Smooth fingering weight cotton, approximately 200 m per 50 g
- Main colour (golden honey): 650 g, approximately 2600 m
- Contrasting motif colours, if used: 100 g total, approximately 400 m (divide between named colours)
Hooks:
- 3 mm hook for main fabric
- 2.5 mm hook for edging
- Or sizes needed to obtain gauge
Notions:
- Tapestry needle
- Stitch markers
- Measuring tape
- Scissors
- Blocking mats and rustproof pins
- Matching opaque slip (required when worn, not supplied by this pattern)
- Pearl versions: 4 sew-on imitation pearls and strong thread
Gauge Information
Getting your gauge right is essential for a garment that fits properly. Take the time to swatch before diving in.
Target gauge: 22 stitch positions (11 mesh cells) x 12 mesh rows = 10 cm, blocked.
Flat bodice panel check: 48 cells, 49 dc posts and 48 chains should measure about 44 cm wide.
Rosette check: A rosette should block to approximately 7 to 8 cm.
To check your gauge, make a swatch at least 15 x 15 cm. Wash and dry it exactly as you plan to treat the finished piece, then measure the central 10 cm without stretching. If your measurements differ, change your hook size accordingly. Record both width and height.
All dimensions listed throughout this pattern are blocked targets. Keep in mind that cotton lace can lengthen while worn, so factor this in when checking your finished measurements.
Abbreviations and Special Stitches
This pattern uses US crochet terminology throughout. Here are all the abbreviations you will encounter:
- ch = chain
- st(s) = stitch(es)
- sp = space
- sl st = slip stitch (insert hook, yarn over, pull through both loops on hook)
- sc = single crochet (insert hook, yarn over, pull up loop, yarn over, pull through both loops)
- hdc = half double crochet
- dc = double crochet (yarn over, insert hook, yarn over, pull up loop, yarn over, pull through 2 loops, yarn over, pull through remaining 2 loops)
- tr = treble crochet
- BLO = back loop only
- RS/WS = right side/wrong side
- rep = repeat
- inc = increase
- sc2tog = single crochet 2 stitches together (a decrease)
Special Stitch: Small Mesh (Flat)
Chain 3 (this counts as your first dc), then work [ch 1, skip next ch-1 sp, dc in next dc] to end. Work the dc into the post stitch itself, not the gap.
A mesh cell is one ch-1 space bounded by dc posts on either side. When working flat with C cells, you will have C+1 dc posts and C chains. The total stitch positions equal 2C+1.
Special Stitch: Shell Trim
On a prepared sc edge with a multiple of 6 stitches, work [skip 2 sc, 5 dc in next sc, skip 2 sc, sl st in next sc] around.
Special Stitch: Picot Trim
Work [sc in next 3 sts, ch 3, sl st into third ch from hook] around.
Pattern Notes Before You Begin
Understanding these conventions will help you follow the instructions smoothly:
- The turning ch 3 counts as a dc
- Ch 1 does not count as a sc
- Join rounds with sl st unless stated otherwise
- Flat rows turn after each row
- Joined dress rounds do not turn
- Brackets enclose a repeat
- Do not count joining sl sts in your stitch totals
- Sew with RS together unless directed otherwise
- Work main fabric in the first listed colour
- Use remaining colours for named trims and appliques
Sizing note: This document supplies one adult sample size only. Check the measurements carefully before committing your yarn. Altering stitch counts requires recalculating motif placement and shaping. No multi-size grading is implied.
Construction Overview
The build order for this crochet summer dress is logical and manageable:
- Make two waist-up bodice panels (front and back)
- Shape the front neckline
- Sew shoulders and sides, leaving armholes open
- Add optional flat sleeves if desired
- Join the skirt at the waist
- Increase at three tier starts and crochet to length
- Add appliques, trim, and a waist cord
Step-by-Step Crochet Dress Instructions
Back Bodice
Row 1: Ch 100. Dc in sixth ch from hook, [ch 1, skip 1 ch, dc in next ch] 47 times. Turn. The skipped chains form the first dc and first ch-1 space. 49 dc + 48 ch-1 spaces; 48 cells.
Rows 2 through 48: Work small mesh across. Turn. 48 cells; 49 dc + 48 ch-1 spaces. Repeat this instruction on every listed row.
Front Bodice
Row 1: Ch 100. Dc in sixth ch from hook, [ch 1, skip 1 ch, dc in next ch] 47 times. Turn. The skipped chains form the first dc and first ch-1 space. 49 dc + 48 ch-1 spaces; 48 cells.
Rows 2 through 42: Work small mesh across. Turn. 48 cells; 49 dc + 48 ch-1 spaces. Repeat this instruction on every listed row.
Front Shoulder Tabs
Leave the centre 24 cells unworked for the neckline opening. Work the first 12 cells for one shoulder, then rejoin yarn at the opposite outer edge and work the other 12 cells for the second shoulder.
Each shoulder receives the following rows:
Rows 43 through 48: Work small mesh over shoulder cells only. Turn. 12 cells; 13 dc + 12 ch-1 spaces. Repeat this instruction on every listed row.
Checkpoint: Each bodice panel should measure about 44 cm wide x 40 cm long. Final shoulder width is approximately 11 cm. Back neck opening measures about 22 cm. Complete bodice seams as described in the Assembly section before beginning the skirt.
Skirt: Joined Rounds from Waist
After seaming the bodice, distribute 192 sc evenly around the lower waist edge: 96 per panel, skipping each duplicated seam-edge post. Join. This is foundation Round 0. 192 sc.
Round 1: Ch 3, [ch 1, skip 1 sc, dc in next sc] 95 times, ch 1, skip final sc. Join. 96 cells; 96 dc + 96 ch-1 spaces.
Round 2: Work into the 96 old ch-1 spaces. Alternately work [dc, ch 1, dc, ch 1] in one space and [dc, ch 1] in the next, 48 pairs in all. Replace the first dc with ch 3. Join. 144 dc + 144 ch-1 spaces; 144 cells.
Rounds 3 through 20: Work [dc in next dc, ch 1] around. Replace the first dc with ch 3. Join. 144 dc + 144 ch-1 spaces; 144 cells. Repeat this instruction on every listed round.
Round 21: Into old ch-1 spaces work [(dc, ch 1, dc, ch 1) in next space, (dc, ch 1) in each of next 2 spaces] 48 times. Replace the first dc with ch 3. Join. 192 dc + 192 ch-1 spaces; 192 cells.
Rounds 22 through 41: Work [dc in next dc, ch 1] around. Replace the first dc with ch 3. Join. 192 dc + 192 ch-1 spaces; 192 cells. Repeat this instruction on every listed round.
Round 42: Into old ch-1 spaces work [(dc, ch 1, dc, ch 1) in next space, (dc, ch 1) in each of next 3 spaces] 48 times. Replace the first dc with ch 3. Join. 240 dc + 240 ch-1 spaces; 240 cells.
Rounds 43 through 62: Work [dc in next dc, ch 1] around. Replace the first dc with ch 3. Join. 240 dc + 240 ch-1 spaces; 240 cells. Repeat this instruction on every listed round.
Assembly Instructions
You will need: Main colour yarn, tapestry needle, 3 mm hook for skirt attachment.
Seam Pass 1: Sew the outer 12 cells of each front shoulder to the corresponding back shoulder. 2 seams, 12 cells each.
Seam Pass 2: Mark 18 cm down from each shoulder on both front and back panels. Sew side seams from waist to markers. Leave the upper edges open for armholes. 2 armholes, each about 36 cm around.
Seam Pass 3: If sleeves are present, seam each sleeve lengthwise, then match the sleeve-top seam to the underarm and sew the sleeve top evenly around the armhole. 2 sleeves attached, or 0 for the sleeveless version.
Checkpoint: Try the bodice over the intended slip before adding the skirt. The neckline should lie flat. Shoulders and armholes should not pull. Waist measures about 88 cm before gathering.
Edgings and Details
You will need: Main or named contrast colour, 2.5 mm hook, motifs, needle, beads only where specified.
Hem Edging
Hem Round 1: Sc in each dc and each ch-1 space around the skirt. 480 sc.
Hem Round 2: Work shell trim 80 times, or picot trim 160 times where picot is specified. Join. 480 base sc consumed.
Neckline Edging
Neck Round 1: Sc evenly around neckline, working 1 sc per top stitch position and 2 sc per dc row end. Use 3 sc at each outward corner and sc2tog across each inward corner. Record your count as N. N sc.
Neck Round 2: Sl st in every neckline sc without tightening. Join. N sl sts.
Sleeve or Armhole Edging
Sleeve Edge Round 1: Work 1 sc in each dc and each ch-1 space. Record your count as C. For sleeveless versions, work 2 sc per dc row end around each armhole. C sc per opening.
Sleeve Edge Round 2: Work shell trim over complete 6-st repeats, then sc in remaining 0 to 5 sts. Join. C base sts consumed.
Waist Cord
Waist Cord Row 1: Ch 241. Sl st in second ch and each remaining ch. Fasten off. 240 sl sts.
Thread the waist cord through alternate waist mesh cells and tie to fit 80 to 84 cm.
For the centre-neck bow: Make two 60-chain cords with 59 return sl sts each and attach at the front neck point.
For pearl versions: Sew beads onto cord tips using doubled thread.
Optional Raised Shell Bands
For raised shell bands, join contrast yarn at skirt Rounds 20, 41, and 59. Work [sl st around next dc post, 5 dc in next ch-1 space, skip next dc and ch-1 space] around. End before overlapping the first shell. Fasten off. These are surface bands and do not change skirt counts.
Checkpoint: Motifs do not bridge or close the wearing openings. Decoration is balanced. Skirt hangs evenly without tight horizontal bands.
Finishing Your Crochet Summer Dress
You will need: Matching yarn tails, tapestry needle, blocking mats and rustproof pins. No working hook needed.
Finishing Pass 1: Weave each end through at least 5 cm of stitches and reverse direction. 0 loose tails.
Finishing Pass 2: Wash gently and block flat to listed dimensions. Support all wet fabric. Do not hang to dry. 1 finished dress.
Final Checkpoint: Finished bust about 88 cm. Total length about 92 cm before optional trim. Sleeve length about 0 cm for sleeveless version. Hem about 218 cm. Let dry fully, then recheck length over the intended slip.
Care and Safety Notes
Follow your yarn label for specific care instructions. Unless it specifies otherwise, hand-wash cool with mild detergent, support the wet fabric, and dry flat away from direct heat. Do not wring, tumble dry, or iron acrylic components.
This is an adult item only. Beads, tassels, and appliques are small parts and snagging hazards. Attach them securely and inspect before wear. Keep away from babies and young children. Avoid loose cords around machinery.
Coverage note: Open mesh does not provide sun protection or opaque coverage. This dress requires a separate opaque slip when worn.
Tips for Success with This Crochet Dress Pattern
Count your stitches regularly. With mesh patterns, it is easy to accidentally skip a dc post or add an extra chain. A quick count at the end of each row or round catches mistakes early.
Use stitch markers generously. Mark the beginning of rounds, the placement of increase sections, and any tricky spots where you have made errors before.
Block your swatch AND your finished pieces. Cotton lace transforms with blocking. Your bodice panels will even out, and the skirt will drape beautifully once properly blocked.
Try on the bodice before adding the skirt. This checkpoint is included in the pattern for good reason. Adjusting fit is much easier before you have crocheted 62 rounds of skirt.
Be patient with the waist join. Distributing 192 sc evenly around the waist edge takes attention. Take your time here for a smooth transition from bodice to skirt.
Thank you so much for choosing this honeycomb summer dress crochet pattern for your next project. The finished piece is absolutely stunning, and I hope you enjoy every stitch of the journey. If you make this dress, I would love to see it! Share your photos on Instagram or Facebook and tag us so we can celebrate your beautiful work.
If this pattern caught your eye, go ahead and save it to your Pinterest boards so you can find it when you are ready to cast on. And if you do make this gorgeous summer dress, drop a comment below. I always love hearing how projects turn out and seeing the colour choices you pick!
Want a Quick & Easy Printable Version?
Get a clean, beautifully formatted PDF of this pattern — easy to follow step by step, ready to print or save on any device. No scrolling, no distractions, just the pattern.
Get the Printable PDF →