
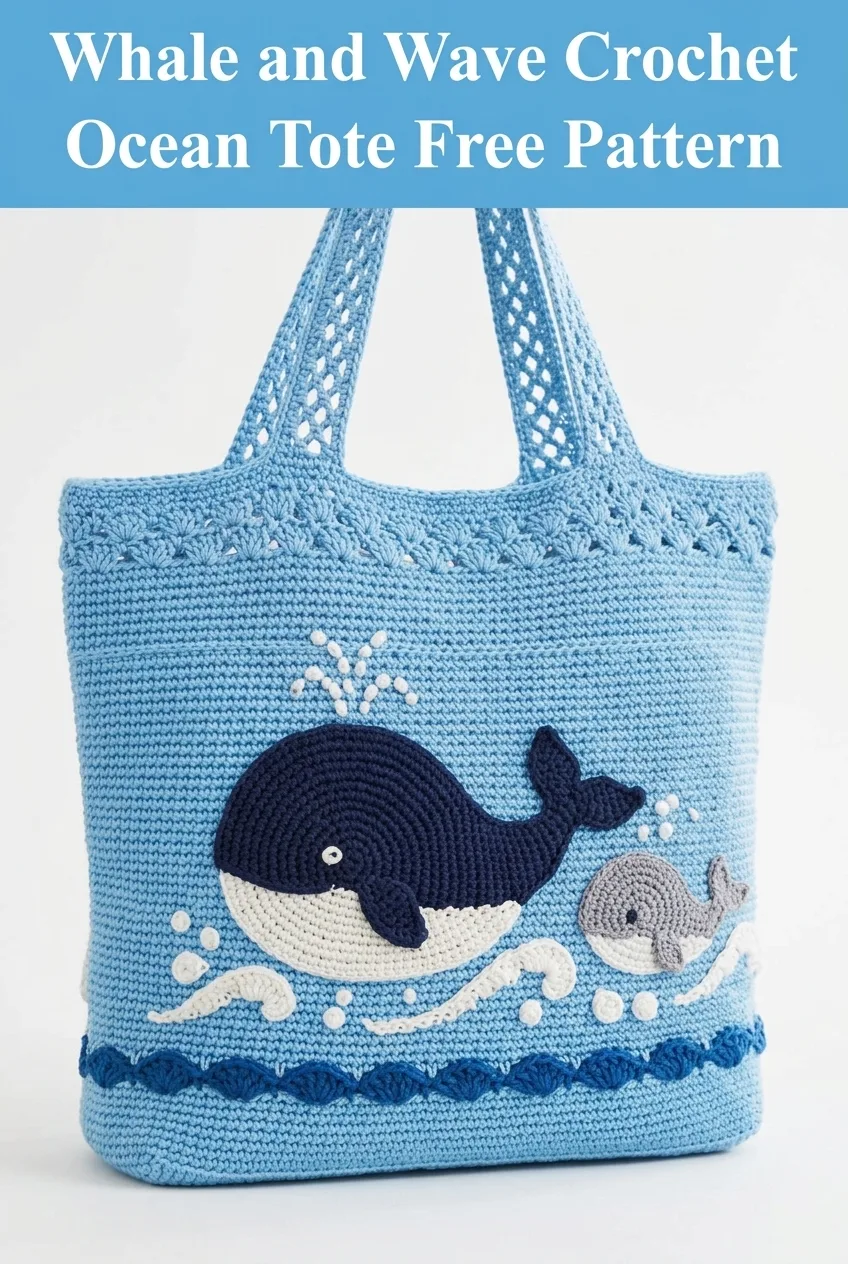
This is a structured crochet tote bag with appliqué whale motifs and decorative wave details. It uses single crochet for the body, shell stitches for the border, and mesh stitches for the handles. The project works up in worsted weight cotton yarn and suits intermediate crocheters comfortable with appliqué work.
Why You Will Love This Ocean Tote Pattern
I designed this bag to capture that breezy coastal feeling without being too literal or kitschy. The mama whale and baby whale appliqués sit perfectly against the light blue background, and those textured waves at the bottom add real dimension. This is a substantial project, so set aside a weekend or two. But trust me, the finished tote is absolutely worth every stitch.
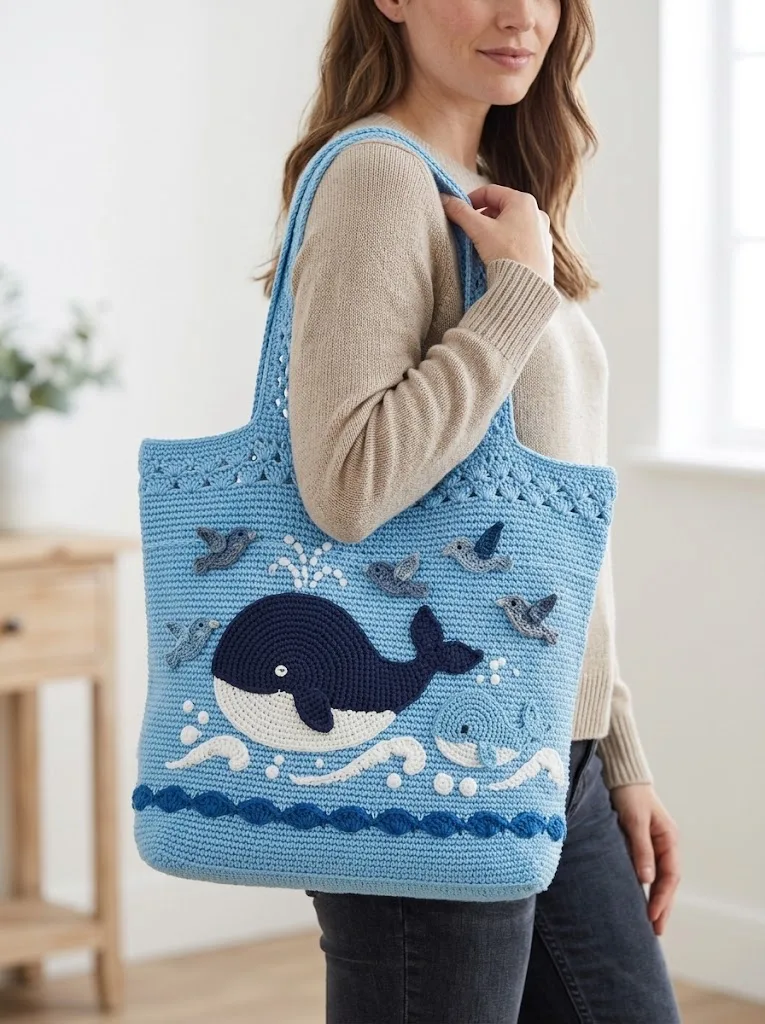
The bag stands up on its own, holds a surprising amount, and gets compliments everywhere it goes. Whether you are heading to the farmer’s market, the beach, or just running errands, this tote makes a statement.
Skill Level
Intermediate
This pattern requires comfort with basic stitches, working in the round, creating flat circular shapes, and sewing appliqués. If you have made amigurumi or done any surface crochet before, you will feel right at home here.
Finished Dimensions
Materials Needed
Yarn
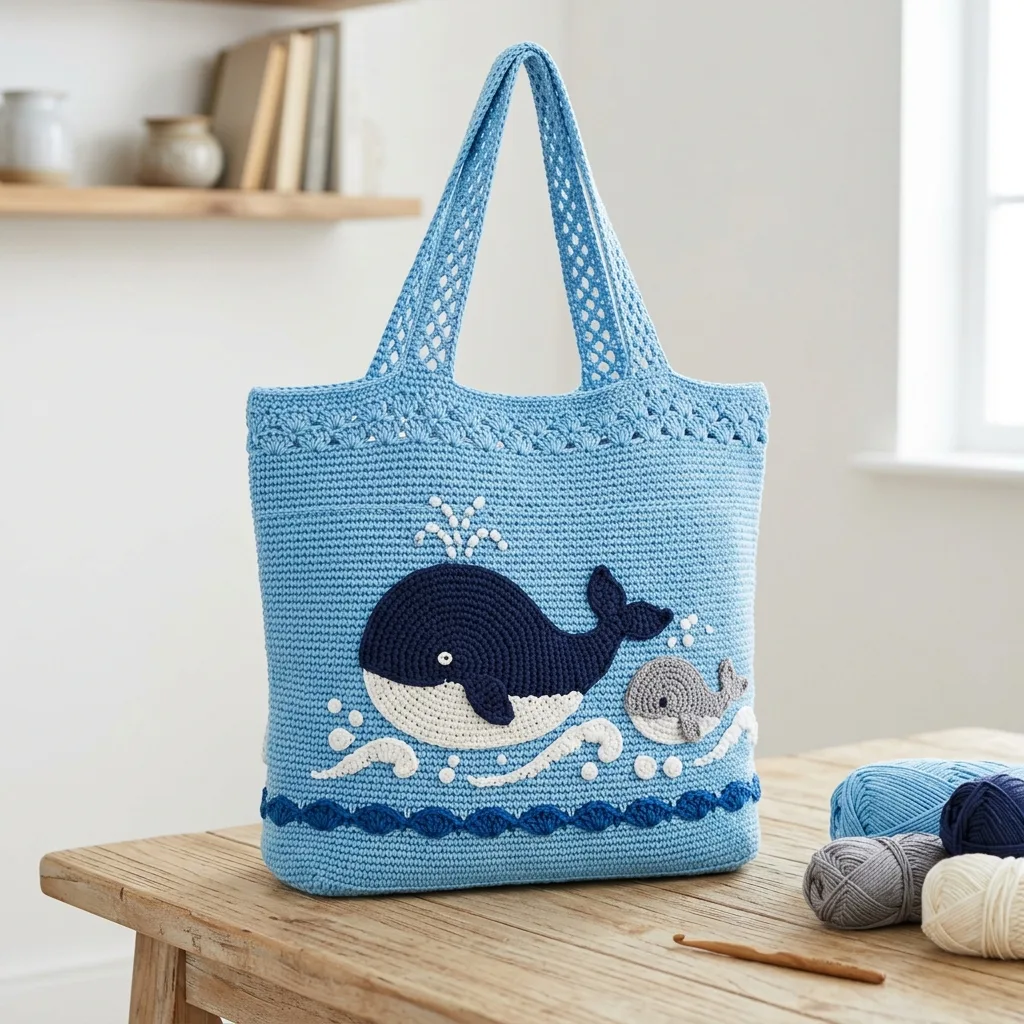
You will need worsted weight cotton yarn (weight category 4) in the following colors:
Cotton yarn works best for this project because it holds structure, does not stretch under weight, and shows stitch definition beautifully. I recommend a mercerized or unmercerized 100% cotton. Brands like Lily Sugar’n Cream, Paintbox Yarns Cotton DK, or Drops Paris work wonderfully.
Hook
Notions
Gauge
18 single crochet stitches and 20 rows = 4 inches in single crochet using 5.0 mm hook
Check your gauge. If your gauge is too loose, your bag will be floppy and stretch under weight. If too tight, the fabric will be stiff and the bag smaller than intended.
Abbreviations and Stitch Definitions
Special Stitches
Shell Stitch
Work 5 dc into the same stitch or space. This creates a fan shape.
Mesh Stitch (for handles)
Ch 1, sk 1, sc in next st. Repeat across to create an open, net-like fabric.
Magic Ring (Adjustable Loop)
Wrap yarn around fingers, insert hook through ring, pull up loop, chain to secure. Work stitches into the ring, then pull tail to close. This creates a seamless center for circular pieces.
Pattern Instructions
Bag Base
The bag is worked from the bottom up, starting with an oval base.
With light blue yarn and 5.0 mm hook:
Row 1: Ch 41. Starting in 2nd ch from hook, sc in each ch across to last ch. In the last ch, work 3 sc. Rotate work to continue along the opposite side of the foundation chain. Sc in each ch across to the last ch, work 2 sc in the last ch. Join with sl st to first sc. (84 sts)
Round 2: Ch 1 (does not count as st throughout). Sc in each of the next 39 sts, 2 sc in each of the next 3 sts, sc in next 39 sts, 2 sc in each of the next 3 sts. Join. (90 sts)
Round 3: Sc in each of the next 39 sts, [sc in next st, 2 sc in next st] 3 times, sc in next 39 sts, [sc in next st, 2 sc in next st] 3 times. Join. (96 sts)
Round 4: Sc in each of the next 39 sts, [sc in next 2 sts, 2 sc in next st] 3 times, sc in next 39 sts, [sc in next 2 sts, 2 sc in next st] 3 times. Join. (102 sts)
Rounds 5 to 6: Sc in each st around. Join. (102 sts)
Your base should measure approximately 14 inches long and 4 inches wide.
Bag Body
Continue working in continuous rounds without joining. Place a stitch marker at the beginning of each round and move it up as you work.
Rounds 7 to 50: Working in back loops only for Round 7 (this creates a defined edge at the base), then in both loops for all remaining rounds. Sc in each st around. (102 sts)
At this point, your bag body should measure approximately 10 inches tall from the base.
Color Change for Wave Section:
Round 51: With dark blue yarn, sc in each st around. (102 sts)
Round 52: Working the wave pattern: *Sl st in next st, sc in next st, hdc in next st, dc in next st, hdc in next st, sc in next st*. Repeat from * around. Join with sl st. (102 sts)
Rounds 53 to 54: Change back to light blue. Sc in each st around. (102 sts)
Shell Border
Round 55: *Sk 2 sts, 5 dc in next st (shell made), sk 2 sts, sl st in next st*. Repeat from * around. Fasten off. (17 shells)
This creates a decorative scalloped edge around the top of the bag.
Handles (Make 2)
With light blue yarn and 5.0 mm hook:
Row 1: Ch 91. Sc in 2nd ch from hook and in each ch across. Turn. (90 sts)
Row 2: Ch 1, sc in first st, *ch 1, sk 1 st, sc in next st*. Repeat from * across. Turn.
Rows 3 to 6: Ch 1, sc in first st, *ch 1, sk ch-1 sp, sc in next sc*. Repeat from * across. Turn.
Row 7: Ch 1, sc in each st and ch-1 sp across. (90 sts)
Fasten off, leaving a long tail for sewing.
Attaching Handles
Position the handles on the inside of the bag, approximately 3 inches from each side edge. Pin in place, ensuring both handles are even. Whip stitch securely along the bottom edge of each handle end, reinforcing with several passes.
Appliqué Patterns
Large Whale Body
With navy blue yarn and 5.0 mm hook:
Round 1: Create a magic ring. Work 6 sc into the ring. Pull tight. (6 sts)
Round 2: 2 sc in each st around. (12 sts)
Round 3: *Sc in next st, 2 sc in next st*. Repeat around. (18 sts)
Round 4: *Sc in next 2 sts, 2 sc in next st*. Repeat around. (24 sts)
Round 5: *Sc in next 3 sts, 2 sc in next st*. Repeat around. (30 sts)
Rounds 6 to 10: Continue increasing by 6 sts each round, maintaining the spiral pattern. (60 sts after Round 10)
Rounds 11 to 12: Sc in each st around without increasing. (60 sts)
Fasten off. This creates a slightly oval, domed shape.
Whale Belly
With cream yarn and 5.0 mm hook:
Row 1: Ch 20. Sc in 2nd ch from hook and in each ch across. Turn. (19 sts)
Rows 2 to 6: Ch 1, sc2tog, sc across to last 2 sts, sc2tog. Turn. (Decreasing 2 sts each row)
This creates a curved, tapered belly piece. Fasten off.
Whale Tail
With navy blue yarn:
Row 1: Ch 8. Sc in 2nd ch from hook and in each ch across. Turn. (7 sts)
Row 2: Ch 1, sc in each st across. Turn. (7 sts)
Row 3: Ch 1, sc2tog, sc in next 3 sts, sc2tog. Turn. (5 sts)
Row 4: Ch 1, sc2tog, sc in next st, sc2tog. Turn. (3 sts)
Fasten off. Make two tail fins and sew together at the narrow end.
Baby Whale
Work the same as the large whale body but stop after Round 6. (24 sts)
Create a smaller belly piece with cream yarn using the same technique but starting with ch 10.
Wave Appliqués
With cream yarn:
Ch 25. In 2nd ch from hook: *sl st, sc, hdc, dc, hdc, sc*. Repeat from * across to create undulating waves. Make 2 or 3 wave pieces of varying lengths.
Bubble Details
With cream yarn:
Create French knots or small bobble stitches directly onto the bag above the whale’s head. Alternatively, crochet tiny circles (ch 2, 6 sc in 2nd ch from hook, join) and sew them in a spray pattern.
Assembly
1. Position the large whale on the front of the bag, centered and sitting above the dark blue wave border.
2. Pin the belly piece to the lower portion of the whale body, overlapping slightly.
3. Attach the tail at the back edge of the whale body, angled slightly upward.
4. Position the baby whale to the right of the mama whale, slightly lower.
5. Arrange the cream wave appliqués along the bottom, partially overlapping the whale bodies to create depth.
6. Sew all pieces using whip stitch and matching yarn colors. Work slowly and pin frequently.
7. Add the bubbles above the whale’s head in a spray pattern.
8. Attach button eyes or embroider eyes using black yarn.
Care Instructions
Hand wash in cool water with mild detergent. Lay flat to dry, reshaping as needed. Cotton yarn may relax slightly after washing, which actually improves the drape of the bag.
Tips for Success
Blocking matters. Block your appliqué pieces before sewing them on. They will lie flatter and look more polished.
Reinforce the handles. These will bear weight, so take extra time securing them. Consider adding a fabric lining for heavy use.
Photograph your placement. Before you commit to sewing, take a photo of your pinned arrangement. You will catch any spacing issues more easily this way.
Do not rush the appliqué work. This is where the magic happens. Take your time positioning everything just right.
I hope you love making this whale and wave crochet ocean tote as much as I loved designing it. If you give this pattern a try, please save it to your Pinterest boards so you can find it easily later. And I would absolutely love to see your finished bag, so drop a comment below or tag me on social media when you complete yours.