
I don’t know about you, but I absolutely melt when I see a tiny dress hanging on a little wooden hanger. There’s something about handmade baby clothes that just hits different. Store-bought is fine, but crocheted? That’s heirloom territory.
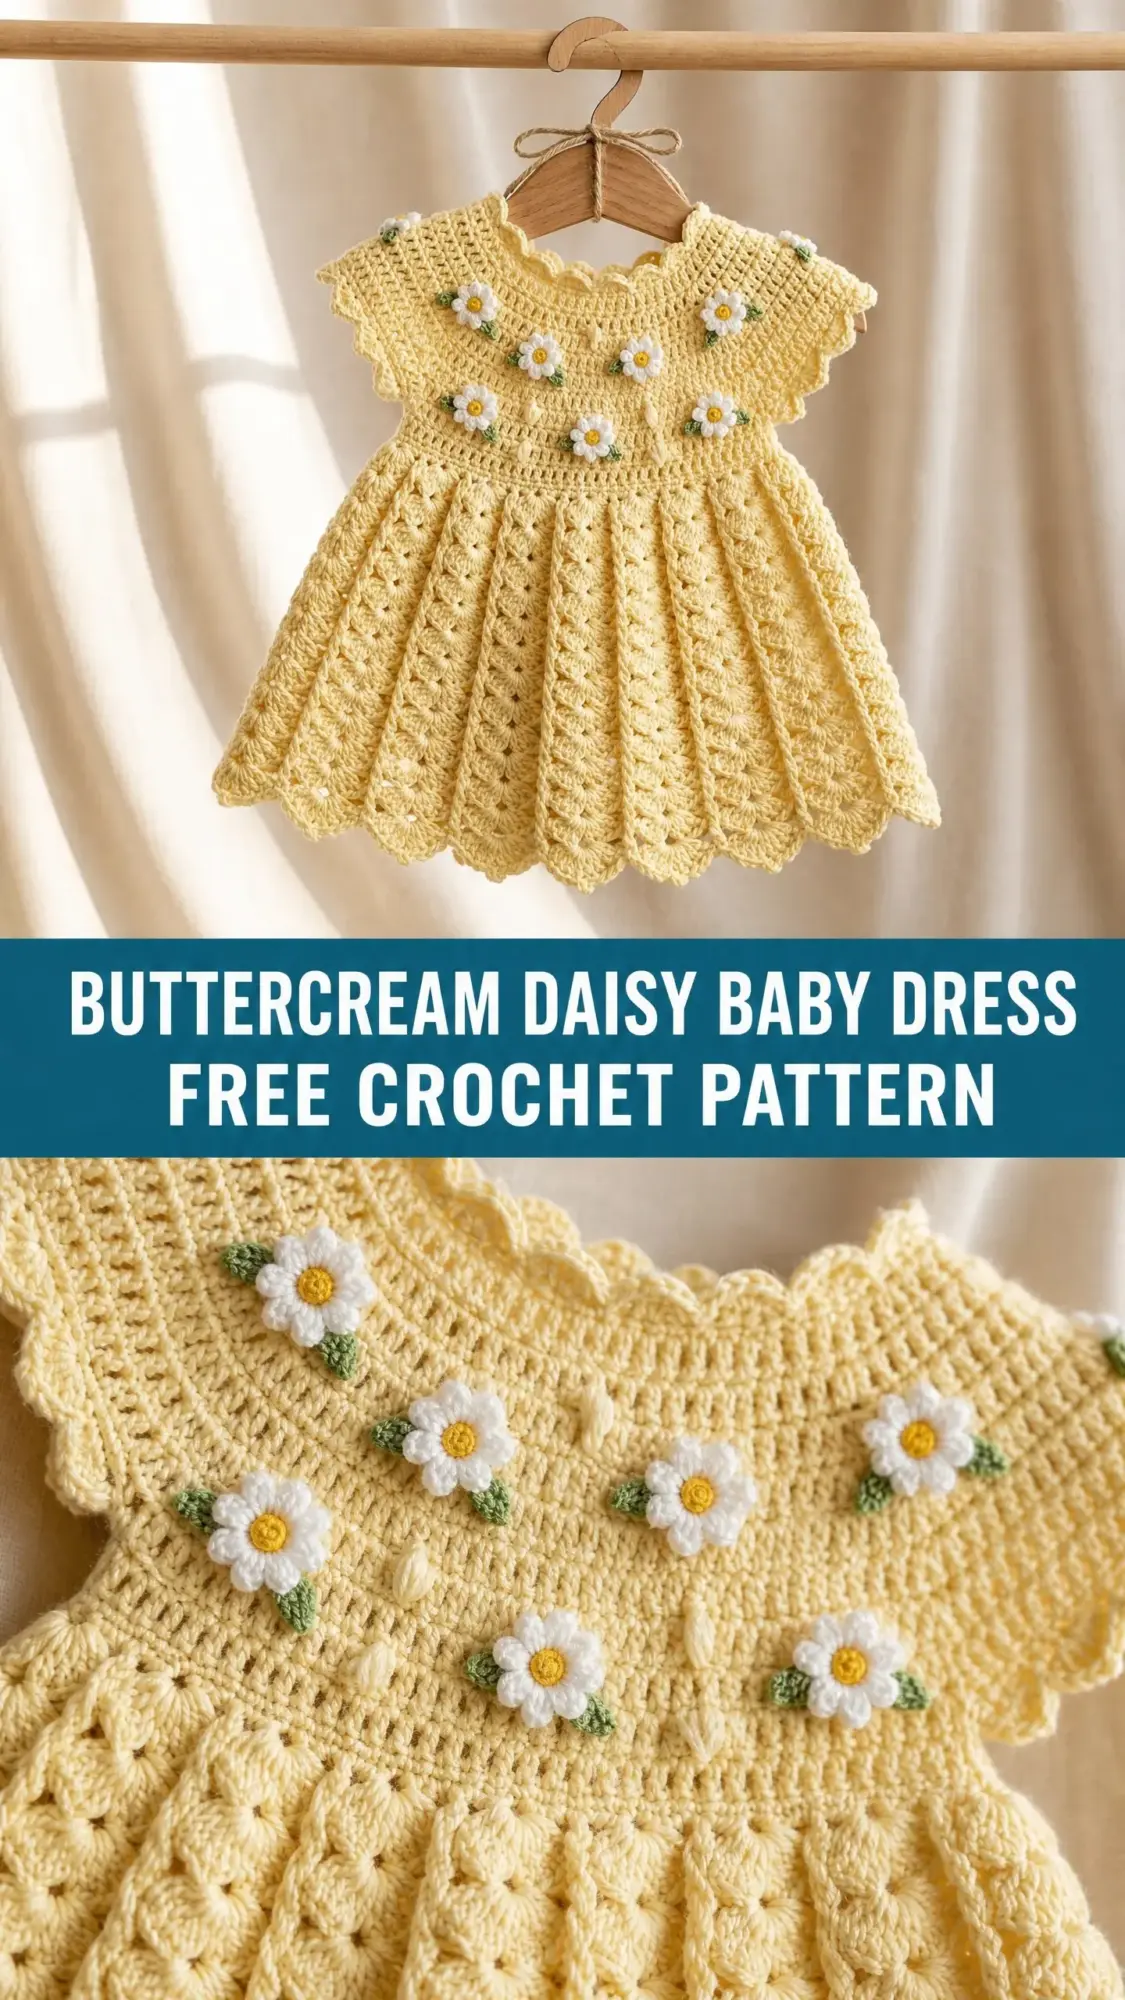
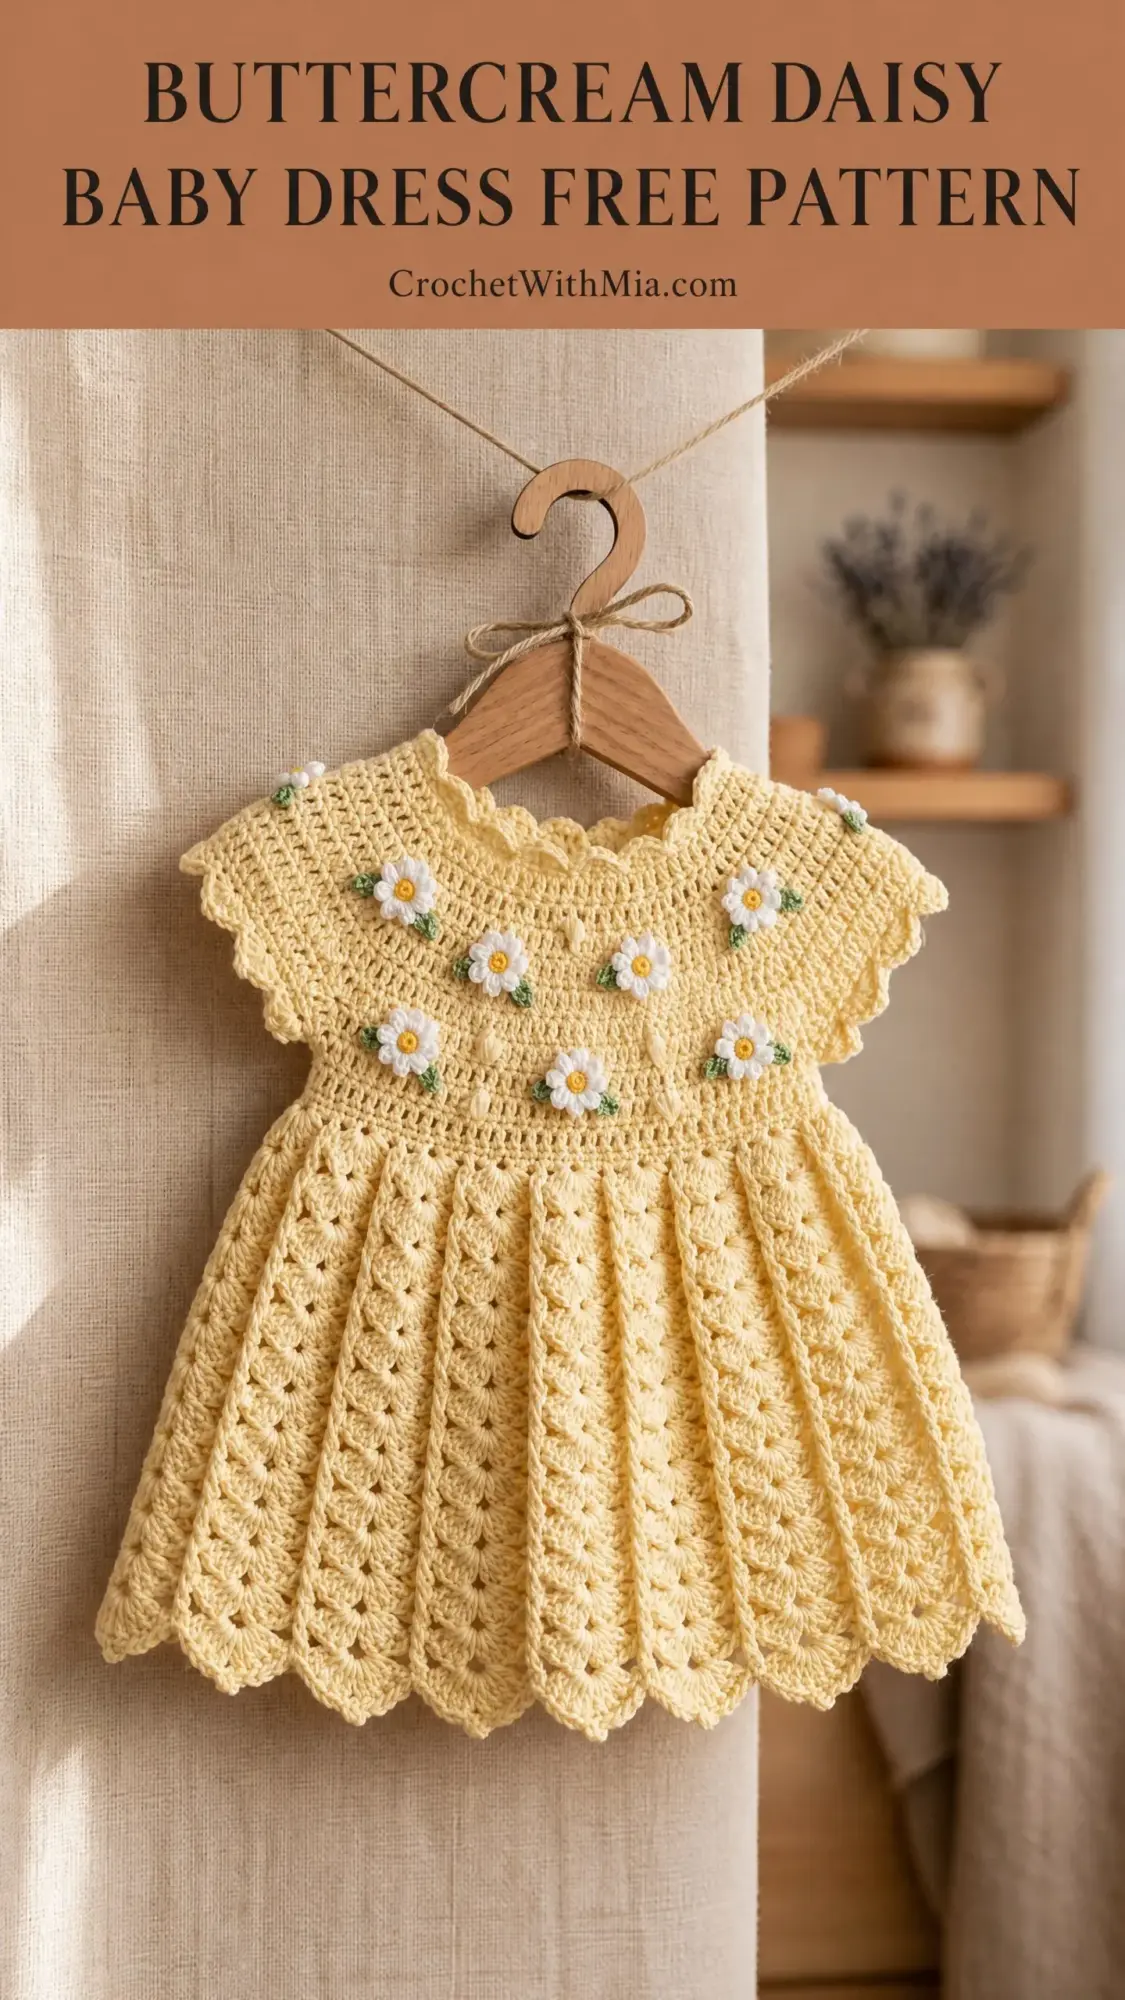
This butter yellow baby dress has been living in my head rent-free ever since I first sketched it out. The soft color, the flared skirt, those sweet little daisies scattered across the yoke. It’s the kind of piece that makes people gasp at baby showers.
If you’ve been waiting for the right project to level up your crochet skills, this is it. You’ll learn top-down construction, fan stitches, and how to make the cutest three-dimensional flower appliqués. Let’s dive in.
Why This Crochet Baby Dress Pattern Works
This dress is worked from the top down in one piece, which means minimal seaming and a satisfying flow as you watch it grow under your hook. The yoke uses single crochet (sc) with strategic increases to create that beautiful rounded collar and those adorable cap sleeves simultaneously.
Once you separate the body from the sleeves, the magic really begins. The skirt section uses a gorgeous fan stitch pattern that creates natural flare without you having to think about complicated shaping. The stitches do the work for you.
The finishing touches bring everything together. Scalloped edges trim the collar, sleeves, and hem. And those daisies? They’re worked separately and sewn on at the end, so you can place them exactly where you want them.
Skill Level and Time Commitment
I’m calling this one intermediate. You should be comfortable working in the round, counting stitches accurately, and following multi-step instructions. If you’ve completed a few projects and feel confident with the basics, you can absolutely do this.
Expect to spend around 10 to 14 hours from start to finish, including the daisy appliqués and blocking. I know that sounds like a lot, but trust me. When you see that finished dress hanging on a tiny hanger, every single hour will feel worth it.
Finished Measurements
This dress is sized for a 6 to 12 month baby:
Materials You’ll Need
Yarn:
Hooks:
Notions:
Yarn Recommendations
I love Lion Brand 24/7 Cotton for this project. It’s a mercerized cotton with a smooth twist that really shows off the fan stitch beautifully. Plus it’s machine washable, which parents will thank you for. You’ll need about 3 skeins.
Paintbox Yarns Cotton DK is another great choice. It gives excellent stitch definition and feels wonderfully soft against baby skin.
Avoid pure acrylic yarns for this one. The openwork fan stitch needs a yarn with minimal stretch and high stitch definition to really shine. Cotton or cotton-linen blends work best.
Gauge
Getting gauge right is crucial for garments, especially tiny ones where every fraction of an inch matters.
Single crochet gauge: 18 stitches and 20 rows = 4 inches / 10 cm, worked in the round with E-4 hook, after blocking.
Fan stitch gauge: One fan repeat (9 stitches) = 2 inches / 5 cm wide. Four rows of fan stitch = 1.75 inches / 4.5 cm tall, after blocking.
Work a swatch at least 6 inches square. Wash and block it before measuring. I know swatching isn’t the fun part, but for a fitted garment like this, it’s non-negotiable.
Abbreviations and Stitch Definitions
Let me walk you through every stitch you’ll need. I’m using US crochet terms throughout.
Special Stitches Explained
Fan Stitch
This is worked over a multiple of 9 stitches plus 2. A fan is 5 double crochets worked into a single stitch or chain space, creating a shell shape.
Here’s how it works:
1. Work 1 sc into the first stitch
2. Skip 2 stitches, work 5 dc into the next stitch (this is your fan)
3. Skip 2 stitches, work 1 sc into the next stitch
4. Chain 2, then repeat
In subsequent rounds, your sc sits above the center dc of the previous fan, and your new fan goes into the ch-2 space from the previous round.
Picot Stitch
A little decorative bump that adds texture:
1. Work 1 sc
2. Chain 3
3. Slip stitch into the first chain to close the loop
4. Continue as instructed
Scallop Edging
The pretty wavy edge on the collar, sleeves, and hem:
1. Slip stitch into the first stitch
2. Chain 2, work 4 dc into the same stitch
3. Skip 2 stitches, slip stitch into the next stitch
4. Chain 2, work 4 dc into that same slip stitch
5. Repeat around
Pattern Notes Before You Begin
Read through these before starting. They’ll save you confusion later.
1. The dress is worked top-down in the round throughout. No body seaming required.
2. For single crochet sections, chain 1 at the start does NOT count as a stitch.
3. For fan stitch rounds, chain 3 at the start DOES count as the first dc of the first fan.
4. Keep your right side facing outward as you work.
5. Place a stitch marker at the beginning of each round and move it up as you go. Seriously, use your markers.
6. Make the daisies separately and attach them after blocking.
Buttercream Daisy Baby Dress Crochet Pattern Instructions
The Yoke
The yoke creates the rounded collar and cap sleeves as you work outward.
Foundation: Using MC and E-4 hook, chain 46. Being careful not to twist, join with a slip stitch to the first chain to form a ring.
Round 1: Ch 1 (does not count as a stitch). Work 1 sc in each ch around. Join with sl st to first sc. (46 sc)
Round 2: Ch 1. Sc in first sc. (Inc in next sc, sc in next sc) repeat 22 times, sc in last sc. Join. (68 sc)
Round 3: Ch 1. Sc in each sc around. Join. (68 sc)
Round 4: Ch 1. (Sc in next 3 sc, inc in next sc) repeat 17 times. Join. (85 sc)
Round 5: Ch 1. Sc in each sc around. Join. (85 sc)
Round 6: Ch 1. (Sc in next 4 sc, inc in next sc) repeat 17 times. Join. (102 sc)
Round 7: Ch 1. Sc in each sc around. Join. (102 sc)
Round 8: Ch 1. (Sc in next 5 sc, inc in next sc) repeat 17 times. Join. (119 sc)
Round 9: Ch 1. Sc in each sc around. Join. (119 sc)
Round 10: Ch 1. (Sc in next 6 sc, inc in next sc) repeat 17 times. Join. (136 sc)
Round 11: Ch 1. Sc in each sc around. Join. (136 sc)
Round 12: Ch 1. (Sc in next 7 sc, inc in next sc) repeat 17 times. Join. (153 sc)
Round 13: Ch 1. Sc in each sc around. Join. (153 sc)
Checkpoint: Your yoke should measure about 3 inches from the foundation chain to your hook. The piece should lay flat with a gentle outward flare.
Dividing for Body and Sleeves
Now we separate the sleeves from the body. Your 153 stitches divide like this:
Round 14 (Divide Round): Ch 1. Sc in next 45 sc (front). Pm. Ch 2 (underarm bridge). Skip next 27 sc (right sleeve), placing those stitches on a holder or separate strand. Sc in next 45 sc (back). Pm. Ch 2 (underarm bridge). Skip next 27 sc (left sleeve), placing those stitches aside. Join with sl st to first sc of the round. (90 sc plus 4 ch = 94 sts)
Round 15: Ch 1. Sc in each sc and in each chain around. Join. (94 sc)
Round 16: Ch 1. (Sc in next 46 sc, inc in next sc) repeat 2 times. Join. (96 sc)
Round 17 (Adjustment Round): Ch 1. Sc evenly around, working 1 inc in 3 evenly spaced locations. Join. (99 sc)
Checkpoint: Your body should measure about 22 inches around at this point. You should have a flat tube from the underarm down.
The Skirt: Fan Stitch Section
Here’s where the dress really starts to look like a dress. The 99 stitches divide perfectly into 11 fan repeats (11 x 9 = 99).
Fan Round 1 (Setup): Join MC if needed. Ch 3 (counts as first dc). Work 2 more dc in same st (first half-fan). Sk 2 sts. Sc in next st. (Sk 2 sts, 5 dc in next st, sk 2 sts, sc in next st) repeat 10 times. Sk 2 sts. Work 2 dc in same st as beg ch-3. Join with sl st to top of ch-3. (11 fans, 11 sc between fans)
Fan Round 2: Ch 1. Sc in same st as join. (Ch 2, 5 dc in the sc from previous round, ch 2, sc in the 3rd dc of the next fan) repeat 11 times. Join with sl st to first sc. (11 fans)
Fan Round 3: Ch 3. Work 2 dc in same st as join. (Sc in 3rd dc of next fan, 5 dc in next sc) repeat 10 times. Sc in 3rd dc of last fan. 2 dc in same st as beginning ch-3. Join to top of ch-3. (11 fans)
Fan Rounds 4, 6, and 8: Repeat Fan Round 2.
Fan Rounds 5 and 7: Repeat Fan Round 3.
Checkpoint: After Round 8, your skirt should measure about 3.5 inches from the underarm. Total dress length should be around 8 to 9 inches.
Fan Round 9 (Increase Round): Work as Fan Round 3, but work 7 dc (instead of 5) in each sc anchor point. (11 large fans)
Fan Round 10: Ch 1. Sc in same st. (Ch 2, 7 dc in sc, ch 2, sc in 4th dc of fan) repeat 11 times. Join. (11 fans of 7 dc)
Fan Round 11: Ch 3. Work 3 dc in same st. (Sc in 4th dc of fan, 7 dc in sc) repeat 10 times. Sc in 4th dc of last fan. 3 dc in same st as beginning. Join to top of ch-3. (11 fans of 7 dc)
Fan Rounds 12 and 14: Repeat Fan Round 10.
Fan Round 13: Repeat Fan Round 11.
Checkpoint: Your hem should measure about 28 to 30 inches around. Total dress length should be approximately 11.5 to 12 inches.
Hem Scallop Edging
Edging Round: Join MC with sl st to the first dc of any fan. Ch 2 (counts as first dc). Work 4 dc in same st. (Sk 2 sts, sl st in next st, sk 2 sts, 5 dc in next st) repeat around, ending with sl st in same st as beg. Fasten off.
You’ll have approximately 22 to 24 scallops. Adjust spacing slightly at seam points if needed.
Sleeve Finishing
Return to those held sleeve stitches. Each sleeve has 27 held stitches plus 2 underarm chain stitches for 29 total.
Rejoin MC with sl st to the first held sleeve stitch at the underarm.
Sleeve Round 1: Ch 1. Sc in each of the 27 held sc, sc in each of the 2 underarm chains. Join with sl st. (29 sc)
Sleeve Round 2: Ch 1. Sc in each sc around. Join. (29 sc)
Sleeve Scallop Round: Work scallop edging same as hem: (5 dc in next st, sk 2, sl st in next, sk 2) around. Adjust spacing for even distribution. Join and fasten off.
Repeat for the second sleeve.
Collar Scallop Edging
With RS facing, rejoin MC at the neckline foundation chain edge (the very top of the dress).
Collar Round 1: Ch 1. Work 1 sc in each foundation chain around. Join. (46 sc)
Collar Round 2: Work scallop edging: (5 dc in first st, sk 2, sl st in next, sk 2) repeat around. Approximately 9 scallops. Join and fasten off.
Since 46 doesn’t divide perfectly, adjust the final scallop spacing slightly to close evenly. The join point will be at the back and won’t be visible.
Three-Dimensional Daisy Appliqués
Make 8 daisies total. You’ll arrange them in two rows across the yoke.
Daisy Center (CB, yellow)
Using the smaller D-3 hook and CB:
Make a magic ring. Ch 1, work 6 sc into the ring. Join with sl st to first sc. (6 sc) Fasten off yellow, leaving a short tail.
Daisy Petals (CA, white)
Join white into any sc of the center.
(Ch 5, sl st in 2nd ch from hook, sc in next ch, hdc in next ch, dc in next ch, sl st into the base sc of the center) repeat 6 times. (6 petals)
Fasten off, leaving an 8-inch tail for sewing.
Leaves (CC, green)
Make 2 leaves per daisy.
Ch 6. Sl st in 2nd ch from hook, sc in next, hdc in next, sc in next, sl st in last. Fasten off, leaving a 6-inch tail.
Daisy Placement
Distribute 4 daisies along the upper yoke (around Round 7 level) and 4 daisies along the lower yoke (around Rounds 12 to 13). Space them evenly around the circumference.
Tuck a leaf or two behind each daisy before stitching down. Use the long tails and your yarn needle to sew each daisy securely through the yoke fabric. Weave in all ends on the wrong side.
Optional Back Button Opening
If you’d prefer a button closure instead of a pullover:
Work the yoke back and forth in rows instead of rounds. Chain 1 and turn at the end of each row. Add 1 extra sc at each row end to create a 3-stitch button band.
In Row 8, work 3 evenly spaced buttonholes by replacing 2 sc with ch 2, sk 2. Sew buttons onto the opposite band to correspond.
Blocking and Finishing
Wet blocking will transform this dress. The fan stitch pattern really opens up and the drape improves dramatically.
1. Fill a basin with cool water and a small amount of gentle wool wash or baby-safe soap
2. Submerge the dress completely and press gently to saturate. Don’t wring or twist
3. Lift the dress, supporting its full weight. Press excess water out between two clean towels
4. Lay flat on a foam blocking mat. Pin the scallop edges outward to define the points. Pin the hem to the finished measurement
5. Allow to dry completely, at least 24 hours
Attach your daisy appliqués after blocking is complete.
Size Adjustments
For newborn (chest 16 inches): Start with a foundation chain of 40. Work increases to reach 84 stitches before dividing. Adjust to 81 stitches for fan stitch (9 repeats).
For 12 to 18 months (chest 20 inches): Start with a foundation chain of 50. Work increases to reach 108 stitches before dividing. Adjust to 99 stitches for fan stitch.
For a longer dress: Work 6 additional fan rounds before the increase-to-7-dc round. This adds about 2.5 inches.
Care Instructions
Machine wash gentle in cool water using a mesh laundry bag to protect the daisies. Or hand wash with baby-safe detergent. Never tumble dry. Reshape and lay flat to dry. Store folded, not hung.
I really hope you love making this sweet little dress as much as I loved designing it. There’s nothing quite like seeing all those hours of work come together into something so delicate and beautiful.
If you make this Buttercream Daisy Baby Dress, I would absolutely love to see your version. Tag me on Instagram or share a photo in our Facebook group. Seeing your creations honestly makes my whole day.
Go ahead and save this pattern to your Pinterest boards so you can find it when you’re ready to start. And if you do make one, drop a comment below. I’d love to hear how it turned out and see which colors you chose for your daisies!