
Last fall, I walked into my living room and just stared at my curtains. They looked fine, I guess. But "fine" wasn’t cutting it anymore. I wanted something that felt like autumn lived there. Something warm and textured that would make me smile every time I pulled back the drapes to let the morning light in.
Get the Ad-Free PDF Pattern
You can find the free pattern below, or you can purchase the ad-free printable PDF from my shop.
Get the Printable PDF →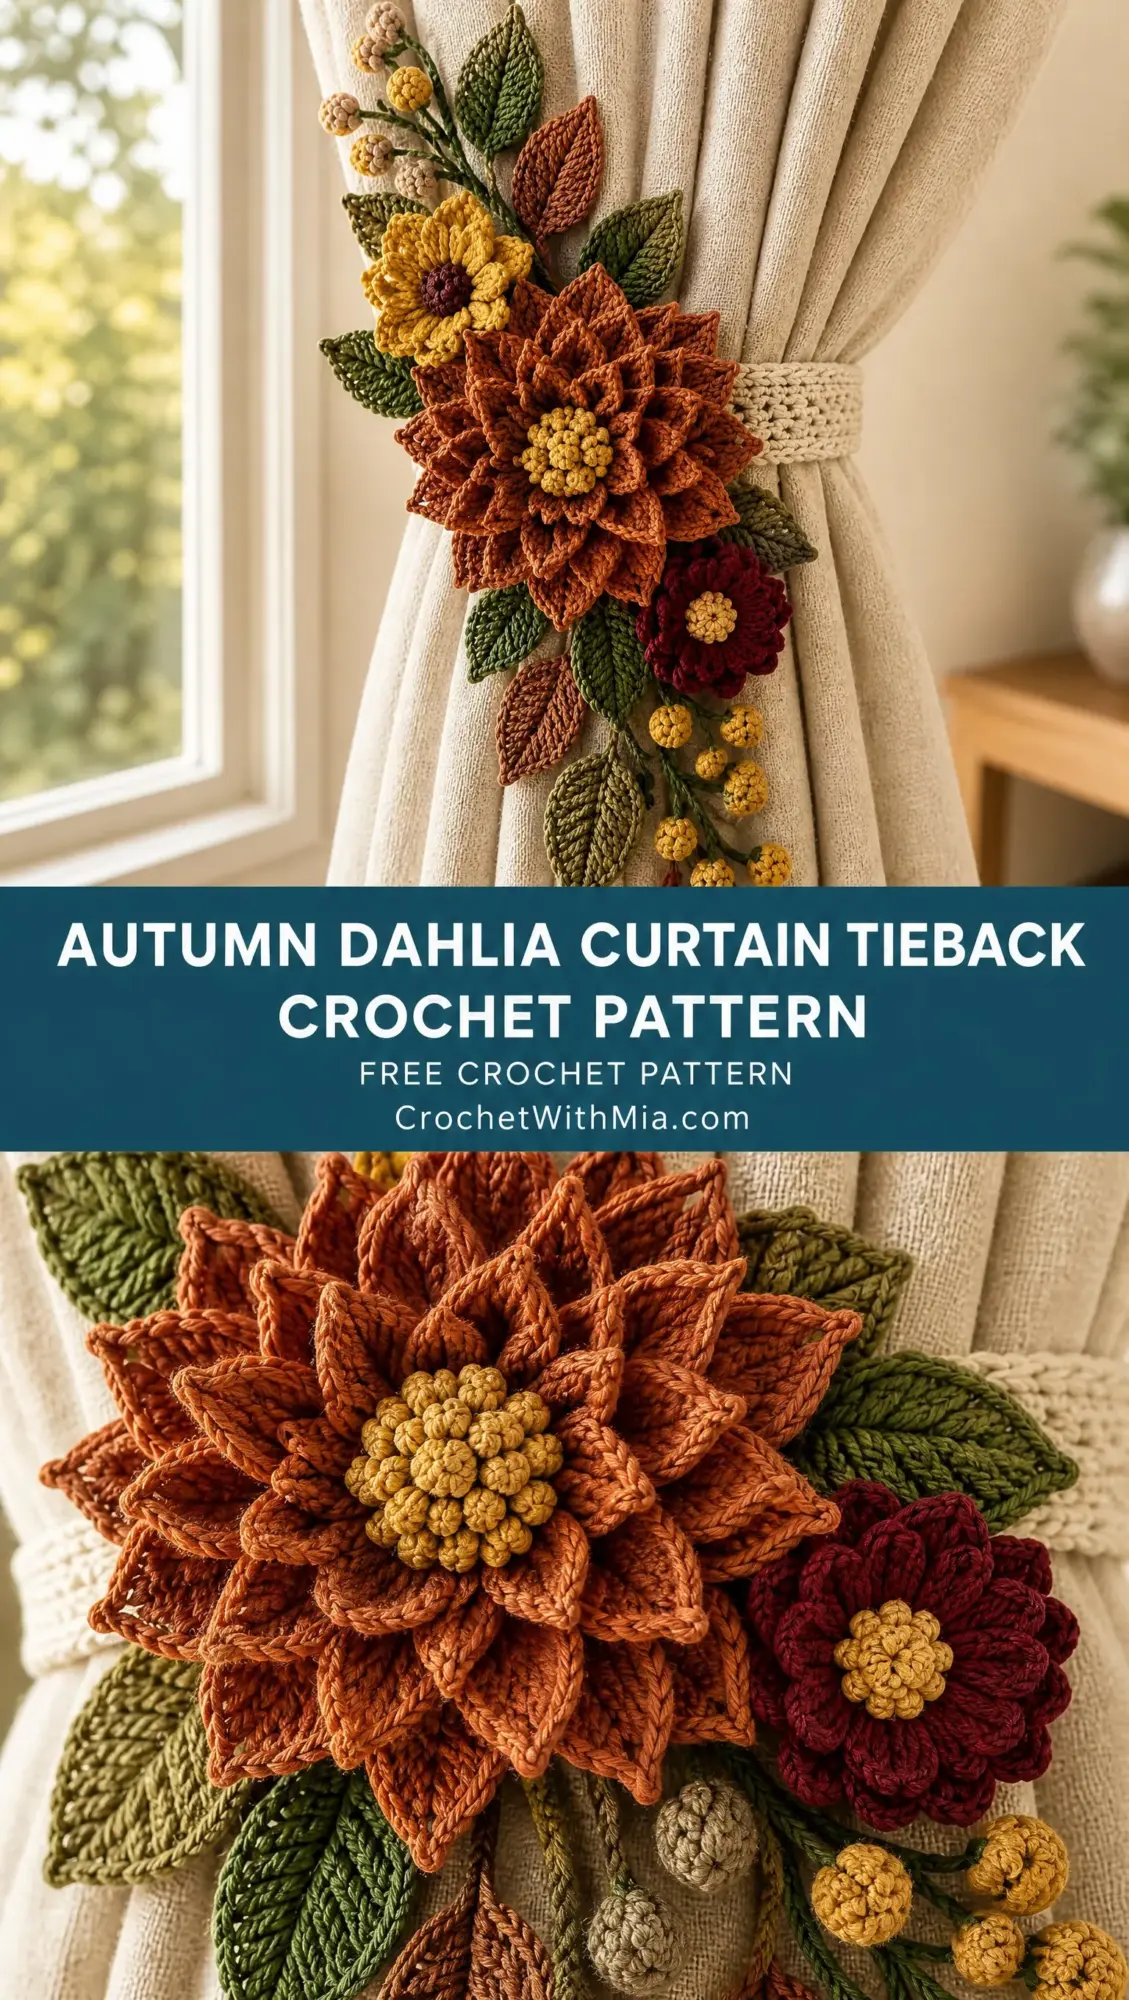
So I grabbed my hook, dug through my yarn stash for every rust, mustard, and wine shade I could find, and started playing. What came out of that afternoon was this dahlia tieback, and honestly, it might be one of my favorite makes ever.
If you’ve been looking for a project that feels special without being impossibly complicated, this is it. The layered petals look intricate, but I’ll walk you through every step. By the end, you’ll have a stunning handmade accent piece that looks like it belongs in a home décor magazine.
What You’ll Be Making
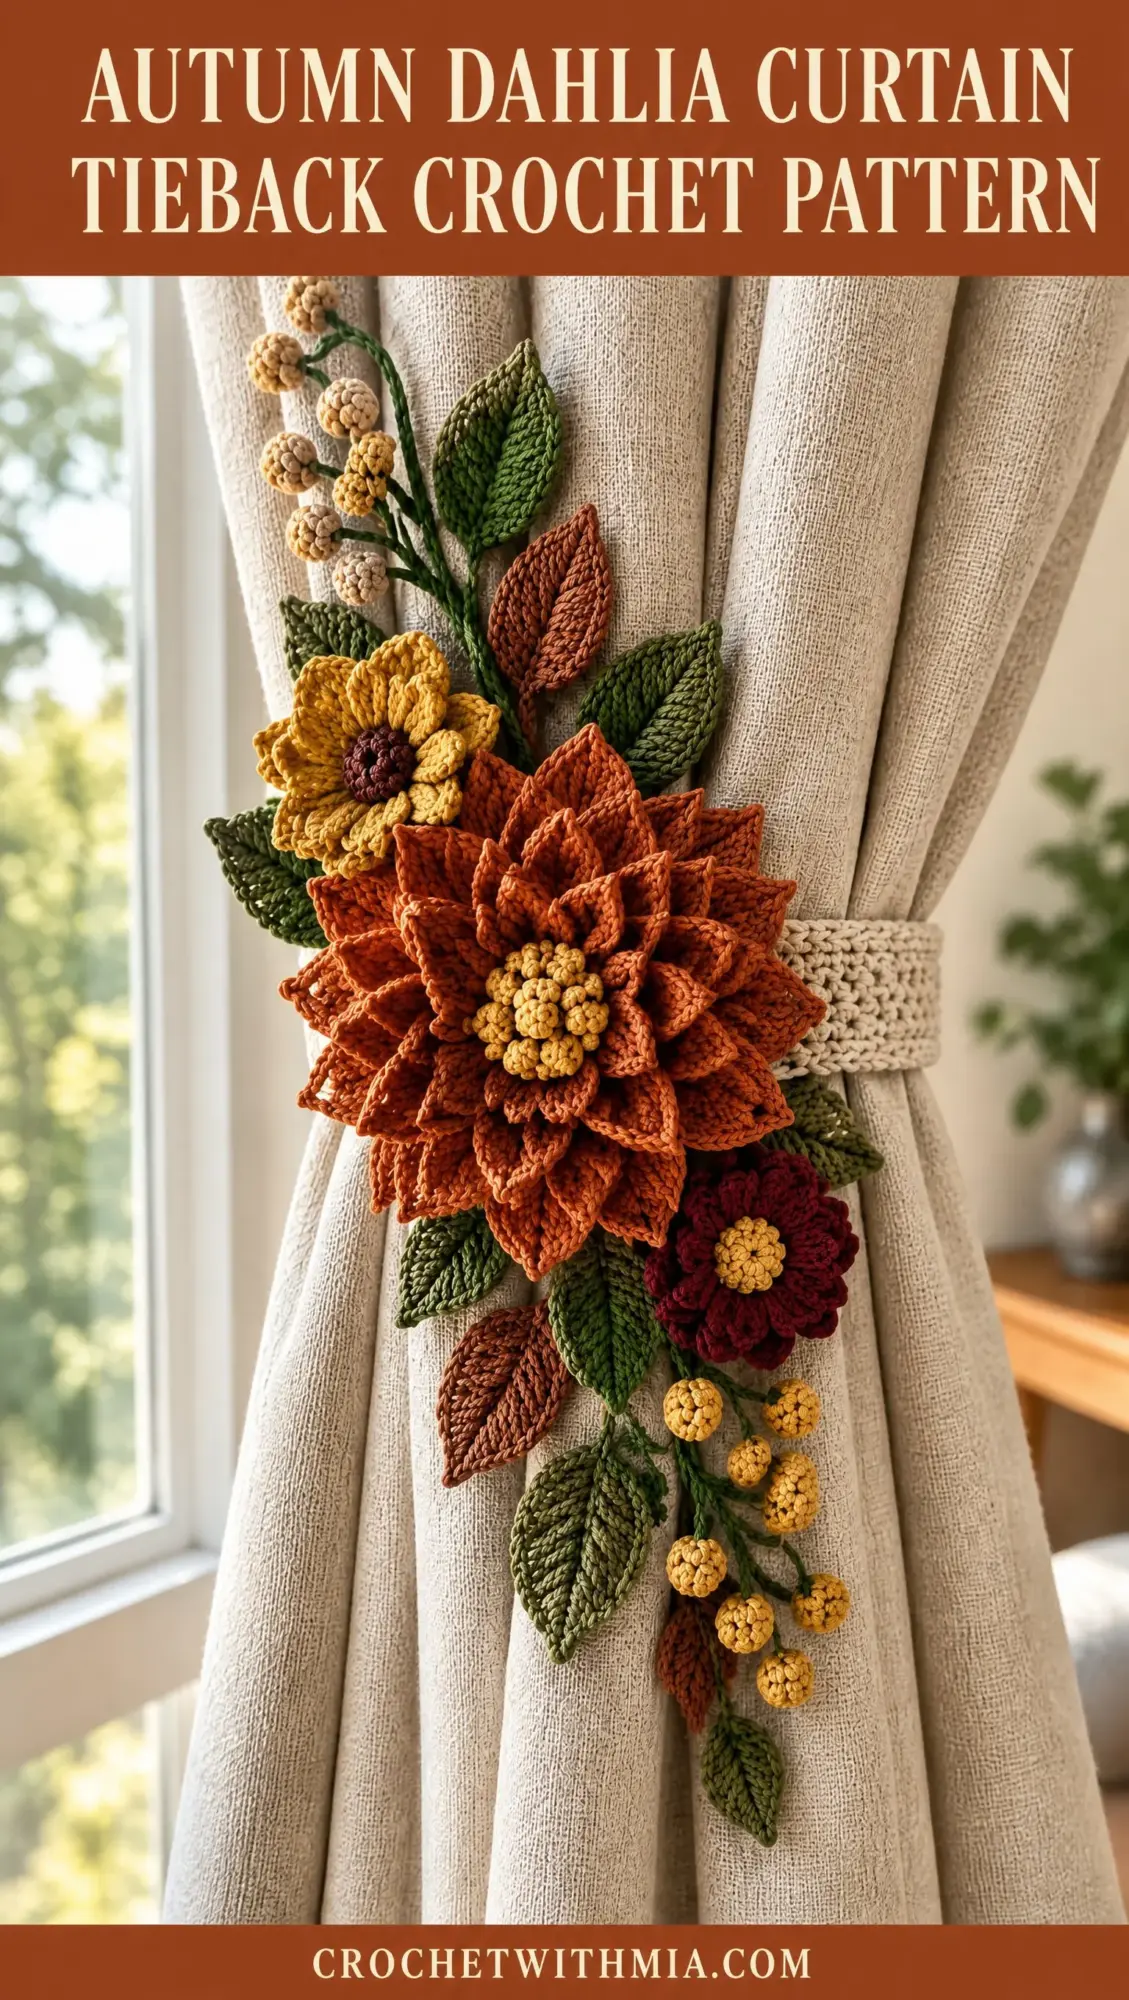
This Autumn Dahlia Curtain Tieback features a dimensional rust-orange dahlia as the centerpiece, surrounded by smaller mustard and wine-red blossoms. Olive and muted-copper leaves cascade around the flowers, with ochre berries adding sweet little pops of texture. Everything attaches to a slim oatmeal crochet band that wraps around your curtain.
The design uses layered crochet textures to create depth. The attachment points stay hidden on the back, giving you a polished, professional finish that looks store-bought but feels unmistakably handmade.
Skill Level
This pattern is rated Intermediate.
Why intermediate? You’ll be working with floral crochet construction, layered petals, shaping techniques, color changes, appliqué assembly, leaf construction, and careful finishing. If you’re comfortable with basic stitches and have made a few projects before, you can absolutely handle this. I’ll explain each technique as we go.
Finished Measurements
Here’s what you’ll end up with:
The band length is flexible. You can add or remove chains at the start to customize the fit for thicker or thinner curtains.
Materials You’ll Need
Yarn
You’ll need medium-weight matte yarn, also called #4 worsted weight. Here’s the breakdown by color:
I recommend a matte yarn rather than something shiny. The matte finish gives the flowers a more natural, botanical look.
Tools
Gauge
Gauge is not critical for this project. What matters more is that you aim for firm stitches that create structured petals and leaves. If your work feels floppy, try going down a hook size. You want the flowers to hold their shape.
Abbreviations
Let me define every stitch abbreviation before we dive in:
If any of these feel unfamiliar, look up a quick video tutorial before starting. It’ll make everything smoother.
Construction Overview
The tieback comes together in five sections:
1. Crochet the oatmeal band
2. Create the large layered dahlia
3. Create smaller supporting flowers
4. Crochet leaves, stems, and berries
5. Assemble and attach everything securely
Let’s go through each one.
Part 1: Oatmeal Curtain Band
This is the foundation that holds everything together. It wraps around your gathered curtain.
Instructions:
1. With oatmeal yarn, ch 55 (or enough chains to comfortably wrap around your curtain with a bit of overlap).
2. Row 1: Sc in the second chain from the hook and across. Ch 1, turn. (54 sc)
3. Rows 2 through 5: Sc across each row. Ch 1, turn at the end of each row.
4. Add a neat border of slip stitches around all edges. This creates a clean finished look.
5. To close the band, either sew the short ends together to form a loop, or add a button loop closure if you want the option to remove it easily.
Tip: If your curtains are particularly thick or thin, adjust your starting chain count. Test the band around your gathered curtain before finishing.
Part 2: Large Rust Dahlia Flower
This is the star of the show. The dahlia has multiple layers that stack on top of each other, creating that gorgeous dimensional look.
Center Bobble
1. With golden yarn (a small amount of mustard or ochre works here), make a magic ring.
2. Work 8 sc into the ring. Pull the ring closed.
3. Create raised bobbles by working 5 dc together in selected stitches. This means you start 5 double crochets in the same stitch but don’t complete them. You’ll have 6 loops on your hook, then yarn over and pull through all 6 at once.
4. Optional: stuff the center lightly with a tiny bit of yarn scrap for extra dimension.
Inner Petal Layer
1. Attach rust yarn around the center.
2. Work repeated petal units around. For each petal: (sc, hdc, 3 dc, hdc, sc) all into the same stitch.
3. Continue around until the first petal ring is complete. You should have small, tight petals hugging the center.
Middle Folded Petals
1. Attach yarn behind the first layer. You’re building up, not out.
2. For each petal: ch 3, work 3 dc, 1 tr, 3 dc, ch 3, sl st back to the base.
3. Shape each petal inward slightly as you work. This creates that pointed, folded texture that makes dahlias so distinctive.
Outer Dahlia Petals
1. Work a larger round behind the previous layers.
2. Create elongated pointed petals using this sequence: (sc, hdc, dc, 2 tr, dc, hdc, sc).
3. Repeat around the entire flower.
4. Curve the petals forward gently and stitch lightly underneath to hold the layered shape in place.
Don’t panic if your first dahlia looks a little wonky. The layering takes practice. Once you assemble everything and steam block it, the petals relax into place beautifully.
Part 3: Mustard Blossom
This smaller flower adds a cheerful pop of color next to the dahlia.
1. Make a small flower center using a magic ring and a few single crochets.
2. Crochet rounded petals using: (sc, 2 hdc, dc, 2 hdc, sc).
3. Repeat around the center.
4. Add a small raised center using a contrasting color or a few bobble stitches.
Part 4: Wine-Red Blossom
Repeat the mustard flower pattern using wine-red yarn. Make the petals slightly smaller for contrast. This creates visual variety in your floral cluster.
Part 5: Leaves
Leaves fill in the gaps and make the arrangement look full and natural.
Instructions:
1. Ch 10.
2. Work along one side: sc, hdc, dc, tr, dc, hdc, sc.
3. At the tip, work into the last chain, then continue down the opposite side with the same sequence: sc, hdc, dc, tr, dc, hdc, sc.
4. Add a central slip stitch vein down the middle of the leaf for realism.
5. Make leaves in both olive green and muted copper for variety. I recommend making at least 6 to 8 leaves total.
Part 6: Curved Stems
Stems connect the berries and fill empty spaces.
1. Crochet thin chain cords using green yarn. Just chain as many as you need for the length you want.
2. Add occasional slip stitches along the chain for texture.
3. Curve the stems naturally before attaching. They shouldn’t be perfectly straight.
Part 7: Ochre Berries
These tiny puff balls add whimsy and texture.
1. Make small puff balls: magic ring, 6 sc, increase around, work several rounds, lightly stuff, then decrease to close.
2. Make 5 to 8 berries depending on how full you want the arrangement.
3. Attach berries along stems in small clusters.
Assembly
Now comes the fun part. Lay everything out before you start stitching.
1. Position the large dahlia slightly left of center on the oatmeal band. Off-center placement looks more natural than dead center.
2. Place the mustard and wine-red flowers around the dahlia, tucking them slightly behind or beside it.
3. Arrange stems upward and downward in a tapered vertical flow. Think of how a real bouquet cascades.
4. Add leaves between flowers and along the stems.
5. Once you’re happy with the arrangement, stitch every component firmly from the back using matching yarn colors.
6. Ensure all attachment stitches are hidden. The front should look seamless.
Pro tip: Use a few drops of fabric glue to temporarily hold pieces in place while you stitch. This keeps everything from shifting.
Finishing
Almost done! These final steps make a big difference.
Care Instructions
Treat your tieback gently to keep it looking beautiful for years:
Troubleshooting
Here are quick fixes for common issues:
Pattern Notes
This pattern is for personal use only. Please do not resell, redistribute, or reproduce this pattern. However, finished handmade items may be sold in small quantities with credit to the designer.
You Did It!
Thank you so much for making this Autumn Dahlia Curtain Tieback with me. I hope it brings as much warmth to your home as it has to mine. These little touches really do make a space feel more intentional and cozy.
If you make one, I would absolutely love to see it! Tag me on Instagram or share a photo in my Facebook group. Seeing your creations is honestly the best part of sharing patterns.
If you loved this pattern, go ahead and save it to your Pinterest boards so you can find it when you’re ready to start. And if you make this tieback, please leave a comment below. I’d love to hear how it turned out and see where it ends up in your home!
Want a Quick & Easy Printable Version?
Get a clean, beautifully formatted PDF of this pattern — easy to follow step by step, ready to print or save on any device. No scrolling, no distractions, just the pattern.
Get the Printable PDF →