
This is one of the most STUNNING crochet jewelry pieces you will ever make, and I am SO excited to share it with you! Picture this: a gorgeous wrist corsage covered in delicate spiral roses, sage green leaves, and sparkling crystal beads. All crocheted entirely by hand. Yes, it looks like something from a high-end bridal boutique. Yes, you can absolutely make it yourself.
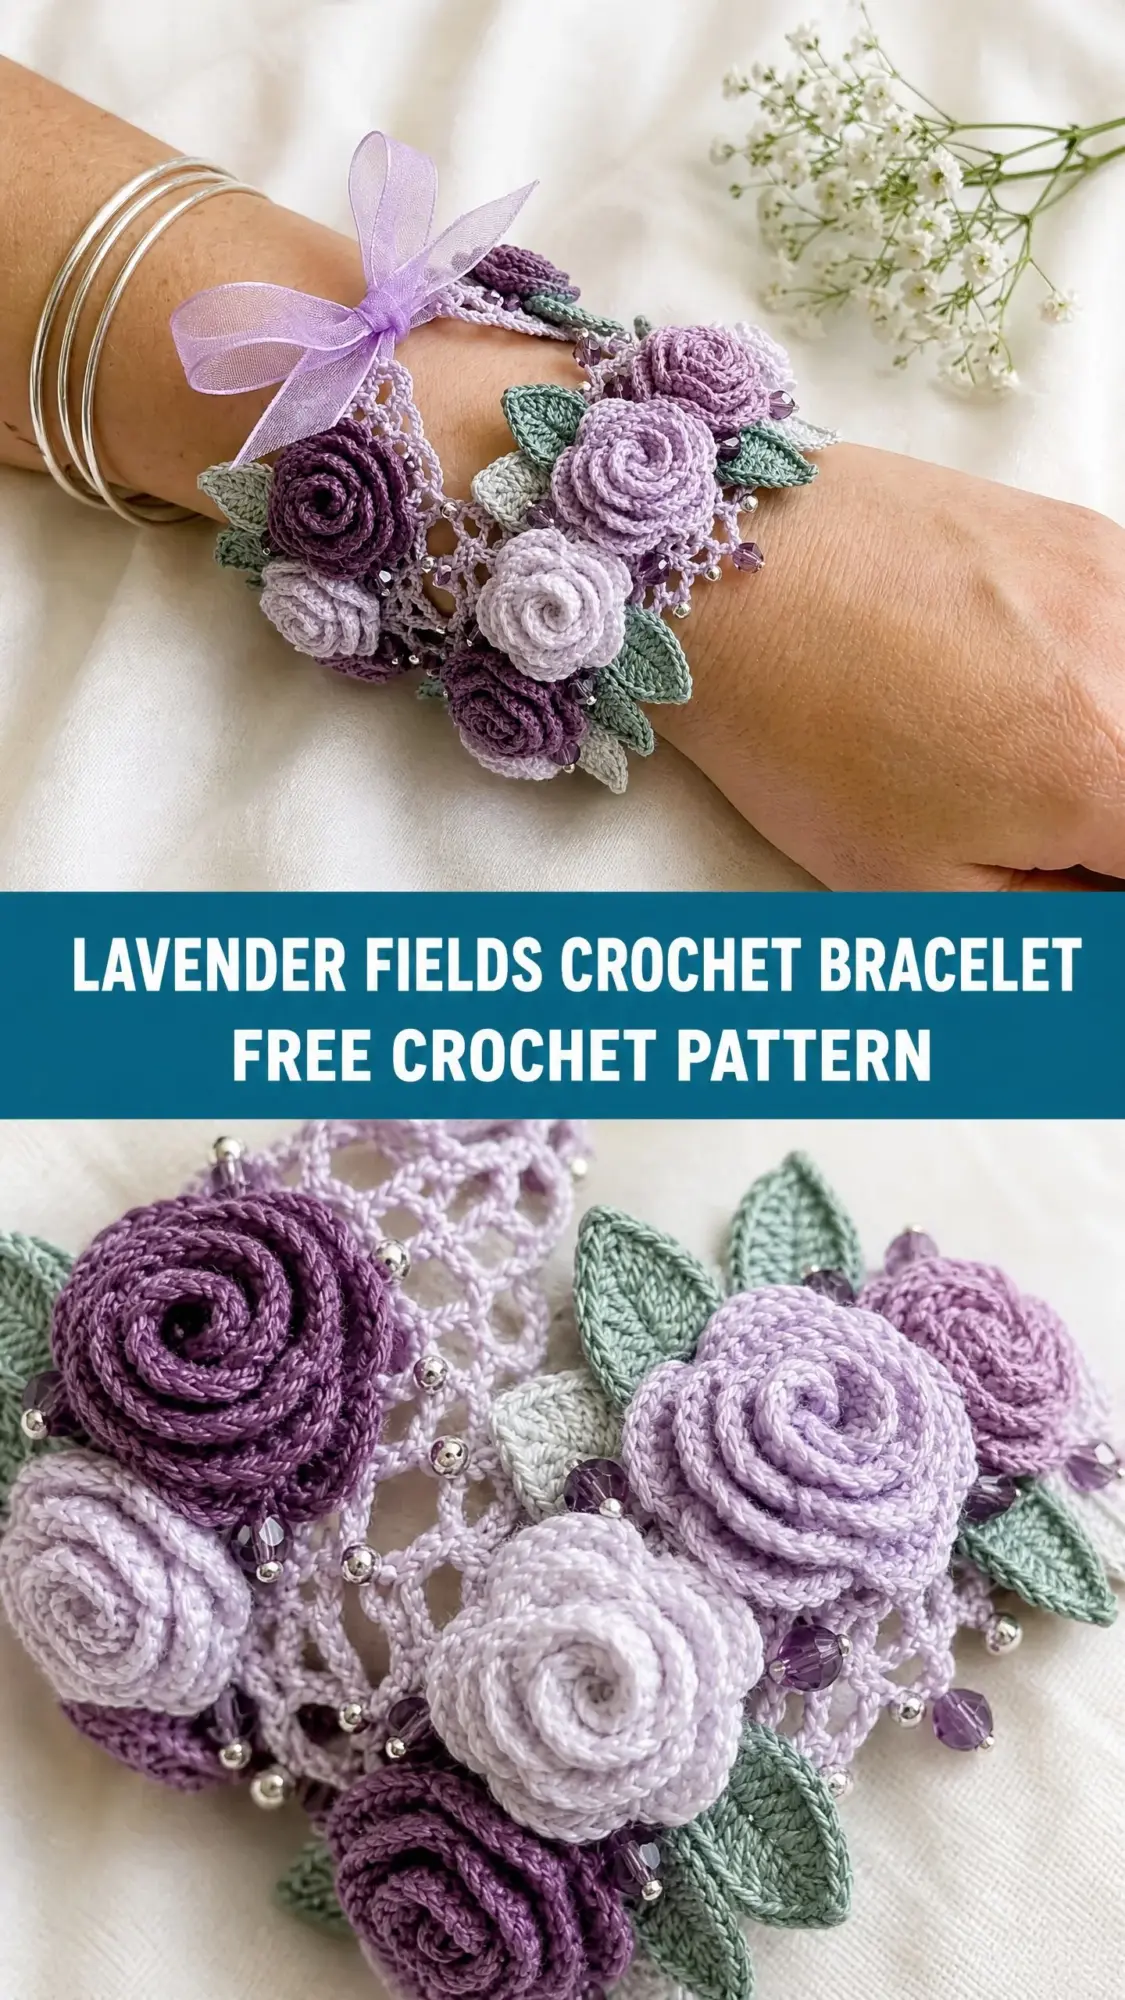
The Lavender Fields Crochet Bracelet takes about 8 to 12 hours total, but every single minute is worth it. This is the kind of project that makes people stop and ask, "Wait, you MADE that?" Perfect for weddings, proms, garden parties, or gifting to someone who deserves something truly special.
Fair warning: this is an intermediate to advanced project that requires thread crochet and patience. But if you have completed at least one lace project before, you can handle this. I will walk you through every step, every stitch, and every bead. Let’s create something beautiful together.
What Makes This Crochet Bracelet Pattern Special
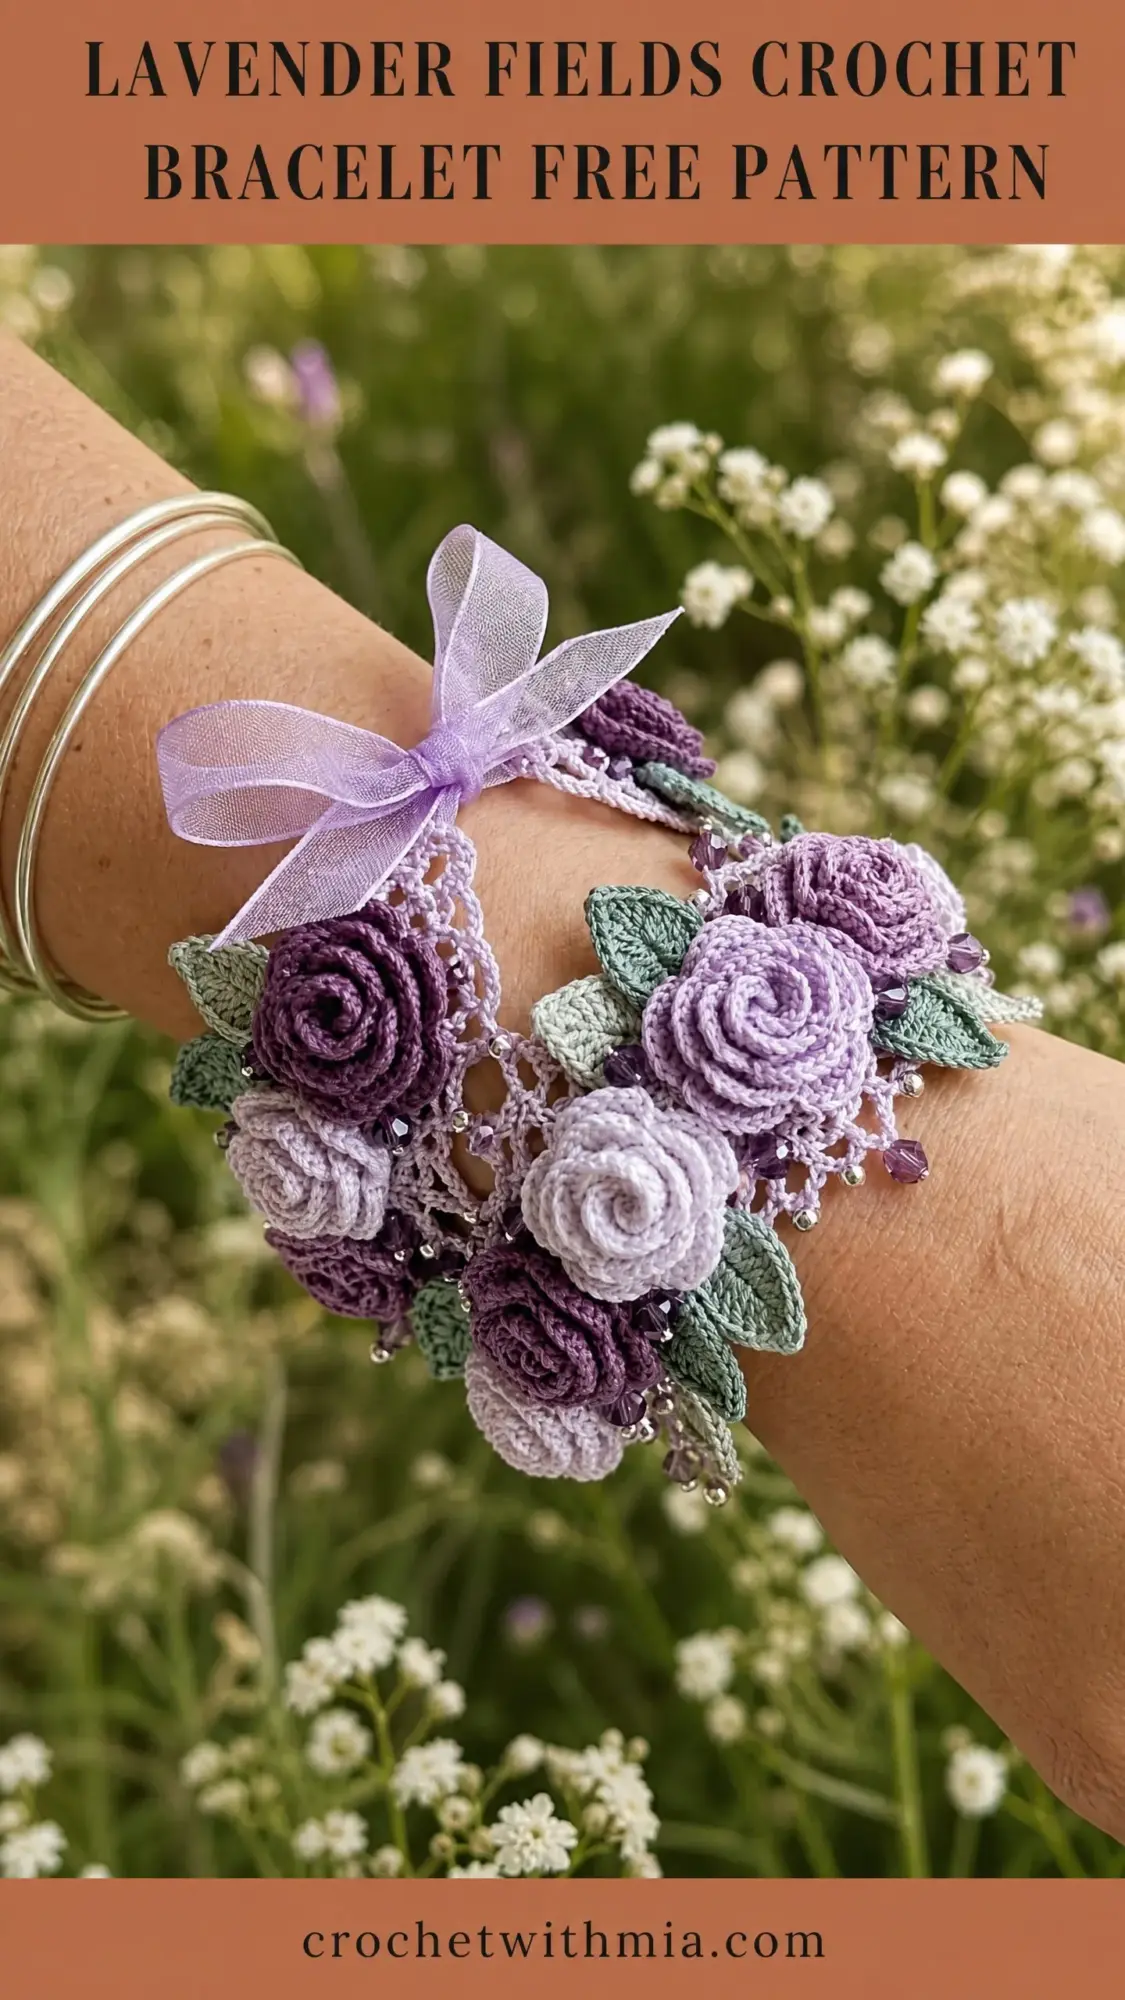
The Lavender Fields Bracelet mimics a traditional fresh flower wrist corsage, but it will never wilt. The construction combines several techniques that thread crocheters love: a delicate lace mesh band worked in rows, individually crocheted spiral roses in three sizes and three shades of purple, crocheted leaves, seed bead accents, crystal bead drops, and a romantic sheer organza ribbon closure.
The finished piece wraps around your wrist and ties with a bow at the top. The overall effect is absolutely dreamy.
Finished dimensions:
The ribbon adds about 3 to 4 inches when tied. This cuff fits wrists measuring 6 to 7.5 inches, with easy customization options for other sizes.
Materials You Will Need
Gather these supplies before you begin. Having everything ready makes the process so much smoother.
Thread
You will use size 10 crochet cotton thread in four colors:
Recommended Thread Brands
1. Aunt Lydia’s Classic Crochet Thread, Size 10 (100% mercerized cotton, 350 yards per ball). Widely available with excellent stitch definition and a great purple/green color range.
2. DMC Cebelia Crochet Cotton, Size 10 (100% combed cotton, 282 yards per ball). Produces crisp lace texture with beautiful drape.
3. Lizbeth Crochet Thread by Handy Hands, Size 10 (100% long-staple Egyptian cotton, 122 yards per ball). Gorgeous hand-dyed options available.
Important: Do not substitute yarn or thicker thread. The scale of the motifs depends on using size 10 thread.
Hook
Steel crochet hook size 7 / 1.65 mm (US steel size 7)
Notions
Gauge
Working in the lace band pattern with Color B and your size 7 steel hook:
Gauge for motifs:
Gauge matters here! Work a small swatch and adjust your hook size if needed.
Abbreviations and Stitch Definitions
Let me explain each abbreviation before we begin. Knowing exactly what each stitch means will help everything click into place.
Special Stitches
These special techniques appear throughout the pattern. Read through them now so they feel familiar when you encounter them.
Picot-3: Chain 3, slip stitch into the first chain made. This creates a small decorative loop.
Beaded Picot: String one seed bead onto your working thread before beginning. Chain 3 (bead sits at top of chain), slip stitch into the first chain made. The bead will sit at the tip of the picot.
Shell: Work 5 dc all into the same stitch or space.
Lace Mesh Unit: Chain 2, skip 2 stitches or the corresponding space, dc into next stitch. This is the basic unit of the lace band.
Rolling Petal: Working into a chain-5 loop, work [sc, hdc, 5 dc, hdc, sc] all into the loop. This forms one curved petal.
Important Pattern Notes
Read these before starting. They will save you confusion later.
1. The cuff band is worked in rows from side to side. The length of your chain equals the width of the band, and rows build up to create the circumference. This makes size customization easy.
2. All roses are worked as flat spirals. Pull the first few petals slightly tighter than later ones for a beautiful tight center.
3. Roses are not joined as you go. Finish all motifs first, block them if desired, then arrange and sew them onto the completed band.
4. Leave thread ends at least 4 inches / 10 cm long on roses and leaves. You will use these tails for sewing, which saves re-threading your needle.
5. When working with beads, pre-string approximately 40 to 50 seed beads onto your working thread at the start of that section. Slide beads down as needed.
6. All rounds in roses are worked on the right side. Do not turn unless indicated.
7. The lace band rows are turned at the end of each row. A turning chain of 3 counts as the first dc throughout.
Step by Step Crochet Pattern Instructions
Lace Band (Worked in Color B)
This is the foundation of your bracelet. Work slowly and count carefully.
Foundation Chain: Chain 19. (This creates the width of the band: approximately 2 inches.)
Row 1 (RS): Dc into the 4th ch from hook (skipped 3 chs count as first dc), [ch 2, sk 2 ch, dc into next ch] 5 times. Turn. (6 dc, 5 ch-2 spaces)
Row 2: Ch 5 (counts as dc + ch 2), sk first dc, dc into next dc, [ch 2, dc into next dc] 4 times, ch 2, dc into top of turning ch. Turn. (6 dc, 5 ch-2 spaces)
Row 3: Ch 3 (counts as dc), dc into first ch-2 sp, ch 2, [dc into next dc, ch 2] 4 times, dc into next dc, ch 2, dc into 3rd ch of turning ch-5. Turn. (7 dc, 5 ch-2 spaces)
After Row 3 is established, the pattern repeats:
Row 4 (and all even rows): Ch 5, sk first dc, dc into next dc, [ch 2, dc into next dc] across, ending dc into 3rd ch of turning ch. Turn. (6 dc, 5 ch-2 spaces)
Row 5 (and all odd rows from Row 3 onward): Ch 3, dc into first ch-2 sp, ch 2, [dc into next dc, ch 2] across, dc into 3rd ch of turning ch-5. Turn. (7 dc, 5 ch-2 spaces)
Continue repeating Rows 4 and 5 alternately until the band measures 7 inches / 17.5 cm from the starting edge, approximately 35 rows total.
Fasten off, leaving a 6 inch tail for weaving in.
Checkpoint: Your band should measure approximately 7 inches long by 2 inches wide when laid flat and lightly stretched.
Band Edging
The edging wraps around the entire perimeter. Join Color B with a sl st to any corner.
Work the top edge first (ribbon channel), then the two short ends, then the bottom edge with decorative beaded trim.
Top Edge (Ribbon Channel)
This edge creates small chain loops for the ribbon to weave through.
Join Color B to the top-right corner of the band.
Ch 1, sc into same corner st. [Ch 4, sk approximately 3 sts or 1 mesh unit along the edge, sc into next junction point] across the top edge. Work approximately 12 to 14 ch-4 loops across (adjust for even spacing). End with sc into the top-left corner. Do not fasten off.
Left Short End
Sc evenly down the short end, placing approximately 4 to 5 sc. Continue to the bottom edge.
Bottom Edge (Decorative Beaded Picot)
This is the prominent decorative lower edge visible in photographs.
Pre-string 40 seed beads and 12 crystal beads alternating on your working thread.
Work across the bottom of the band as follows:
Sc into first junction point, [ch 3, sl st into same sc (plain picot), sc into next junction point, beaded picot (ch 3 with seed bead at tip, sl st into first ch), sc into next junction point, ch 4, slide 1 crystal bead up close to work, ch 1, sl st into first ch of the ch-4 to lock crystal bead in place, sc into next junction point] repeat across the bottom edge. Adjust to fit evenly. End with a plain picot.
Right Short End
Sc evenly up the short end, placing approximately 4 to 5 sc. Sl st to the first sc of the top edge to close, or fasten off and seam invisibly.
Fasten off and weave in ends.
Roses
Make roses in three sizes and three colors:
Large Roses (make 4 total): 2 in Color A (Deep Plum), 2 in Color B (Medium Lavender)
Medium Roses (make 5 total): 2 in Color A, 2 in Color B, 1 in Color C (Pale Lilac)
Small Roses (make 4 total): 2 in Color A, 2 in Color C
Total roses: 13
Large Rose
Foundation: Ch 36.
Row 1: Sc into 2nd ch from hook, sc into each ch across. Turn. (35 sc)
Row 2: Ch 1, sc into first sc, [sc into next sc, 2 sc into next sc] across to last sc, sc into last sc. Turn. (52 sc)
Row 3: Ch 1, [sc into next sc, sk 1 sc, Shell (5 dc) into next sc, sk 1 sc] repeat across, end with sc in last sc. Turn. (13 sc, 13 shells)
Row 4: Ch 1, sl st loosely into each stitch across. Fasten off, leaving a 10 inch tail. (65 sl sts)
To shape: Starting from one end, roll the strip gently with the WS facing inward and the RS petals curling outward. Secure by stitching through the base several times with your tail. Keep the tail for sewing onto the band.
Medium Rose
Foundation: Ch 27.
Row 1: Sc into 2nd ch from hook, sc into each ch across. Turn. (26 sc)
Row 2: Ch 1, sc into first sc, [2 sc into next sc, sc into next sc] across. Turn. (39 sc)
Row 3: Ch 1, [sc into next sc, sk 1 sc, Shell (5 dc) into next sc, sk 1 sc] repeat across, ending sc in last sc. Work 9 complete repeats, then sc into each of the last 3 sts. Turn.
Row 4: Ch 1, sl st loosely across. Fasten off, leaving a 10 inch tail.
Roll and secure as for Large Rose.
Small Rose
Foundation: Ch 21.
Row 1: Sc into 2nd ch from hook, sc into each ch across. Turn. (20 sc)
Row 2: Ch 1, sc into first sc, [2 sc into next sc, sc into next sc] across, end 2 sc into last sc. Turn. (30 sc)
Row 3: Ch 1, [sc into next sc, sk 1 sc, Shell (5 dc) into next sc, sk 1 sc] repeat across, ending sc in last sc. Work 7 complete repeats, sc into each of last 2 sts. Turn.
Row 4: Ch 1, sl st loosely across. Fasten off, leaving a 10 inch tail.
Roll and secure as for Large Rose.
Leaves (Make 12 in Color D)
Each leaf is worked in the round from a foundation chain.
Foundation: Ch 10.
Rnd 1: Starting in the 2nd ch from hook: sc, hdc, dc, dc, tr, dc, dc, hdc, sc. Work 3 sc into the last ch (this is the leaf tip). Now work back along the other side of the foundation chain: sc, hdc, dc, dc, tr, dc, dc, hdc, sc. Sl st into the first sc to join.
Rnd 2 (optional for definition): Ch 1, sc into each st around the leaf, working 3 sc into the center tip stitch. Sl st to join. Fasten off, leaving a 6 inch tail.
Leaf dimensions: approximately 1 inch long, 0.5 inch wide at widest point.
Assembly
Step 1: Block all pieces lightly. Pin the band to correct dimensions and mist with water. Allow to dry. Do the same with leaves and roses.
Step 2: Lay the band flat with RS facing up. The ribbon-closure end (with ch-4 loops) is the back. The front and center is where flowers will go.
Step 3: Arrange roses on the front two-thirds of the band. Place the two large plum roses slightly offset from center. Place large lavender roses flanking them. Scatter medium and small roses around larger ones. Position pale lilac roses toward the lower center front as a focal point. Tuck leaves between and beneath roses with tips pointing outward and downward.
Step 4: Pin each motif in place. Using the tails and a fine tapestry needle, stitch each rose and leaf securely to the band. Stitch through rose bases several times in a cross pattern. Stitch leaves along their base and center spine.
Step 5: Using a beading needle, add clusters of 2 to 3 seed beads at the base of several roses and along leaf edges. Add single crystal bead accents near the center of several roses.
Step 6: Thread the organza ribbon through the ch-4 loop channel along the top edge, weaving in and out from one end to the other. Leave approximately 12 to 14 inches on each side for tying. Seal ribbon ends with fabric glue or a careful lighter singe.
Step 7: Weave in all remaining thread ends on the WS.
Size Customization Tips
For larger wrists: Work more rows on the lace band before edging. Each 2-row repeat adds approximately 0.4 inch to the length.
For smaller wrists: Work fewer rows. The band can go as low as 25 rows for wrists under 6 inches.
To change width: Adjust the foundation chain in multiples of 3 stitches plus 1. A 13-chain foundation creates a daintier 1.5 inch cuff. A 25-chain foundation creates a dramatic 2.5 inch cuff.
Care Instructions
Hand wash gently in cool water with mild soap. Do not wring. Lay flat to dry, reshaping the band and roses. Remove the organza ribbon before washing and re-thread afterward. Do not machine wash or tumble dry. Store flat in a box or wrapped in tissue paper to protect the dimensional roses.
Thank you so much for choosing this pattern! I truly hope you love creating your Lavender Fields Bracelet as much as I loved designing it. If you make one, I would absolutely love to see it. Tag me on Instagram or share a photo in our Facebook group.
If this pattern spoke to you, go ahead and save it to your Pinterest boards so you can find it when you are ready to start. And please drop a comment below if you give it a try. I read every single one, and hearing about your projects honestly makes my day!