
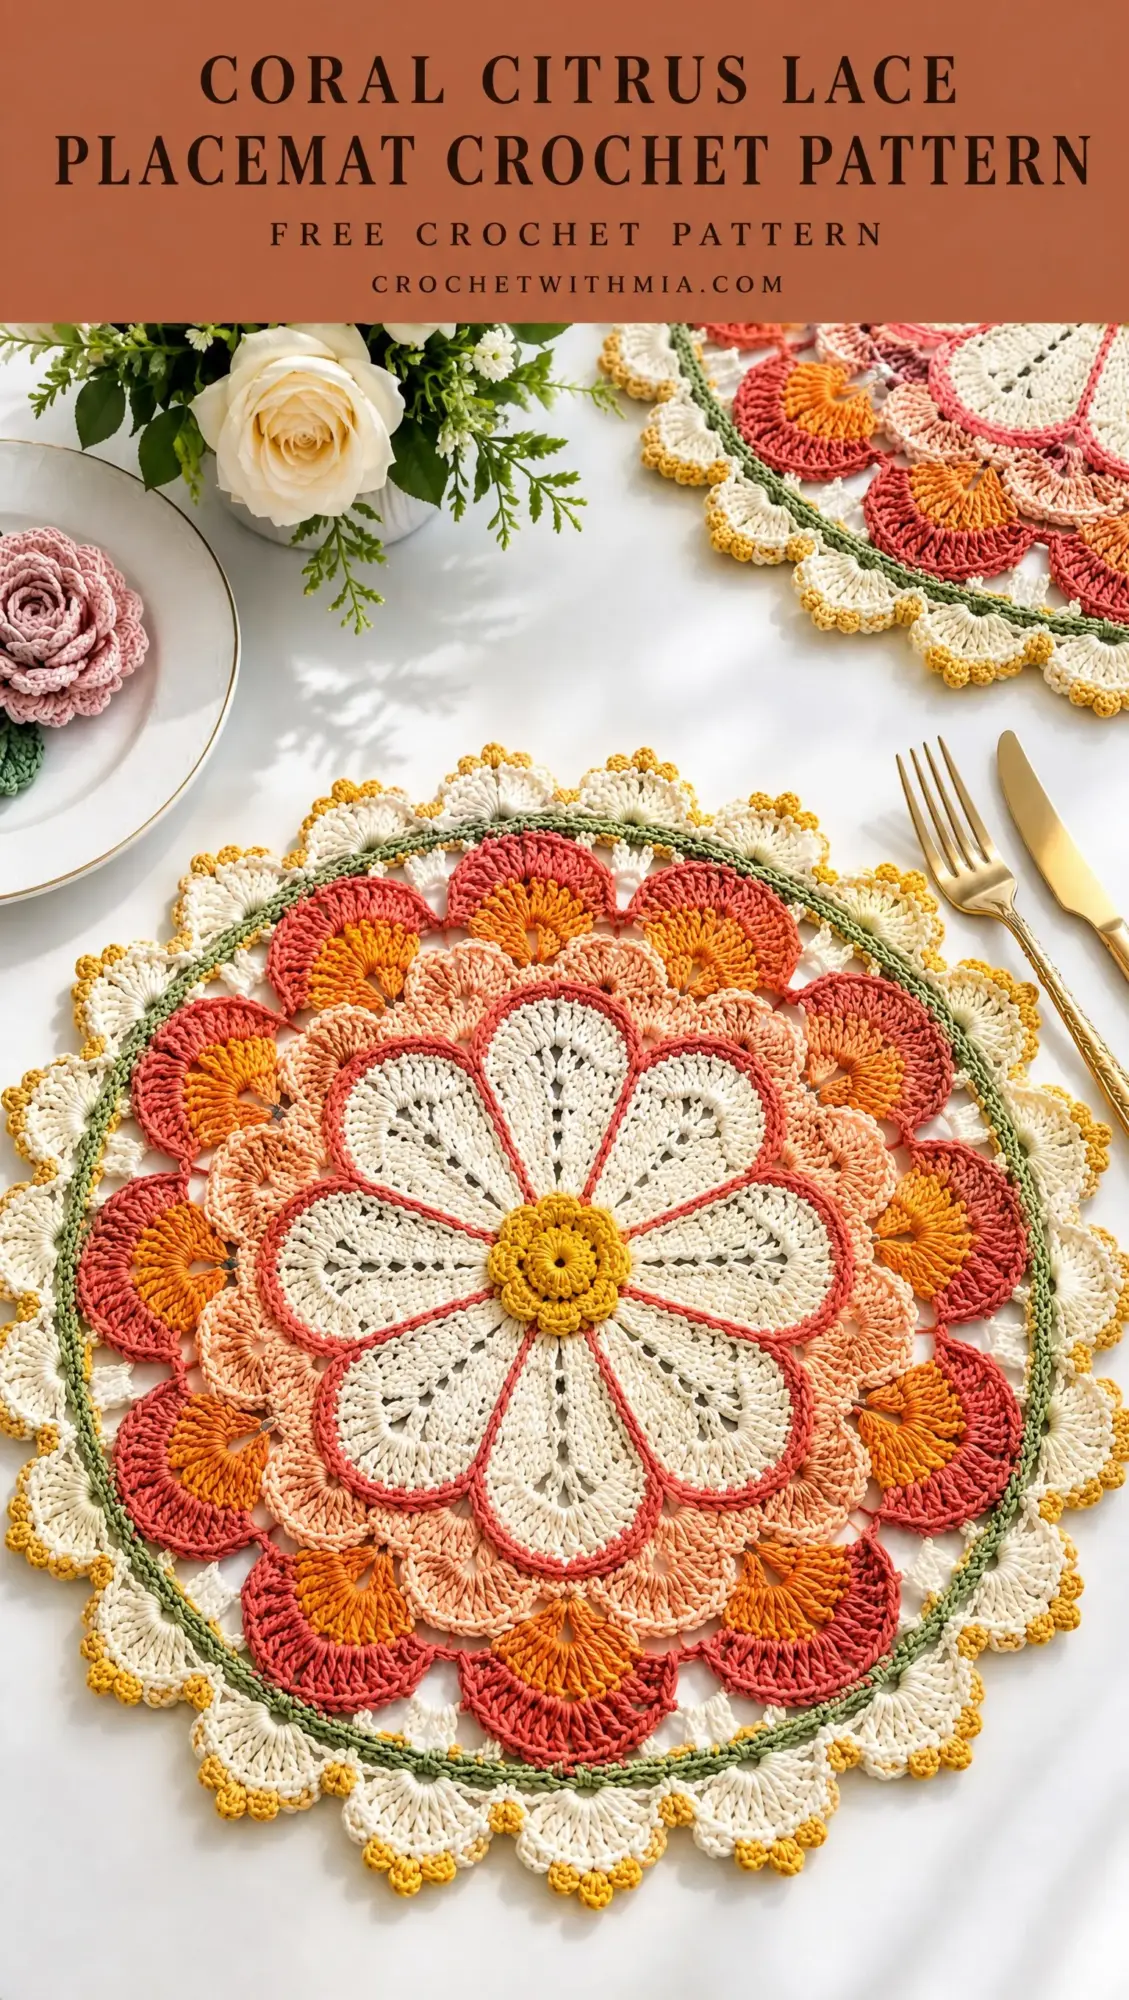
Looking for a stunning table accessory that doubles as a heartfelt handmade gift? This Coral Citrus Lace Placemat brings together classic lace techniques with a cheerful citrus color palette. The design features double crochet fans, simple shells, and delicate picots that create an eye-catching radial flower effect.
Get the Ad-Free PDF Pattern
You can find the free pattern below, or you can purchase the ad-free printable PDF from my shop.
Get the Printable PDF →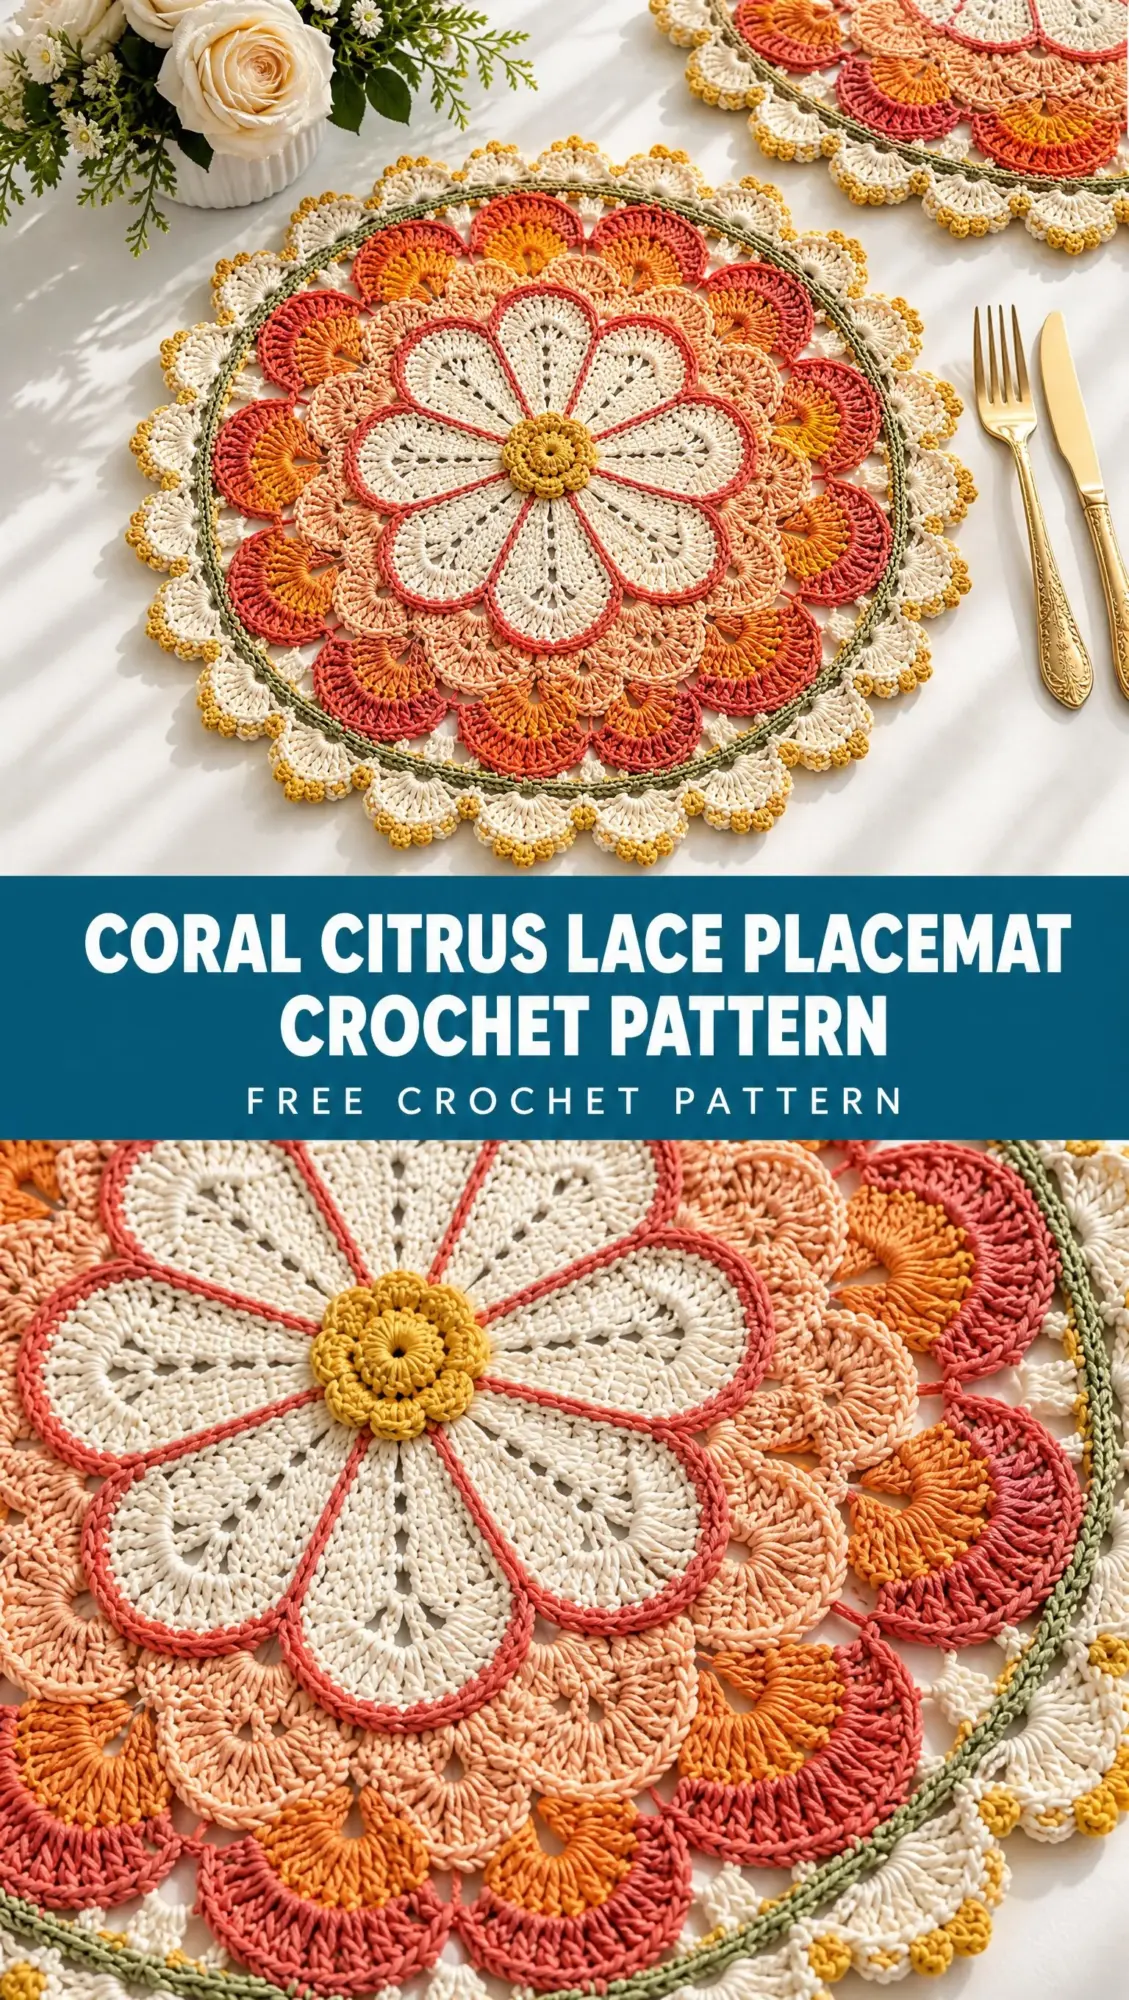
This intermediate level pattern works up in joined rounds from the center outward. You will use basic stitches like single crochet (sc), double crochet (dc), and treble crochet (tr) arranged in repeating fan and shell sequences. The construction is straightforward once you get the rhythm going.
Whether you are making a set for your own dining table or crafting a thoughtful housewarming present, this placemat hits that sweet spot between impressive and achievable. It works up to approximately 15 to 16 inches in diameter, perfect for standard dinner plates.
Why You Will Love This Crochet Placemat Pattern
This design caught my attention immediately because of how the colors flow from the golden yellow center through cream, coral, peach, tangerine, and that final touch of leaf green. Each round builds naturally on the previous one, creating distinct visual zones that make your progress feel rewarding.
The radial flower center in cream forms eight beautiful wedges that look far more complex than they actually are. Then the coral petal outlines add definition using a surface slip stitch technique. This is a great skill to learn if you have not tried it before, and I will walk you through it step by step.
The openwork fan sections give this placemat its lacy, airy quality without sacrificing durability. Cotton yarn holds up beautifully to regular use and washing, making this practical for everyday dining.
Materials You Will Need
Before you start, gather these supplies. Having everything ready makes the process so much smoother.
Yarn: Smooth mercerized or combed cotton in DK or light worsted weight (Category 3). You will need approximately 250 to 300 yards total, broken down by color:
| Color | Approximate Yardage |
|---|---|
| Cream | 125 yards (115 meters) |
| Coral | 45 yards (41 meters) |
| Tangerine | 35 yards (32 meters) |
| Peach | 30 yards (27 meters) |
| Golden Yellow | 15 yards (14 meters) |
| Leaf Green | 12 yards (11 meters) |
Hook: 3.5 mm (US E/4) or the size needed to achieve a firm, flat fabric
Notions: Tapestry needle, stitch markers, scissors, rustproof pins or blocking wires, and a blocking mat
Gauge and Finished Measurements
After completing Round 6, your piece should measure about 7.5 to 8 inches (19 to 20.5 cm) across after gentle smoothing and before blocking. Do not stress too much about hitting an exact gauge here. Flatness matters more than matching a specific measurement.
Your completed placemat will measure approximately 15 to 16 inches (38 to 41 cm) in diameter after blocking.
Here is a helpful flatness rule to keep in mind: If your work starts to cup (curve upward like a bowl), add a little ease by working an occasional extra chain in the openwork sections. If it starts to ruffle (wave around the edges), reduce an occasional chain or skip one increase repeat. Always make these adjustments symmetrically and space them evenly around the round.
Abbreviations and Stitch Definitions
Let me break down all the abbreviations used in this pattern. Even if you know these stitches well, it helps to have them in one place for quick reference.
beg = beginning
ch = chain: Yarn over, pull through the loop on your hook
ch-sp = chain space: The gap or hole created by chain stitches in a previous round
dc = double crochet: Yarn over, insert hook, yarn over and pull up a loop, (yarn over, pull through 2 loops) twice
hdc = half double crochet: Yarn over, insert hook, yarn over and pull up a loop, yarn over and pull through all 3 loops
MR = magic ring: An adjustable starting loop that can be pulled tight to close the center hole
rep = repeat
rnd = round
sc = single crochet: Insert hook, yarn over and pull up a loop, yarn over and pull through both loops
sl st = slip stitch: Insert hook, yarn over and pull through both the stitch and the loop on your hook
sp = space
st(s) = stitch(es)
tr = treble crochet: Yarn over twice, insert hook, yarn over and pull up a loop, (yarn over, pull through 2 loops) three times
Special Stitches and Techniques
These techniques appear throughout the pattern, so read through them before you begin.
Standing dc: Start with a slip knot on your hook, insert the hook into the indicated stitch or space, and work a double crochet. This gives you a much neater color change start than using a ch-3. It eliminates that telltale "chain ladder" look at the beginning of rounds.
3-dc shell: Work 3 double crochets all in the same stitch or chain space. This creates a small fan shape.
5-dc fan: Work 5 double crochets all in the same chain space. These form the medium-sized decorative fans.
7-dc fan: Work 7 double crochets all in the same chain space. These are your largest fans and create dramatic visual impact.
Picot: Chain 3, then slip stitch into the first chain you made. This creates a tiny decorative bump. The yellow picots at the tips of your final scallops add that perfect finishing touch.
Surface slip stitch: This technique creates the coral petal outlines. Hold your yarn on the wrong side of the work. Insert your hook from front to back through the fabric, catch the yarn and pull a loop through to the front. Continue making slip stitches along your marked path. Keep these stitches relaxed so they sit on top of the fabric without puckering it.
Color Key for This Crochet Placemat
Understanding which colors go where helps you visualize the finished piece:
Before You Begin: Tips for Success
Join each round with a slip stitch unless the instructions say otherwise. Fasten off at color changes for the cleanest result. You can carry yarn only where it will be completely hidden, but I recommend cutting and rejoining for this project.
Start new colors at different points around the circle so your joins do not stack up in one visible line. Weave in your ends every few rounds rather than waiting until the end. Trust me, this makes finishing so much easier.
The chain spaces form the decorative negative space in your lace, so keep them relaxed and even. Tight chains will make your work pucker, while overly loose chains will make the lace look sloppy.
Step-by-Step Crochet Pattern Instructions
Center Rosette
Round 1 (Golden Yellow): Make a magic ring. Chain 1, work 8 single crochets into the ring. Join to the first sc with a slip stitch. Pull the ring closed. 8 sc.
Round 2 (Golden Yellow): Chain 1. Work 2 sc in each stitch around. Join with a slip stitch. Fasten off. 16 sc.
Cream Radial Flower
Round 3 (Cream): Join cream yarn in any stitch. Chain 3 (this counts as your first dc), dc in the same stitch, dc in the next stitch, chain 1. 2 dc in the next stitch, dc in the next stitch, chain 1. Repeat from * around. Join to the top of your beginning ch-3. You now have 8 groups of 3 dc separated by 8 ch-1 spokes.
Round 4 (Cream): Slip stitch to the center dc of the first 3-dc group. Chain 3, 2 dc in the same stitch, dc in the next dc, chain 2, skip the ch-1 space, dc in the first dc of the next group, 3 dc in the center dc. Continue around so each wedge contains 5 dc total and each spoke is ch-2. Join. 8 wedges, 8 ch-2 spokes.
Round 5 (Cream): Slip stitch to the first dc of a wedge. Chain 3, dc in the next dc, 2 dc in the next dc, dc in each of the next 2 dc, chain 2. Dc in the next 2 dc, 2 dc in the next dc, dc in the next 2 dc, chain 2. Repeat from * around. Join. 8 wedges of 6 dc, 8 ch-2 spokes.
Round 6 (Cream): Slip stitch to the first dc. Chain 3, dc in the next 2 dc, 2 dc in the next dc, dc in the next 2 dc, chain 3. Dc in the next 3 dc, 2 dc in the next dc, dc in the next 2 dc, chain 3. Repeat from * around. Join. 8 wedges of 7 dc, 8 ch-3 spokes. Fasten off.
Coral Petal Outlines
Surface Outline (Coral): With the right side facing you, use the surface slip stitch technique to outline each cream wedge. Start from the center edge and work outward along one side of a cream wedge, curve across the outer edge of that wedge, then return toward the center along the opposite side.
Use the chain spokes as your guide so each cream wedge receives a clean coral outline. Repeat for all 8 wedges. Keep your yarn relaxed and do not pull tight. The outline should sit on top of the cream fabric without distorting it. Fasten off and weave ends to the wrong side.
Peach Shell Transition
Round 7 (Peach): Join peach in any ch-3 spoke. Chain 3, 4 dc in the same space, chain 1, sc in the center dc of the next cream wedge, chain 1. 5 dc in the next ch-3 space, chain 1, sc in the center dc of the next wedge, chain 1. Repeat from * around. Join to the top of your beginning ch-3. 8 peach 5-dc fans.
Round 8 (Peach): Slip stitch to the center dc of the first fan. Chain 1, sc in the center dc, chain 5, sc in the center dc of the next fan. Repeat around. Join. 8 ch-5 arches. Fasten off.
First Openwork Fan Ring
Round 9 (Coral): Join coral in any ch-5 arch. Chain 3, 6 dc in the same arch, chain 2, sc in the next ch-5 arch, chain 2. 7 dc in the next ch-5 arch, chain 2, sc in the next ch-5 arch, chain 2. Repeat from * around, alternating fan placements and anchor arches. Join. You will have 4 large coral fans and 4 anchor sections in this setup round.
Round 10 (Coral): Chain 1, sc in each of the first 3 dc, 2 sc in the next dc, sc in the next 3 dc, chain 4, sc in each ch-2 space and anchor sc as needed to travel to the next fan. Repeat around, distributing the ch-4 bridges evenly. The purpose of this round is to create a stable set of 8 evenly spaced bridge spaces for the next ring. Fasten off.
Second Staggered Fan Ring
Round 11 (Tangerine): Join tangerine in any ch-4 bridge. Chain 3, 6 dc in the same space, chain 3, sc in the next bridge, chain 3. 7 dc in the next bridge, chain 3, sc in the next bridge, chain 3. Repeat from * around. Join. Fasten off. 4 tangerine 7-dc fans, staggered between the coral fan areas.
Round 12 (Coral): Join coral in the first available ch-3 space after a tangerine fan. Chain 3, 6 dc in the same space, chain 3, sc in the next ch-3 space, chain 3. Continue placing 7-dc coral fans in the spaces between the tangerine fans so the border reads as an alternating coral-and-tangerine ring. Join and fasten off.
Thin Green Joining Round
Round 13 (Leaf Green): Join green at the top center of any fan. Chain 1, sc in the same stitch, chain 3, sc in the next valley or anchor point, chain 3. Sc in the center top of the next fan, chain 3, sc in the next valley, chain 3. Repeat from * around.
Keep this round very slim and even. If your work cups, change selected ch-3 spaces to ch-4. If it ruffles, change selected ch-3 spaces to ch-2. Join and fasten off.
Final Cream Scallops
Round 14 (Cream): Join cream in any green chain space. Chain 1, sc in the same space, chain 3, sc in the next green ch-sp. Repeat around. Join. This creates a clean cream foundation of evenly spaced arches.
Round 15 (Cream): Slip stitch into the first ch-3 arch. Chain 3, 4 dc in the same arch, sc in the next arch. 5 dc in the next arch, sc in the next arch. Repeat from * around. Join.
You should have a broad ring of cream scallops. If needed for symmetry, work the final one or two repeats as 4-dc or 6-dc scallops so the border closes without crowding.
Round 16 (Golden Yellow Picots): Join yellow in the center dc of any cream scallop. Sc in the center dc, work a picot, slip stitch loosely across the next 2 to 3 cream stitches to the center of the next scallop. Repeat from * around. Join and fasten off.
Each scallop should have one small yellow picot at its tip.
Finishing and Blocking Your Lace Placemat
Proper finishing transforms your placemat from good to gorgeous. Do not skip these steps.
1. Weave in all ends. Use your tapestry needle to weave each tail through at least 1.5 to 2 inches (4 to 5 cm) of matching-color stitches. Reverse direction once for security. Trim closely.
2. Wet block for best results. For cotton yarn, a full wet block gives the crispest, most professional finish. Soak your placemat in lukewarm water for 10 to 15 minutes. Gently press out the water by rolling it in a clean towel. Lay flat on your blocking mat.
3. Shape the circle carefully. Pin the center first, then pin opposite points around the perimeter so the diameter stays even. Add pins between those points until the scallops are smooth and the mat measures about 15 to 16 inches.
4. Open up all the lace. Use your fingers or blocking pins to equalize every eyelet spoke and fan arch. The negative spaces should look consistent all the way around.
5. Let it dry completely. Do not unpin until fully dry. If the edge still waves after drying, lightly rewet only the perimeter and repin with slightly less stretch.
Troubleshooting Common Issues
| Problem | Likely Cause | Solution |
|---|---|---|
| Center cups upward | Too few increases or tight chain spaces | Use a larger hook for the next round, add 1 chain to several spoke spaces, or add 1 extra dc in every second wedge |
| Border ruffles | Too many stitches in fan rings | Reduce selected fans from 7 dc to 6 dc, or shorten some chain bridges by 1 chain |
| Border pulls inward | Too few stitches or tight joins | Add 1 chain to evenly spaced bridge spaces or use 1 extra dc in every second fan |
| Surface outline puckers | Coral slip stitches are too tight | Remove and redo with a looser loop height |
| Scallops twist | Foundation arches are uneven | Rework Round 14 so arches are uniform before making the scallops |
Size Adjustments
For a smaller mat (about 13 to 14 inches): Use sport-weight cotton and a 3.0 mm hook, or omit one of the two staggered fan rounds and proceed directly to the green joining round.
For a larger charger mat (about 17 to 18 inches): Add one extra openwork round before the green join. Work sc in fan center, ch 5 around, then place 7-dc fans in alternating ch-5 spaces. Recheck flatness before continuing.
Care Instructions
For washable cotton, hand wash or machine wash on a gentle cycle in cool water. Reshape while damp and dry flat. Avoid high heat, which can shrink cotton and distort your carefully blocked lace. If you want a crisp finish, press from the wrong side using a pressing cloth.
Pattern Notes for a Professional Finish
Use invisible joins when possible. Keep your chain spaces even and spread fan stitches across each chain space for uniform coverage. Block the center into eight equal wedges before shaping the outer scallops.
Because the cover image is a generated design rather than a counted physical sample, minor stitch count adjustments may be needed for your specific yarn and tension. Always prioritize a flat circle and even spacing over hitting exact numbers.
Thank you so much for choosing this Coral Citrus Lace Placemat pattern. I really hope you enjoy making it as much as I enjoyed putting it together for you. If you share your finished placemat on Instagram or Facebook, please tag me so I can see your beautiful work!
If you want to find this pattern later, go ahead and save it to your Pinterest boards. And I would absolutely love to hear from you in the comments below once you have made one. Happy crocheting!
Want a Quick & Easy Printable Version?
Get a clean, beautifully formatted PDF of this pattern — easy to follow step by step, ready to print or save on any device. No scrolling, no distractions, just the pattern.
Get the Printable PDF →