
I don’t know about you, but I have a serious weakness for jewelry that looks way more complicated than it actually is. The kind of piece that makes people lean in and say, "Wait, you made that?" Yeah, that’s my favorite kind of project.
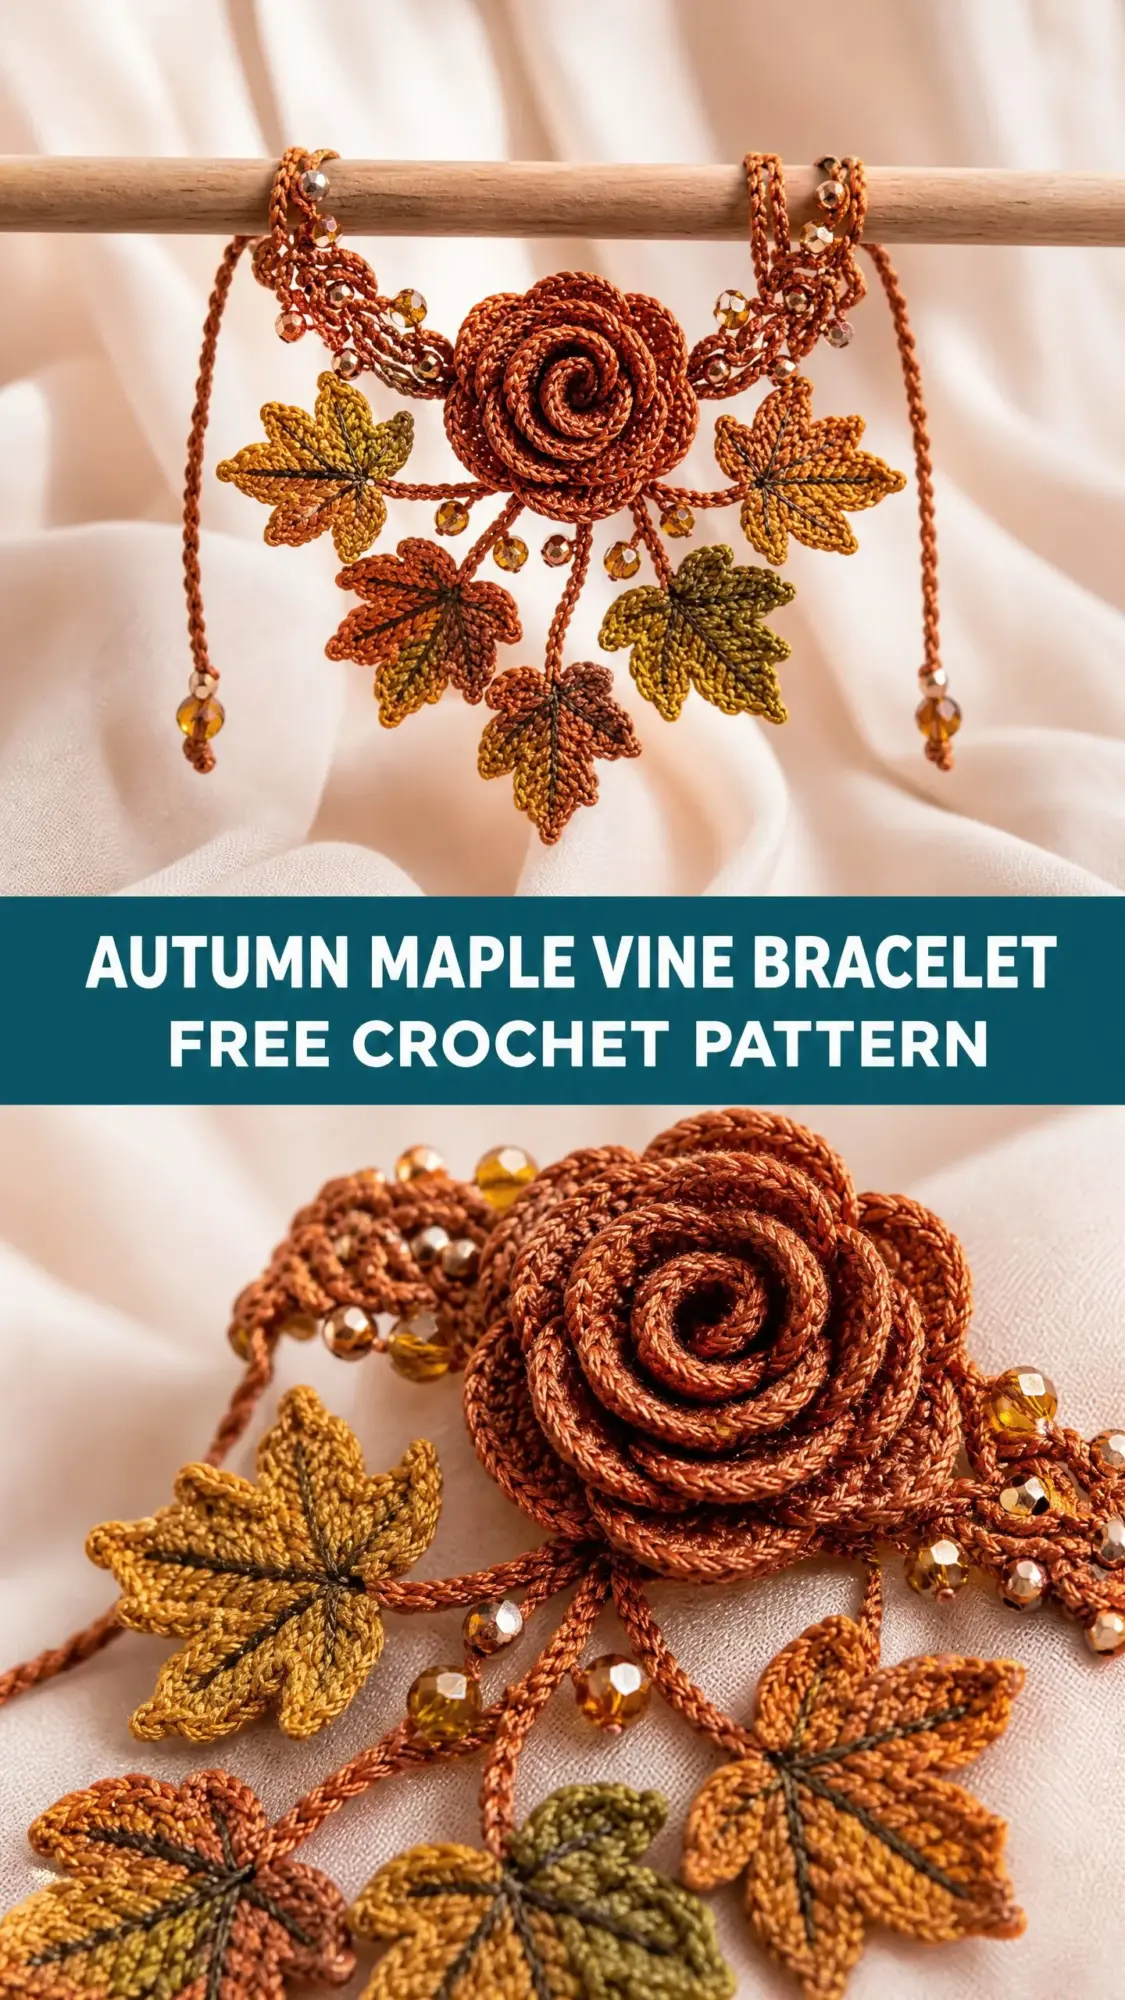
This Autumn Maple Vine Bracelet is exactly that. It combines a coiled spiral rose, delicate maple leaves in rich autumn tones, and sparkling amber crystal beads into one stunning wrist cuff. The whole thing is worked in separate pieces and assembled at the end, which means no intimidating continuous construction. Just satisfying little components that come together beautifully.
If you’ve been wanting to try thread crochet or level up your jewelry making skills, this bracelet is the perfect excuse to grab some gorgeous crochet cotton and dive in.
Why You’ll Love This Crochet Bracelet Pattern
This isn’t your average friendship bracelet. The Autumn Maple Vine Bracelet sits somewhere between fine jewelry and wearable art. The construction method breaks everything into manageable pieces: a narrow lace band, one spiral rose, five individual maple leaves, and some beaded accent chains. You work each element separately, block them, then stitch everything together.
The sliding knot closure means the bracelet adjusts to fit wrists between 6.5 and 7.5 inches comfortably. No fiddly clasps required.
What makes this special:
Skill Level and Time Commitment
I’d place this at advanced beginner to intermediate level. The individual stitches are all basic ones you probably already know. The challenge comes from working with fine thread and a tiny hook, plus managing the leaf shaping and final assembly.
If you’ve never worked with thread crochet before, practice on a small swatch first. The thread is thinner than standard yarn, and the hook feels different in your hand. Give yourself grace during the adjustment period.
Estimated time: 4 to 6 hours total, spread across multiple sessions. Here’s how that breaks down:
Finished Measurements
Materials Needed for This Crochet Tutorial
Thread
You’ll need size 10 crochet cotton thread in three colors:
Recommended brands:
1. Lizbeth Size 10 Crochet Cotton by Handy Hands (100% Egyptian cotton, 122 yards per 10 g ball) in Rust, Golden Yellow, and Leaf Green
2. DMC Petra Size 10 (100% long-staple combed cotton, 1093 yards per 100 g ball) in colors 5918, 5742, and 5732
3. Aunt Lydia’s Classic Crochet Thread Size 10 (100% mercerized cotton, 350 yards per 350 g ball) in Copper Mist, Goldenrod, and Forest Green
Important: Use smooth, tightly plied crochet cotton only. Avoid fuzzy threads or embroidery floss. The stitch definition matters for the leaf veining and lace details.
Hooks
Beads
Additional Supplies
Gauge
Base band gauge: 22 stitches and 10 rows = 1 inch (2.54 cm) in half double crochet mesh pattern using Color A and 1.65 mm hook, after blocking.
Leaf gauge: One completed 5-lobe maple leaf = approximately 0.75 inch (2 cm) wide by 0.9 inch (2.3 cm) long, using 1.25 mm hook.
Gauge matters here because the band needs to fit comfortably around a wrist. Crochet a small swatch in the mesh pattern and measure after blocking. If your swatch is too large, go down a hook size. Too small, go up.
Abbreviations and Stitch Definitions
Let me walk you through every abbreviation before we start. If you’re newer to crochet patterns, bookmark this section.
Special Stitches
Picot: Chain 3, slip stitch into the first chain made. Creates a small decorative loop.
Bead Single Crochet (bsc): Before working this stitch, slide one pre-strung bead up close to your hook. Insert hook into the indicated stitch, yarn over and pull up a loop (the bead sits on the front of your work), yarn over and pull through both loops. The bead is now anchored in place.
Step by Step Crochet Pattern Instructions
Before You Begin
Pre-string approximately 50 beads onto Color A thread before starting the base band. The beads will sit on your ball of thread and slide forward as you need them.
Section 1: Base Band
The base band forms the foundation of your bracelet. The working section measures approximately 5.5 inches (14 cm), with additional length for the sliding closure cords.
Using Color A and 1.65 mm hook with beads pre-strung:
Foundation Chain: Ch 170.
Row 1 (RS): Sc in 2nd ch from hook, sc in each ch across. Turn. (169 sc)
Row 2: Ch 3 (counts as dc), sk 1 st, dc in next st, ch 1, sk 1 st, dc in next st across to last st, dc in last st. Turn. (85 dc, 83 ch-1 sps)
Row 3: Ch 1, sc in first dc, bsc in next ch-1 sp, sc in next dc across, sc in top of turning ch-3. Turn. (85 sc with beads in alternating positions)
This row creates the decorative beaded top edge. The beads should face toward you on the right side.
Row 4: Ch 3, sk 1 st, dc in next st, ch 1, sk 1 st, dc in next st across to last st, dc in last st. Turn. (85 dc, 83 ch-1 sps)
Row 5: Ch 1, sc in each st and ch-1 sp across. Turn. (169 sc)
Row 6: Ch 1, sc in each st across. Do not turn. (169 sc)
Edging: Slip stitch evenly along the short right-hand edge (3 sl sts), then sl st along the bottom foundation chain edge across. Sl st up the left short edge. Fasten off.
Weave in ends from the band body only. Leave two long tail cords at each short end, approximately 8 to 10 inches each. These become your sliding closure cords.
Checkpoint: Your band should measure approximately 5 to 5.5 inches long and 0.5 inch wide. The beaded row runs along the top edge.
Section 2: Spiral Rose
The rose is worked as a flat strip with graduated shells, then coiled and stitched into a dimensional bloom.
Using Color A and 1.65 mm hook:
Foundation Chain: Ch 65.
Row 1 (RS): Starting in 4th ch from hook (counts as dc, ch 1), work:
You’ll use 46 chains for the shells. The remaining 19 chains at the far end become the tight center of the rose.
Row 2: Ch 4, turn. Working along the top of Row 1 shells from outermost back toward center:
Do not fasten off. (14 graduated shell units)
Row 3: Ch 1, sl st into first dc of Row 2, picot, sl st into next dc or ch-1 sp across outer shell posts on shells 1 through 4 only. Fasten off, leaving a 20-inch tail.
Assembling the Rose:
Beginning at the end with the 19 unused foundation chains (this is your center nub), roll the strip tightly inward. The shorter inner edge faces inward while the taller, picoted outer edge faces outward and upward.
Use your long tail and tapestry needle to stitch through the base of the coil repeatedly, catching each layer as you roll. Stitch a flat circle of stitches at the base to stabilize. The finished rose should sit upright and rounded, approximately 1.25 inches in diameter.
Checkpoint: Your rose should have 3 to 4 visible outer spiral rings when viewed from above, with picot edging on the outermost ring. The base should be flat, approximately 0.6 inch in diameter.
Section 3: Maple Leaves (Make 5)
Work 5 leaves total with these color variations:
Each leaf has 5 lobes: 2 small lower lobes, 2 medium middle lobes, and 1 large top lobe.
Using 1.25 mm hook and Color A:
Leaf Stem: Ch 8. Sl st in 2nd ch from hook and in each ch across back to base. (7 sl sts)
Switch to Color B (or C) by pulling the new color through the last sl st loop.
Main Spine Chain: Ch 9. Do not turn.
Lower Left Lobe (Lobe 1):
Starting in 2nd ch of spine (counting from stem end), ch 5 for lobe branch.
Lower Right Lobe (Lobe 2):
Sl st into next spine ch. Ch 5.
Sl st along spine 2 more chains toward tip.
Middle Left Lobe (Lobe 3):
Ch 6.
Middle Right Lobe (Lobe 4):
Sl st into next spine ch. Ch 6.
Sl st along spine 2 more chains toward tip.
Top Center Lobe (Lobe 5):
Ch 8.
Work back down spine: Sl st into each remaining spine ch to stem base. Fasten off, leaving 6-inch tail.
Optional Veining: With Color C and tapestry needle, surface sl st along the center of each lobe from base to tip.
Checkpoint: Each leaf should measure approximately 0.75 inch wide by 0.9 inch long with 5 distinct lobes.
Section 4: Beaded Accent Chains (Make 6)
Using Color A and 1.25 mm hook, pre-string 4 beads:
Ch 3.
Slide bead up, ch 1. Repeat 3 more times.
Ch 2. Fasten off, leaving 4-inch tails at each end.
Section 5: Sliding Closure
Thread 2 to 3 small seed beads onto each tail cord end from the base band. Tie a small overhand knot below the beads. Trim to approximately 1.5 inches below the knot. Apply fabric glue if desired.
Making the sliding barrel:
Cut a separate 4-inch length of Color A. Hold both tail cords parallel. Wrap the short thread around both cords approximately 6 times, forming a barrel. Thread the wrapping ends back through the barrel with a needle and knot securely.
Blocking (Do Not Skip This Step)
Block all pieces before assembly.
Soak each piece in cool water for 10 minutes. Gently squeeze out excess water without wringing. Pin each leaf flat on a foam blocking mat, using individual pins to hold each lobe open. Pin the base band straight and taut. Shape the rose gently with fingers but do not pin (this will flatten it). Allow everything to dry completely, at least 4 to 6 hours.
Do not block with beads attached.
Final Assembly
Step 1: Lay the blocked base band flat with the beaded row facing up.
Step 2: Position the rose at the center of the band, slightly toward one side. Using Color A and tapestry needle, whipstitch around the rose base with 8 to 10 anchor points. Pull firmly, knot, and weave in.
Step 3: Arrange the 5 leaves in a fan below and around the rose base. Two leaves angle downward left, two angle downward right, one hangs straight down from center. Stitch each leaf stem to the band with 4 to 6 stitches. Knot and weave in.
Step 4: Attach beaded drop chains to leaf stem ends and the lower band edge, spacing evenly.
Step 5: Tack any loose beads along the top edge with a small stitch.
Step 6: Complete the sliding closure as described in Section 5.
Final Checkpoint: The bracelet should slip over your hand comfortably when fully open. The rose should sit flat and secure. No tails should be visible from the front.
Size Adjustments
For a shorter band: Reduce foundation chain by groups of 2 chains. Each reduction of 2 chains removes approximately 0.1 inch.
For a longer band: Add chains in groups of 2. For wrists larger than 7 inches, add 20 to 30 chains.
For a wider band: Add 2 more rows to the base (repeat Rows 5 and 6).
For more leaves: This pattern easily accommodates 7 or 8 leaves. Work 2 additional leaves in Color C.
Care Instructions
Hand wash only in cool water with gentle soap. Lay flat to dry. Avoid prolonged sun exposure which may fade colors. Remove before swimming or bathing. Store flat or loosely coiled.
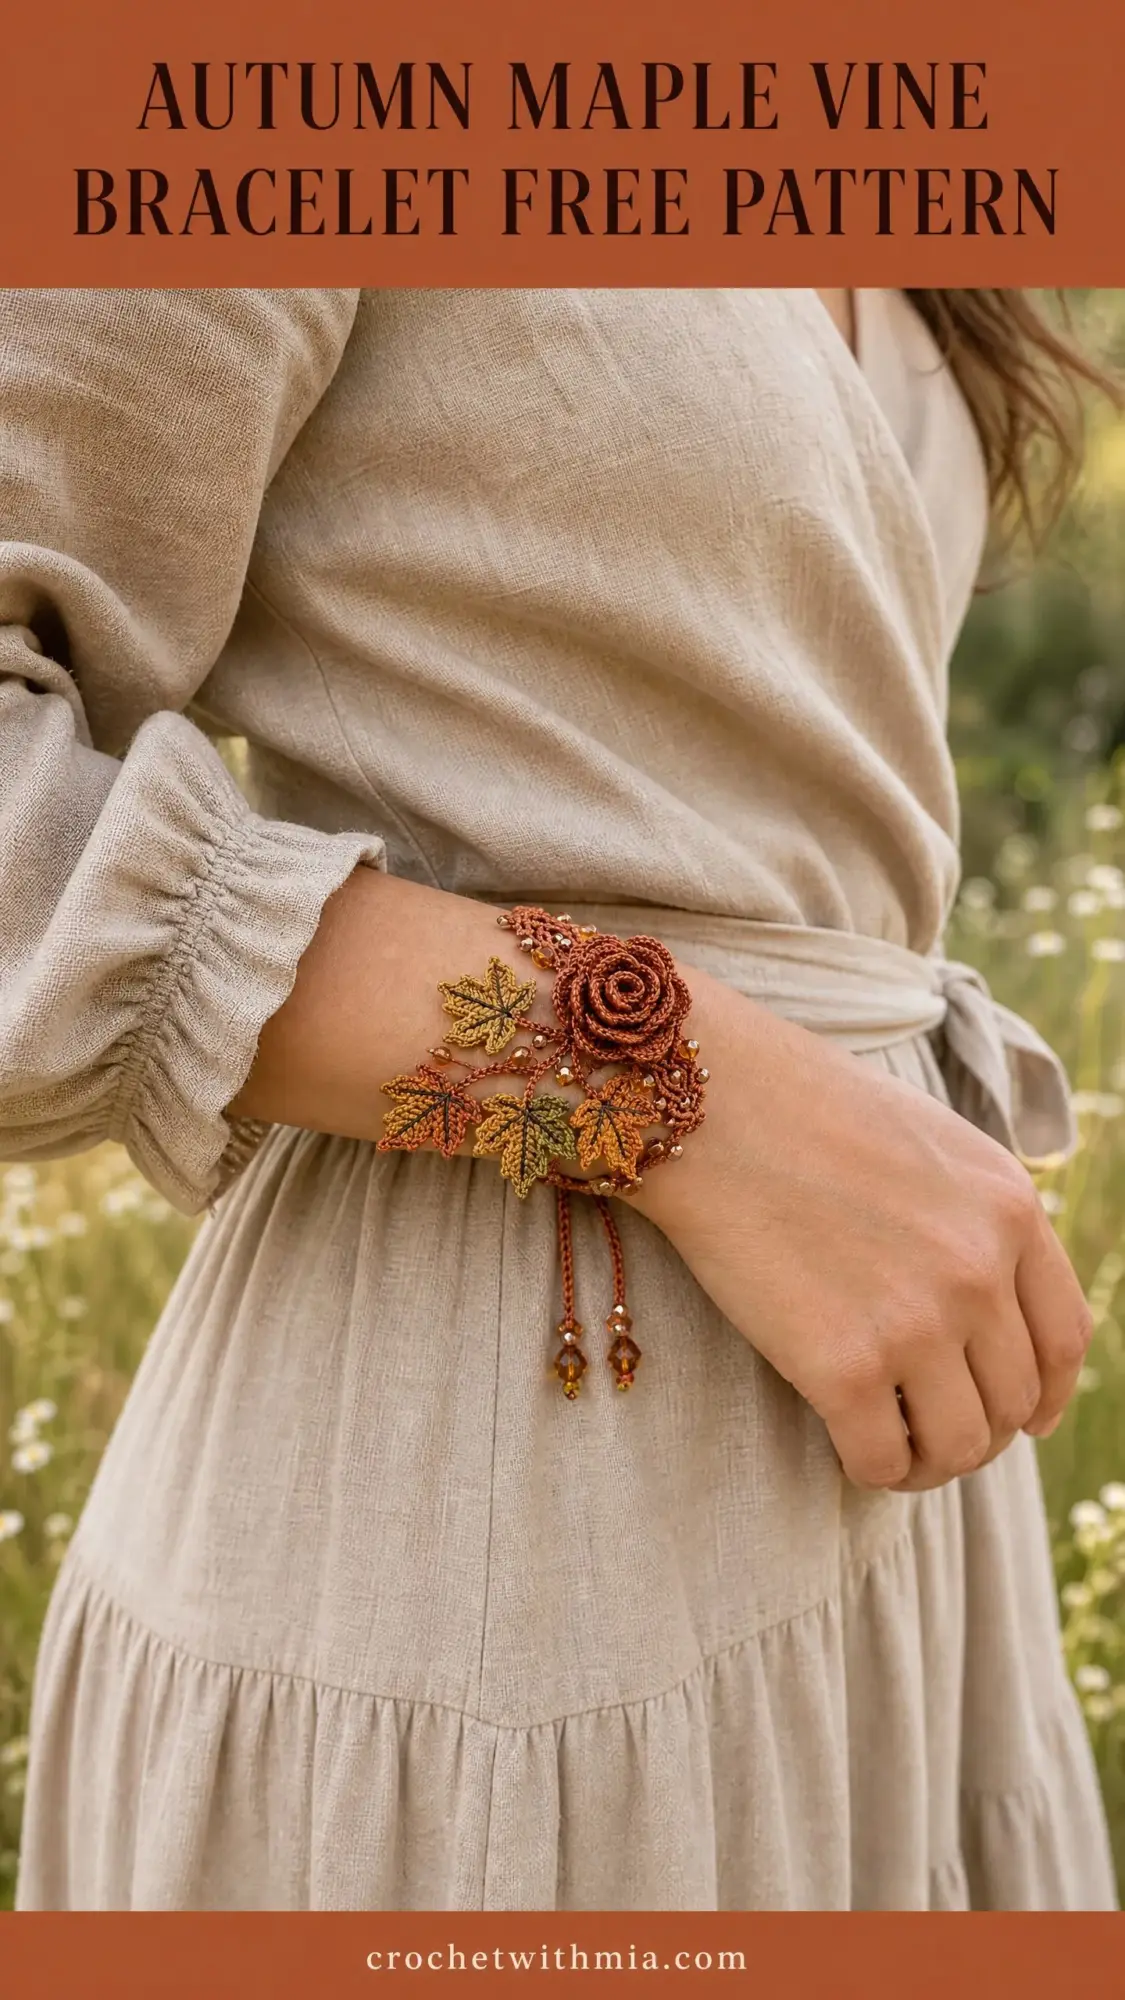
You Did It!
I hope this Autumn Maple Vine Bracelet becomes a treasured piece in your jewelry collection or the perfect handmade gift for someone who appreciates detailed craftsmanship. The combination of thread crochet techniques, dimensional construction, and crystal bead accents creates something truly special.
Thank you so much for choosing this pattern. If you make this bracelet, I would absolutely love to see your finished piece! Tag me on Instagram or share in my Facebook group. Seeing your creations honestly makes my whole day.
If this pattern is calling to you, go ahead and pin it to your crochet board so you can find it when you’re ready to start. And if you do make one, please drop a comment below. I love hearing which color combinations you choose and how the project turns out for you!