Last spring, my daughter spotted a little girl at the park wearing a dress covered in tiny flowers. She tugged my hand and whispered, "Mama, can you make me a princess dress with flowers on it?" That question rattled around in my head for weeks.
Get the Ad-Free PDF Pattern
You can find the free pattern below, or you can purchase the ad-free printable PDF from my shop.
Get the Printable PDF →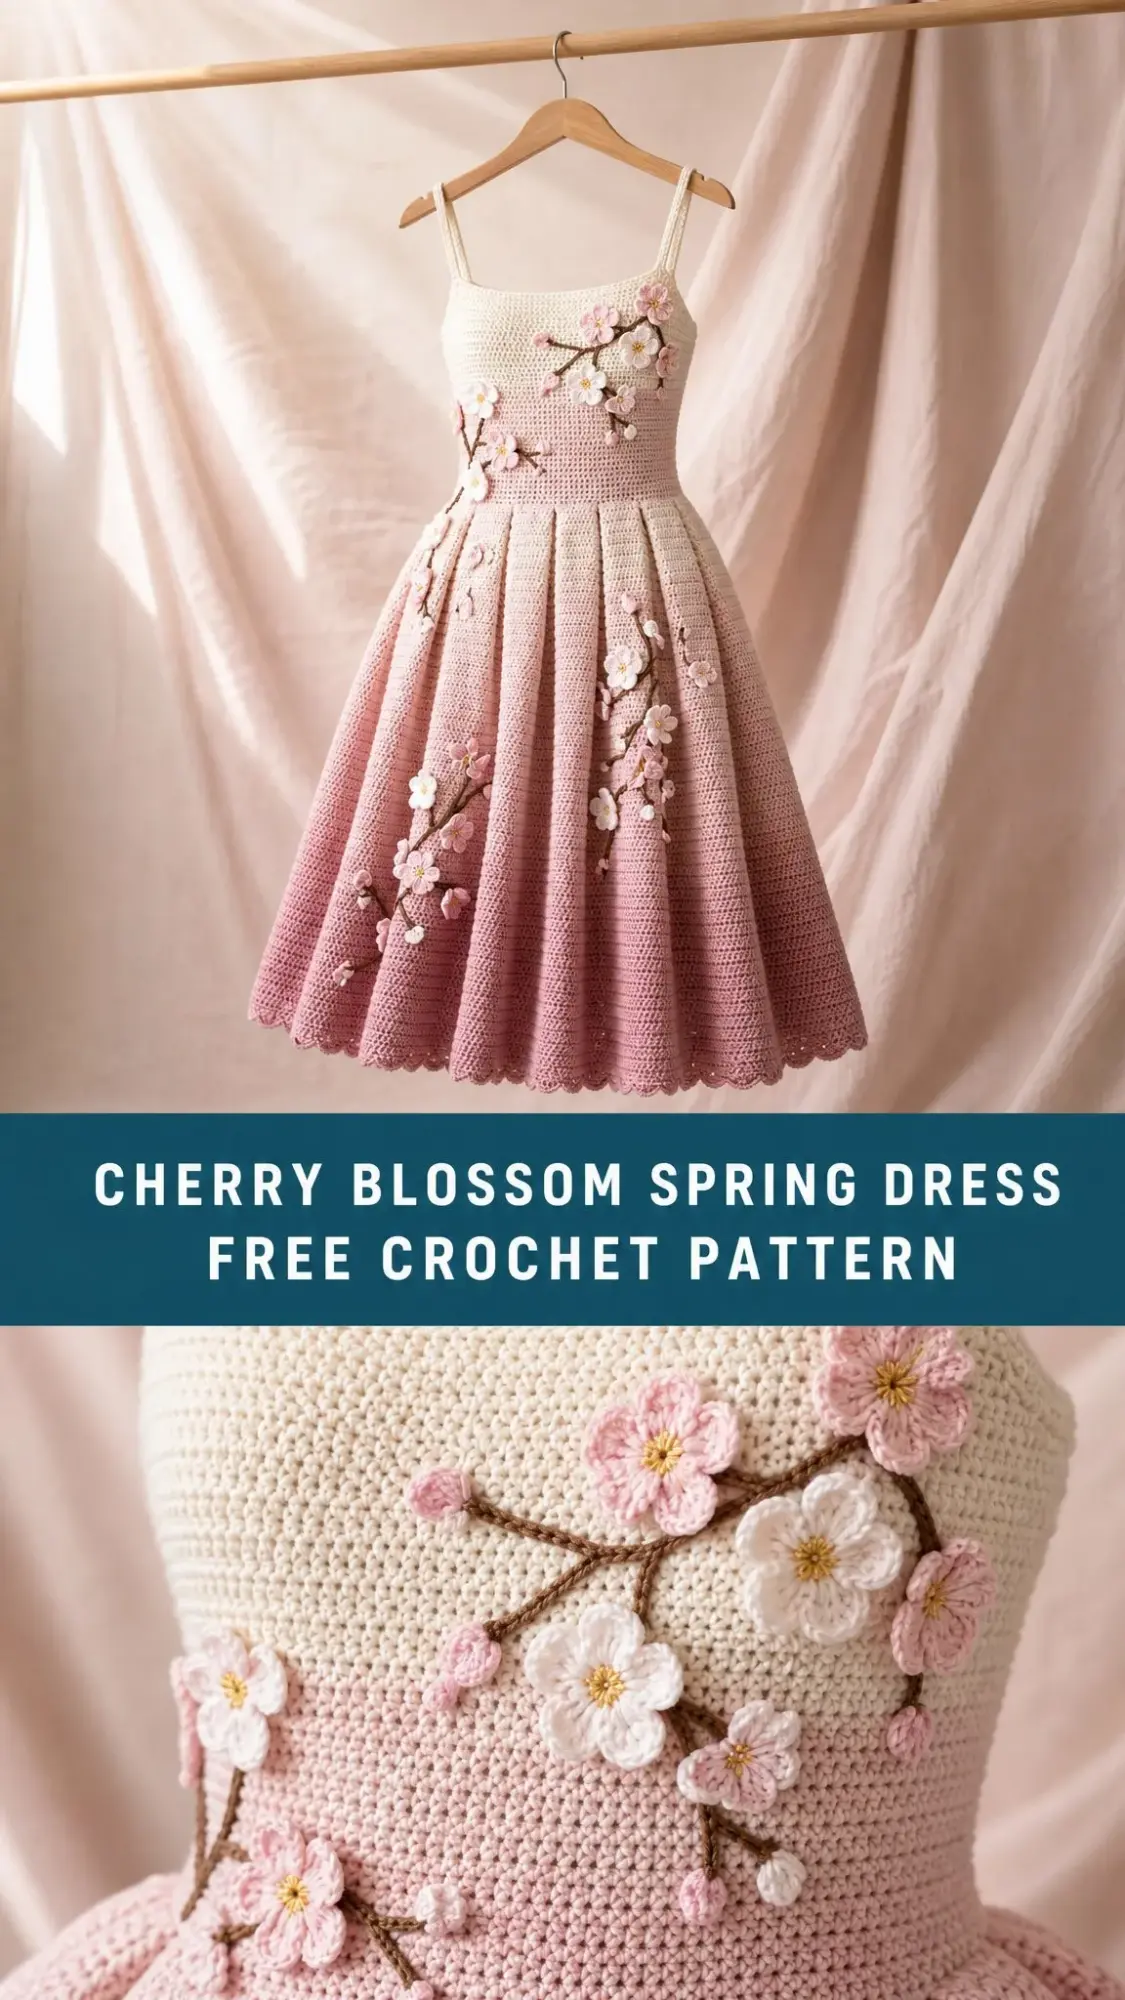
I started sketching ideas during her nap times. I wanted something romantic but practical. Something that looked like it belonged in a fairy tale but could survive an afternoon of playground adventures. The cherry blossom theme kept coming back to me because those delicate pink and white flowers feel like pure springtime magic.
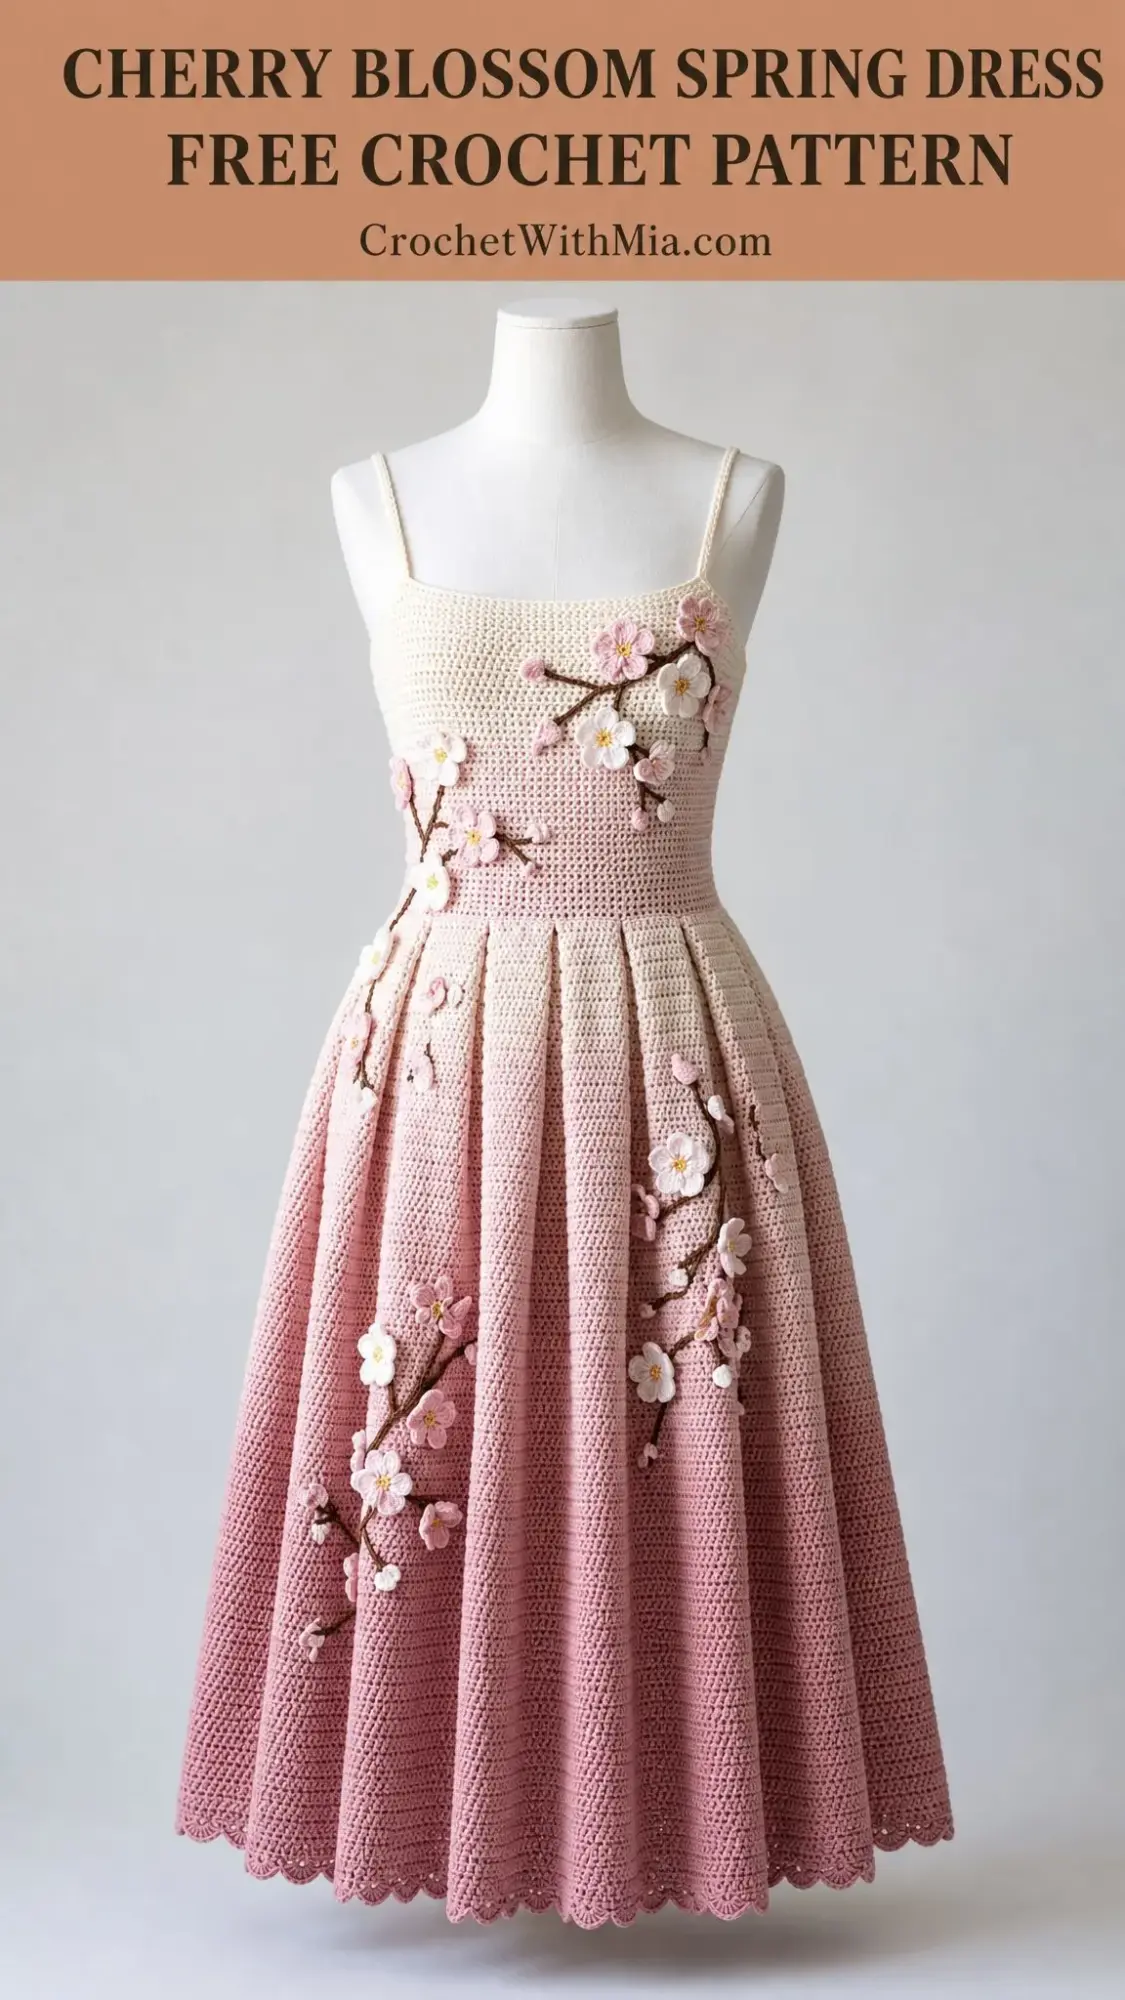
This dress is the result of that little request. A fitted bodice with a beautiful color fade from cream to blush, a full pleated skirt with a scalloped hem, and hand crocheted cherry blossom branches scattered across the fabric like nature painted them there. Every time she wears it, she twirls until she gets dizzy. That alone makes every stitch worth it.
About This Cherry Blossom Dress Crochet Pattern
This romantic spring dress features a textured bodice worked in extended single crochet (esc), a smooth skirt in half double crochet (hdc), and stunning applique cherry blossoms attached to surface crocheted branches. The construction is straightforward once you understand the flow. You will make two flat bodice panels, seam them at the sides, add straps, then work the skirt downward from the waist in joined rounds.
The skill level is intermediate. You should be comfortable with garment gauge, seaming, working in the round, surface crochet, and sewing motifs neatly. If those words make you nervous, do not worry. I will walk you through everything.
Finished Size: Child size 4. Finished chest measures 22 inches (56 cm). Bodice height is 6.4 inches (16 cm). Waist measures 22 inches (56 cm). Skirt length from waist is 13 inches (33 cm). Total dress length from top edge is 19.5 to 20.5 inches (49.5 to 52 cm) depending on strap adjustment.
Intended Ease: 0 to 1 inch (0 to 2.5 cm) positive ease at the chest.
Time Estimate: 18 to 26 hours depending on applique speed.
Materials Needed
Yarn: Sport weight or light DK cotton/bamboo blend yarn. Total yardage needed is 760 to 860 yards (695 to 786 meters).
Yarn Suggestions:
1. Scheepjes Catona held single for a crisp cotton finish
2. Paintbox Yarns Cotton DK for an easy care child dress
3. Hobbii Rainbow Cotton 8/6 for strong stitch definition
Substitute with any smooth sport or light DK yarn that meets gauge and has enough drape for a full skirt.
Hook: US E/4 (3.5 mm), or size needed to match gauge
Notions: Removable stitch markers, tapestry needle, pins, measuring tape, blocking mat, optional 3/8 inch (1 cm) button for back security
Gauge
Bodice gauge: 18 stitches and 20 rows = 4 inches (10 cm) in extended single crochet after blocking
Skirt gauge: 18 hdc and 14 rounds = 4 inches (10 cm) in skirt fabric after blocking
The finished measurements depend on matching both stitch and row gauge. Please swatch first.
Abbreviations
UK Crocheters: US sc = UK dc, US hdc = UK htr, US dc = UK tr
Stitch Guide
Extended Single Crochet (esc)
This stitch creates a denser, slightly taller fabric than regular single crochet. It gives the bodice beautiful texture.
1. Insert hook in next stitch, yarn over, pull up a loop
2. Yarn over, pull through one loop only
3. Yarn over, pull through both loops
Counts as 1 stitch.
Even Increase
Work 2 stitches in the marked stitch. When a round says to increase evenly, place markers first so the increases are distributed smoothly around the work.
Small 5-Petal Blossom
With flower color, make a magic ring. Repeat 5 times: ch 2, 2 dc in ring, ch 2, sl st in ring. Pull ring closed and fasten off, leaving a sewing tail. Add one yellow French knot or tiny yarn knot in the center.
Tiny Bud
Ch 3, work 3 hdc in 3rd ch from hook, sl st into same ch. Fasten off with a tail.
Surface Branch
With brown yarn and hook on RS, insert hook at branch start, pull up yarn, and sl st along the dress surface following pinned guidelines. Keep stitches relaxed so the fabric does not pucker.
Pattern Notes
Left Handed Note: Work the written instructions as stated. Your fabric direction will mirror the photos. Place the blossom branches by measuring from center front and back rather than relying on left and right wording.
Bodice Panels
Make 2 panels alike. Use Color A for Rows 1 through 8. Then fade to Color B as follows: Rows 9 through 14 alternate one row A and one row B. Rows 15 through 32 use Color B only.
Foundation: Ch 51. Row 1: esc in 2nd ch from hook and each ch across. (50 esc)
Rows 2 through 32: Ch 1, turn, esc in each st across. (50 esc each row)
Bodice Checkpoint
Each panel should measure about 11 inches (28 cm) wide and 6.4 inches (16 cm) tall after light blocking. Two panels joined make about 22 inches (56 cm) around.
Side Seams and Top Edging
Place panels RS together. Seam side edges from lower edge upward for 5.25 inches (13.5 cm), leaving the upper 1.15 inches (3 cm) open for arm comfort.
Turn RS out. For the top edging, join Color A at center back, ch 1, sc evenly around the full top edge at a rate of 1 sc in each stitch across panels and 1 sc in each row end at side openings. Aim for 112 sc around. Join.
Top Edge Checkpoint
Top edge circumference should be about 22 to 23 inches (56 to 58.5 cm) and should lie flat without rippling.
Straps
Make 2.
Ch 37. Row 1: sc in 2nd ch from hook and each ch across. (36 sc)
Rows 2 and 3: Ch 1, turn, sc across. (36 sc)
With dress on dress form or wearer, pin straps 2.25 inches (5.7 cm) from each front side seam and 2 inches (5 cm) from each back side seam. Sew securely.
Skirt
Work from the lower edge of the bodice downward with Color B. Keep the seam at center back.
Rnd 1: Join at center back waist. Work 100 sc evenly around lower bodice edge. Join. (100 sc)
Rnd 2: Ch 1. Work 2 hdc in each st around. Join. (200 hdc)
Rnds 3 through 44: Ch 1. Hdc in each st around. Join. (200 hdc each rnd)
Rnd 45: Ch 1. Hdc in each st around. Join and do not fasten off. (200 hdc)
Skirt Checkpoint
After Rnd 45, skirt should measure about 13 inches (33 cm) from waist and about 44 inches (112 cm) around the lower edge before scallops.
Scalloped Hem
Rnd 46: Ch 1, sc in first st, skip 1 st, 5 dc in next st, skip 1 st, sc in next st, skip 1 st, 5 dc in next st, skip 1 st; rep from around. Join to first sc.
This uses 4 sts per scallop and makes 50 scallops total.
Pleat Setting
At the waist, mark every 10 skirt stitches. Pinch a shallow vertical fold at each marker for the first 3 inches (7.5 cm) of skirt depth and steam lightly through a cloth. This creates the soft pleated look while keeping the crochet fabric comfortable.
Cherry Blossom Applique
Make 12 small 5-petal blossoms: 6 white and 6 pale pink.
Make 16 tiny buds in pale pink.
Surface crochet 5 brown branches: 2 across the upper bodice, 1 sweeping from lower left skirt toward center, 1 on right skirt, and 1 small back skirt branch.
Sew blossoms and buds along branches. Use the preview images as a placement map. Cluster 5 blossoms at upper right bodice, 3 at upper left bodice, 3 along the lower front skirt branch, and 1 on the back skirt. Add remaining buds along branch tips.
Placement Map
Upper bodice: First branch begins 1.5 inches (4 cm) below the top edge at left front and travels toward the right strap. Second short branch crosses the left side.
Skirt: Largest branch begins 3 inches (7.5 cm) above the hem on the left front and rises toward center front. Shorter branch sits on the right front panel.
Back: Keep the back mostly clean with one small blossom spray on the right back skirt.
Finishing and Blocking
Weave in ends on the WS. Do not trim applique tails until all motifs are placed and reviewed.
Wet block gently or steam block through a pressing cloth. Shape the top edge square, align side seams, and open the skirt fullness evenly.
Secure strap ends with several passes of matching yarn. For extra security, add a small button and thread loop at center back.
After blocking, trim only the ends that are fully secured.
Care Instructions
Troubleshooting
Bodice too wide: Use a smaller hook or remove stitches in pairs from each panel. Keep both panels identical.
Bodice too short: Add rows before seaming. Every 5 rows adds about 1 inch (2.5 cm).
Skirt ripples at waist: Reduce Rnd 2 increases to 180 hdc by increasing in every st except every 5th st.
Skirt not full enough: Increase Rnd 2 to 220 hdc by adding 20 extra increases evenly.
Branches pucker: Surface crochet more loosely or sew chain lengths onto the fabric instead.
Size Customization Tips
Chest: Each bodice panel width equals half the finished chest. At gauge, add or subtract 4 sts per panel for about 0.9 inch (2.3 cm) total circumference change.
Bodice height: Add or subtract rows before seaming. Match both panels exactly.
Strap length: Pin on the wearer before sewing. Add or remove chains. 4 chains change length by about 0.9 inch (2.3 cm).
Skirt length: Add or remove hdc rounds before the scallop. About 3 to 4 rounds change length by 1 inch (2.5 cm).
Hem scallop multiple: Rnd 46 needs a multiple of 4. If you change the skirt stitch count, adjust to the nearest multiple of 4 before the hem.
Quick Construction Order
1. Crochet two bodice panels
2. Block panels, seam sides, and work top edging
3. Make and sew straps
4. Pick up waist and crochet skirt rounds
5. Work scalloped hem
6. Surface crochet branches, sew blossoms and buds, then final block
Maker Checkpoints
This cherry blossom spring dress crochet pattern creates something truly special. The combination of the textured bodice, flowing pleated skirt, and delicate flower appliques results in a dress that looks far more complicated than it actually is. Take your time with the gauge swatch and the applique placement, and you will have a stunning heirloom piece.
Thank you so much for choosing this pattern. I hope you love making it as much as I loved designing it. If you create this dress, I would absolutely love to see it. Tag me on Instagram or share a photo in our Facebook group. Seeing your finished projects is genuinely the best part of my day.
If this pattern caught your eye, go ahead and save it to your Pinterest boards so you can find it when you are ready to start. And please drop a comment below if you make one. I read every single comment and love hearing about your projects, your color choices, and your little ones twirling in their finished dresses.
Want a Quick & Easy Printable Version?
Get a clean, beautifully formatted PDF of this pattern — easy to follow step by step, ready to print or save on any device. No scrolling, no distractions, just the pattern.
Get the Printable PDF →