
I call this one the "Sunshine Garden Dress," and it has quite the story behind it.
Get the Ad-Free PDF Pattern
You can find the free pattern below, or you can purchase the ad-free printable PDF from my shop.
Get the Printable PDF →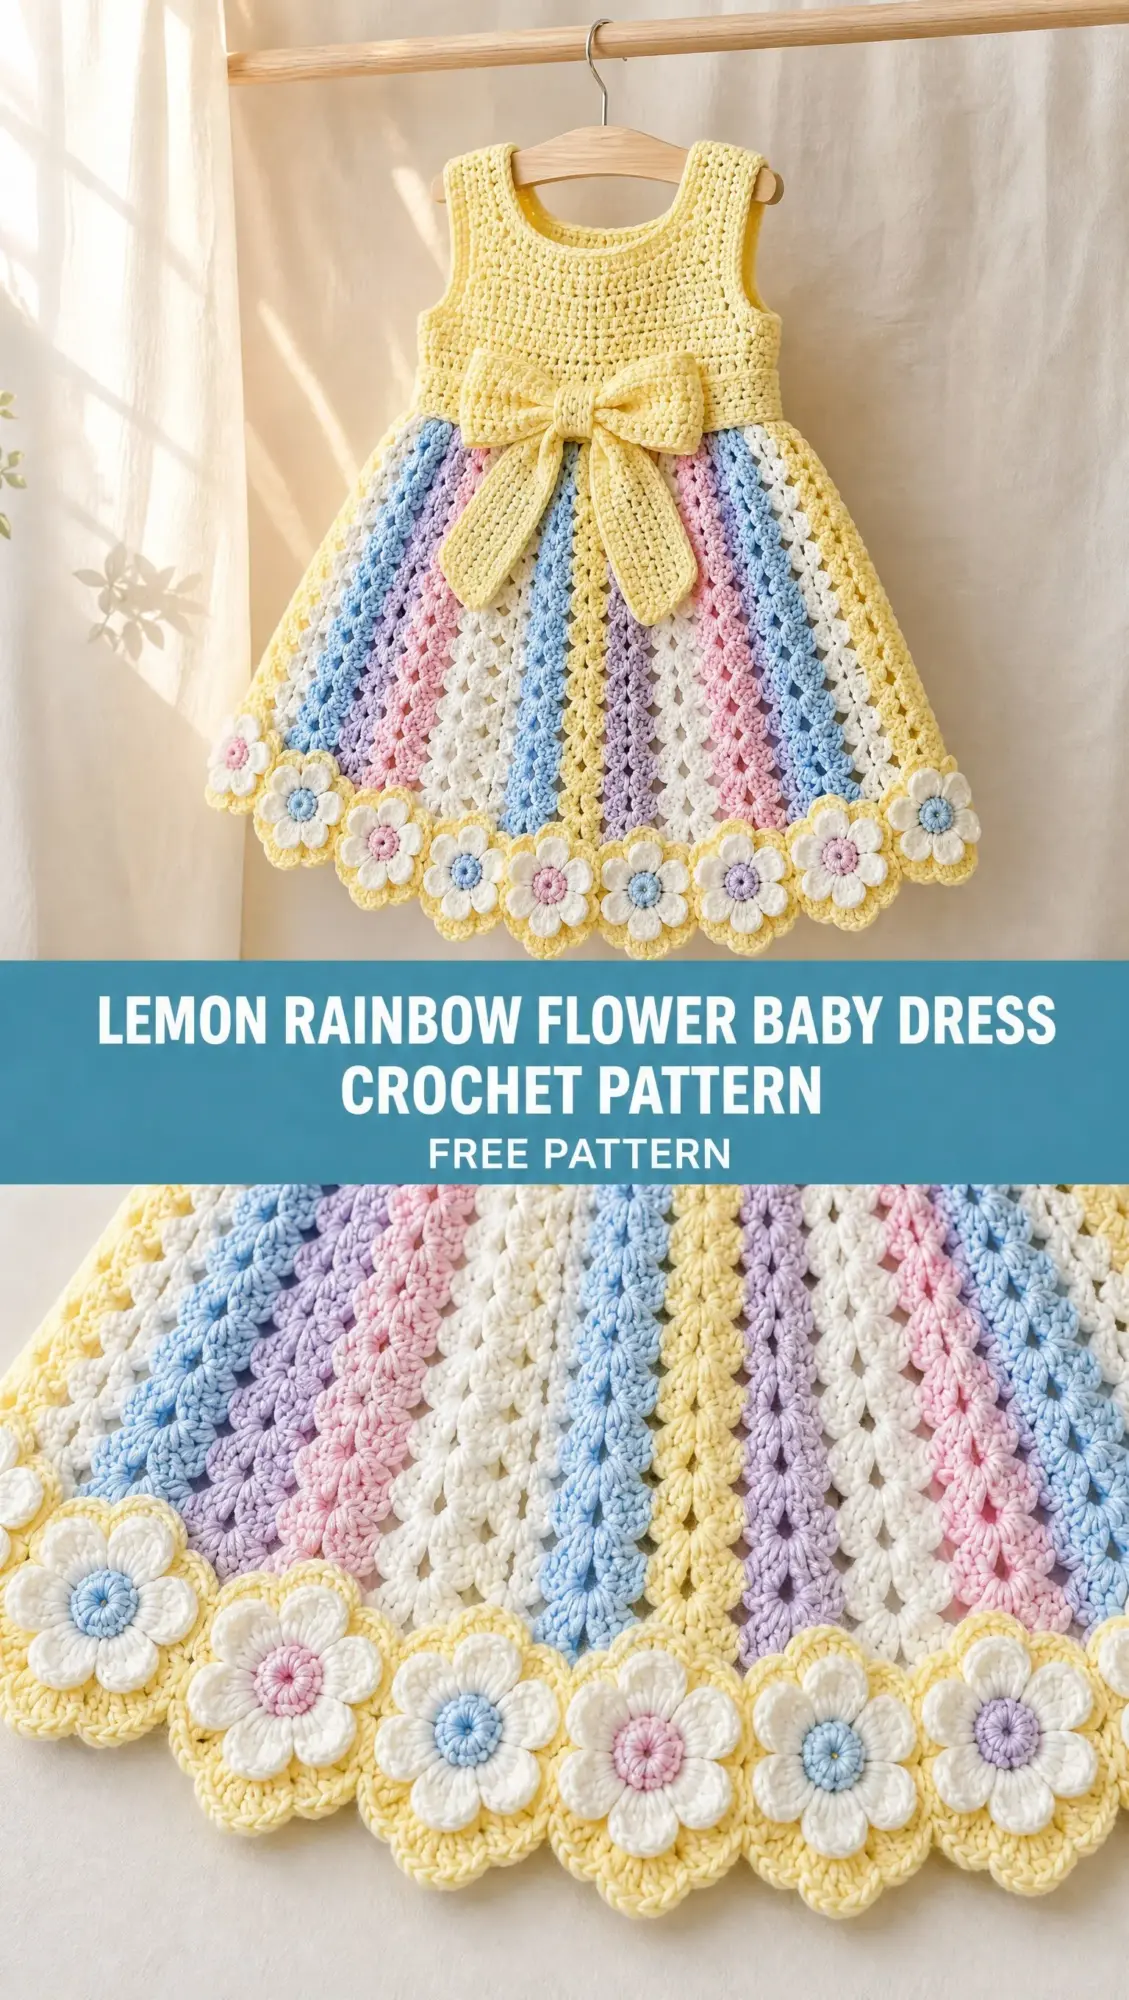
A few years ago, I sketched this design in an old notebook while waiting for my niece to be born. I wanted to create something that felt like a keepsake, not just another baby outfit that would get tossed in a drawer. The pale lemon yoke reminded me of early morning sunshine, and those rainbow stripes felt like pure joy captured in yarn. I tucked the notebook away after finishing other projects, then rediscovered it last spring while cleaning out my craft room.
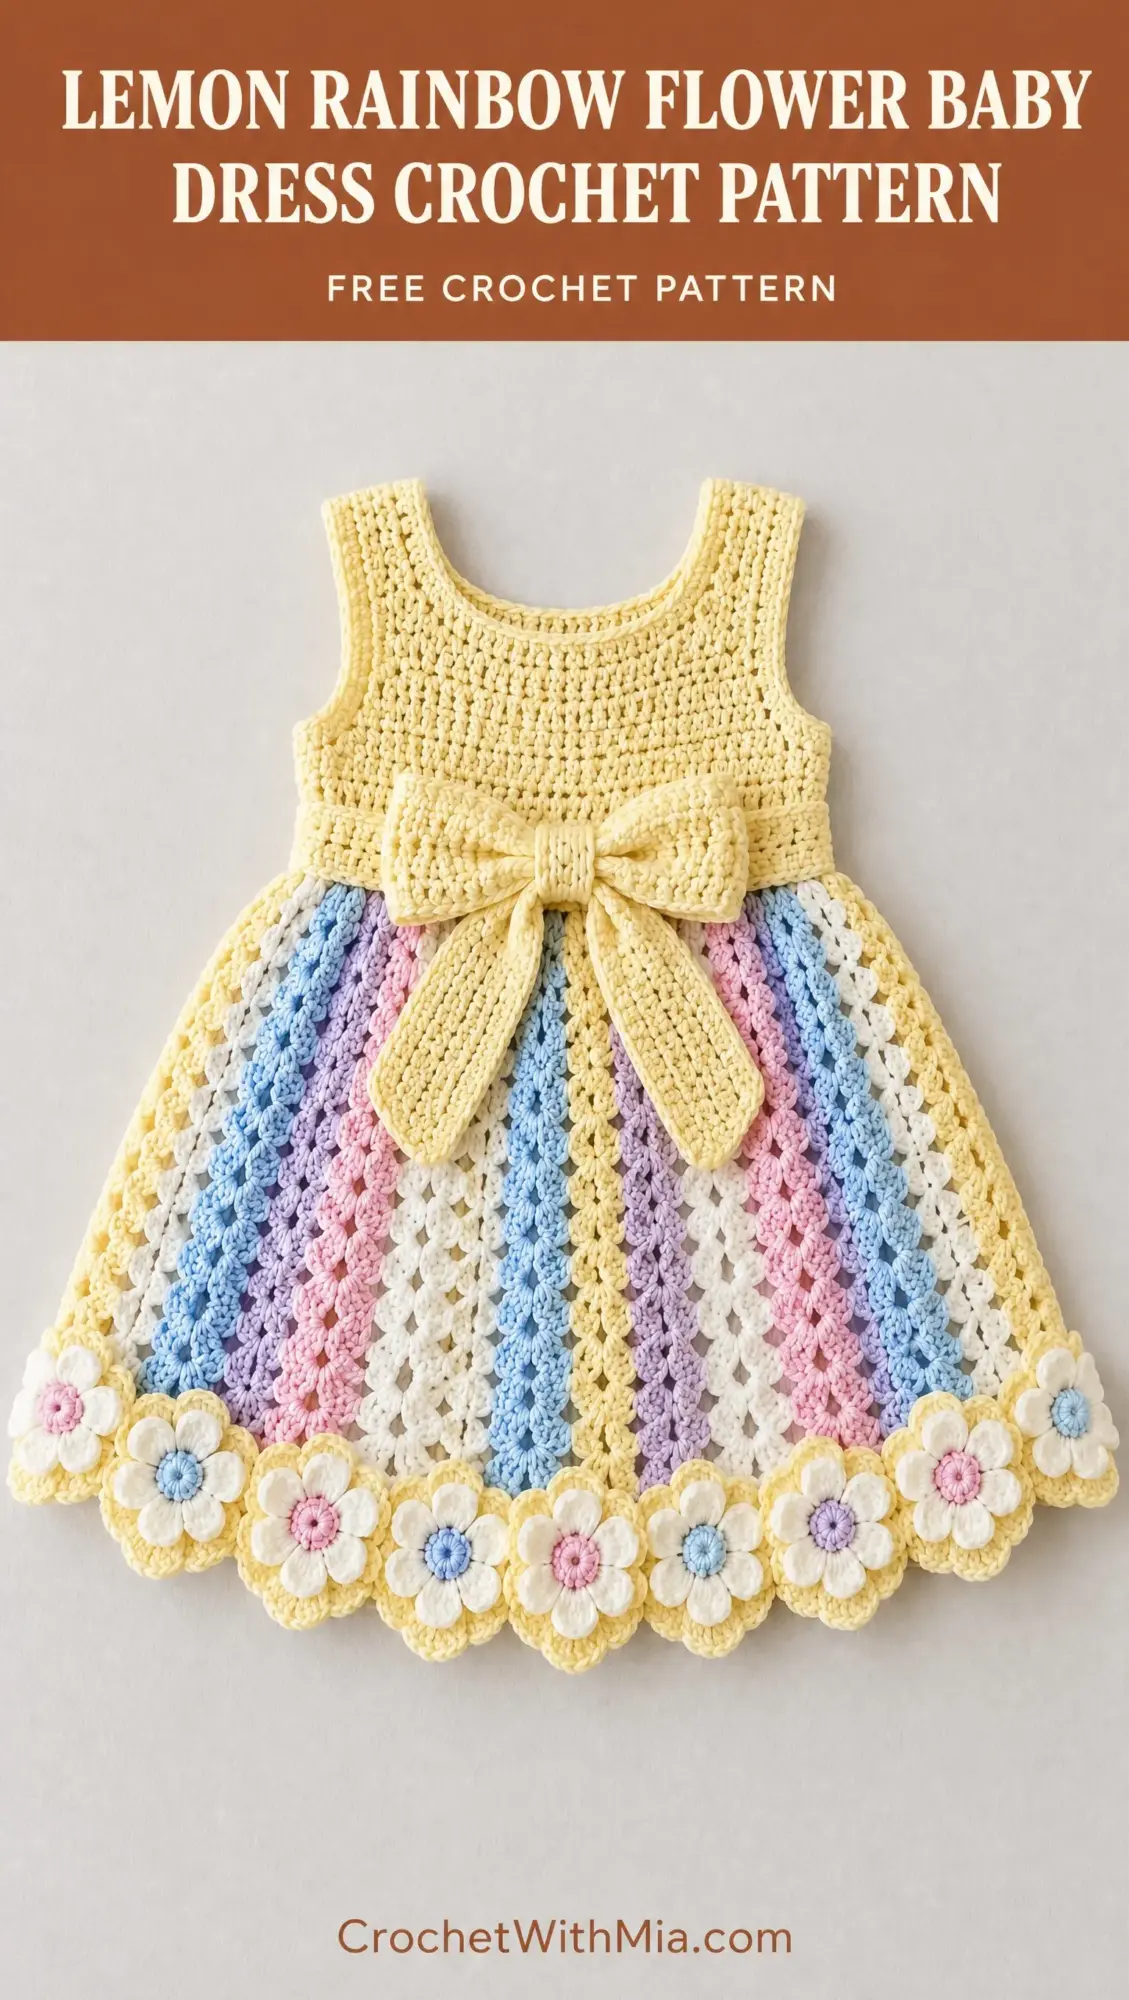
Finally bringing this pattern to life has been such a satisfying journey. The combination of the structured bodice, those dreamy pastel stripes, and the dimensional flower hem creates an heirloom piece that looks far more complicated than it actually is. If you have been searching for a special baby dress pattern that shows off your skills without driving you crazy, this is the one.
Pattern Overview and Skill Level
This Lemon Rainbow Flower Baby Dress crochet pattern is rated intermediate level, but please do not let that scare you off. If you can work single crochet (sc), half double crochet (hdc), and double crochet (dc) confidently, you have the skills you need.
The dress is constructed from the top down. You will start with the yoke, work the straps, add a waistband, then build the beautiful openwork skirt. The floral border goes on last. This construction method means fewer pieces to seam together at the end, which I always appreciate.
Suggested size: Baby 6 to 12 months. You can easily adjust the length and circumference by changing the yoke rounds and skirt repeats.
Materials You Will Need
Gather these supplies before you begin:
Yarn: DK weight cotton yarn in the following colors:
Hook: 3.0 mm to 3.5 mm crochet hook (adjust for gauge)
Notions:
I recommend using 100% cotton yarn for this project. It holds the structure of the bodice beautifully, washes well, and feels soft against baby skin. The colors listed create that gorgeous rainbow effect you see in the finished piece.
Gauge
Approximately 22 single crochet stitches x 24 rows = 10 cm square.
Please take time to check your gauge before beginning. This step matters more than you might think, especially for a fitted garment like a baby dress. If your gauge is off, your finished dress could end up too tight or too loose. Make a small swatch, measure it, and adjust your hook size if needed.
Abbreviations
Let me walk you through each stitch abbreviation used in this pattern:
If any of these feel unfamiliar, I recommend practicing them on a small swatch before diving into the dress. There is no rush here.
Construction Notes
Understanding the build order helps this project make sense:
1. The yoke is crocheted first as a circular piece
2. The yoke is divided for straps and armholes
3. The skirt attaches at the waist and works outward
4. The floral border adds the finishing touch
Working top down means you can try the dress on the baby (or a similar sized doll) as you go. This makes sizing adjustments much easier.
Step 1: Lemon Yoke
The yoke forms the entire upper portion of the dress, including the neckline and shoulder area. This section uses the pale lemon yarn throughout.
Foundation
Chain 72. Join carefully with a slip stitch, ensuring the chain is not twisted.
Quick tip: Lay your chain flat on a table before joining. Run your finger along it to check that every chain faces the same direction. A twisted foundation is one of the most frustrating mistakes to discover later.
Round 1
Ch 1, work sc evenly around. Join with sl st.
Rounds 2 through 12
Work sc in each stitch around. Add increases evenly across the rounds to create a gently shaped rounded yoke. Keep the fabric dense and smooth.
The increases should be distributed so the yoke gradually widens as you work downward. This creates that nice rounded shape you see in the finished dress. Think about adding increases every few stitches, spacing them differently on each round so they do not stack directly on top of each other.
Neckline
Work 2 to 3 finishing rounds of sc around the neckline edge for a clean rounded border.
This extra edging gives the neckline a polished look and prevents stretching. Work these rounds firmly but not so tight that the neckline loses flexibility.
Straps
Mark the shoulder sections with your stitch markers. Continue working rows of sc back and forth over each strap section until the strap reaches the desired width. Join front and back sections at the armholes.
A note on strap width: The reference images show wide, sturdy straps. I recommend making them at least 2 to 3 cm wide so they sit comfortably on tiny shoulders and do not dig in.
Step 2: Waist Band
The waistband creates a firm foundation for the skirt and defines the silhouette of the dress.
Attach lemon yarn at the bottom edge of the yoke.
Round 1
Work hdc evenly around.
Round 2
Work one row of sc to create a firm waist edge.
This two round waistband provides enough structure to support the skirt and the bow. The combination of hdc followed by sc gives a nice dense edge.
Step 3: Rainbow Openwork Skirt
This is where the magic happens. The skirt transitions from the structured bodice to a flowing, lacy design with vertical rainbow stripes.
Begin with lemon yarn.
Round 1
Work dc around the waist edge, placing increases evenly to create fullness.
The increases in this round are essential. They give the skirt its characteristic flare right from the start. Try increasing every 4th or 5th stitch for a gentle fullness.
Round 2
Create openwork pattern: dc, ch 1, skip 1 stitch around.
This creates the airy, lacy texture that defines the skirt. The ch 1 spaces let light through and give the skirt beautiful drape.
Color Stripe Sections
Continue skirt rounds while changing colors in vertical stripe sections:
Repeat the stripe sequence around the skirt.
Understanding vertical stripes: Unlike horizontal stripes where you change colors at the start of each round, vertical stripes require you to change colors within each round. You will work a section in one color, then switch to the next color for the next section. This technique requires carrying yarn along the back or cutting and rejoining for each section.
Creating the Flare
Increase each color section gradually every few rounds until the skirt forms a wide fan shape.
The finished skirt should flare dramatically at the hem. Keep track of your increases by placing markers at the beginning of each color section. This helps you increase consistently across all stripes.
Step 4: Lemon Crochet Bow
The oversized bow is a signature element of this design. It sits at the waist and adds dimension and visual interest.
Center Knot
Chain 18. Work rows of sc until a small rectangle is formed. Wrap around the bow center.
This small piece will pinch the bow loops together and hide where everything connects.
Bow Loops
Chain 45. Work hdc rows until each loop measures the desired width. Fold into loops and stitch securely behind the center knot.
You will make two loops, one for each side of the bow. The hdc stitch gives the loops nice body without being too stiff.
Bow Tails
Chain 35. Work decreasing rows to create tapered tails. Attach beneath the waist bow.
The tapered tails add elegance. Start your decreases a few rows in, then decrease at each end of subsequent rows until the tail comes to a point.
Step 5: Flower Scalloped Hem Band
The floral hem transforms this dress into something truly special. This step combines scalloped edging with dimensional flowers.
Hem Base
With lemon yarn, work one round of sc around the skirt edge.
This stabilizes the edge and gives you a consistent foundation for the scallops.
Scallops
Work shell groups: 5 dc into one stitch, skip 2 stitches, sc around.
This creates rounded scalloped sections. The shells puff outward beautifully after blocking.
Five Petal Flowers
For each flower:
1. Create a magic ring
2. Work 5 petal loops using hdc/dc combinations
3. Layer ivory petals over lemon petals
4. Add a small pastel center using embroidery or a tiny crochet circle
Sew flowers evenly around the entire hem.
Flower placement tip: I recommend making all your flowers first, then laying them out around the hem before sewing anything down. This lets you space them evenly and adjust as needed.
The layered flower technique creates dimension. The lemon base flower shows behind the ivory top layer, giving each bloom depth and visual interest.
Finishing Your Baby Dress
Take your time with these final steps. Good finishing makes the difference between homemade and handmade.
Blocking matters: For this dress, I recommend wet blocking. Soak the finished dress in cool water, gently squeeze out excess moisture, and lay flat on a blocking mat. Shape the skirt into an even fan and pin if needed. Let dry completely.
Care Instructions
Hand wash in cool water. Lay flat to dry. Avoid harsh detergents to preserve yarn softness.
Cotton yarn holds up well to gentle washing, but machine washing and drying can distort the delicate openwork and cause the flowers to flatten. Treat this dress like the heirloom piece it is.
Design Summary
The finished Lemon Rainbow Flower Baby Dress combines a structured lemon crochet bodice, pastel rainbow striped lace skirt, oversized bow detail, and dimensional floral hem for a delicate handmade baby garment.
This crochet pattern creates something truly gift worthy. Whether you are making it for your own little one, a grandchild, or a friend’s baby shower, this dress will be treasured and possibly passed down through generations.
Final Thoughts
Thank you so much for choosing this pattern for your next project. I genuinely hope you enjoy creating this sweet little dress as much as I enjoyed designing it. If you make one, I would absolutely love to see your finished piece. Tag me on Instagram or share a photo on Facebook. Seeing your creations brings me so much joy.
If this pattern caught your eye, go ahead and save it to your Pinterest boards so you can find it when you are ready to start. And please drop a comment below if you make one. I love hearing how projects turn out and seeing the color combinations you choose.
Want a Quick & Easy Printable Version?
Get a clean, beautifully formatted PDF of this pattern — easy to follow step by step, ready to print or save on any device. No scrolling, no distractions, just the pattern.
Get the Printable PDF →