
You know that gorgeous skein of chocolate brown yarn you have been saving for something special? This is the project. Dig it out, grab some cream or white to go with it, and let’s make the most adorable cookie-inspired sea turtle you have ever seen.
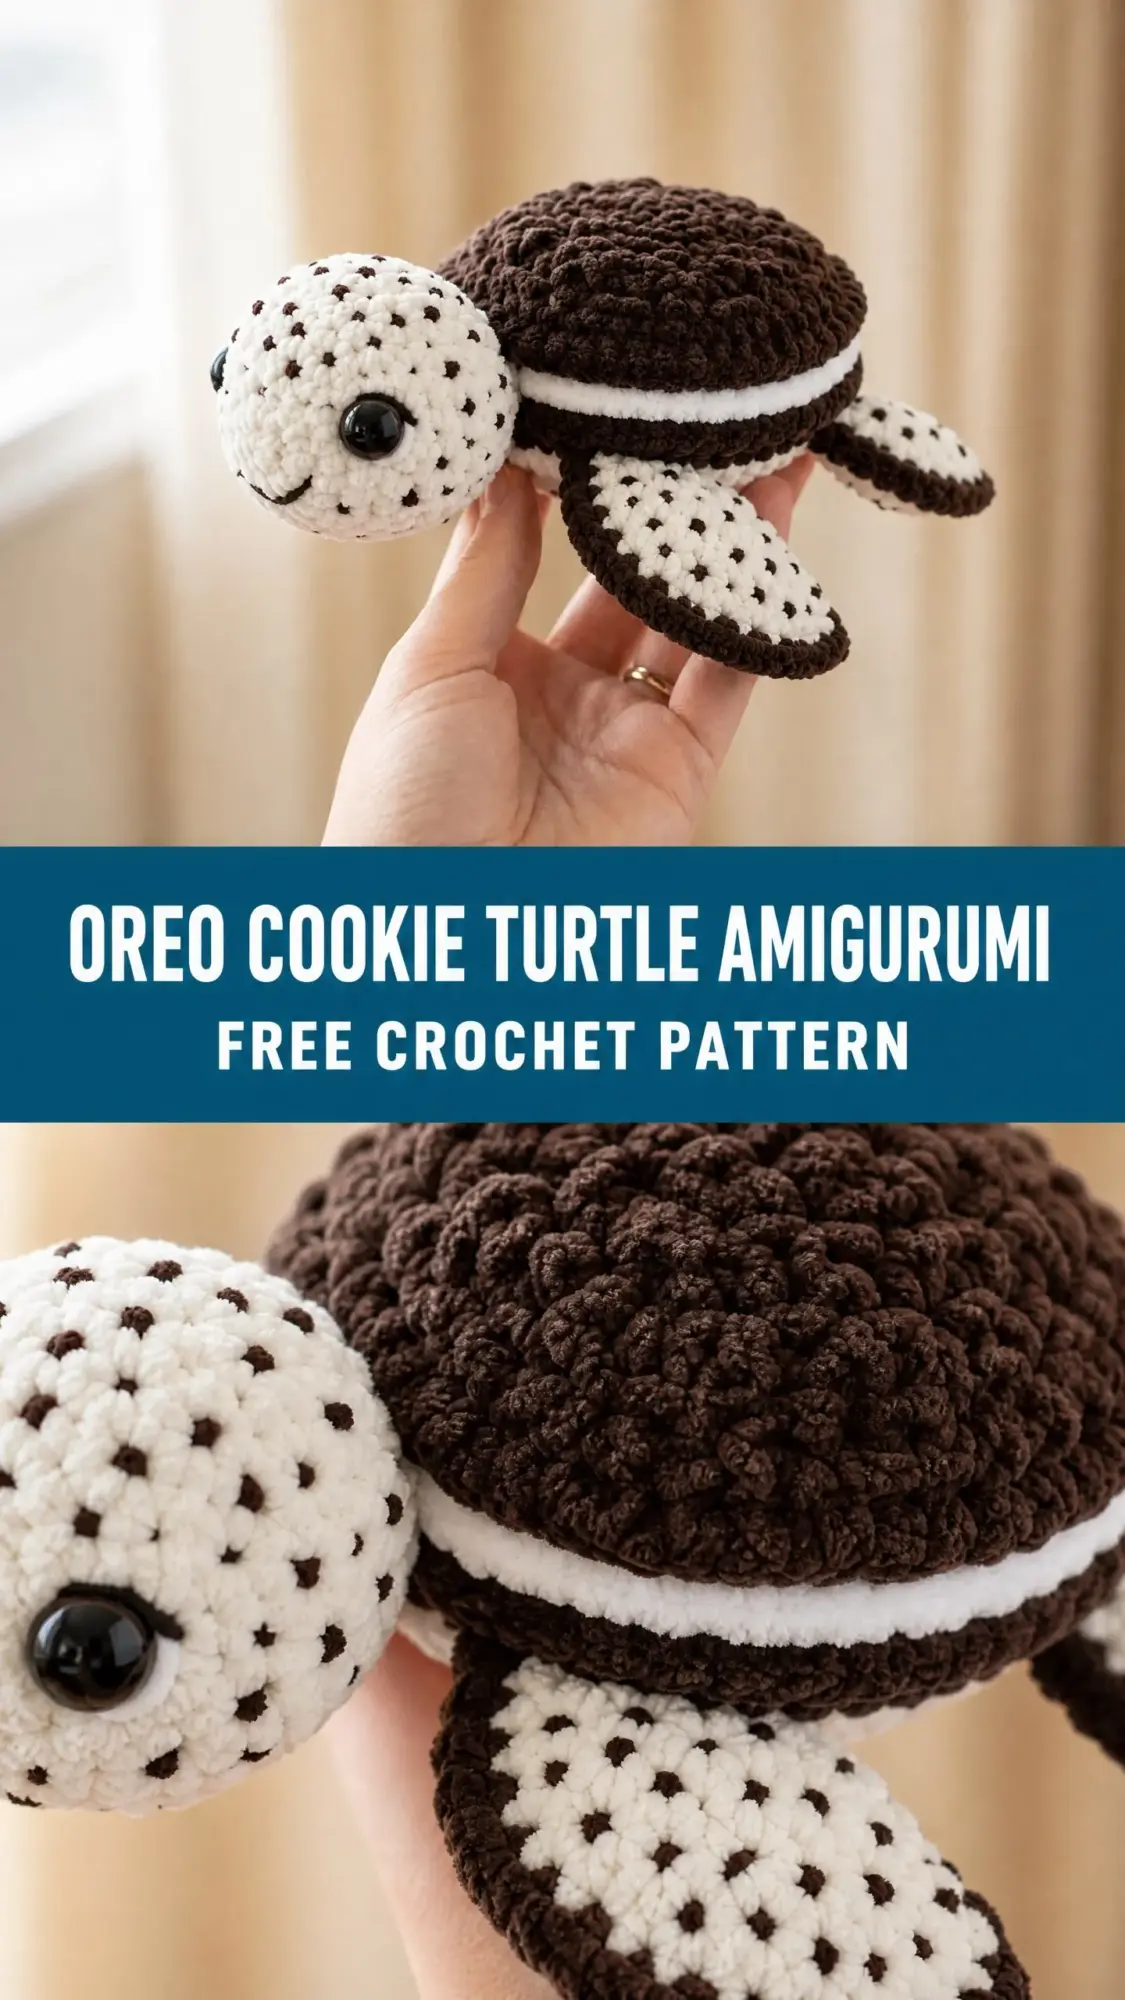
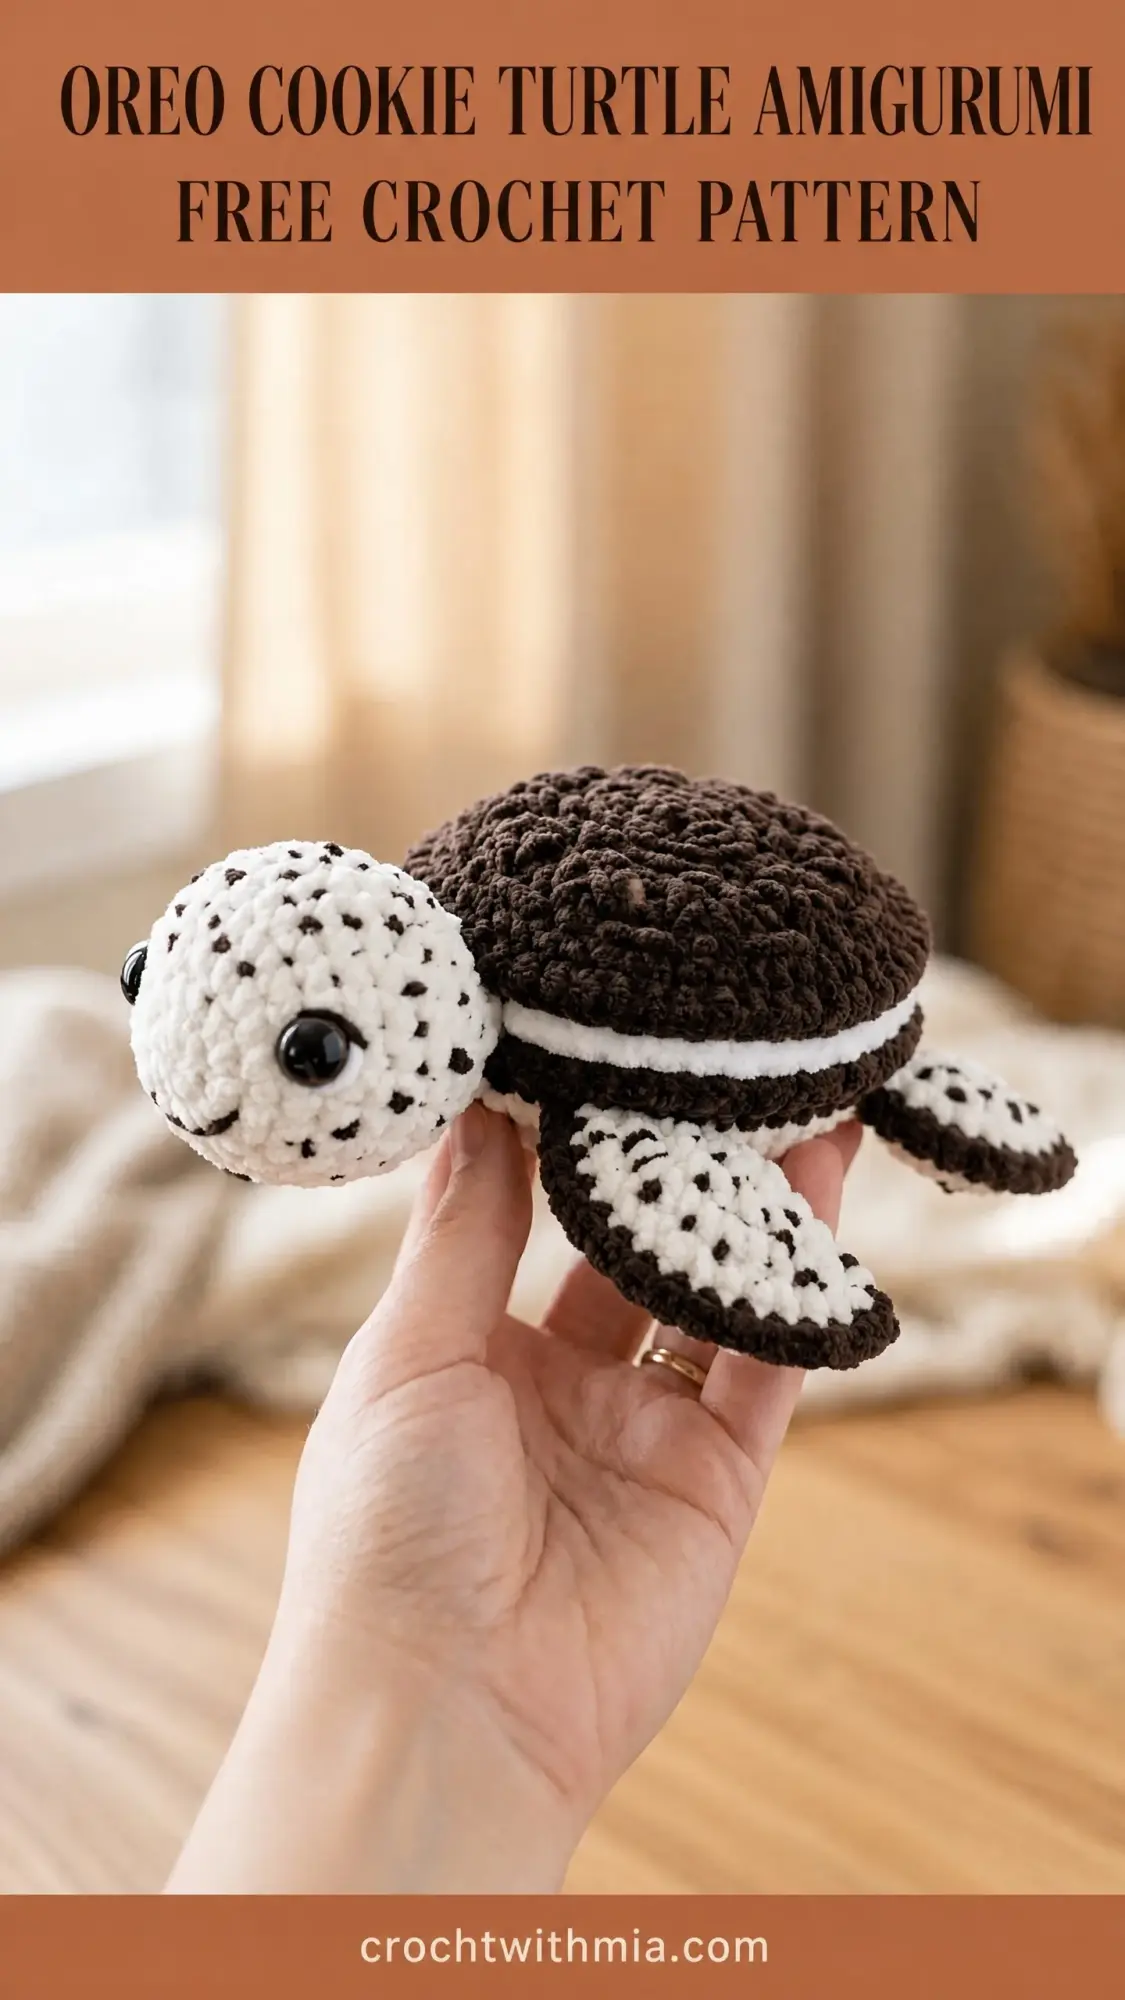
This amigurumi turtle is designed to look exactly like a chocolate sandwich cookie, complete with a dark brown domed shell, a white cream filling band around the middle, and speckled flippers that mimic cookies and cream ice cream. The construction is genuinely interesting. You will build a three-piece shell that sandwiches together like an actual cookie, then attach a sweet round head and paddle-shaped flippers.
I will be honest with you about the skill level here. This is an intermediate pattern. If you have made at least one amigurumi project before and feel comfortable working in continuous rounds, you can absolutely do this. If you are a true beginner, it might stretch you a bit, but in the best way possible. I will walk you through every step.
Why This Oreo Turtle Crochet Pattern Works So Well
The genius of this design is in the layered shell construction. Instead of crocheting one solid dome, you create two flat disc pieces in dark brown yarn, then join them with a white band worked separately. When assembled, it genuinely looks like a sandwich cookie with cream filling visible around the edge.
The speckled texture on the head and flippers adds another layer of visual interest. You will learn a simple technique for catching small bits of dark yarn into your white stitches, creating those appealing flecks that make this turtle look even more like a cookies and cream treat.
At approximately 7 inches wide by 5 inches long, this finished turtle is the perfect size for cuddling, displaying, or gifting to any cookie lover in your life.
Materials You Will Need
Yarn: Worsted weight yarn in two colors
Hook: US size G-6 / 4.0 mm crochet hook
Additional Supplies:
Yarn Recommendations
I recommend Lion Brand Pound of Love in Fisherman for the white and Cafe Au Lait or Espresso for the brown. This yarn is affordable, widely available, and gives excellent stitch definition for amigurumi work.
Paintbox Yarns Simply DK or Cotton DK also work beautifully if you prefer a slightly smaller finished size or a firmer fabric. Just use a 3.5 mm hook with DK weight yarn.
Avoid fuzzy or textured yarns for this project. You need smooth yarn so the speckled effect shows up clearly and your shaping looks crisp.
Gauge
12 single crochet stitches by 12 rounds equals 2 inches by 2 inches, worked in continuous rounds with your G-6 hook. Gauge matters here because the shell pieces need to match up perfectly for assembly. If your swatch is too big, go down a hook size. Too small, go up a hook size.
Abbreviations and Stitch Definitions
Let me walk you through every abbreviation you will encounter.
ch = chain: The foundation loops that start many projects
sl st = slip stitch: Insert hook, yarn over, pull through both the stitch and the loop on your hook in one motion
sc = single crochet: Insert hook into stitch, yarn over and pull up a loop (two loops on hook), yarn over and pull through both loops
inc = increase: Work two single crochet stitches into the same stitch, adding one stitch to your count
dec = invisible decrease: Insert hook through the front loop only of the next stitch, then the front loop only of the following stitch, yarn over and pull through both front loops, yarn over and pull through remaining two loops. This creates a tighter, less visible decrease than standard methods.
MR = magic ring: An adjustable loop that allows you to work the first round of stitches, then pull the center closed
st(s) = stitch(es)
BLO = back loop only
FLO = front loop only
pm = place marker
rnd = round
rep = repeat
Special Technique: The Speckle Stitch
This technique creates those dark flecks on the white portions of your turtle. Work it randomly every 4 to 6 stitches for a natural, scattered appearance.
To work a Speckle Stitch (SpSt): Insert your hook into the next stitch as normal. Lay a short length of Color A (about 3 inches) across your working yarn. Draw up a loop with Color B through the stitch, catching that Color A strand along the back. Yarn over with Color B only and complete the stitch. The Color A creates a small visible fleck on the right side.
Trim the Color A ends on the inside after stuffing, or weave them in as you go. If this feels fussy, you can also use a naturally marled or flecked yarn instead.
Pattern Instructions
Part 1: Top Shell Dome (Color A, Dark Brown)
Rnd 1: MR, 6 sc into ring. (6 sc)
Rnd 2: Inc in each st around. (12 sc)
Rnd 3: (Sc 1, inc) rep 6 times. (18 sc)
Rnd 4: (Sc 2, inc) rep 6 times. (24 sc)
Rnd 5: (Sc 3, inc) rep 6 times. (30 sc)
Rnd 6: (Sc 4, inc) rep 6 times. (36 sc)
Rnd 7: (Sc 5, inc) rep 6 times. (42 sc)
Rnd 8: (Sc 6, inc) rep 6 times. (48 sc)
Rnd 9: (Sc 7, inc) rep 6 times. (54 sc)
Rnd 10: (Sc 8, inc) rep 6 times. (60 sc)
Rnd 11: Sc in each st around. (60 sc)
Rnd 12: Sc in each st around. (60 sc)
Rnd 13: Sc in each st around. (60 sc)
Rnd 14: Sc in each st around. (60 sc)
Fasten off with a long tail of at least 15 inches. Do not stuff. Set aside.
Your dome should measure approximately 4.5 to 5 inches across its widest diameter.
Part 2: Shell Base (Color A, Dark Brown)
Work exactly like the top dome through Round 10, then continue:
Rnd 1: MR, 6 sc into ring. (6 sc)
Rnd 2: Inc in each st around. (12 sc)
Rnd 3: (Sc 1, inc) rep 6 times. (18 sc)
Rnd 4: (Sc 2, inc) rep 6 times. (24 sc)
Rnd 5: (Sc 3, inc) rep 6 times. (30 sc)
Rnd 6: (Sc 4, inc) rep 6 times. (36 sc)
Rnd 7: (Sc 5, inc) rep 6 times. (42 sc)
Rnd 8: (Sc 6, inc) rep 6 times. (48 sc)
Rnd 9: (Sc 7, inc) rep 6 times. (54 sc)
Rnd 10: (Sc 8, inc) rep 6 times. (60 sc)
Rnd 11: Sc in each st around. (60 sc)
Rnd 12: Sc in each st around. (60 sc)
Fasten off with a long tail of at least 15 inches. Do not stuff. Set aside.
Part 3: Cream Band (Color B, White)
This strip forms the "cream filling" visible around the shell edge.
Foundation chain: With Color B, ch 7.
Row 1: Starting in 2nd ch from hook, sc 6 across. Turn. (6 sc)
Row 2: Ch 1, sc 6 across. Turn. (6 sc)
Repeat Row 2 until the strip measures approximately 15.5 inches in total length. This should be approximately 93 rows.
Fasten off leaving a long tail. Seam the short ends together to form a ring using mattress stitch or whipstitch.
Part 4: Turtle Head (Speckled, Color B with SpSt accents)
Rnd 1: MR, 6 sc into ring. (6 sc)
Rnd 2: Inc in each st around. (12 sc)
Rnd 3: (Sc 1, inc) rep 6 times. (18 sc)
Rnd 4: (Sc 2, inc) rep 6 times. (24 sc)
Rnd 5: (Sc 3, inc) rep 6 times. (30 sc)
Rnd 6: (Sc 4, inc) rep 6 times. (36 sc)
Rnd 7: Sc in each st around, working SpSt randomly every 4 to 6 sts. (36 sc)
Rnd 8: Sc in each st around, working SpSt randomly every 4 to 6 sts. (36 sc)
Rnd 9: Sc in each st around, working SpSt randomly every 4 to 6 sts. (36 sc)
Rnd 10: Sc in each st around, working SpSt randomly every 4 to 6 sts. (36 sc)
Insert safety eyes now between Rounds 6 and 7, approximately 6 stitches apart at the center front. Lock the washers firmly. Begin stuffing.
Rnd 11: (Sc 4, dec) rep 6 times. (30 sc)
Rnd 12: (Sc 3, dec) rep 6 times. (24 sc)
Rnd 13: (Sc 2, dec) rep 6 times. (18 sc)
Add more stuffing. The head should be firmly round.
Rnd 14: (Sc 1, dec) rep 6 times. (12 sc)
Rnd 15: Dec 6 times. (6 sc)
Fasten off leaving a long tail. Close by running the tail through the front loops of the 6 remaining stitches and pulling snug.
Part 5: Front Flippers (Make 2, Speckled)
Rnd 1: MR, 6 sc into ring. (6 sc)
Rnd 2: Inc in each st around. (12 sc)
Rnd 3: (Sc 1, inc) rep 6 times. (18 sc)
Rnd 4: (Sc 2, inc) rep 6 times. (24 sc)
Rnd 5: Sc in each st around, working SpSt randomly every 4 to 5 sts. (24 sc)
Rnd 6: Sc in each st around, working SpSt randomly every 4 to 5 sts. (24 sc)
Rnd 7: Sc 12, dec, sc 8, dec. (22 sc)
Rnd 8: Sc 12, dec, sc 6, dec. (20 sc)
Rnd 9: Sc 10, dec, sc 6, dec. (18 sc)
Do not stuff. Flatten and whipstitch closed. Fasten off with a long tail.
Part 6: Back Flippers (Make 2, Speckled)
Rnd 1: MR, 6 sc into ring. (6 sc)
Rnd 2: Inc in each st around. (12 sc)
Rnd 3: (Sc 1, inc) rep 6 times. (18 sc)
Rnd 4: Sc in each st around, working SpSt randomly every 4 to 5 sts. (18 sc)
Rnd 5: Sc in each st around, working SpSt randomly every 4 to 5 sts. (18 sc)
Rnd 6: (Sc 1, dec) rep 6 times. (12 sc)
Do not stuff. Flatten and whipstitch closed. Fasten off with a long tail.
Part 7: Tail (Color A, Dark Brown)
Rnd 1: MR, 4 sc into ring. (4 sc)
Rnd 2: Inc in each st around. (8 sc)
Rnd 3: Sc in each st around. (8 sc)
Rnd 4: Sc in each st around. (8 sc)
Rnd 5: (Sc 1, dec, sc 1) rep 2 times. (6 sc)
Rnd 6: Sc in each st around. (6 sc)
Do not stuff. Flatten and whipstitch closed. Fasten off with a long tail.
Assembly Instructions
Step 1: Build the Cookie Shell
Hold the top dome and shell base with their right sides facing outward. Position the cream band ring between them, sandwiching it around the outer edges. Pin in place.
Using Color B yarn, whipstitch the top edge of the cream band to the outer edge of the top dome all the way around. Then whipstitch the bottom edge of the cream band to the shell base. Before closing completely, insert fiberfill gently between the pieces. Stuff lightly to maintain the flattened disc shape.
Step 2: Attach the Head
Position the head at the front center, extending slightly forward from beneath the top dome edge. Whipstitch the base of the head firmly to the shell, catching stitches from both pieces.
Step 3: Attach Front Flippers
Position one front flipper on each side, angled slightly downward and forward. Whipstitch firmly in place.
Step 4: Attach Back Flippers
Position toward the rear, angled slightly outward and backward. Whipstitch in place.
Step 5: Attach the Tail
Position at center back, pointing straight back or slightly upward. Whipstitch in place.
Step 6: Weave in all ends securely.
Finishing Tips
Your completed turtle should sit flat on its shell base with the head extending forward. All four flippers should be visible from above. If using acrylic yarn, no blocking is needed. For cotton yarn, lightly mist with water and shape by hand before air drying.
Size Customization Options
For a smaller turtle: Use DK weight yarn with a US E-4 / 3.5 mm hook and 9 mm safety eyes. Finished size will be approximately 5 inches wide.
For a larger turtle: Use bulky weight yarn with a US J-10 / 6.0 mm hook and 18 mm safety eyes. Finished size will be approximately 9 to 10 inches wide.
Care Instructions
Surface clean only with a damp cloth and mild soap. If washing is necessary, hand wash gently in cool water, squeeze without wringing, and air dry flat. Keep away from children under 3 years due to safety eye hardware.
Thank you so much for choosing this pattern for your next amigurumi adventure. I truly hope you love making this little cookie turtle as much as I loved designing it. If you create one, I would absolutely love to see it! Tag me on Instagram or share a photo in our Facebook group.
If this pattern made you smile, save it to your Pinterest boards so you can find it easily when you are ready to start. And please drop a comment below if you make one. I read every single comment and it honestly makes my day to see your finished turtles swimming out into the world!