
I have been dreaming about this bag for months. I wanted something that felt modern and sophisticated but still honored the classic granny square technique I learned years ago. The goal was a structured tote that could handle daily life, look polished enough for work, and showcase that beautiful graphic contrast you get when you limit yourself to just two colors. When I finally finished the prototype and stepped back to look at it, I actually did a little happy dance in my craft room.
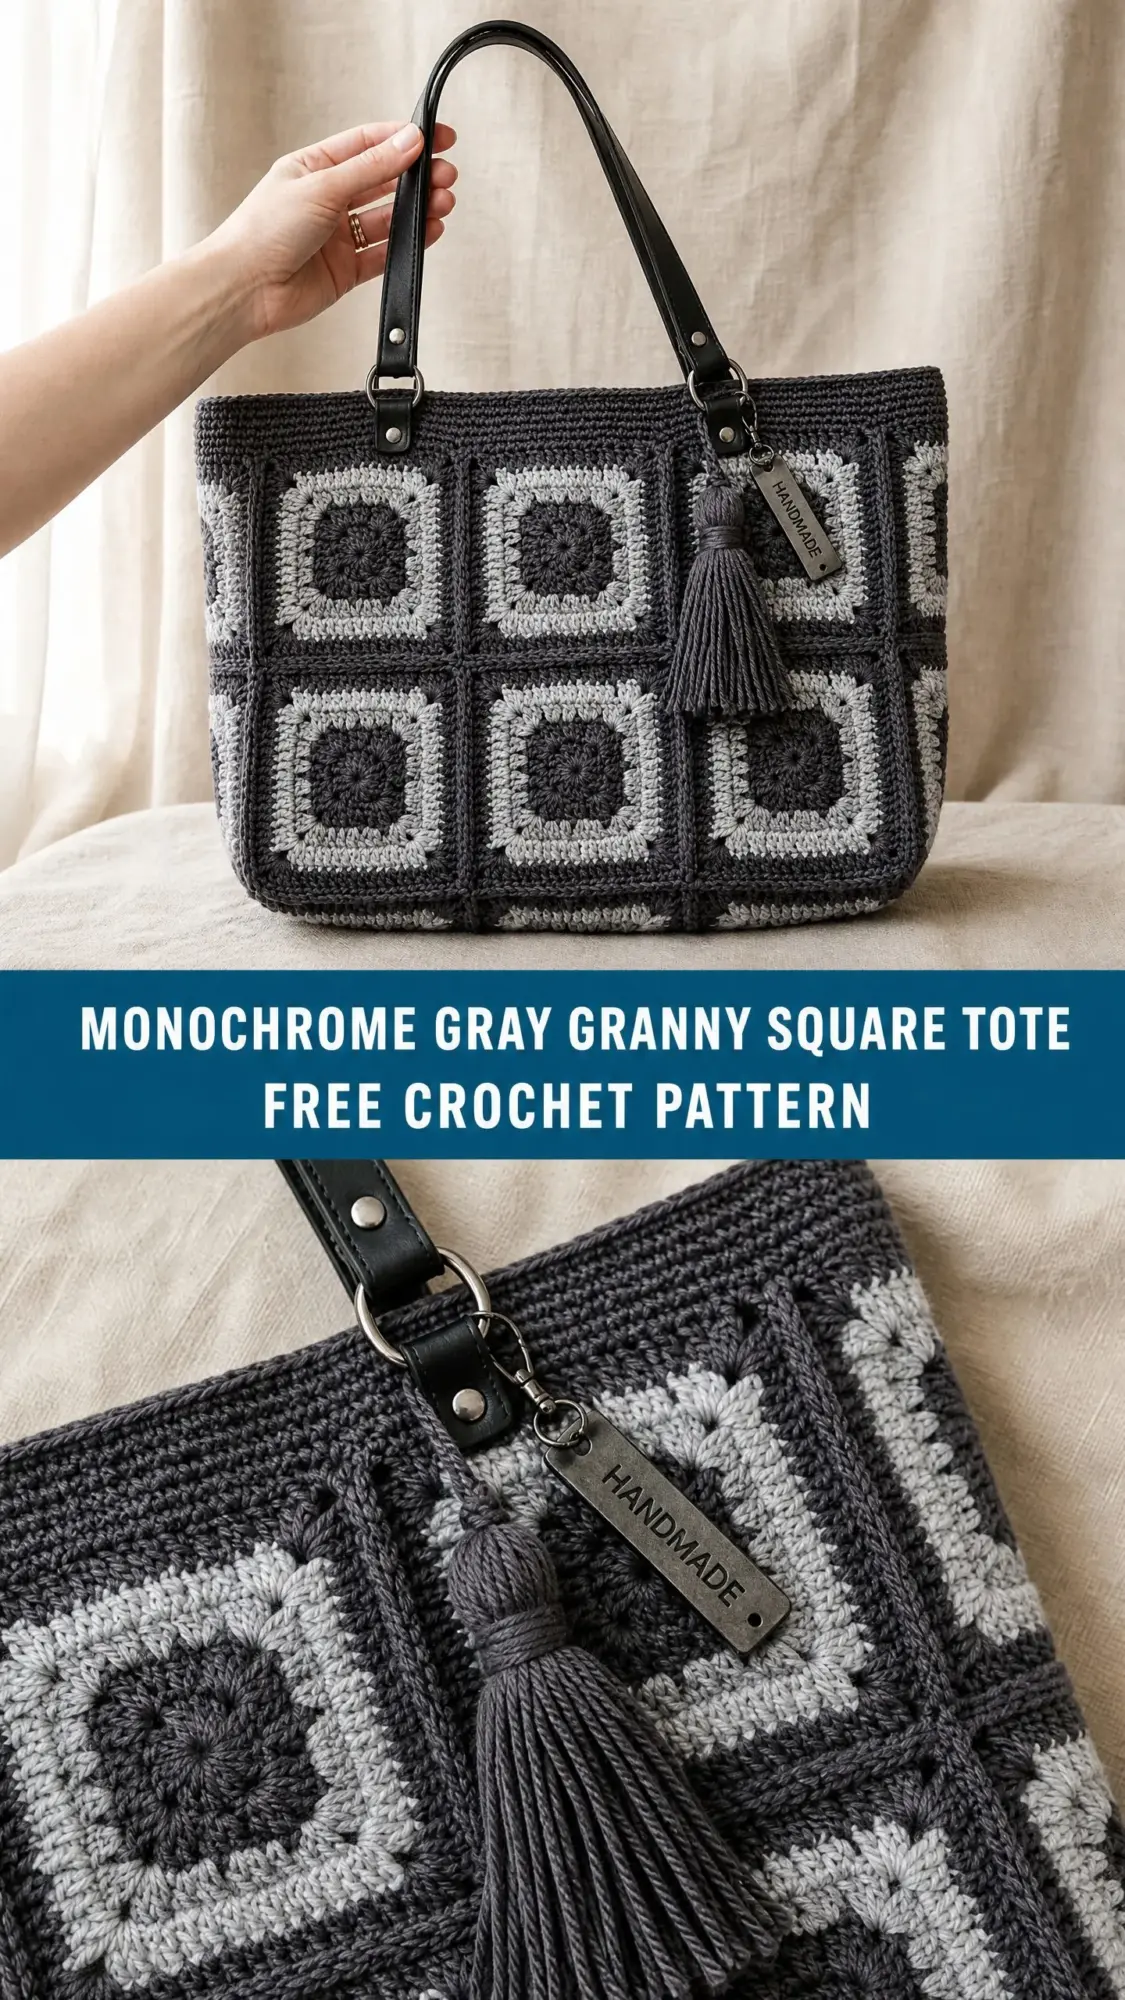
This pattern hits all the marks I was aiming for. The construction is straightforward if you already know how to make a basic granny square. The join as you go method means no tedious seaming at the end. And that two-tone charcoal and silver gray combination? It goes with literally everything in my closet.
I am SO pleased with how this turned out. If you have been wanting to try a granny square bag project but felt intimidated by complicated color changes or fussy assembly, this is the one. Let me walk you through every single step.
What Makes This Crochet Tote Bag Special
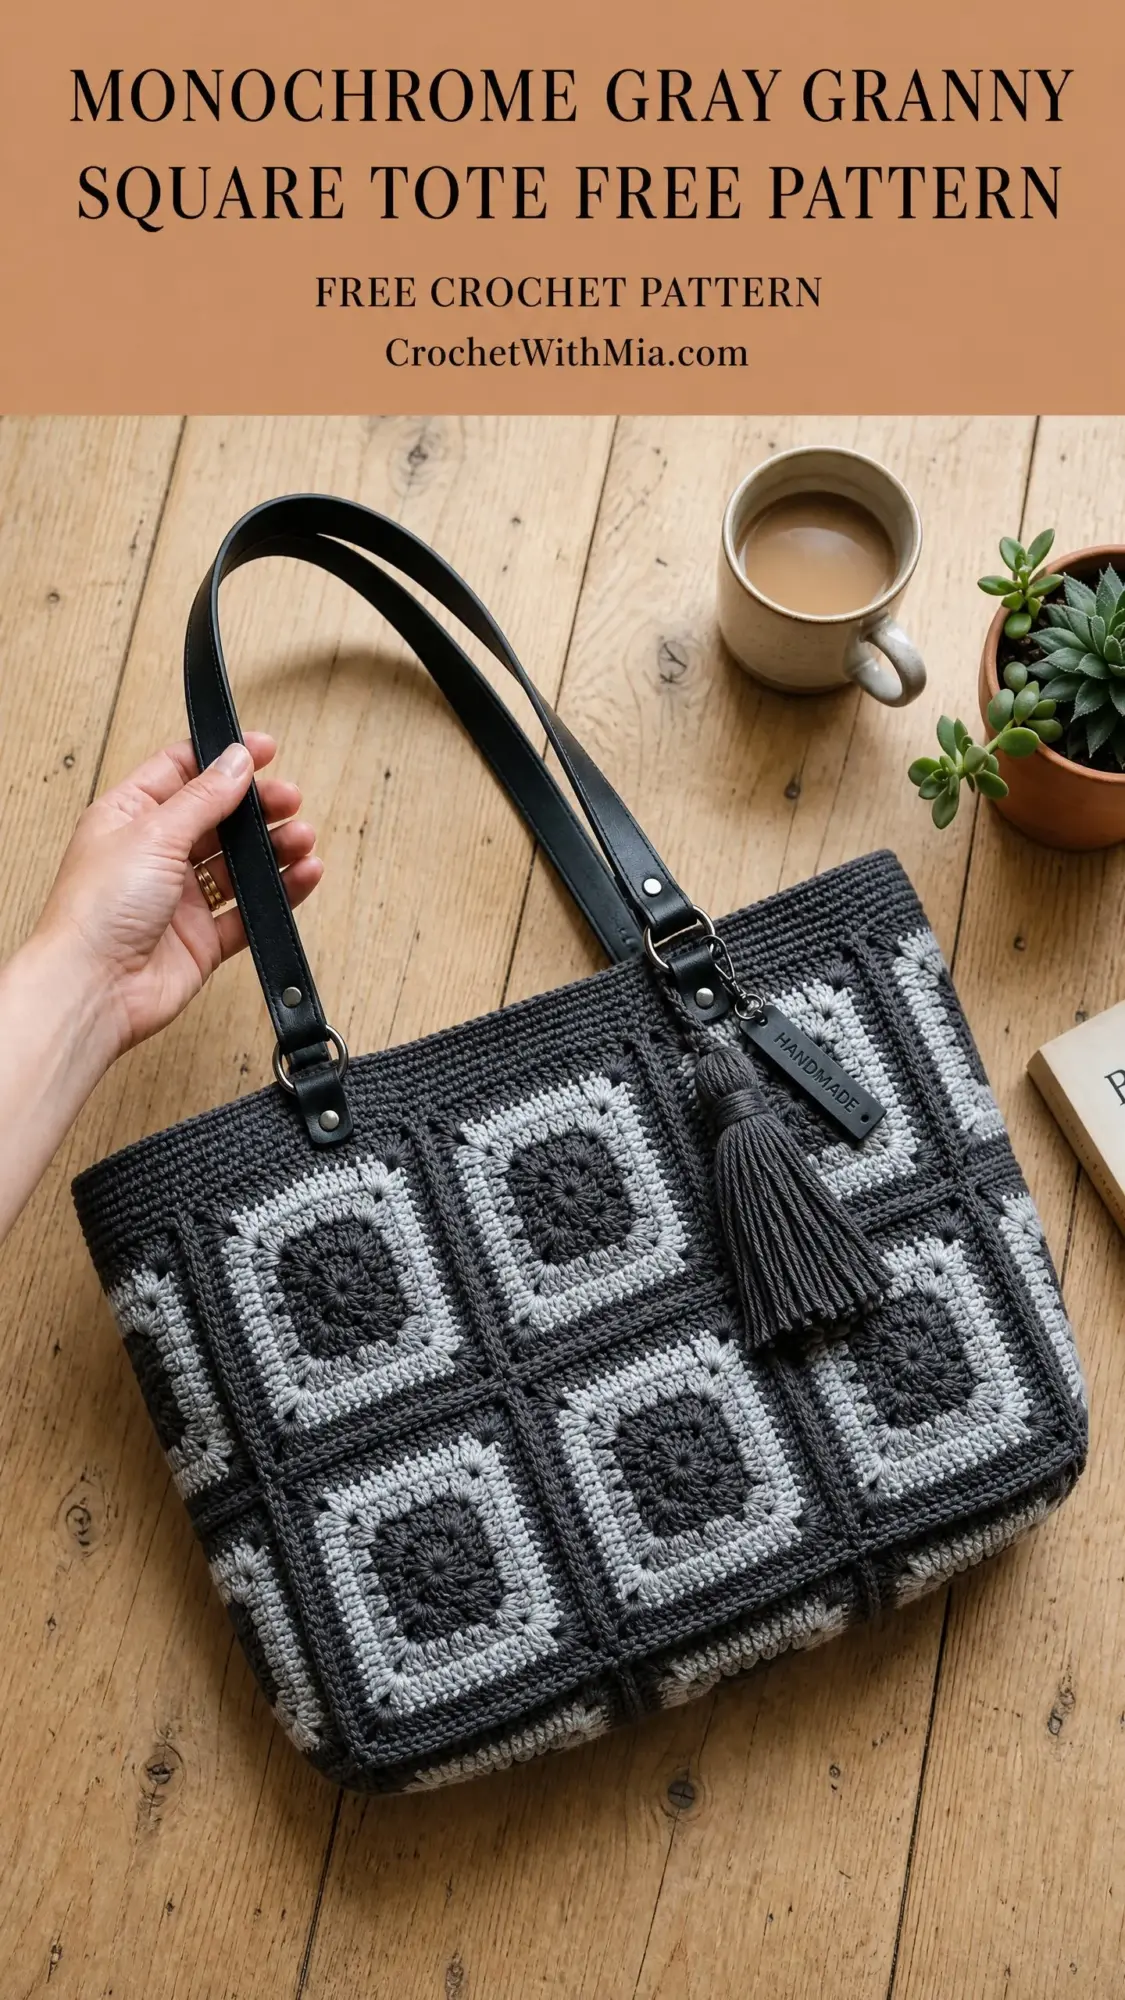
This monochrome gray granny square tote stands out because of its clean, modern aesthetic. Instead of the rainbow explosions you often see with granny squares, we are working with just two shades of gray. Dark charcoal forms the center and outer border of each square, while light silver gray creates a striking ring in the middle. The result looks almost geometric and very intentional.
The bag itself is genuinely useful. It measures approximately 16 inches wide by 12 inches tall by 5 inches deep, which is roomy enough for a laptop, books, a water bottle, or a full day’s worth of errands. The flat rectangular base means it sits upright without flopping over. The cotton yarn gives it structure and body that holds its shape beautifully.
You will be making 20 granny squares total and joining them into a box shape. It sounds like a lot, but each square only takes about 10 to 15 minutes once you get into a rhythm. Put on a podcast or your favorite show and you will have a stack ready before you know it.
Skill Level and Time Estimate
I would call this an intermediate level crochet pattern. You should be comfortable with the basic granny square before starting. You will also need to know how to change colors neatly and work a slip stitch seam or the join as you go technique.
If you have never made a granny square before, I recommend practicing a few plain ones first. Get your tension consistent and your corners nice and square. Then come back to this project.
Time estimate: approximately 20 to 30 hours total. That includes crocheting all the squares, weaving in ends, assembly, the top border, and finishing. You could easily spread this over a few weeks of evening crafting sessions.
Materials You Will Need
Yarn
You will need worsted weight yarn (that is CYCA weight 4) in two colors. I recommend 100% cotton or a cotton-acrylic blend because it gives the bag structure. Soft drapey yarns will make your tote floppy, and nobody wants a floppy tote.
Color A (Dark Charcoal Gray): approximately 500 yards (457 meters)
Color B (Light Silver Gray): approximately 350 yards (320 meters)
Total yardage: approximately 850 yards (777 meters)
Some specific yarns that work beautifully:
Lion Brand 24/7 Cotton in Charcoal and Silver. This mercerized cotton creates a firm structured fabric. You will need about 3 skeins of Color A and 2 skeins of Color B.
Paintbox Yarns Simply DK Cotton in Granite Gray and Silver Gray. Excellent stitch definition and widely available. Plan for 4 skeins of Color A and 3 skeins of Color B.
We Are Knitters The Cotton in Dark Gray and Light Gray for a premium option.
Hook
US size H-8 (5.0 mm) crochet hook is your primary hook for this project. You may also want a US size G-6 (4.0 mm) hook on hand for adjusting gauge or working a tighter border.
Hardware and Notions
Gauge
Getting gauge right is critical for this project. All your squares need to be the same size or the join as you go method will not work properly.
With your H-8 (5.0 mm) hook and worsted cotton yarn:
1 completed granny square (4 rounds) = 5 inches by 5 inches (12.5 cm by 12.5 cm)
For stitch gauge reference: 14 double crochet stitches = 4 inches (10 cm); 8 rows of double crochet = 4 inches (10 cm).
Make one complete test square, block it lightly with steam or wet blocking, and measure. If your square is larger than 5 inches, go down one hook size. If smaller, go up one hook size.
Abbreviations
Let me define all the abbreviations you will encounter in this pattern:
Special Stitch: The Granny Cluster
The heart of this pattern is the granny cluster, which is simply 3 double crochet stitches worked into the same chain space. Here is how to work it:
1. Yarn over, insert hook into the designated chain space
2. Yarn over and pull up a loop (3 loops on hook)
3. Yarn over and draw through 2 loops (2 loops on hook)
4. Yarn over and draw through remaining 2 loops (1 dc complete)
5. Repeat steps 1 through 4 two more times in the SAME space
You now have a group of 3 dc sitting together in one space. That is your granny cluster. Easy as pie.
Pattern Notes Before You Begin
Color sequence for each square: Rounds 1 and 2 use Color A (charcoal). Round 3 uses Color B (light gray). Round 4 uses Color A (charcoal). This creates the dark center, light ring, dark border effect you see in the photos.
All rounds are worked with the right side facing. Join each round with a slip stitch and fasten off to keep color changes clean.
Leave 6-inch tails when fastening off. You will thank yourself later when weaving in ends.
I recommend completing all 20 squares before assembly so you can block them all at once and ensure they are identical in size.
Granny Square Instructions (Make 20)
With Color A, make a magic ring. (If you prefer, you can chain 4 and join with a slip stitch to form a ring instead.)
Round 1 (Color A)
Ch 3 (this counts as your first dc here and throughout the pattern). Work 2 dc into the ring, ch 2. 3 dc into ring, ch 2. Repeat from to 3 more times. Join with sl st to the top of the beginning ch-3. Fasten off Color A.
Stitch count: 12 dc total (4 groups of 3 dc), 4 ch-2 corner spaces
Round 2 (Color A)
Attach Color A with sl st to any ch-2 corner space. Ch 3 (counts as dc). Work 2 dc in the same corner space, ch 2, 3 dc in the same corner space. You have just made your first corner. Ch 1. (3 dc, ch 2, 3 dc) in the next ch-2 corner space, ch 1. Repeat from to 2 more times. Join with sl st to the top of the beginning ch-3. Fasten off Color A.
Stitch count: 24 dc total (8 groups of 3 dc), 4 ch-2 corner spaces, 4 ch-1 side spaces
Round 3 (Color B)
Attach Color B with sl st to any ch-2 corner space. Ch 3, work 2 dc in the same corner space, ch 2, 3 dc in the same corner space, ch 1, 3 dc in the next ch-1 side space, ch 1. (3 dc, ch 2, 3 dc) in the next ch-2 corner space, ch 1, 3 dc in the next ch-1 side space, ch 1. Repeat from to 2 more times. Join with sl st to the top of the beginning ch-3. Fasten off Color B.
Stitch count: 36 dc total (12 groups of 3 dc), 4 ch-2 corner spaces, 8 ch-1 side spaces
Each side of your square now has 2 groups of 3 dc between the corners.
Round 4 (Color A)
Attach Color A with sl st to any ch-2 corner space. Ch 3, work 2 dc in the same corner space, ch 2, 3 dc in the same corner space, ch 1. (3 dc in the next ch-1 space, ch 1) twice, (3 dc, ch 2, 3 dc) in the next ch-2 corner space, ch 1. Repeat from to 2 more times. (3 dc in the next ch-1 space, ch 1) twice. Join with sl st to the top of the beginning ch-3. Fasten off Color A.
Stitch count: 48 dc total (16 groups of 3 dc), 4 ch-2 corner spaces, 12 ch-1 side spaces
Each side now has 3 groups of 3 dc between the corners. Your square is complete!
Checkpoint
Your finished square should measure 5 inches by 5 inches after a light steam block. If it does not, adjust your hook size and try again before making all 20 squares.
Blocking Your Squares
This step is non-negotiable for professional results. Soak each square in cool water for 10 minutes. Gently squeeze out excess water in a clean towel (do not wring). Pin each square to a foam blocking board, stretching gently to exactly 5 by 5 inches. Let them dry completely before removing pins.
Trust me on this. Unblocked squares will give you a lumpy, uneven bag. Blocked squares join like a dream.
Assembly
You will be joining your 20 squares into the following arrangement:
Front Panel: 6 squares (3 wide by 2 tall)
Back Panel: 6 squares (3 wide by 2 tall)
Left Side Panel: 2 squares (1 wide by 2 tall)
Right Side Panel: 2 squares (1 wide by 2 tall)
Base Panel: 4 squares (2 wide by 2 tall)
Join As You Go Method
This technique joins squares during the final round of each new square rather than seaming afterward. When you reach a side that needs to join to an existing square:
1. Work to the corner chain space of your new square
2. Instead of ch 2 for the corner, ch 1, then insert your hook into the corresponding corner ch-sp of the adjacent finished square
3. Yarn over and pull up a loop, yarn over and draw through both loops (this is a sl st into the adjacent corner)
4. Ch 1 to complete your corner
5. Along the shared side, after each 3-dc group, work: ch 1, sl st into the corresponding ch-1 sp of the adjacent square
Alternative: Slip Stitch Seam Method
If you prefer to join squares after completing all of them:
Place two squares together with right sides facing. Using Color A and your crochet hook, sl st through both layers, working through the corresponding ch-sp along the edge. Do not pull too tight. This creates a flat seam visible only on the wrong side.
Assembly Order
1. Join the 3 squares of Front Row 1 horizontally
2. Join the 3 squares of Front Row 2 horizontally
3. Join Front Row 1 to Front Row 2 (one long horizontal seam)
4. Repeat steps 1 through 3 for the Back Panel
5. Join the 2 Left Side Panel squares vertically
6. Join the 2 Right Side Panel squares vertically
7. Join the 4 Base squares into a 2 by 2 arrangement
8. Attach Left Side Panel to the left edge of the Front Panel
9. Attach Right Side Panel to the right edge of the Front Panel
10. Attach Back Panel to complete the tube shape
11. Attach Base Panel to the bottom edge of the assembled tube
Top Border
With right side facing and Color A, attach yarn with sl st to any stitch at the top opening of the bag.
Border Round 1 (Color A)
Work 1 sc into each dc and 1 sc into each ch-sp around the entire top opening. At each corner join, work 1 sc into the join itself. Adjust your count to reach exactly 144 sc by adding or skipping stitches as needed. Join with sl st to first sc. (144 sc)
Border Round 2 (Color A)
Ch 2 (does not count as a stitch). Work 1 hdc into each sc around. Join with sl st to first hdc. (144 hdc)
Border Round 3 (Color A)
Ch 1 (does not count as a stitch). Work 1 sc into each hdc around. Join with sl st to first sc. Fasten off and weave in end. (144 sc)
Your top border should be firm and even, approximately 0.75 inch tall.
Making the Tassel
Cut 30 strands of Color A, each 14 inches long.
1. Hold all strands together and fold in half so you have a loop at the top
2. Cut one additional 18-inch strand of Color A
3. Thread the single strand through the fold at the top of the bundle
4. Wrap the single strand tightly around the bundle about 0.5 inch below the fold, making 6 to 8 wraps
5. Tie off with a double knot and bury the ends inside the tassel
6. Trim the bottom to an even 4-inch length
7. Attach the tassel loop to the D-ring hardware on your handle or to a split ring at the front corner
Attaching the Handles
Position each handle with both ends on either the front or back panel. Place each attachment point approximately 4 inches from the side seams, centered on the top border.
For handles with rivet attachment: Use a leather hole punch to create clean holes through the crochet border. Insert Chicago screws or rivets from the right side through the handle hardware and the crochet fabric. Tighten firmly from the wrong side.
For handles with sewn attachment: Use a sharp tapestry needle and strong waxed thread. Whipstitch the strap ends firmly to the wrong side of the top border. Make at least 3 passes through each attachment point and knot securely.
Final Blocking and Finishing
Give your completed bag a light steam block by holding a steam iron about 1 inch above the surface. Do not press the iron directly onto the crochet. Shape the bag over a box or stuffed pillow to hold the rectangular form while it dries.
For extra structure, slide a plastic canvas or cardboard insert (cut to 15 by 4.5 inches) into the bottom of the bag.
Weave in every single end thoroughly. For cotton yarn, a tiny dab of clear fabric glue on the knots at high-stress points adds extra security.
Care Instructions
Hand wash your finished tote in cool water with gentle soap. Do not wring or twist. Press out excess water in a clean towel, reshape, and dry flat. If your yarn label allows, you can machine wash on a delicate cycle in a mesh bag. Never tumble dry, as heat will cause shrinkage and warping. Store your bag stuffed with tissue paper to maintain its shape.
Size Customization Options
For a smaller bag: Use 2 squares wide by 2 squares tall for front and back panels. This gives you a bag approximately 10 inches wide by 10 inches tall by 5 inches deep.
For a larger tote: Use 4 squares wide by 3 squares tall for front and back panels. This creates a bag approximately 20 inches wide by 15 inches tall. Increase your yarn yardage by about 50 percent.
For a deeper bag: Add one extra square to each side panel height and adjust the base accordingly.
Thank you so much for choosing this granny square tote crochet pattern for your next project. I genuinely hope you love making it as much as I loved designing it. If you give it a try, I would absolutely love to see your finished bag! Tag me on Instagram or share a photo in my Facebook group.
If this pattern is calling your name, go ahead and save it to your Pinterest boards so you can find it easily when you are ready to start. And please drop a comment below if you make one. I read every single comment and your photos always make my day!