
You know that skein of beautiful cotton yarn sitting in your stash? The one you’ve been saving for "the perfect project"? This is it. Grab your hook and let’s put it to work.
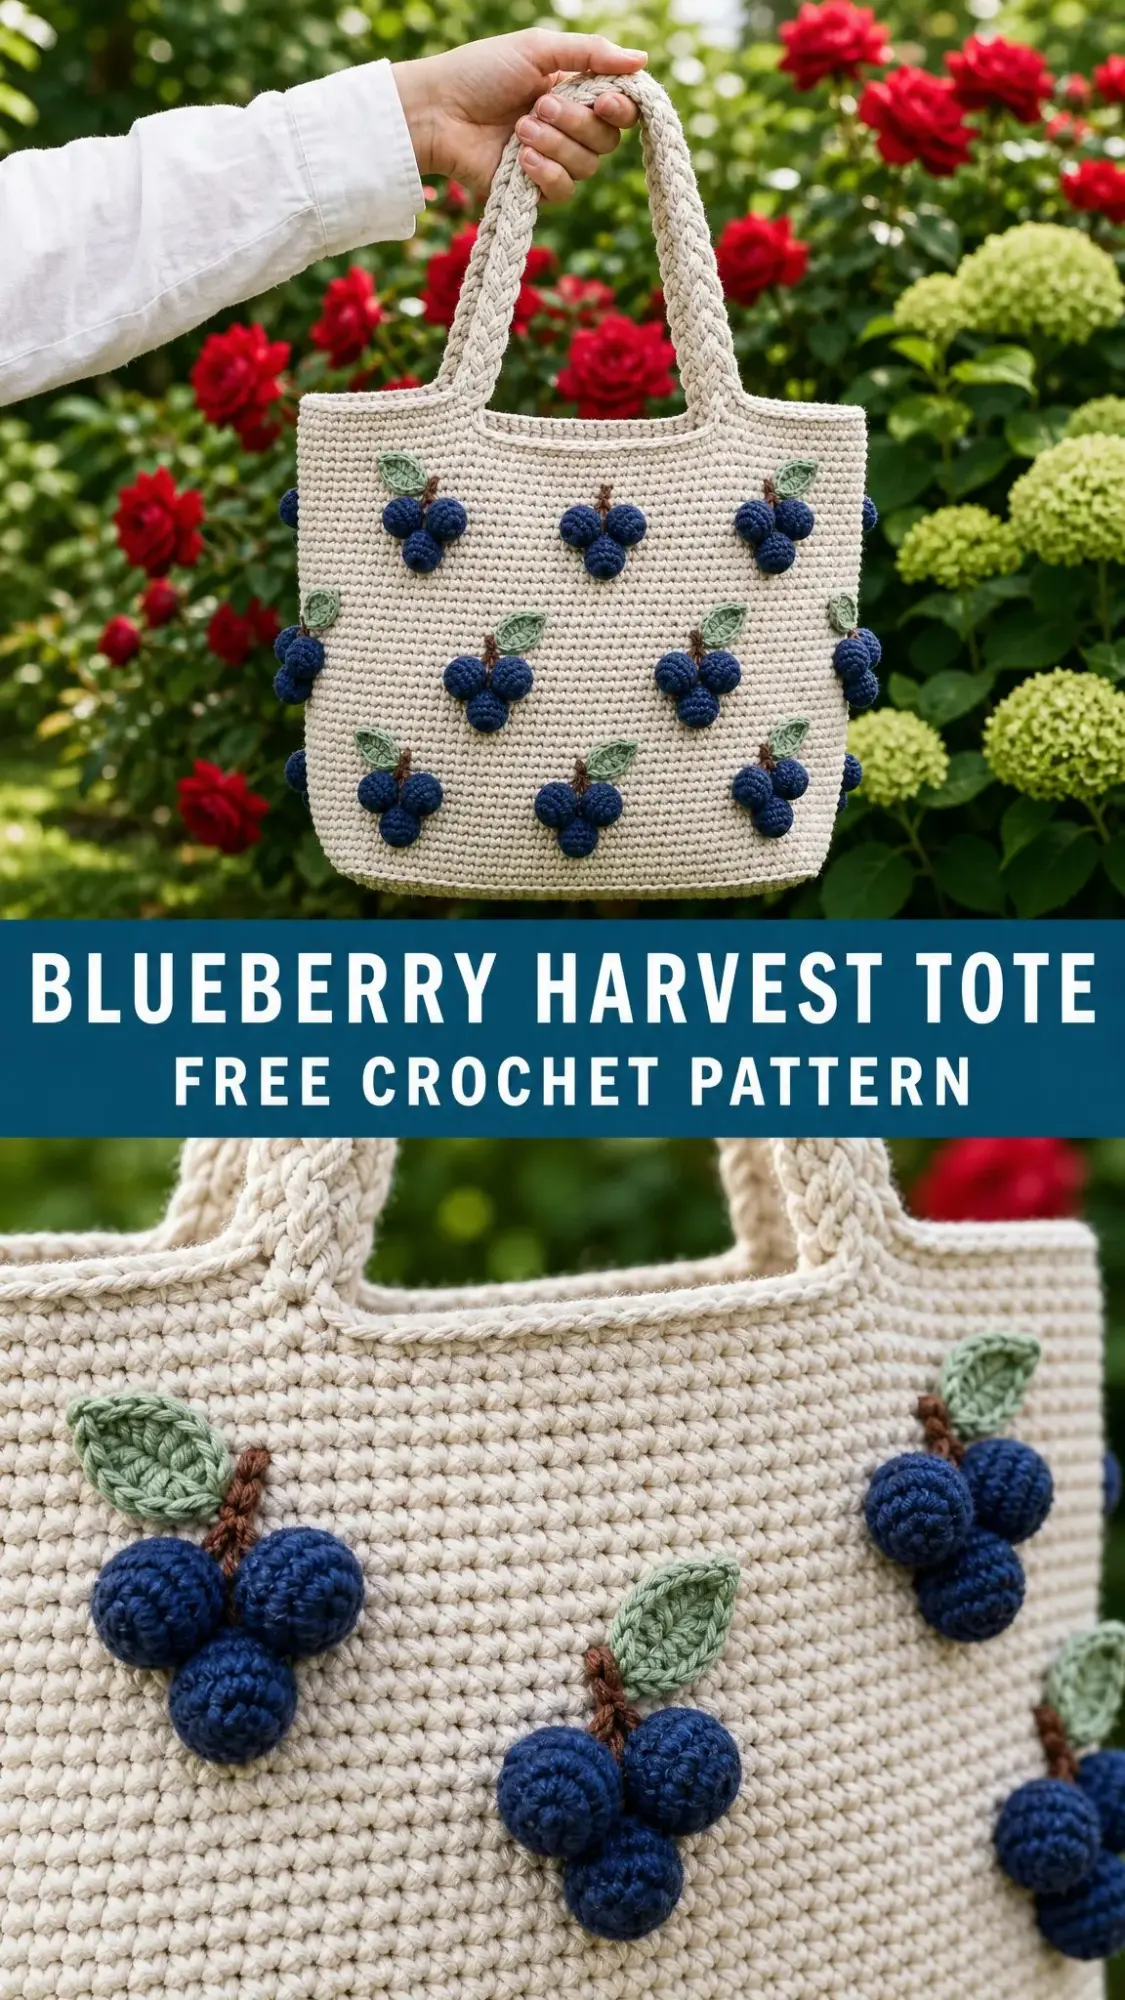
The Blueberry Harvest Tote is a sturdy market bag worked seamlessly in the round, featuring adorable 3D blueberry clusters, delicate sage leaves, and softly braided handles. The construction is straightforward single crochet throughout, but those plump little berries add a playful twist that makes this bag absolutely charming.
Fair warning: this pattern sits at confident beginner level. If you can work in a continuous spiral and you’re comfortable making small stuffed shapes, you’ll do great. The berries are simple little spheres, and the leaves come together in just one row. Nothing scary here, I promise.
Why You’ll Love This Pattern
This tote is one of those projects that looks far more impressive than it actually is to make. The body is just single crochet worked round and round. No complicated stitch patterns, no confusing color changes mid-row. The magic happens when you scatter those berry clusters across the finished bag.
The finished tote measures 11 inches wide by 9 inches tall with a 3.5 inch deep base and an 8.5 inch handle drop. It’s the perfect size for farmers market trips, library books, or a spontaneous picnic. The firm cotton fabric holds its shape beautifully, and those braided handles feel substantial in your hand.
Construction method: You’ll start with an oval base worked from a foundation chain, then build the walls straight up in a continuous spiral. The berries, leaves, and stems are all made separately and sewn on at the end. This means you can customize exactly how many clusters you want and place them wherever looks best to you.
Materials You’ll Need
Yarn weight: Worsted or Aran weight cotton, which is CYC category 4. A crisp, matte cotton gives the best stitch definition for those berries. Shiny or mercerized cotton won’t show off the texture as nicely.
Main color (Ecru or Natural): approximately 300 grams, which works out to roughly 550 yards or 500 meters. This covers the base, body, and handles.
Navy Blue: approximately 45 grams for all the berries.
Sage Green: approximately 15 grams for the leaves.
Warm Brown: just a small amount for the stems.
Yarn Suggestions
Any of these would work beautifully:
Tools and Notions
Gauge
18 single crochet stitches by 20 rounds equals 4 inches (10 cm) using the 4.0 mm hook in continuous single crochet.
A firm, dense fabric is what you’re after here. If your stitches look loose or gappy, size down your hook. This bag needs to hold groceries without stretching out of shape, so don’t skip the gauge swatch.
Abbreviations (US Terms)
Before we dive in, let’s define every stitch you’ll encounter:
Note for UK crocheters: US single crochet equals UK double crochet. US half double crochet equals UK half treble. US double crochet equals UK treble. Hook sizes in millimeters stay the same.
Special Stitch: Berry Bobble
Each blueberry is a small stuffed sphere worked separately in the round. You’ll start with a magic ring, increase to create the widest part, work a couple of even rounds, then decrease while stuffing lightly. Full instructions are in the berry section below.
Pattern Notes
The body of this bag is worked in a continuous spiral, which means you don’t join at the end of each round. Place a stitch marker in the first stitch of each round and move it up as you go. This is essential for keeping track of where you are.
Do not join or turn unless the pattern specifically tells you to. This keeps the fabric seamless and professional looking.
Stitch counts appear at the end of every round in parentheses. For example, (132 sc) means you should have 132 single crochet stitches when that round is complete.
The berries, leaves, and stems are made last and sewn to the finished bag. Don’t worry about placing them until everything else is done.
Part 1: The Base
Using ecru yarn and your 4.0 mm hook, you’ll create an oval base from a foundation chain.
Foundation: Chain 33.
Round 1: Starting in the 2nd chain from hook, work 1 single crochet in each of the next 31 chains. Work 3 single crochet in the last chain. This creates the turn at the end of the oval. Rotate your work to crochet along the opposite side of the foundation chain. Work 1 single crochet in each of the next 31 chains. Work 2 single crochet in the same starting chain where you began. Place a slip stitch marker to begin your spiral. (68 sc)
Round 2: Work 2 single crochet in the next stitch, then 1 single crochet in each of the next 31 stitches. Work 2 single crochet in the next stitch, then 2 single crochet in the following stitch. Work 1 single crochet in each of the next 31 stitches. Work 2 single crochet in the next stitch, then 1 single crochet in the last stitch. (74 sc)
Round 3: Work increases at each curved end by repeating [1 single crochet, 1 increase] around the rounded portions. Work single crochet evenly along the two long sides. You should have 8 increases total, spread over the rounded ends. (82 sc)
Rounds 4 through 8: Continue adding 8 increases per round, evenly split between the two curved ends. Stagger your increases so they don’t stack directly on top of each other from round to round. This prevents points from forming in your oval.
End each round with the following stitch counts:
Round 9: Add a final 10 stitches across the curved ends to true up the oval shape. (132 sc)
Check your work: Lay the base flat on a table. It should measure approximately 11 by 3.5 inches (28 by 9 cm) and lie smooth without cupping or ruffling. If it cups upward like a bowl, you need more increases. If it ruffles or waves, you have too many. Fix this now before building the sides.
Part 2: The Body
Now comes the satisfying part where you watch the walls grow.
Round 10: Working in back loop only for this round only, work 1 single crochet in each stitch around. This creates a crisp fold that defines where the base ends and the sides begin. (132 sc)
Rounds 11 through 52: Work 1 single crochet in each stitch around, working through both loops as normal. Continue in a continuous spiral. Keep your tension firm and even throughout. (132 sc each round)
That’s 42 rounds of even single crochet, building a wall approximately 8.5 inches (21.5 cm) tall before you reach the top edge.
Berry placement tip: The clusters get sewn on after the bag is completely finished, so just keep counting and working evenly here. If you want to plan ahead, you can place removable markers now to note where clusters will eventually go.
Round 53: Work 1 single crochet in each stitch around. (132 sc)
Part 3: Top Edge and Handles
Continue with ecru yarn and your 4.0 mm hook.
Rounds 54 through 56: Work 1 single crochet in each stitch around for 3 firm rounds. This creates a clean, sturdy rim. After completing round 56, slip stitch in the next stitch and fasten off. (132 sc)
Marking Handle Positions
On the front of your bag, count in from each side and mark two 4-stitch gaps approximately 14 stitches apart. These mark where your handle ends will attach. Mirror this placement on the back so all four anchor points line up when the bag is assembled.
Braided Handles (Make 2)
Making the cords: For each handle, you’ll make 3 separate cords. Chain 60. Starting in the 2nd chain from hook, work 1 single crochet in each chain across. Fasten off, leaving long tails for sewing. (59 sc per cord)
Make 6 cords total, which gives you 3 cords for each of the 2 handles.
Braiding: Hold 3 cords together and secure one end with a clip or by tying loosely. Braid snugly all the way to the other end. Tie off the end and weave the loose pieces together so the braid can’t loosen over time.
Attaching: Using the long tails and a yarn needle, stitch each braided end securely to a marked anchor point on the inside of the rim. Reinforce with several passes for durability. The handle drop should be approximately 8.5 inches when attached.
Sturdier option: If you want handles that hold their arch under weight, slip a length of cotton cord inside each braid before attaching. This gives extra structure for heavier loads.
Part 4: Blueberries, Leaves, and Stems
Now for the fun embellishments that make this bag special.
Blueberry Bobble (Make 3 Per Cluster)
Using navy blue yarn and your 3.5 mm hook:
Round 1: Make a magic ring. Work 6 single crochet into the ring. (6 sc)
Round 2: Work 1 increase in each stitch around. (12 sc)
Rounds 3 and 4: Work 1 single crochet in each stitch around. (12 sc)
Round 5: Work 1 decrease 6 times around. Stuff lightly with fiberfill before closing completely. (6 sc)
Closing: Fasten off and thread the tail through the remaining 6 stitches. Pull tight to close. Leave a tail for sewing. Pinch the top gently to suggest a blueberry crown, that little star shape real blueberries have.
Sage Leaf (Make 1 to 2 Per Cluster)
Using sage green yarn and your 3.5 mm hook:
Leaf: Chain 8. Starting in the 2nd chain from hook, work: 1 single crochet, 1 half double crochet, 1 double crochet, 1 double crochet, 1 half double crochet, 1 single crochet. Then work 3 single crochet in the last chain to round the tip.
Working back along the opposite side of the chain: 1 single crochet, 1 half double crochet, 1 double crochet, 1 double crochet, 1 half double crochet, 1 single crochet, slip stitch to finish. (17 stitches)
Finish: Fasten off and leave a tail for sewing. Lightly pinch the base to create a pointed stem end.
Stem
Using warm brown yarn, chain 6 to 8 stitches. Fasten off, leaving tails at both ends. You can also simply use a length of brown yarn and thread it through the bag to create the stem effect.
Part 5: Assembly and Placement
Building One Cluster
1. Sew 3 berries together in a small triangle formation
2. Tuck a stem behind the top berry, curving it upward
3. Add a leaf to one side at the base of the cluster
Scattering the Harvest
Space your clusters in a staggered pattern across the front and back of the bag. A good starting point is roughly every 22 stitches across and every 8 to 10 rounds up. Offset alternate rows so no two clusters stack directly on top of each other.
The body of 132 stitches divides into 6 even repeats, giving you approximately 6 to 9 clusters per side depending on how full you want the harvest to look. Carry a few clusters around onto the side panels for a wrap-around effect.
My best advice: Pin every single cluster in place first. Step back and look at the whole bag before sewing anything down. A slightly irregular scatter looks the most natural and organic. Perfect symmetry can actually look less appealing than a more random arrangement.
Finishing and Care
Final Finishing Steps
Weave in all ends on the inside of the bag, securing handle and cluster tails with extra passes for durability.
Gently steam block or wet block the body so the walls stand nice and square. Let the berries dry plump and untouched so they keep their round shape.
For extra structure, you can cut a piece of cardboard or plastic canvas to fit the bottom, or line the entire tote with cotton fabric.
Care Instructions
Hand wash cool with mild soap. Do not wring or twist the fabric.
Press water out by rolling the bag in a clean towel. Reshape while still damp.
Dry flat, away from direct heat and sunlight, to protect the cotton’s color from fading.
Store loosely stuffed with tissue paper to help the bag keep its oval shape between uses.
Sizing and Customizing Options
Wider or narrower bag: Add or remove stitches in multiples of 22 on the base so the cluster repeats still divide evenly. For example, 110 or 154 stitches would work.
Taller tote: Work extra even rounds between rounds 11 and 52. Every 5 additional rounds adds roughly 1 inch (2.5 cm) of height.
Deeper base: Lengthen the foundation chain. Each extra 9 chains adds approximately 2 inches (5 cm) of base depth.
Fuller harvest: Make more clusters and pack them closer together for a berry-laden look. Or thin them out for a more minimalist version.
Shoulder bag conversion: Lengthen the handle cords to chain 100 or more before braiding for a longer drop that sits comfortably on your shoulder.
Color variations: Try blackberry purples, cherry reds, or soft raspberry pinks. The bobble and leaf instructions stay exactly the same regardless of color.
Yardage note: Changing the size or berry count will change how much yarn you need. Buy a little extra of each shade from the same dye lot to be safe.
Wrapping Up Your Blueberry Harvest Tote
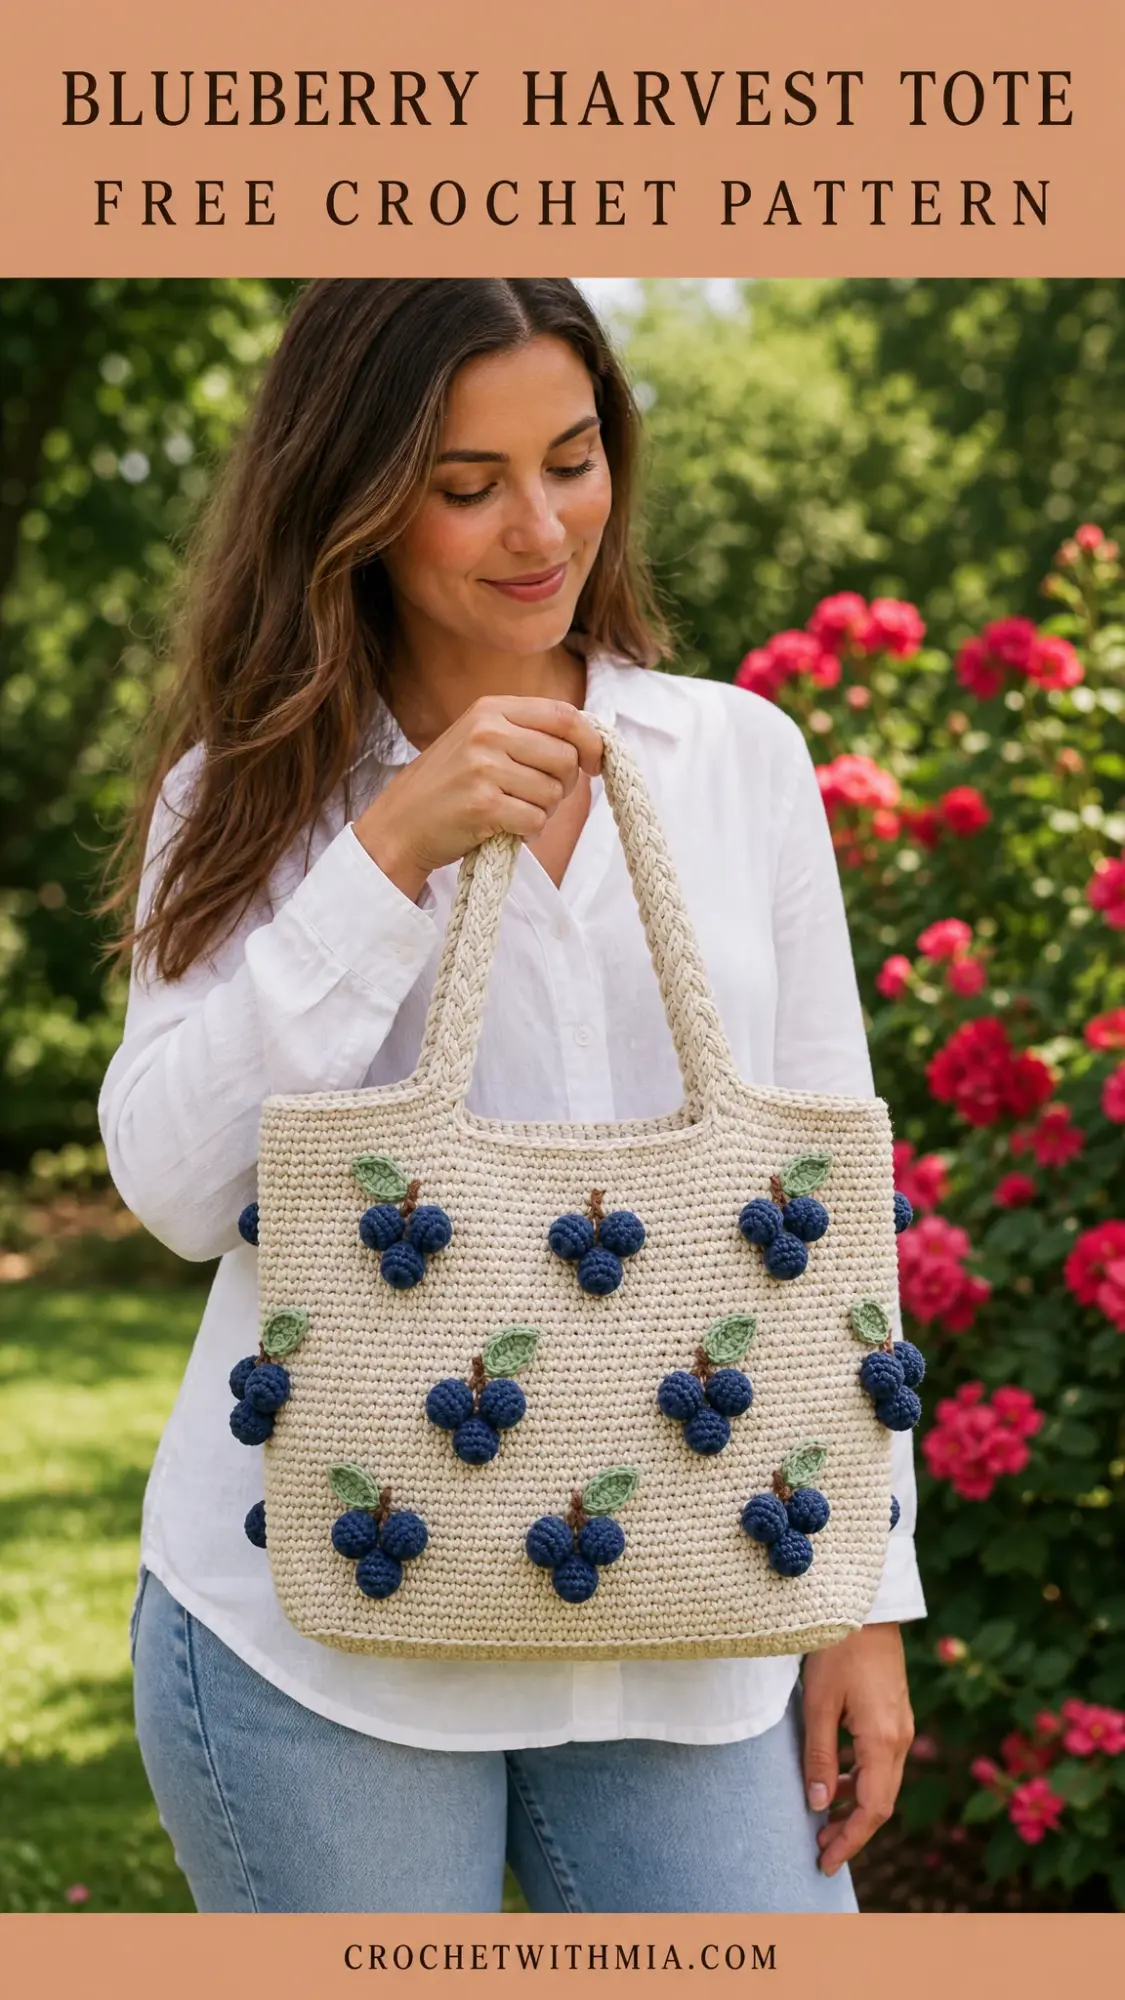
I hope your Blueberry Harvest Tote brings a little orchard charm wherever it goes. This project is one of those satisfying makes where you end up with something genuinely useful and undeniably cute.
The 10 to 14 hours this takes to complete go by quickly once you get into the rhythm of the body rounds. And those berry clusters? They’re oddly addictive to make. Don’t be surprised if you find yourself making extras "just in case."
Whether you’re heading to the farmers market, carrying library books, or packing a picnic, this bag is ready to go with you. The cotton fabric is sturdy enough for real life and pretty enough to get compliments from strangers.
If you make this pattern, I would absolutely love to see your finished tote. Save this pattern to your Pinterest boards so you can find it when you’re ready to start, and drop a comment below if you give it a try. Happy hooking!