
I don’t know about you, but I have a weakness for a good tote bag. Especially one covered in cheerful daisies that makes running errands feel like a trip to a flower market.
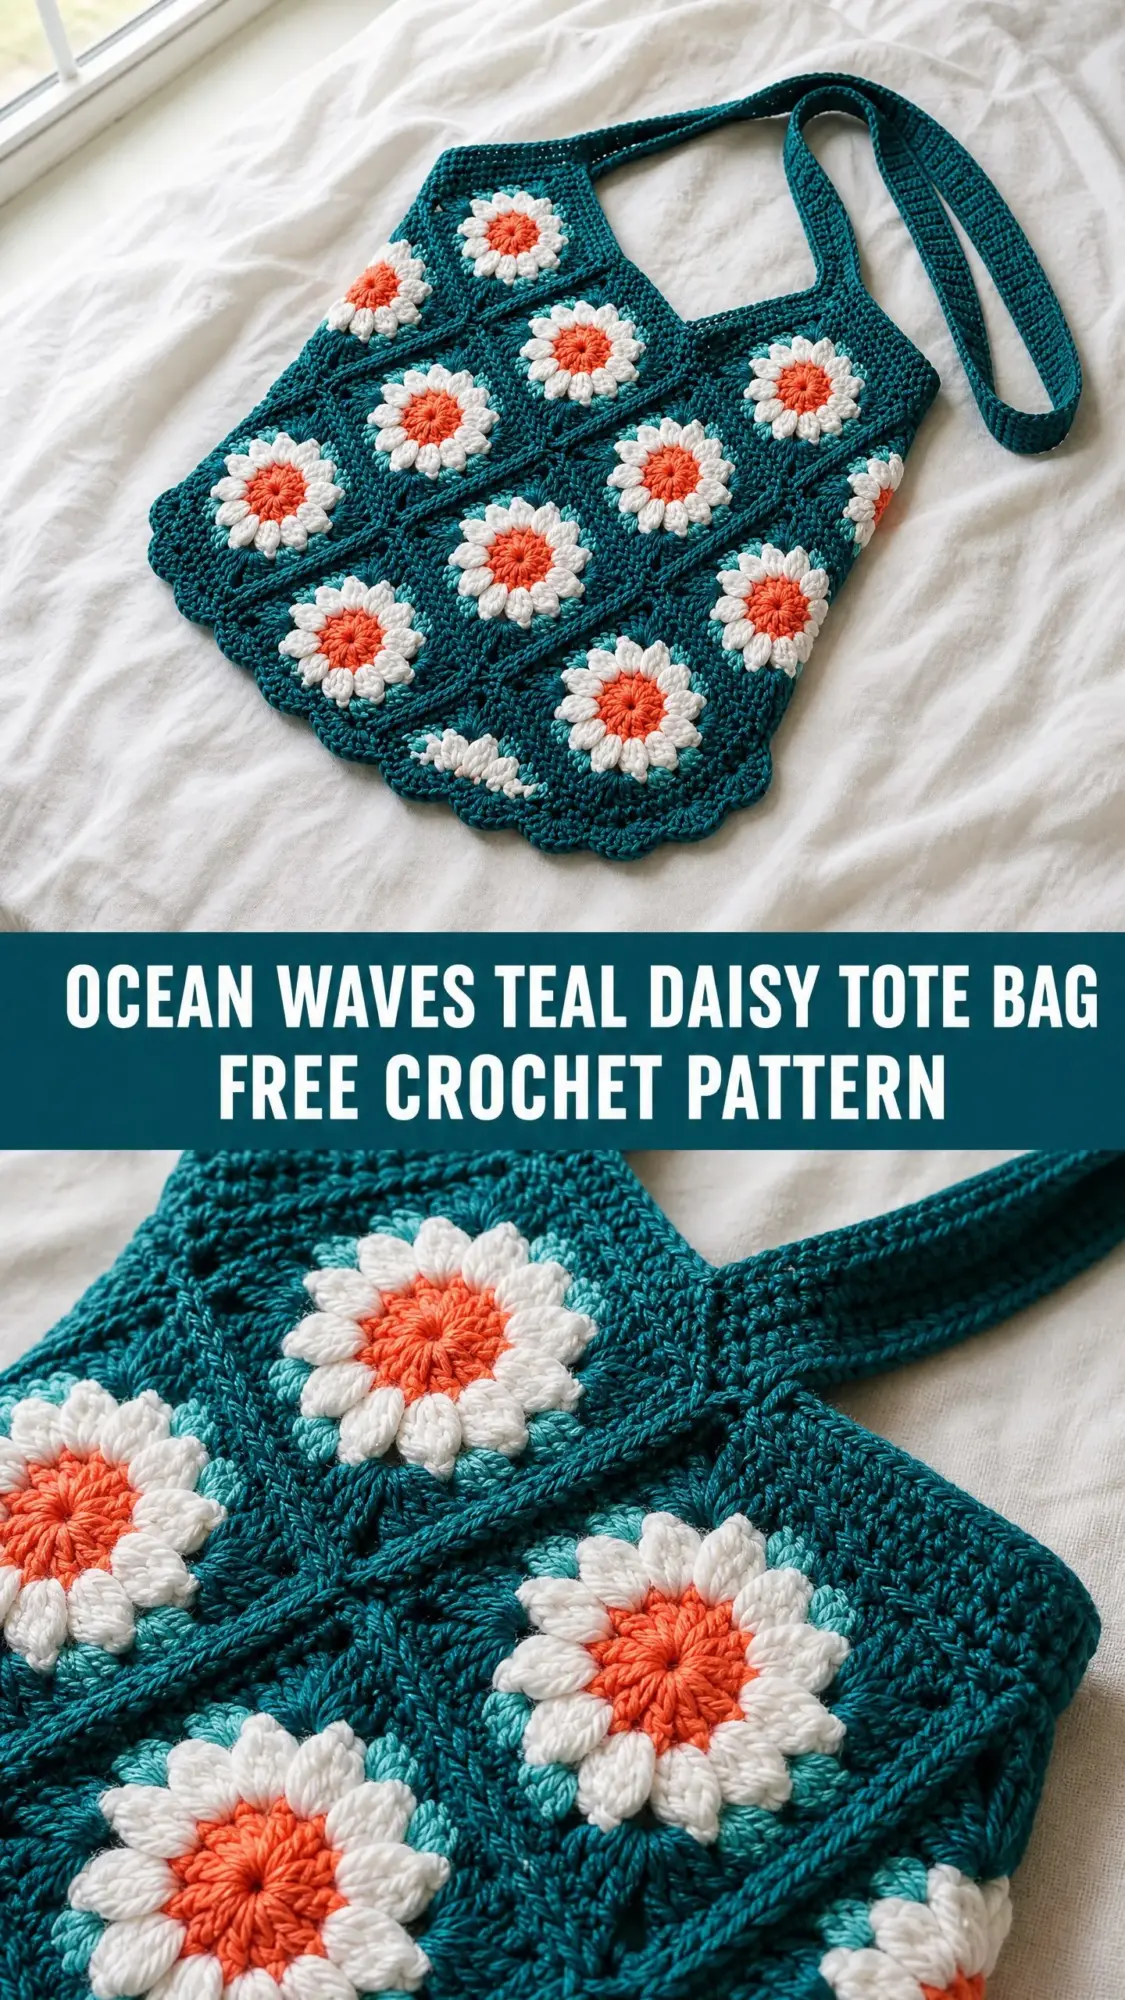
This Ocean Waves Teal Daisy Tote Bag is all the cozy, bohemian vibes with none of the fussy construction. The granny squares are satisfying to make, the color combination is absolutely gorgeous, and the finished bag is sturdy enough for everyday use.
If you’ve been looking for a project that shows off your skills while still being relaxing to work on, this crochet pattern is exactly what you need. Let me walk you through every step.
Why You’ll Love This Crochet Tote Bag Pattern
This bag combines classic granny square construction with a modern daisy motif that pops beautifully against the rich teal background. The coral centers give each flower a warm, sunset-like glow, while the crisp white petals keep everything fresh and summery.
What makes this crochet tutorial special is the construction method. You’ll work individual daisy squares, join them using a nearly invisible slip stitch technique, then finish with a pretty scalloped border along the bottom edge. The result looks incredibly polished, like something you’d find in a boutique.
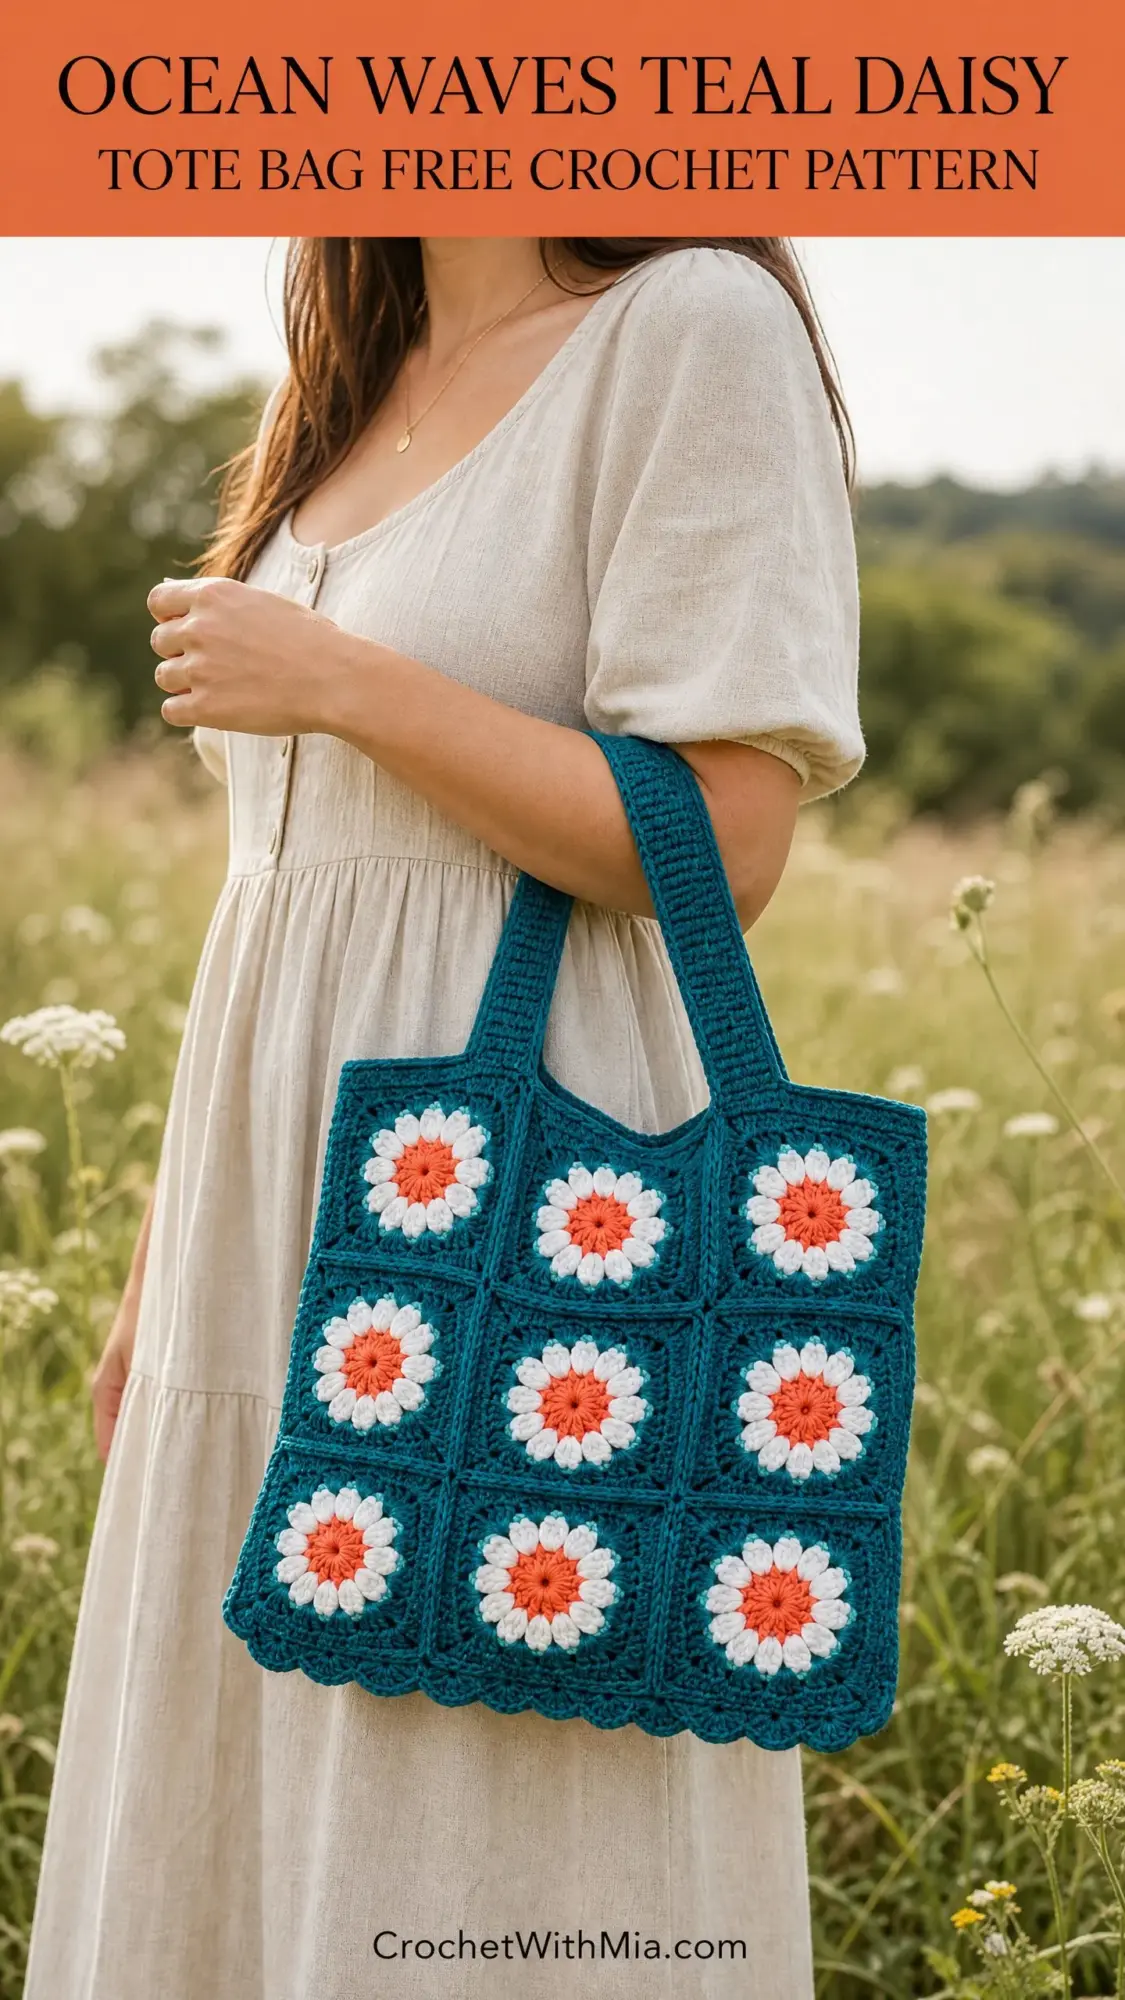
The finished bag measures approximately 14 inches wide by 15 inches tall. That’s roomy enough for books, a small laptop, your current crochet project, or a day’s worth of farmers market finds. The long strap sits comfortably on your shoulder and crosses diagonally for secure carrying.
Skill Level and Time Estimate
I’d call this an intermediate project. You should be comfortable working in the round, managing multiple yarn colors, and reading granny square instructions. If you’ve completed at least two granny square projects and one basic bag before, you’ll do great here.
Beginners, don’t run away just yet. The stitches themselves are straightforward. The challenge comes from keeping track of color changes and executing the join-as-you-go technique neatly. Take your time, use stitch markers generously, and you’ll be fine.
Expect to spend approximately 18 to 25 hours on this project, depending on your experience level. The square construction and joining account for most of that time. The strap and finishing only take about 2 hours total.
Materials You’ll Need
Gather these supplies before you start. Having everything ready makes the process so much smoother.
Yarn (Worsted Weight, Category 4):
Hook: US size J / 6.0 mm crochet hook (adjust to match gauge)
Notions:
Yarn Suggestions
Lion Brand Pound of Love (100% acrylic) is extremely affordable and widely available. One skein of teal plus small amounts of white and coral will cover all your yardage needs easily. It’s machine washable too, which is perfect for a bag that will see regular use.
Paintbox Yarns Simply DK held double creates a slightly structured drape that mimics the finished bag beautifully. Their color range includes a near-perfect coral and crisp white.
Cascade 220 (100% Peruvian wool) produces a sturdy, slightly felted fabric after blocking. This gives the bag excellent body, though it’s not machine washable.
Any smooth worsted weight yarn that achieves gauge will work well. Avoid fuzzy or textured yarns because they’ll obscure the pretty petal definition you’ve worked so hard to create.
Gauge
One completed daisy square (after Round 4, blocked) measures 4.5 inches by 4.5 inches (11.5 cm by 11.5 cm).
To check your gauge, work one complete daisy square following the instructions below. Block it lightly and measure from corner to corner along a straight edge, not diagonally. If your square is smaller than 4.5 inches, try a larger hook. If it’s larger, go down a hook size.
Gauge matters here because each panel is 3 squares wide by 3 squares tall. Being off by just 0.25 inch per square will shift your finished bag size by approximately 0.75 inch per dimension.
Abbreviations
Here are all the abbreviations used in this step by step crochet pattern. I’ll define each one so you’re never left guessing.
Special Stitches Explained
These techniques appear throughout the pattern. Read through them before you begin so nothing catches you off guard.
Daisy Petal Cluster
This creates the raised, bobble-like petals that give each daisy its charm. Here’s how to work one:
1. Insert hook into the designated stitch or space.
2. Yarn over and pull up a loop (2 loops on hook).
3. Yarn over and pull up a loop in the same stitch (3 loops on hook).
4. Yarn over and pull up a loop in the same stitch (4 loops on hook).
5. Yarn over and draw through all 4 loops on hook.
6. Chain 1 to close and secure the cluster. This chain 1 does NOT count as a stitch.
Flat Slip-Stitch Join
When joining squares, insert your hook through the corner chain-space or side chain-space of the adjacent square from front to back, then slip stitch to connect. This creates an almost invisible flat seam that shows as a single raised line between squares on the right side.
Scallop Stitch
In the designated stitch or space, work (sc, hdc, dc, hdc, sc). This group of 5 stitches forms one scallop shell. Skip 2 stitches between each scallop.
Pattern Notes Before You Begin
Read these through before starting. They’ll save you confusion later.
Daisy Square Instructions
Make 18 squares total (9 for front, 9 for back).
Round 1 (Color C, Coral Center)
Make a magic ring (adjustable loop).
Ch 1 (does not count as a stitch).
Work 12 sc into the ring.
Pull tail to close the ring firmly.
Sl st to the first sc to join.
(12 sc)
Fasten off Color C. Leave a 4-inch tail for weaving.
Round 2 (Color B, White Petals)
Join Color B with a sl st into any sc from Round 1.
Ch 1 (does not count as a stitch here).
Work 1 Daisy Petal Cluster into the same sc as the join. Ch 1 to close the cluster.
Ch 2.
Sk 1 sc.
Work 1 Daisy Petal Cluster into the next sc. Ch 1 to close.
Ch 2.
Rep (sk 1 sc, 1 Daisy Petal Cluster into next sc, ch 1 to close, ch 2) around until 6 petals total are worked.
Sl st into the top of the first Daisy Petal Cluster to join.
(6 Daisy Petal Clusters, 6 ch-2 spaces)
Fasten off Color B. Leave a 4-inch tail for weaving.
Round 3 (Color A, Teal Background)
Join Color A with a sl st into any ch-2 space from Round 2.
Ch 3 (counts as 1 dc).
Work 2 dc into the same ch-2 space.
Ch 2.
Work 3 dc into the same ch-2 space.
This creates the first corner of the square.
Ch 1.
Work 3 dc into the next ch-2 space.
Ch 1.
Rep from the beginning of this step for the next ch-2 space, working (3 dc, ch 2, 3 dc) into that space for the next corner, then ch 1 and 3 dc into the following ch-2 space, ch 1.
Continue around, working (3 dc, ch 2, 3 dc) into every other ch-2 space for corners and (3 dc, ch 1) into the ch-2 spaces between corners.
Work 4 corners total. Each corner gets (3 dc, ch 2, 3 dc). Each non-corner side gets (3 dc) separated by ch-1 spaces.
End with ch 1.
Sl st to the top of the beginning ch-3 to join.
(4 corner ch-2 spaces, 4 side ch-1 spaces, 24 dc total counting the beginning ch-3 as 1 dc)
Fasten off Color A if this is a standalone square, or continue to Round 4.
Round 4 (Color A, Square Border)
Join Color A with a sl st into any corner ch-2 space.
Ch 3 (counts as 1 dc).
Work (2 dc, ch 2, 3 dc) into the same corner ch-2 space.
Ch 1.
Work 3 dc into the ch-1 side space.
Ch 1.
Work (3 dc, ch 2, 3 dc) into the next corner ch-2 space.
Ch 1.
Work 3 dc into the ch-1 side space.
Ch 1.
Rep around all 4 sides and corners.
Sl st to the top of the beginning ch-3 to join.
(4 corner ch-2 spaces, 8 side ch-1 spaces, 48 dc total counting the beginning ch-3)
Fasten off and weave in all ends.
Checkpoint: Each completed square should lie flat, measure approximately 4.5 by 4.5 inches after light blocking, and show 6 distinct raised white petals around a coral center on a teal background.
Joining Squares Into Panels
The 9 squares for each panel are joined using the Flat Slip-Stitch Join. Arrange your squares in a 3-by-3 grid before joining. This helps you visualize the layout and catch any mistakes early.
Join squares horizontally first to form 3 rows of 3 squares each. Then join the 3 rows together vertically.
To Join Two Squares Horizontally
Hold the first square with the right side facing up.
Hold the second square with the right side facing up, positioned to the right of the first.
Join Color A to the right-side corner ch-2 space of the first square with a sl st.
Working along the right edge of the first square and the left edge of the second square simultaneously, insert hook through the corresponding side ch-1 spaces and corner ch-2 spaces of both squares at once and sl st them together.
Work 1 sl st through each paired set of stitches along the shared edge: corner ch-2 sp, ch-1 side sp, ch-1 side sp, corner ch-2 sp.
Fasten off. The seam should be flat and both right sides should remain visible.
Repeat to join all 3 squares in each row. Then join the 3 completed rows to each other along their horizontal shared edges the same way.
Make 2 identical panels (one for front, one for back).
Checkpoint: Each completed panel should measure approximately 13.5 inches wide by 13.5 inches tall before seaming.
Seaming the Panels
Place the front panel and back panel with wrong sides together and right sides facing outward.
Using Color A and a tapestry needle, whipstitch along the left side edge, the bottom edge, and the right side edge. Do not seam the top edge. This remains open as the bag opening.
Work through the outermost loops of the corner and side chain spaces along the edges for a clean seam.
At each bottom corner, work 2 to 3 extra whipstitches to reinforce the corner join.
Fasten off and weave in all ends securely.
Checkpoint: After seaming, the bag should stand with an open top. The side seams should be flat. The bag body should measure approximately 14 inches wide by 13.5 inches tall.
Border Instructions
The border gives this tote its polished, finished look.
Top Opening Border
Join Color A at one of the top corner ch-2 spaces of the front panel.
Work 1 round of sc evenly around the top opening of the bag. Work 1 sc into each dc, 1 sc into each ch-1 side space, and 2 sc into each ch-2 corner space as you travel around.
Target count: approximately 84 sc around the full opening.
Sl st to the first sc to join. (84 sc)
Work 1 round of sl st through the back loop only of each sc for a clean folded edge effect. Fasten off. (84 sl st BLO)
Bottom Scalloped Border
Join Color A to the center bottom seam of the bag.
Work 1 sc into each seam stitch across the entire bottom edge of the bag. Target: approximately 42 sc across the bottom.
Do not join. Turn.
Ch 1. Work scallops as follows:
Sk 2 sc. Work 1 scallop (sc, hdc, dc, hdc, sc) into the next sc. Sk 2 sc. Sl st into the next sc.
Rep across, adjusting the final partial repeat to end neatly at the corner seam.
Total scallops: approximately 7 scallops.
Fasten off and weave in all ends.
Strap Instructions
The strap is worked flat in rows of single crochet using Color A.
Foundation Chain: With Color A, ch 7.
Row 1: Sc into the second chain from hook and into each chain across. Turn. (6 sc)
Row 2: Ch 1. Sc into each sc across. Turn. (6 sc)
Repeat Row 2 until the strap measures approximately 46 inches (117 cm) from the foundation edge.
Creating a Double-Layered Strap
Fold the completed strap in half lengthwise with wrong sides together. The strap becomes approximately 23 inches long by approximately 1.25 inches wide.
Whipstitch the long open edge together with Color A and a tapestry needle. This creates a sturdy, double-layered strap.
Alternative: If you prefer a single-layer strap, work 156 rows of the 6-sc strap (approximately 24 inches) and attach as-is.
Strap Attachment
Position one end of the strap at the top left corner of the bag front panel, centered over the seam between the left and center top squares. Position the other strap end at the top right corner of the bag back panel.
This diagonal placement creates the V-neck strap configuration where the strap crosses from front-left to back-right across your shoulder.
Pin both ends in place before sewing.
Using Color A and a tapestry needle, sew each strap end securely using a box stitch (sew a rectangle and then an X within it) through all layers for maximum security.
Each attachment point should span at least 1 inch of the strap’s width.
Fasten off all ends securely and bury tails inside the strap layers.
Finishing and Blocking
Weave in all yarn ends using a tapestry needle. Thread each tail through the backs of at least 5 stitches in two different directions, then trim flush.
Wet Blocking Method: Soak the completed bag in cool water for 15 to 20 minutes. Gently squeeze out excess water. Do not wring or twist. Lay flat on a clean towel, roll to absorb moisture, then transfer to a foam blocking mat.
Pin the bag to target measurements: 14 inches wide and 15 inches tall. Pay attention to coaxing each daisy square into a flat, even shape.
Allow to dry completely (12 to 24 hours) before removing pins.
For acrylic yarns: Light steam blocking also works well. Hold a steam iron approximately 1 inch above the surface and allow steam to penetrate. Do not rest the iron on the fabric.
Size Customization Tips
Wider bag: Add one or two additional squares per row. Each column adds approximately 4.5 inches of width.
Taller bag: Add one or two additional rows. Each row adds approximately 4.5 inches of height.
Smaller crossbody size: Use a 2-by-2 arrangement per panel for a petite 9-inch by 9-inch bag.
Different yarn weight: Using DK weight yarn with a US G / 4.0 mm hook produces squares measuring approximately 3.5 inches each.
Care Instructions
For acrylic yarns: Machine wash on a gentle cold cycle in a mesh laundry bag. Lay flat to dry. Do not tumble dry on high heat.
For wool or wool-blend yarns: Hand wash in cool water with wool-safe detergent. Do not agitate vigorously. Lay flat to dry.
Avoid hanging the bag while wet, as the water weight will stretch the strap attachment points. Re-block lightly after washing if needed.
You Did It!
Thank you so much for choosing this Ocean Waves Teal Daisy Tote Bag crochet pattern for your next project. I hope you love making it as much as I loved designing it. These cheerful daisies never fail to brighten my day, and I know they’ll do the same for you.
If you make this bag, I would absolutely love to see it! Tag me on Instagram or share a photo in my Facebook group. Seeing your finished projects is honestly the best part of my day.
Go ahead and save this pattern to your Pinterest boards so you can find it whenever the crochet mood strikes. And if you have any questions or just want to share how yours turned out, drop a comment below. I read every single one and can’t wait to hear from you. Happy hooking!