
I’ve been looking for the perfect summer tote pattern for months now, and this one stopped me in my tracks. The combination of puff stitch sunflowers, that gorgeous golden yellow, and those bamboo handles creates something that looks like it belongs in a boutique window. This is my favourite kind of project: a classic technique elevated into something truly special.
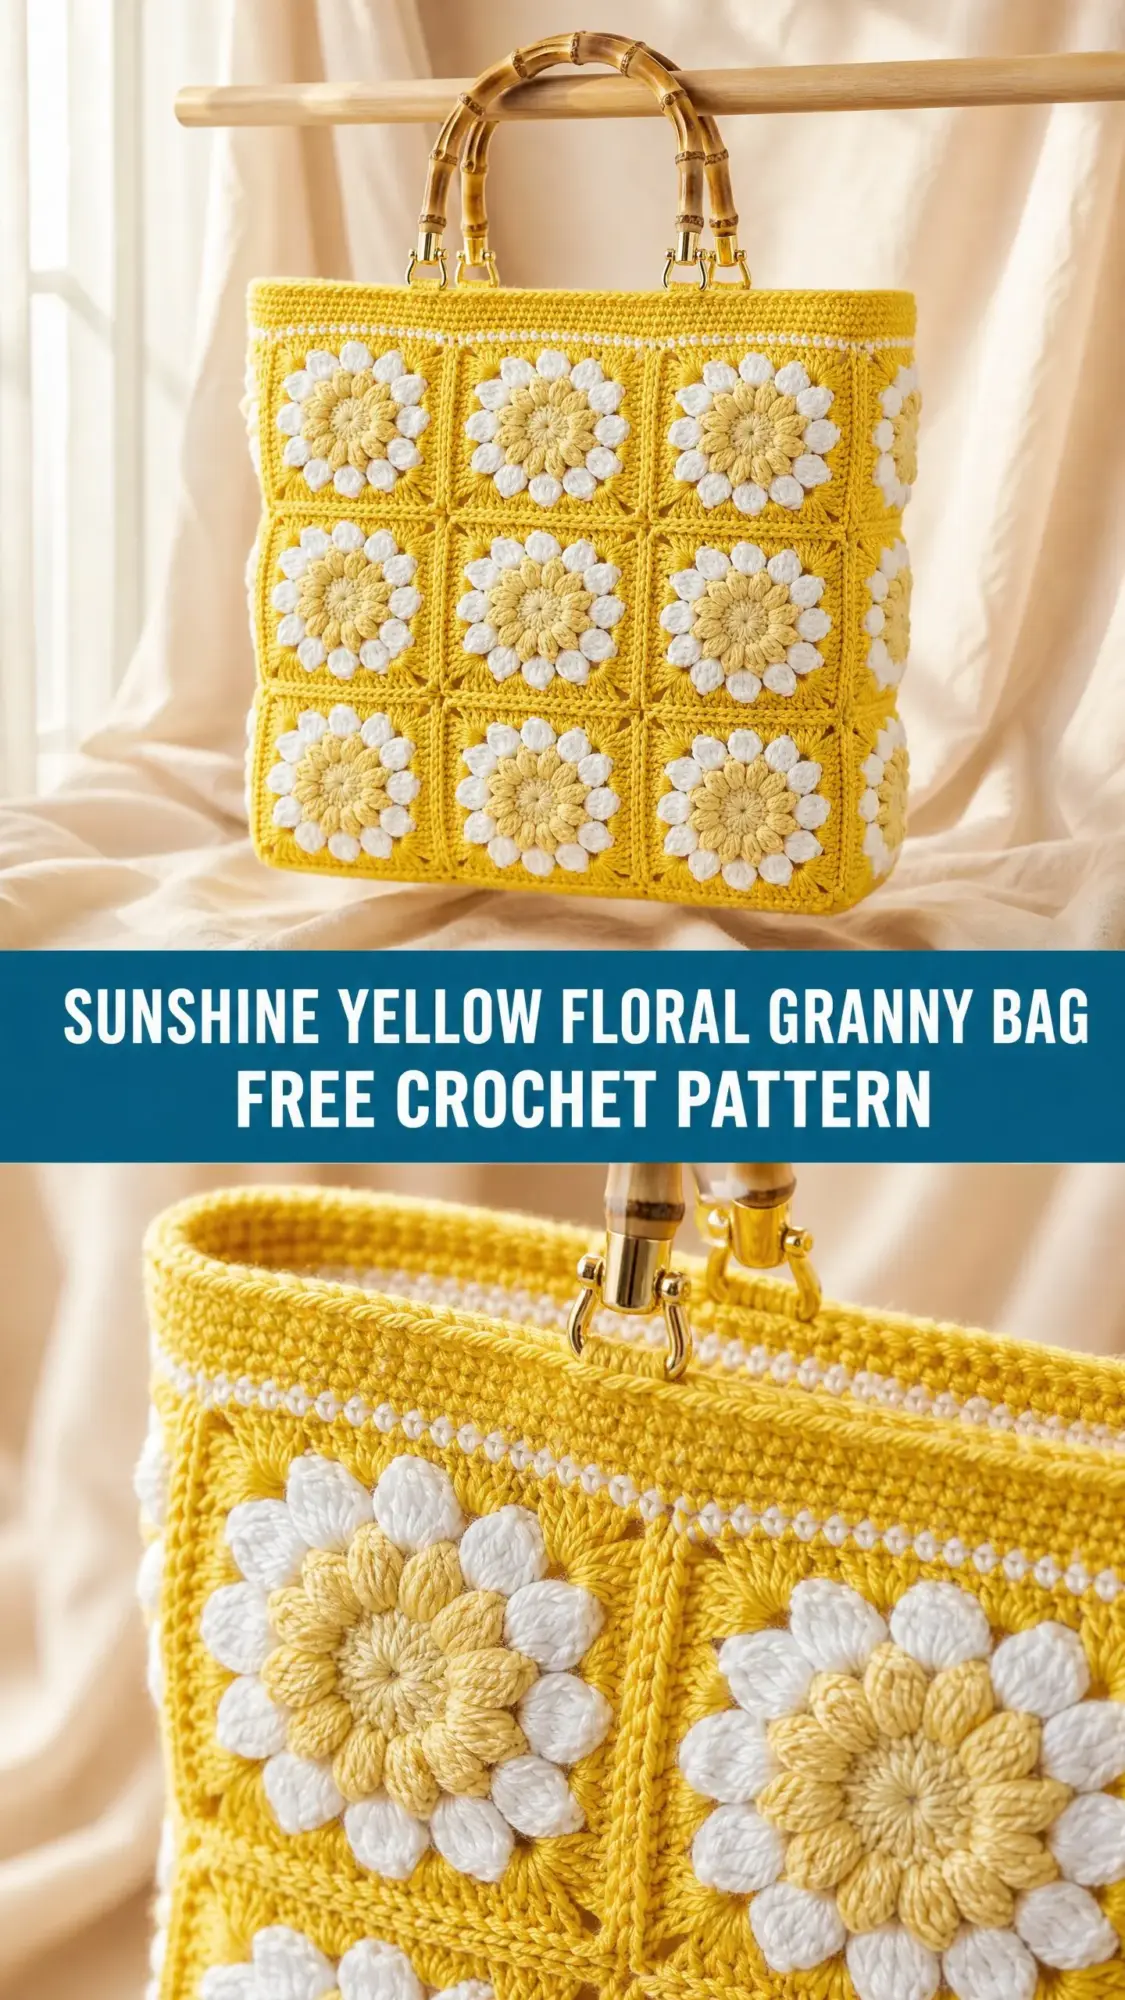
What really sold me is how the construction breaks down into manageable pieces. You’re essentially making 18 individual granny squares, each with a cheerful raised flower center, then joining them into a structured bag that actually stands up on its own. The cotton yarn gives it that firmness you need for a bag you’ll actually use.
Whether you’re heading to the farmers market, the beach, or just want something beautiful to carry your current work in progress, this bag delivers. Let me walk you through every step.
What Makes This Crochet Bag Pattern Special
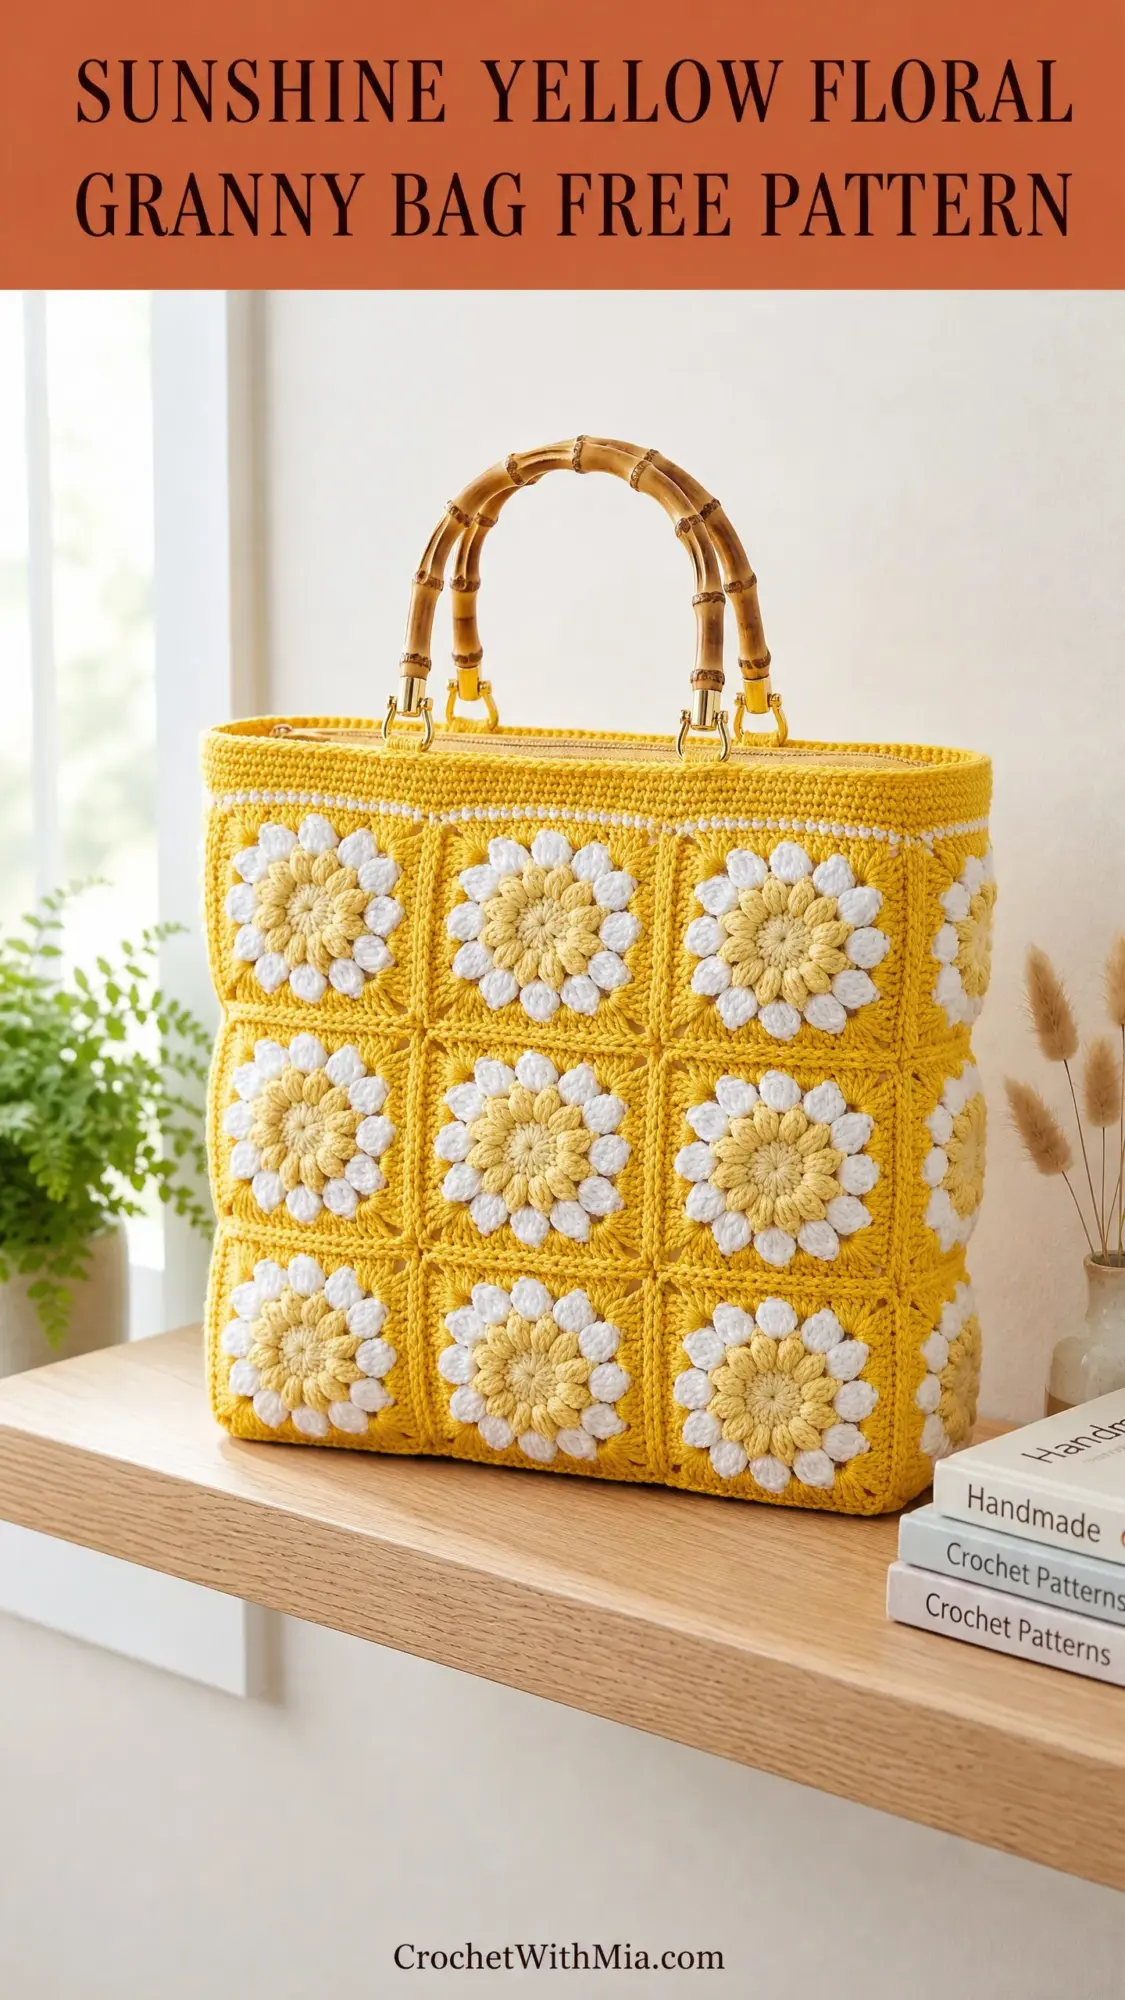
This isn’t your grandmother’s granny square bag, though she’d probably approve. Each square features a puff stitch sunflower motif at the center, which creates those beautiful raised petals you see in the finished piece. The cream white petals pop against the golden yellow frame, giving the whole bag a sunny, cheerful personality.
The bag measures approximately 13 inches wide by 12 inches tall by 4 inches deep when finished. That’s roomy enough for a day trip but structured enough for everyday errands. The bamboo handles with gold D-ring hardware add a polished, professional touch that elevates the entire piece.
I love that this uses cotton yarn exclusively. Cotton holds its shape beautifully, which means your bag won’t turn into a saggy mess after a few uses. It also washes well for those inevitable coffee spills.
Skill Level and Time Commitment
I’d call this an intermediate crochet pattern. You should be comfortable working in the round, making granny squares, and following multi-step stitch instructions. The puff stitch requires a bit of practice if you’ve never done it before, but I’ll explain it thoroughly below.
Expect to spend about 18 to 24 hours total on this project. Each individual granny square takes roughly 45 to 60 minutes depending on your pace. Don’t let that number intimidate you. These squares make excellent portable projects. Toss your supplies in a small bag and work on them during lunch breaks, while watching TV, or waiting at appointments.
Materials You’ll Need
Here’s everything required to make this sunshine yellow floral granny bag from start to finish.
Yarn:
Hook:
Notions:
Yarn Suggestions:
Lion Brand 24/7 Cotton works beautifully for this project. You’ll need about 4.5 skeins in a golden shade like Goldenrod or Buttercup for Color A, and about 2 skeins in Ecru for Color B.
WeCrochet Cotlin is another excellent choice. The linen content adds extra firmness and a slightly rustic texture that pairs wonderfully with the bamboo handles. Plan for about 7 skeins in Canary and 3 skeins in Bare.
Whatever you choose, avoid acrylic yarns. They won’t give you the structured bag body you see in the finished piece. Stick with cotton or cotton blends for best results.
Gauge
Getting gauge right matters a lot for this project. One completed granny square motif should measure 4 inches by 4 inches after light blocking.
In standard double crochet fabric with Color A: 16 double crochet stitches and 8 rows equals 4 inches by 4 inches.
Make a test square before diving into all 18. If yours measures larger, try a smaller hook. If smaller, go up a hook size. This ensures your finished bag matches the stated dimensions.
Abbreviations and Stitch Definitions
Let me define every abbreviation used in this crochet tutorial so you never have to guess.
ch: chain. Wrap yarn over hook and pull through the loop on your hook.
sl st: slip stitch. Insert hook, yarn over, pull through both the stitch and the loop on your hook in one motion.
sc: single crochet. Insert hook, yarn over and pull up a loop (2 loops on hook), yarn over and pull through both loops.
dc: double crochet. Yarn over, insert hook, yarn over and pull up a loop (3 loops on hook), yarn over and pull through 2 loops, yarn over and pull through remaining 2 loops.
ps: puff stitch. A cluster of loops pulled up from the same stitch and closed together. Full instructions below.
sp: space. The gap created by chain stitches in previous rounds.
ch-sp: chain space.
rep: repeat.
RS: right side. The side of your work that faces outward when finished.
yo: yarn over. Wrap the yarn around your hook.
rnd: round.
sk: skip.
st(s): stitch or stitches.
JAYG: join as you go. A method for connecting squares while you work the final round instead of sewing afterward.
Special Stitches Explained
Puff Stitch (ps)
This stitch creates those gorgeous raised flower petals. Here’s exactly how to work it:
1. Yarn over, insert hook into the indicated stitch or space.
2. Yarn over, pull up a loop to approximately 1/2 inch in height.
3. Yarn over, insert hook into the same stitch or space again.
4. Yarn over, pull up a loop to the same height.
5. Yarn over, insert hook into the same stitch or space a third time.
6. Yarn over, pull up a loop to the same height. You now have 7 loops on your hook.
7. Yarn over and pull through all 7 loops at once.
8. Chain 1 to close and secure the puff stitch. This closing chain does not count as a stitch.
The key to beautiful puff stitches is consistency. Keep all your pulled-up loops the same height throughout the project. Your flower petals will look uniform and professional.
Picot
This creates the decorative bumps along the top border.
1. Chain 3.
2. Slip stitch into the first chain made (the chain closest to your hook).
That’s it. A tiny decorative knot appears at the top of your stitch.
Join As You Go (JAYG)
When joining a new square to a completed one during the final round, replace the corner chain-2 space or side chain-2 space of the new square with: chain 1, single crochet into the corresponding space of the completed square, chain 1. This connects squares without any sewing.
Step by Step Crochet Pattern Instructions
Part One: Granny Square Motif
You’ll make 18 granny squares total. Work all rounds on the right side without turning.
Round 1, Puff Stitch Flower Center (Color B):
Make a magic ring, or chain 4 and slip stitch to form a ring.
Chain 1 (does not count as a stitch throughout).
Work (puff stitch, chain 1) 8 times into the ring. (8 puff stitches, 8 chain-1 spaces)
Pull the magic ring tail to close the center.
Slip stitch into the top of the first puff stitch to join. (8 ps)
Round 2, Petal Layer (Color B):
Chain 1, do not turn.
Working into each chain-1 space between puff stitches: (single crochet, chain 2, single crochet) into each chain-1 space around. (16 sc, 8 chain-2 spaces)
Slip stitch into the first single crochet to join.
Round 3, Outer Petal Definition (Color A):
Join Color A with a slip stitch into any chain-2 space from Round 2.
Chain 3 (counts as first double crochet now and throughout), work 2 double crochet into the same chain-2 space.
Chain 1, work 3 double crochet into the next chain-2 space.
Repeat (chain 1, 3 double crochet into next chain-2 space) 6 more times.
Chain 1, slip stitch into the top of the beginning chain-3 to join. (24 dc in 8 groups of 3, 8 chain-1 spaces)
Round 4, Granny Square Frame (Color A):
Slip stitch into the next 2 double crochet and into the chain-1 space.
This round creates the 4 corners of the square.
Chain 3 (counts as dc), work 2 double crochet into the same chain-1 space.
Chain 1, work 3 double crochet into the next chain-1 space.
Chain 2 (corner), work 3 double crochet into the same chain-1 space.
(Chain 1, 3 double crochet into the next chain-1 space) twice.
Chain 2 (corner), 3 double crochet into the same chain-1 space.
Repeat (chain 1, 3 dc into next chain-1 sp, chain 2, 3 dc into same chain-1 sp) twice more to complete 4 sides and 4 corners.
Chain 1, slip stitch into the top of the beginning chain-3 to join. (12 groups of 3 dc, 4 chain-2 corner spaces, 8 chain-1 side spaces)
Checkpoint: Your motif should measure approximately 3.25 inches across at this stage.
Round 5, Final Border Round (Color A):
Slip stitch into the next 2 double crochet and into the chain-1 space.
Chain 3 (counts as dc), work 2 double crochet into the same chain-1 space.
Continue around working: (chain 1, 3 dc) into each chain-1 space along sides, and (3 dc, chain 2, 3 dc) into each chain-2 corner space.
Pattern repeat for one side: (3 dc into chain-1 sp, chain 1, 3 dc into next chain-1 sp, chain 1, (3 dc, chain 2, 3 dc) into corner chain-2 sp).
Work all 4 sides in this manner.
At the end of Round 5, slip stitch into the top of the beginning chain-3. Fasten off Color A and weave in ends. (20 groups of 3 dc, 4 chain-2 corner spaces, 16 chain-1 side spaces)
Checkpoint: Each completed granny square should measure 4 inches by 4 inches after light blocking.
Part Two: Joining Squares Into Panels
Lay out all 18 squares to plan your arrangement:
Join Squares Into Front Panel (9 squares):
Arrange 9 squares in a 3 by 3 grid on a flat surface.
For Row 1 of Panel (top row): Join 3 squares horizontally using the JAYG method on Round 5.
To join Square 2 to Square 1 along their shared edge: Work Square 2 through Round 4 completely. On Round 5, work normally until you reach the shared edge side. Replace each chain-1 space on the joining side with (chain 1, single crochet into corresponding chain-1 space of Square 1, chain 0) and replace the corner chain-2 space with (chain 1, single crochet into the corner chain-2 of Square 1, chain 1). Continue the rest of Round 5 normally. Fasten off.
Repeat to join Square 3 to Square 2.
For Row 2 of Panel: Join 3 squares horizontally as above, then join this row to Row 1 using the same technique along the shared horizontal edges.
For Row 3 of Panel: Repeat to complete the 3 by 3 grid.
Fasten off and weave in all ends.
Make a second identical 3 by 3 joined panel for the back.
Part Three: Base Rectangle
The base connects the front and back panels and forms the floor of your bag. It measures approximately 13 inches by 4 inches.
With Color A, chain 54.
Row 1: Double crochet in the 4th chain from hook (the skipped chains count as first dc), double crochet in each chain across. Turn. (52 dc)
Rows 2 through 8: Chain 3 (counts as dc), double crochet in each stitch across. Turn. (52 dc)
After Row 8, fasten off.
Checkpoint: The base rectangle should measure approximately 13 inches wide by 4 inches tall.
Part Four: Assembling the Bag Body
Hold the front panel and the base rectangle with right sides facing outward.
Using Color A and a yarn needle, whipstitch or slip stitch the bottom edge of the front panel to one long edge of the base rectangle. Work one joining stitch per stitch across. (52 sts joined)
Attach the back panel to the opposite long edge of the base rectangle in the same manner. (52 sts joined)
Fold the assembly so the front and back panels stand upright and the base lies flat at the bottom.
At each side of the bag, slip stitch the short left side edge of the front panel to the short left side edge of the back panel. Work through the outermost chain-2 corner spaces and chain-1 side spaces of the border squares on each panel, matching them stitch for stitch. Repeat for the right side. (Approximately 36 to 40 sl sts per side seam)
Close the base corners by working single crochet seam stitches across the corner gaps from the inside of the bag.
Checkpoint: The bag body should now stand upright and measure approximately 13 inches wide by 12 inches tall by 4 inches deep.
Part Five: Top Border
With Color A, join yarn at any top corner of the bag opening using a slip stitch.
Work single crochet evenly around the top edge of the bag. Work approximately 36 single crochet across the front panel top, 8 to 10 single crochet on each short side, and 36 single crochet across the back panel top. Total: approximately 92 single crochet.
Slip stitch to the first single crochet to join. (92 sc)
Picot Border Round:
Join Color B with slip stitch to any single crochet in the top border.
(Single crochet in the next 2 single crochet, picot) repeat around. (46 sc pairs with 46 picots)
Slip stitch into the first single crochet to join. Fasten off Color B.
Part Six: Handle Attachment
On the front panel, center the handles over the middle granny square of the top row. The two D-ring attachment points should be placed approximately 3 inches apart and centered left to right over the middle square. Mirror this placement on the back panel.
Thread a 12-inch length of Color A through the D-ring connector. Fold the yarn length in half over the straight bar of the D-ring. Use the two yarn tails to securely whipstitch the D-ring attachment to the inside of the top edge of the bag, working through the single crochet border stitches. Make at least 8 overhand wraps per D-ring, then knot and bury the ends.
Slide the bamboo handle loop through the D-ring and close the handle.
Repeat for all 4 attachment points.
Finishing and Blocking Your Bag
Weave in all remaining yarn ends securely. For cotton yarn, use a locking stitch by threading through the weave two to three times in different directions.
Mist the assembled bag lightly with water using a spray bottle. Do not submerge it.
Gently reshape the bag to ensure square corners, even sides, and a flat base. Stuff the inside loosely with clean towels or tissue paper to hold the shape while drying.
Allow to dry completely, approximately 24 hours, before using or storing.
Care Instructions
Hand wash in cool water with a mild detergent. Gently press out excess water without wringing. Reshape while damp and allow to dry flat or stuffed. Do not machine wash or tumble dry. Store stuffed with tissue paper to maintain the shape.
You Did It!
Thank you so much for choosing this pattern for your next crochet project. I genuinely hope you love making this sunny bag as much as I enjoyed designing it. If you give it a try, I’d absolutely love to see your finished piece. Tag me on Instagram or share a photo in my Facebook group. Nothing makes my day brighter than seeing your beautiful creations out in the world.
If this pattern caught your eye, go ahead and save it to your Pinterest boards so you can find it easily when you’re ready to start. And if you do make this sunshine yellow floral granny bag, drop a comment below. I read every single one and love hearing about your crochet adventures!