
I don’t know about you, but I have a soft spot for accessories that make an outfit feel special without trying too hard. There’s something about slipping on a handmade headband that transforms even the most basic ponytail into something worth photographing.
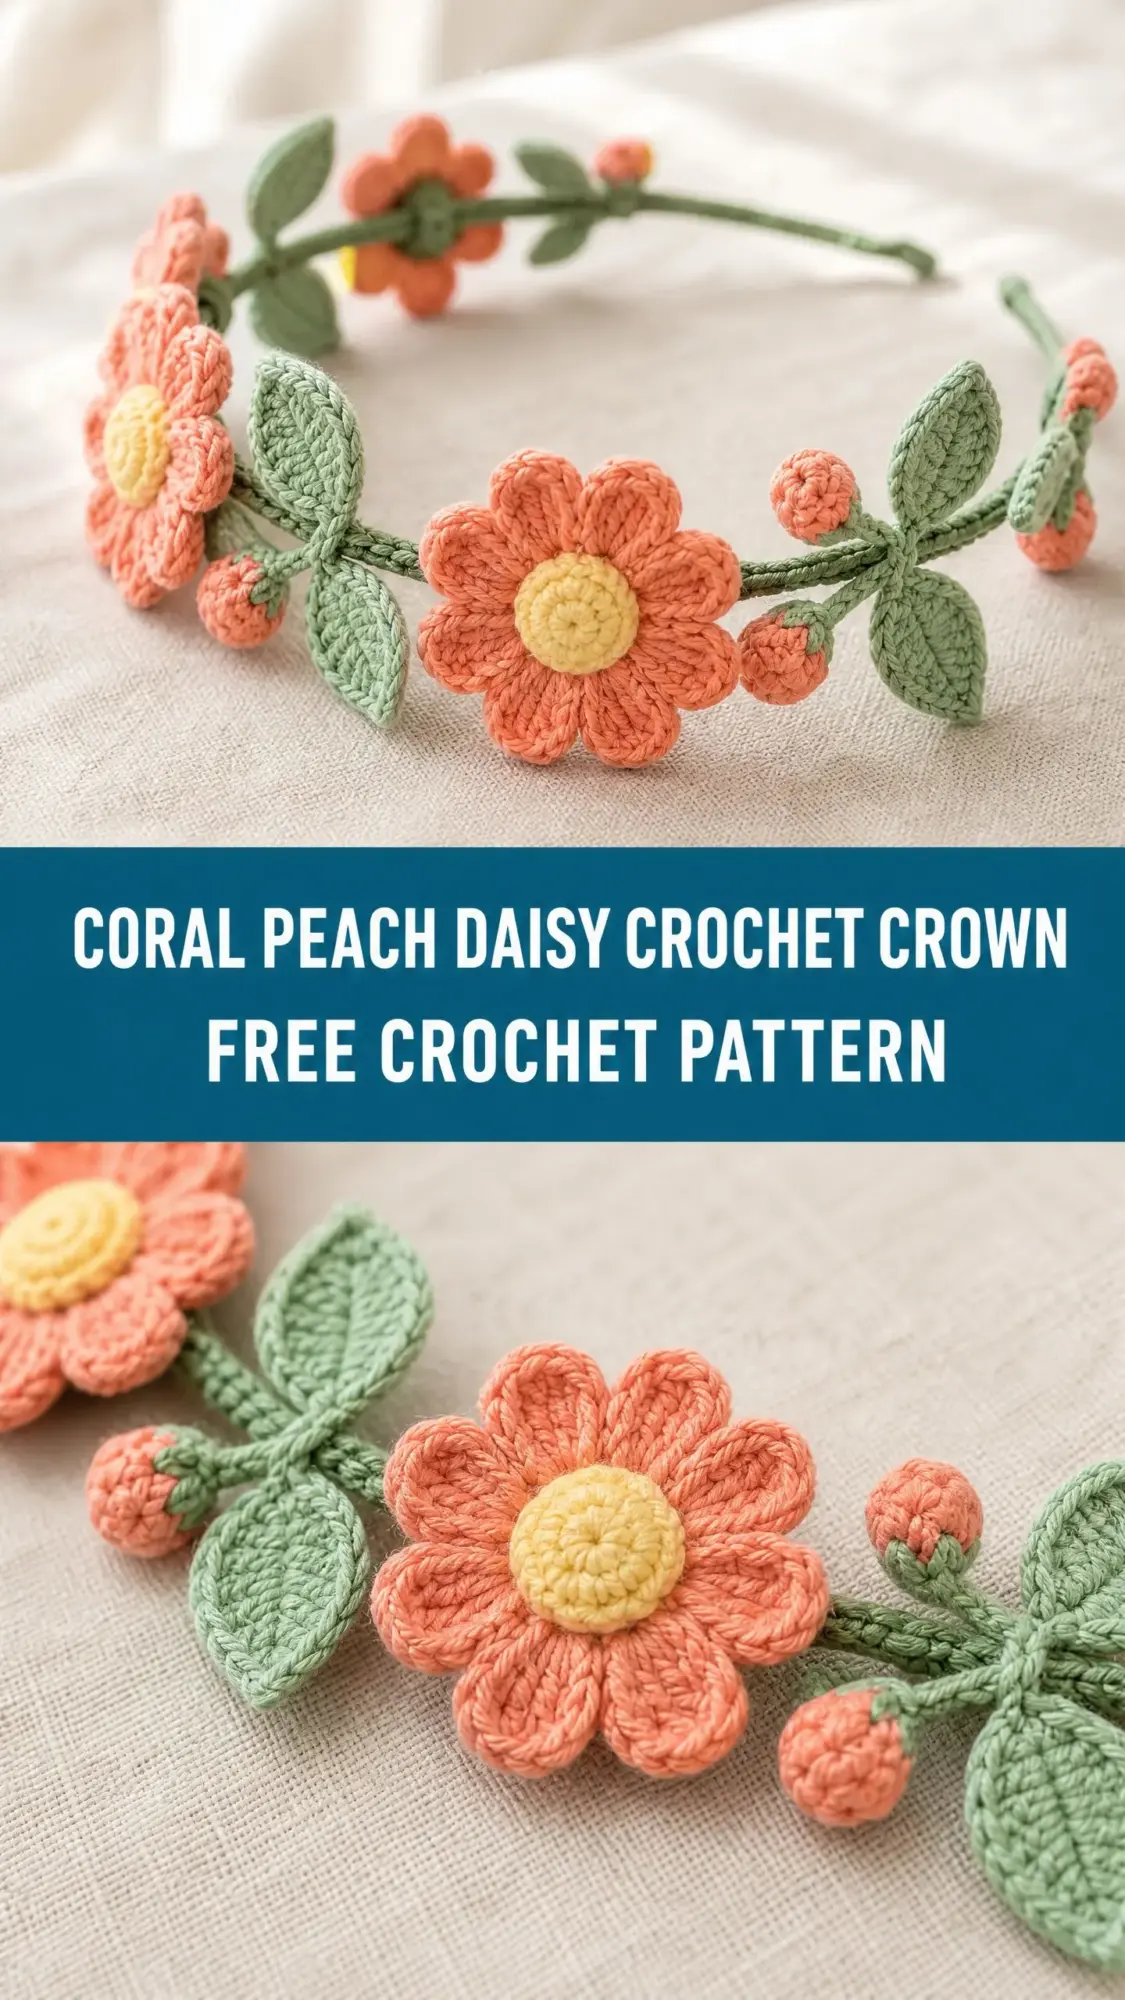
This coral peach daisy crochet crown is exactly that kind of piece. Whimsical florals, trailing green leaves, and tiny rosebuds all wrapped around a simple headband frame. It’s cottagecore meets flower crown meets "yes, I made this myself."
If you’ve been looking for a project that feels creative, looks impressive, and actually gets worn, this crochet pattern is calling your name. Let me walk you through every single step.
Why You’ll Love This Crochet Pattern
This floral headband crown hits that sweet spot between artsy and wearable. The construction breaks down into small, manageable pieces. You make the daisies separately. You make the leaves separately. You make the rosebuds separately. Then you wrap the headband frame and assemble everything like a little botanical puzzle.
No complicated colorwork. No confusing decreases mid-round. Just simple motifs that come together beautifully.
The finished piece features two large coral-peach daisy blooms with pale yellow centers, one smaller daisy nestled between them, trailing sage green leaves, and tiny rolled rosebuds tucked along the vine. The whole thing sits on a wrapped headband frame, so it stays put and keeps its shape.
This is an intermediate-level crochet tutorial, but don’t let that scare you off. If you can work in the round, make a magic ring, and sew pieces together, you can absolutely make this headband.
Materials You’ll Need
Gather everything before you start. Trust me, hunting for scissors mid-project is never fun.
Yarn:
Hook: US size C-2 or 2.75 mm
Additional Materials:
Yarn Suggestions That Work Beautifully
Paintbox Yarns Simply DK works wonderfully here. It’s 100% acrylic with excellent stitch definition and easy care. One ball each in Coral, Grass Green or Pistachio, and Vanilla Cream will cover you.
WeCrochet Comfy Sport is another great choice. The 75% pima cotton and 25% acrylic blend gives crisp petal definition with just a touch of drape. Try Peach Blossom, Alfalfa, and Cream.
Rowan Cotton Glace is perfect if you want a slightly polished, lustrous finish. The 100% cotton gives excellent stitch clarity.
Avoid fuzzy, brushed, or heavily textured yarns. The stitch detail is what makes these flowers pop.
Gauge
Using your US C-2 or 2.75 mm hook:
10 single crochet stitches by 11 rows equals 1.5 inches or 3.8 cm when worked flat in single crochet.
Your large daisy motif (Rounds 1 through 3) should measure approximately 2.25 inches or 5.7 cm in diameter after light pressing.
Gauge matters here because you want your motifs to fit nicely on the headband frame. If your daisies come out too big, go down a hook size. Too small? Go up.
Finished Measurements
Abbreviations
Let me break down every abbreviation you’ll see in this crochet pattern. Even if you know these by heart, a quick refresher never hurts.
Special Stitches
Petal Stitch
This creates one rounded petal for your daisies. In the designated stitch or space, work the following all into the same place: (sc, hdc, 2 dc, hdc, sc). That’s 6 stitches total forming one petal.
Rosebud Cluster
Round 1: Make a MR, ch 1, work 6 sc into ring, sl st to first sc to join. Pull ring closed. (6 sc)
Round 2: Ch 2 (counts as first dc), work 2 dc in same st, 3 dc in each remaining st around, sl st to top of ch-2 to join. Fasten off, leaving a long tail for sewing. (18 dc)
Roll the circle tightly inward from one edge to form a small bud shape. Stitch the base together with the tail to secure.
Leaf (Worked in Rows)
Row 1: Using Color B, ch 2, sc 1 in second ch from hook, turn. (1 sc)
Row 2: Ch 1, inc in only st, turn. (2 sc)
Row 3: Ch 1, inc in first st, sc to last st, inc in last st, turn. (4 sc)
Row 4: Ch 1, inc in first st, sc to last st, inc in last st, turn. (6 sc)
Row 5: Ch 1, sc across, turn. (6 sc)
Row 6: Ch 1, dec, sc to last 2 sts, dec, turn. (4 sc)
Row 7: Ch 1, dec, dec, turn. (2 sc)
Row 8: Ch 1, dec. (1 sc) Fasten off, leaving a long tail.
Do not turn after Row 8. Work 1 round of sc evenly around the outer edge of the leaf, placing 2 sc in each corner point to keep it flat, sl st to first sc to join. Fasten off. Weave in ends.
Step by Step Pattern Instructions
Part 1: Wrapping the Headband Frame
This is the foundation for everything. No hook needed here, just your hands.
Step 1: Cut a length of Color B approximately 6 yards or 5.5 meters. Thread one end into a yarn needle.
Step 2: At one tip of the headband, secure the yarn by knotting it tightly around the tip of the frame twice.
Step 3: Wrap the yarn diagonally and snugly around the frame, overlapping each pass slightly so no plastic shows. Continue wrapping until you reach the other tip.
Step 4: When you run out of yarn, overlap the new strand with the old, knot them together at the back of the band, and continue. Join as many lengths as needed.
Step 5: At the second tip, knot the yarn firmly and trim.
Checkpoint: The wrapped band should feel firm and show no gaps. The sage green color should be uniform across the entire frame.
Part 2: Large Daisy (Make 2)
Using Color A and US C-2 or 2.75 mm hook.
Round 1: Make a MR. Ch 1, work 8 sc into ring. Pull ring closed. Sl st to first sc to join. (8 sc)
Round 2: Ch 4 (counts as first ch-sp base), sl st back into same st at base of ch-4, (ch 4, sl st into next st) 7 times. You now have 8 ch-4 loops around the ring. (8 loops)
Round 3: Work Petal Stitch (sc, hdc, 2 dc, hdc, sc) into each ch-4 loop around. Sl st to first sc to join. (8 petals, 48 sts total across all petals)
Fasten off Color A. Join Color C in any stitch at the center ring visible between petals.
Round 4 (center detail): Working through the center ring and between petal bases, sl st into each of the 8 sc from Round 1 that are visible at the center. This tightens and raises the center. Fasten off Color C, leaving a short tail. Weave in tail.
Leave the Round 3 finishing tail approximately 12 inches or 30 cm long for sewing to band.
Large daisy diameter: approximately 2.25 inches or 5.7 cm.
Part 3: Small Daisy (Make 1)
Using Color A and US C-2 or 2.75 mm hook.
Round 1: Make a MR. Ch 1, work 6 sc into ring. Pull ring closed. Sl st to first sc to join. (6 sc)
Round 2: Ch 3, sl st back into same st at base, (ch 3, sl st into next st) 5 times. You now have 6 ch-3 loops. (6 loops)
Round 3: Work into each ch-3 loop: (sc, hdc, dc, hdc, sc). Sl st to first sc to join. (6 petals, 30 sts total across all petals)
Fasten off Color A, leaving a 12-inch or 30 cm tail for sewing. Join Color C in the center ring and sl st around all visible center sc to define the center. Fasten off Color C, weave in tail.
Small daisy diameter: approximately 1.5 inches or 3.8 cm.
Part 4: Rosebuds (Make 4)
Using Color A and US C-2 or 2.75 mm hook.
Round 1: Make a MR. Ch 1, work 6 sc into ring. Sl st to first sc to join. Pull ring closed. (6 sc)
Round 2: Ch 2 (counts as first dc), 2 dc in same st, 3 dc in each remaining 5 sts around. Sl st to top of beg ch-2 to join. (18 dc)
Fasten off, leaving a 10-inch or 25 cm tail for sewing and shaping.
Shaping: Roll the disc tightly from one edge inward, spiraling toward the center to form a small bud. Thread the tail through the base several times to secure the bud form. The rosebud should be approximately 0.5 inch or 1.3 cm wide and slightly raised.
Part 5: Leaves (Make 10)
Using Color B and US C-2 or 2.75 mm hook. Follow the Leaf special stitch instructions above.
Work all 8 rows as written. Complete the edging round. Fasten off, leaving a 12-inch or 30 cm tail for sewing.
Make 10 leaves total. Press gently with a warm iron and damp cloth to flatten and shape before sewing.
Checkpoint: Each finished leaf should measure approximately 0.75 inch or 2 cm wide at the widest point and approximately 1.25 inches or 3.2 cm from tip to tip. All 10 leaves should be consistent in size.
Part 6: Vine Accents (Optional but Recommended)
Using Color B and US C-2 or 2.75 mm hook.
Make 2 simple cord lengths for visual vine stems between motifs.
Foundation chain: Ch 15. Sl st in second ch from hook and in each ch across. (14 sl st) Fasten off, leaving a 6-inch or 15 cm tail on each end.
Make 2 cords. These will be laid along the top surface of the band between motifs to suggest vine growth. Sew in place using the tails.
Assembly
This is where everything comes together. Take your time and pin before you sew.
Step 1: Lay the wrapped headband flat with the front arc facing up. The widest, most visible portion of the arc is the top front where motifs will be concentrated.
Step 2: Position the two large daisies first. Place one large daisy approximately 1.25 inches or 3 cm to the left of center and one large daisy approximately 1.25 inches or 3 cm to the right of center, so they are adjacent but slightly overlapping toward the center bottom. Pin in place.
Step 3: Position the small daisy between the two large daisies, slightly lower, so it nestles in the space between them. Pin in place.
Step 4: Using the sewing tails and a yarn needle, stitch each daisy securely to the wrapped band. Run stitches around the perimeter of the daisy base and through the wrapped yarn on the band. Do not pull so tightly that the motifs bunch. Stitches should be invisible from the front.
Step 5: Position leaves in pairs along both sides of the band, angling them outward and slightly upward from the band surface, like leaves on a vine. Place one pair flanking each large daisy, one pair at the midpoint of each arm of the band, and remaining pairs toward the ends. Pin and sew each leaf using its tail.
Step 6: Tuck a vine cord length between the large daisy and the adjacent leaf grouping on each side. Stitch the cord down along its length using small stitches through the wrapped band.
Step 7: Nestle one rosebud at each junction where a vine cord meets a leaf grouping. Place the remaining two rosebuds at the outer end areas of the front arc. Sew each rosebud down firmly through its base.
Step 8: Review placement from the front. Adjust any motif that has shifted. Add extra hidden stitches to any piece that feels loose.
Final Checkpoint: Viewed from the front, the finished crown should show two large daisies bracketing a smaller central daisy, flanked by leaf pairs and punctuated with small rosebuds. The sides should taper to green vine and leaf detail. No plastic or white frame should be visible anywhere.
Size Customization Tips
For a child: Use a child-sized headband frame. Reduce the large daisy to 6 petals instead of 8 by working 6 sc in Round 1 and 6 ch-4 loops in Round 2. Reduce total leaves to 6.
For a wider head: Choose a wider headband frame. Extend the vine cord lengths by adding more chains (ch 20 instead of ch 15). Add one additional leaf pair per arm of the band.
To adjust motif size: Moving to a B-1 or 2.25 mm hook tightens the fabric and reduces motif diameter by approximately 10 to 15 percent. Moving to a D-3 or 3.25 mm hook enlarges motifs by a similar margin.
Finishing and Blocking
Weave in all remaining yarn ends securely. Trim tails close.
For cotton or cotton-blend yarns: Lightly mist the motifs with water. Use a warm iron with a pressing cloth on the petals to open and flatten them evenly. Do not iron directly over rosebuds, as the dimensional shaping may flatten.
For acrylic yarns: Hold the crown over steam from a kettle or use a steam iron set to low, keeping the iron 1 to 2 inches above the motifs. This relaxes the fiber and allows petals to lie flat.
If leaves appear too soft and floppy, insert a short length of 26-gauge floral wire along the center spine of each leaf before sewing it to the band.
Care Instructions
Hand wash only in cool water with gentle detergent. Do not soak for more than 5 minutes. Lay flat or hang by the band to dry. Do not wring or twist.
Avoid machine washing or drying, as heat can distort the headband frame and cause motifs to lose their shape. Store flat or hanging to protect those beautiful dimensional petals.
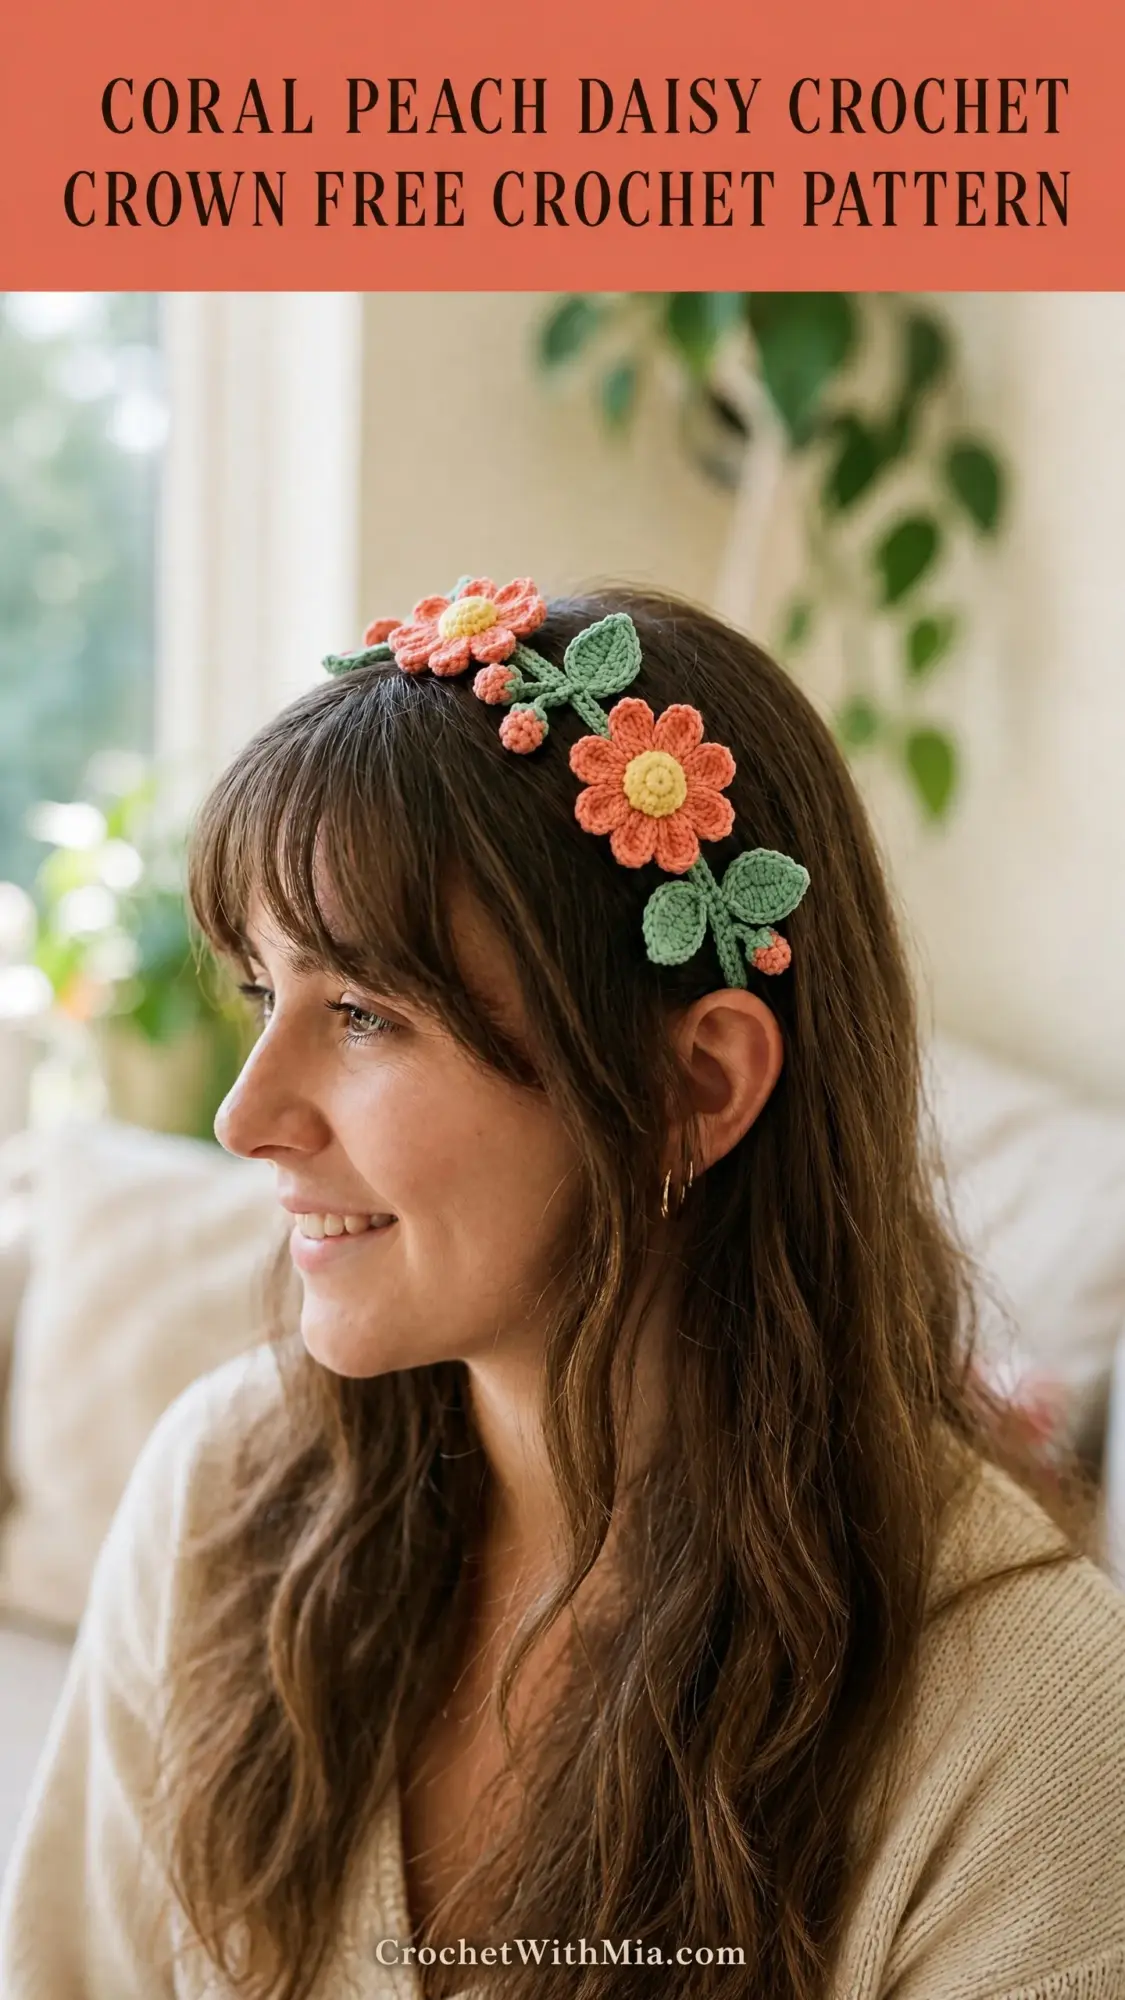
Time to Make Your Own Crochet Floral Crown
This coral peach daisy crochet crown is the kind of project that makes you feel like a true maker. Every little rosebud, every perfectly shaped leaf, every petal that catches the light just right. It all adds up to something genuinely beautiful.
Whether you’re making this for yourself, gifting it to a flower-loving friend, or creating inventory for a craft market, this pattern delivers. The step by step instructions break everything into manageable pieces, and the finished result looks far more complex than it actually is.
I hope you love making this as much as I loved designing it. Thank you so much for choosing this pattern. If you want to share your finished crown, I’d absolutely love to see it! Tag me on Instagram or post a photo on Facebook so I can cheer you on.
If this crochet pattern caught your eye, go ahead and save it to your Pinterest boards so you can find it when you’re ready to start. And if you do make your own coral peach daisy crown, drop a comment below. I love seeing what you create!