
Go dig through your stash right now. I know you have that gorgeous variegated thread tucked away somewhere, the one with those warm autumn tones you bought because it was too beautiful to leave at the store. This butterfly earring pattern is exactly what that special skein has been waiting for. The construction is genuinely interesting, working four wings outward from a single magic ring so everything connects seamlessly without any fiddly seaming. I will be honest with you though, this is an intermediate project. You will need to be comfortable with magic rings, joining rounds, and a bit of jewelry assembly. But if you have made a few amigurumi or lace motifs before, you are absolutely ready for this.
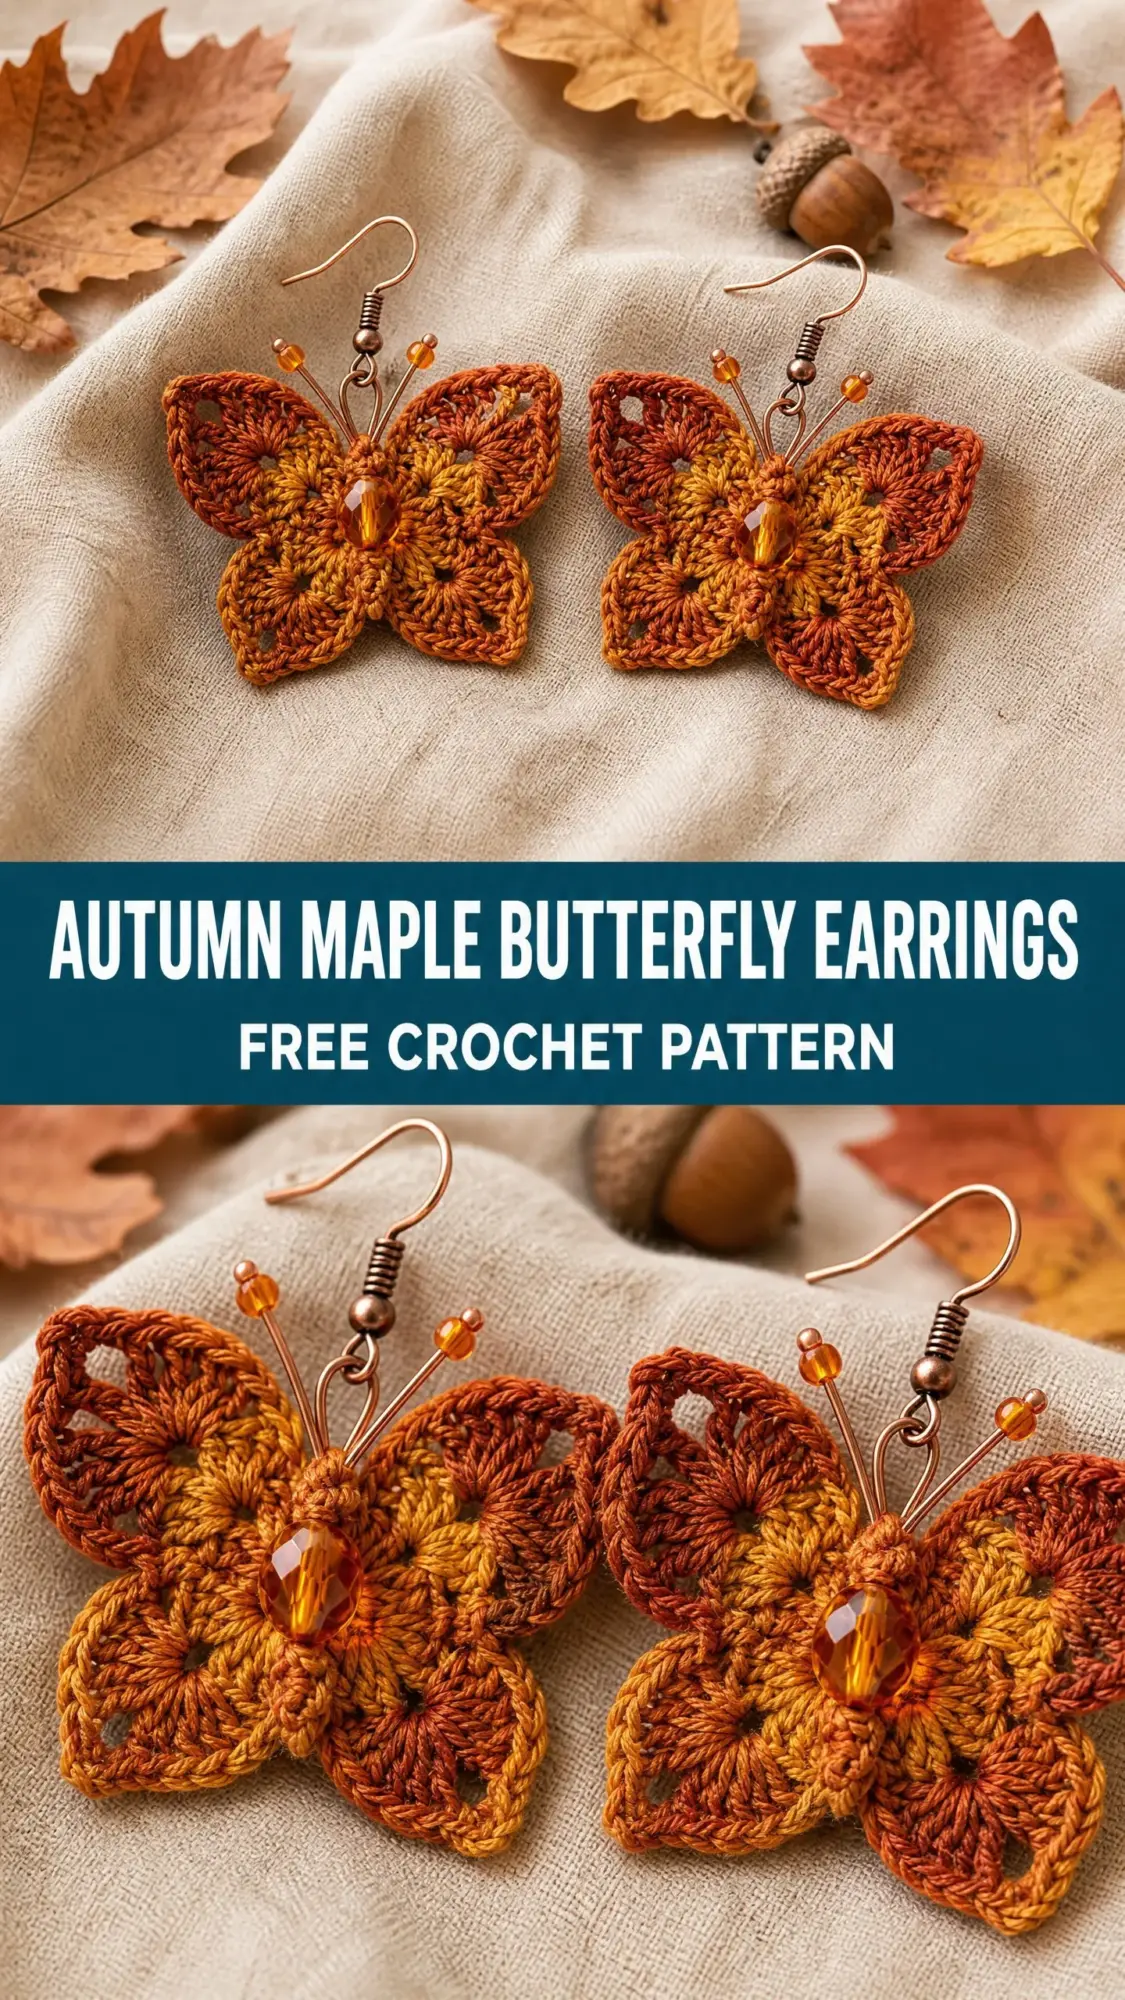
These delicate crocheted butterfly earrings capture everything I love about fall. The warm rust and golden amber tones mimic maple leaves at their peak, and the lightweight construction means you can wear them all day without your ears getting tired. Each butterfly takes about 30 to 45 minutes once you get the hang of it, making this a perfect one-sitting project for a cozy autumn evening.
The finished earrings measure approximately 1.75 inches wide by 2.5 inches long including the ear wire. They are substantial enough to make a statement but light enough to forget you are wearing them. Let me walk you through everything you need to know to make your own pair.
Materials You Will Need for These Butterfly Earrings
Before you start crocheting, gather all your supplies. Having everything within reach makes the process so much smoother.
Yarn: Size 10 crochet cotton thread or fingering-weight yarn in a variegated autumn colorway. You will need approximately 15 yards per earring, so 30 yards total for the pair. Look for colorways that blend rust, burnt orange, and golden amber for that authentic fall leaf look.
Suggested Yarns:
Hook: Steel crochet hook size 7 (1.65 mm) for size 10 cotton thread, or size B-1 (2.25 mm) for fingering-weight yarn. Adjust to achieve gauge.
Notions:
Gauge for This Crochet Pattern
One completed wing petal (Rounds 1 through 3) measures approximately 0.75 inches wide by 0.6 inches tall. The full butterfly motif after all four wings are joined measures approximately 1.75 inches wide by 1.5 inches tall.
Gauge is not critical for jewelry, but maintaining a tight, even tension prevents gaps and keeps your motif flat and crisp. If your butterfly looks loose or floppy, try going down a hook size.
Abbreviations and Stitch Definitions
Let me break down every stitch you will use in this pattern. Even if you know these stitches well, take a moment to review so we are on the same page.
ch: Chain. Wrap yarn over hook, pull through loop on hook.
sl st: Slip stitch. Insert hook, yarn over, pull through both the stitch and the loop on your hook in one motion.
sc: Single crochet. Insert hook, yarn over, pull up a loop (2 loops on hook), yarn over, pull through both loops.
hdc: Half double crochet. Yarn over, insert hook, yarn over, pull up a loop (3 loops on hook), yarn over, pull through all 3 loops.
dc: Double crochet. Yarn over, insert hook, yarn over, pull up a loop (3 loops on hook), yarn over, pull through 2 loops, yarn over, pull through remaining 2 loops.
tr: Treble crochet. Yarn over twice, insert hook, yarn over, pull up a loop (4 loops on hook), yarn over, pull through 2 loops three times.
MR: Magic ring. Make a loop with yarn, insert hook through loop, pull up a loop, chain 1 to secure, then work stitches into the ring.
Shell Stitch: Work 5 dc all into the same stitch or space. This creates a fan-shaped cluster.
Picot: Chain 3, slip stitch into the first chain of the 3 just made. Creates a small decorative loop.
Special Techniques for This Butterfly Pattern
This butterfly uses a continuous joined construction that might be new to you. All four wings share a common magic ring at the center. You will work one wing, slip stitch back to the center, then work the next wing without ever fastening off. This creates a seamless motif with no sewing required.
The joined petal start technique is the key here. After completing one wing, do not fasten off. Instead, slip stitch back to the center ring, chain your foundation, and continue directly into the next wing. Think of it like making a four-petaled flower where each petal connects naturally at the center.
Step by Step Crochet Pattern Instructions
This pattern is written for one earring. Repeat all instructions for your second earring.
Center Setup
Make a magic ring (MR). Chain 4. This chain-4 counts as the foundation chain to begin the first upper wing. Do not close the ring yet.
Upper Wing 1 (Right Upper Wing)
Round 1 of Wing 1:
Into the MR, work the following sequence: sc 1, hdc 1, dc 3, tr 2, dc 3, hdc 1, sc 1. Pull the MR closed firmly. (12 sts in MR)
This row of stitches forms the curved outer edge of the right upper wing. The treble stitches sit at the outermost tip.
Round 2 of Wing 1 (edging):
Chain 1, do not turn. Working back along the outside of the stitches just made: sl st into first sc, sc into hdc, hdc into first dc, shell stitch (5 dc) into center dc, hdc into next dc, picot into first tr, sc into second tr, picot, hdc into next dc, shell stitch (5 dc) into next dc, hdc into next dc, sc into hdc, sl st into last sc. Slip stitch back toward the MR center. (22 surface sts plus 2 picot loops)
Checkpoint: Your right upper wing should now be a rounded fan shape, approximately 0.9 inches wide at its widest and 0.75 inches tall. The outer edge has two shell bumps separated by picot tips at the top point.
Upper Wing 2 (Left Upper Wing)
Do not fasten off. Slip stitch back to the magic ring center. Chain 4 to begin the second upper wing, positioned on the opposite side of the first wing.
Repeat Round 1 and Round 2 of Wing 1 exactly, working into the same MR center.
After completing Round 2 of Wing 2, slip stitch back to the center ring.
Checkpoint: Both upper wings are now complete. The piece should resemble the top half of a butterfly, approximately 1.75 inches wide across the two wings. The wings should lie flat.
Lower Wing 1 (Right Lower Wing)
The lower wings use a slightly shorter stitch sequence to create a smaller, rounder wing lobe.
Do not fasten off. From the center ring, chain 3.
Round 1 of Lower Wing 1:
Into the MR, work: sc 1, hdc 2, dc 3, hdc 2, sc 1. (9 sts in MR for this wing segment)
Round 2 of Lower Wing 1 (edging):
Chain 1, do not turn. Working back along the outside: sl st into first sc, sc into first hdc, hdc into second hdc, shell stitch (5 dc) into center dc, hdc into next dc, shell stitch (5 dc) into next dc, hdc into next hdc, sc into last hdc, sl st into last sc. Slip stitch back toward center MR. (20 surface sts)
Checkpoint: The right lower wing should be a compact rounded lobe, approximately 0.75 inches wide and 0.6 inches tall, noticeably smaller than the upper wings.
Lower Wing 2 (Left Lower Wing)
Do not fasten off. Slip stitch back to the center ring. Chain 3 to begin the left lower wing.
Repeat Round 1 and Round 2 of Lower Wing 1 exactly, working into the same MR center.
After completing Round 2 of Lower Wing 2, slip stitch back to the center ring.
Fasten off, leaving a 6-inch tail for weaving in and anchoring the body bead.
Total Motif Checkpoint
Your full butterfly motif should measure approximately 1.75 inches wide across the upper wings and 1.5 inches tall from top to bottom. The motif should lie flat with no cupping. If it cups, block firmly or redo with a slightly larger hook.
Finishing Your Butterfly Earrings
This is where your butterflies really come to life. Take your time with these finishing steps.
Step 1: Weave in Ends
Thread your starting tail and finishing tail onto a tapestry needle. Weave each tail through several stitches at the center ring on the wrong side. Knot securely but do not trim yet.
Step 2: Attach Body Bead
Thread the finishing tail through your tapestry needle. Pass the needle up through the center ring from wrong side to right side. Thread the amber bugle bead vertically through the center of the butterfly, positioning it along the center line where all four wings meet. Pass the needle back through the center ring. Pull snug so the bead sits vertically at center. Secure with two or three knots on the wrong side. Now trim all tails.
Step 3: Shape Wire Antennae
Take one 4-inch piece of copper wire. Using round-nose pliers, fold the wire in half to find the center. At the center point, make a small loop approximately 3 mm in diameter. This loop attaches to the motif.
Thread 2 seed beads onto each antenna wire end (4 beads total). Trim each wire end to approximately 1.5 inches from the center loop. Using pliers, curl each wire tip into a tiny closed loop to keep beads from sliding off.
Step 4: Attach Antennae
Insert the center loop of your shaped antennae through the top center of the butterfly, between stitches at the top of the center ring, from right side to wrong side. Gently close the loop snugly against the back of the motif.
Step 5: Attach Ear Wire
Open the loop at the bottom of the copper fish-hook ear wire using pliers (twist sideways, do not pull apart). Thread through the center loop of the antennae wire. Close securely with pliers.
Step 6: Blocking
This step is optional but makes a huge difference. Lightly mist the butterfly with water or apply diluted fabric stiffener. Pin flat onto a foam blocking mat, spreading each wing into its rounded shape. Allow to dry completely, about 1 to 2 hours.
Step 7: Make Your Second Earring
Repeat all steps for your matching earring.
Size Customization Tips for This Crochet Tutorial
For smaller earrings: Use size 20 or 30 crochet thread with a size 10 or 12 steel hook. Your finished motif will be approximately 1.25 inches wide.
For larger statement earrings: Use fingering-weight yarn held double or DK-weight yarn with a size D-3 (3.25 mm) hook. Your motif will scale to approximately 2.5 inches wide. Consider adding one extra dc to each shell (making 7 dc shells) for more fullness.
To adjust wing proportions: Add one additional treble crochet at the tip of the upper wing (3 tr instead of 2) for a more elongated silhouette. Reduce the lower wing foundation chain from 3 to 2 chains for shorter lower lobes.
Care Instructions
Hand wash gently in cool water with mild soap. Do not wring. Press flat between clean towels to remove excess water. Air dry flat, reshaping wings as needed. If stiffness is lost after washing, reapply fabric stiffener and re-block.
Store flat or hanging by the ear wire to prevent crushing. Do not tumble dry or iron directly.
You Did It!
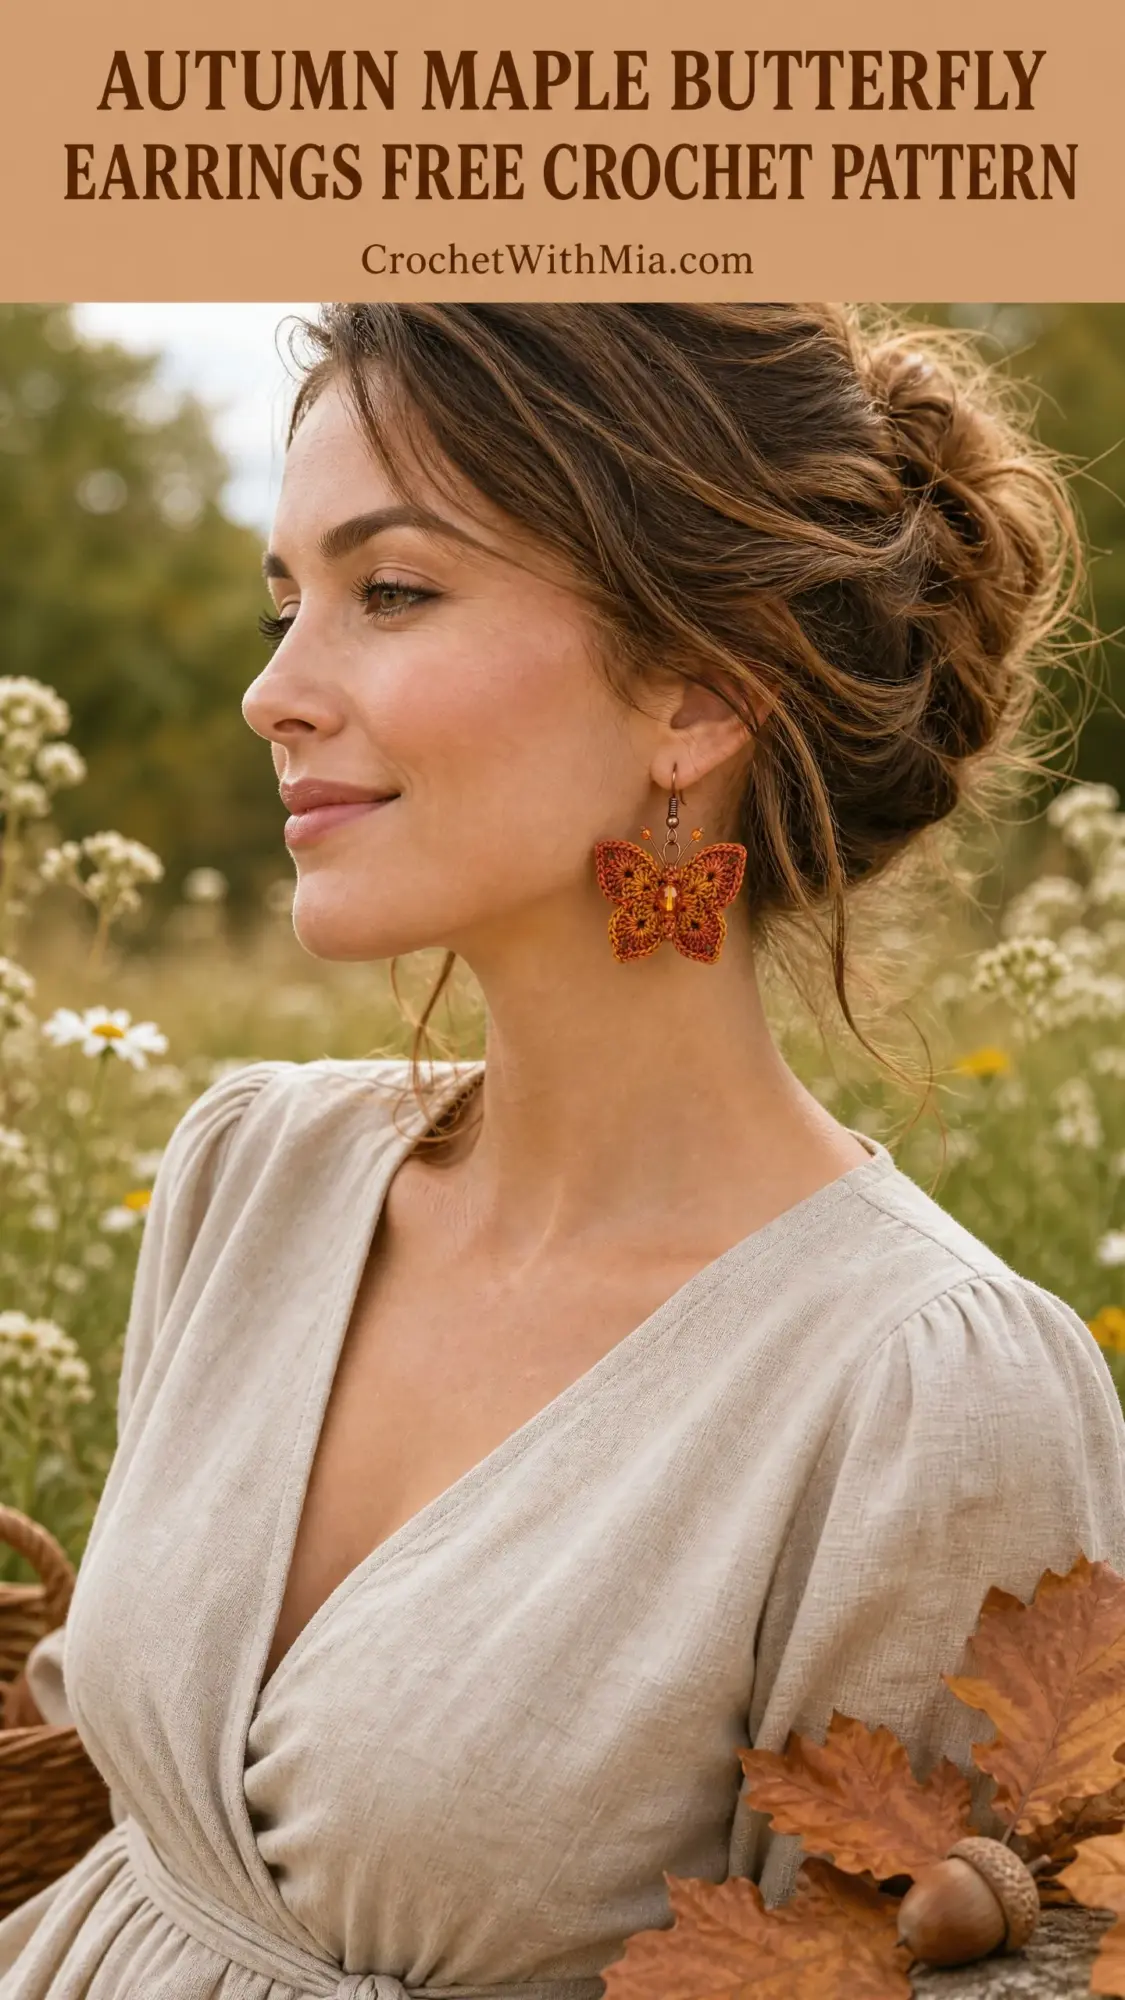
Thank you so much for choosing this pattern for your next crochet project. I really hope you love making these autumn butterfly earrings as much as I loved designing them. They make such thoughtful handmade gifts, and honestly, you deserve to keep a pair for yourself too.
If you make these earrings, I would absolutely love to see them! Tag me on Instagram or share a photo in our Facebook group. Seeing your finished projects genuinely makes my day.
Save this pattern to your Pinterest boards so you can find it easily when you are ready to start, and drop a comment below if you make these butterflies. I would love to hear which colorway you chose and how they turned out for you!