
I’ve been looking for the perfect heirloom-quality baby dress pattern for months, and this one stopped me in my tracks. The combination of a fitted bodice with that gorgeous lace fan skirt is exactly what I wanted for special occasion baby wear. This is my favourite kind of project: challenging enough to keep things interesting, but with results that look absolutely stunning on the hanger and even better on a little one.
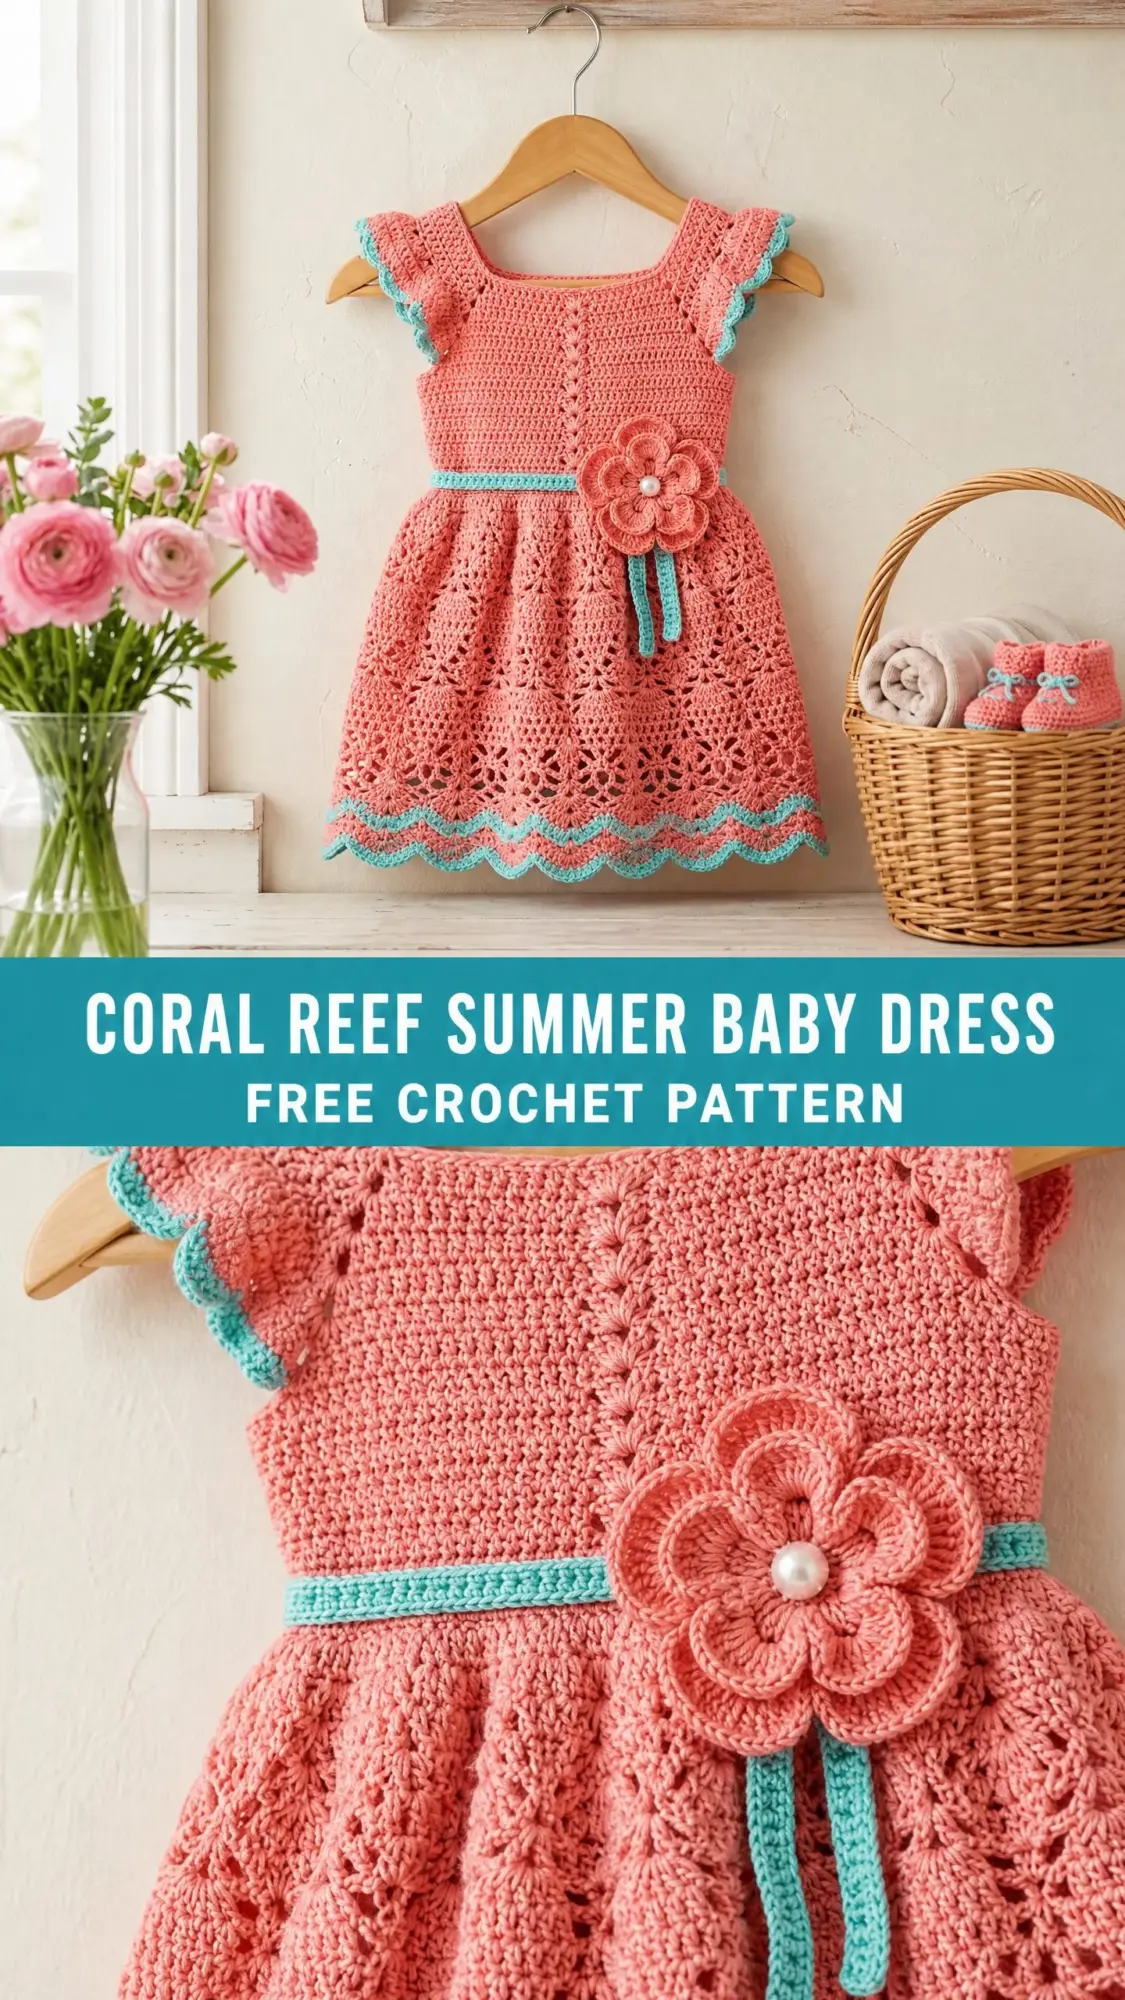
The coral and teal color combination feels fresh and modern while still giving those classic handmade vibes. If you’ve been wanting to try your hand at a more advanced baby garment, this is the pattern to reach for.
Let me walk you through everything you need to know to create this beautiful piece from start to finish.
About This Baby Dress Crochet Pattern
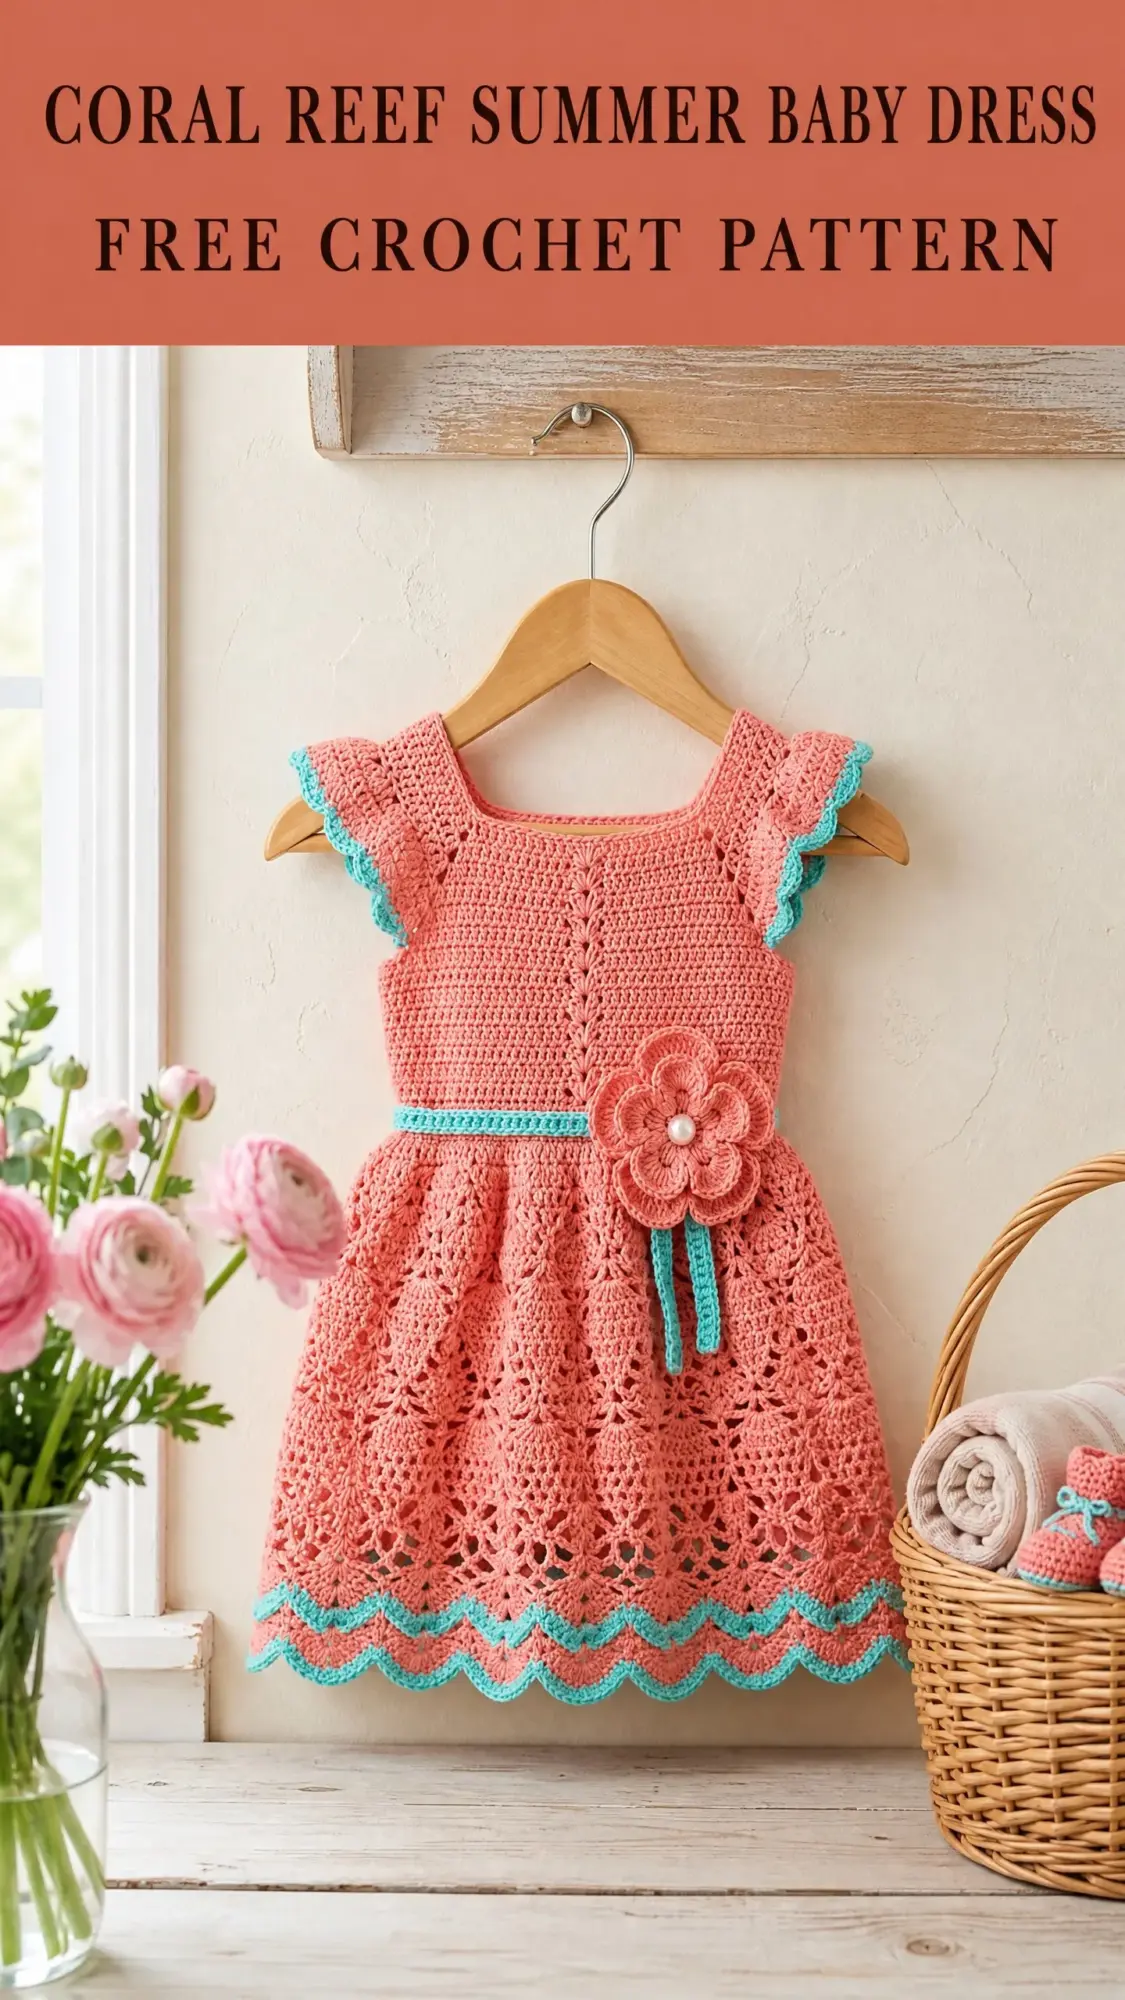
This dress combines several techniques into one showstopping garment. You’ll work a solid-stitch fitted bodice from the top down, then transition into an open lace fan skirt that flows beautifully. The flutter cap sleeves add a sweet feminine touch, while the decorative waistband with its teal contrast creates a lovely visual break between bodice and skirt.
The back features an open design with a simple button or snap closure, making dressing and undressing a breeze. A handmade crochet flower corsage with a pearl-button center sits at the waist as the perfect finishing detail.
Skill Level: Intermediate. This pattern requires comfort with working in joined rounds, basic lace fan stitches, color changes, working into chain spaces, and constructing a 3D flower embellishment. Beginners with at least two completed projects may attempt it by first practicing the fan stitch repeat on a small swatch.
Time Estimate: 14 to 20 hours for an average intermediate crocheter working in multiple sessions.
Finished Measurements
This dress fits a baby approximately 6 to 12 months old.
Materials Needed for This Crochet Tutorial
Yarn
Yarn A (coral/salmon): DK weight, 100% cotton or cotton-blend, approximately 280 to 320 yards or 256 to 293 meters
Yarn B (teal/mint): DK weight, 100% cotton or cotton-blend, approximately 60 to 75 yards or 55 to 69 meters
Yarn Suggestions
Here are three specific yarns that work beautifully for this pattern:
Option 1: Lion Brand 24/7 Cotton, DK weight, 100% mercerized cotton, 186 yards per 3.5 ounce skein. Try Salmon for Yarn A and Mint for Yarn B. You will need 2 skeins of Yarn A and 1 skein of Yarn B.
Option 2: Paintbox Yarns Simply DK, 100% premium acrylic, 137 yards per 1.76 ounce skein. Try Dusty Rose for Yarn A and Spearmint Green for Yarn B. You will need 3 skeins of Yarn A and 1 skein of Yarn B.
Option 3: Cascade Yarns Nifty Cotton, DK weight, 100% cotton, 185 yards per 3.5 ounce skein. Try Coral for Yarn A and Aqua for Yarn B. You will need 2 skeins of Yarn A and 1 skein of Yarn B.
Substitution Note: Any DK weight yarn with a smooth, tightly spun construction will show the lace pattern well. Avoid overly fuzzy or halo yarns. Cotton or cotton-blend is preferred for drape and breathability. If substituting a worsted weight, go up to a US G-6 (4.0 mm) hook and check your gauge carefully. Finished measurements will be slightly larger.
Hook
Notions
Gauge
With US E-4 (3.5 mm) hook and Yarn A:
Fan stitch gauge (skirt):
Gauge is critical for a fitted garment. Make a 5 inch swatch in both single crochet and the fan stitch pattern. Wash and block the swatch before measuring to account for any relaxation. Taking time here saves frustration later, I promise.
Abbreviations and Stitch Definitions
Let me break down every abbreviation you’ll encounter. If you’re newer to crochet patterns, bookmark this section.
Special Stitches for This Baby Dress Pattern
Fan Stitch
This creates the beautiful lace pattern in the skirt. Work it over 14 stitches with chain-2 spaces.
Step 1: Skip 2 stitches or as directed.
Step 2: Work (dc, ch 1, dc, ch 1, dc, ch 1, dc, ch 1, dc) into the same stitch or chain space. This creates a fan of 5 double crochets separated by chain-1 spaces.
Step 3: Skip 2 stitches on each side of the fan as directed.
The fan counts as 14 base stitches consumed. For counting purposes in this pattern, one fan repeat occupies 14 chain positions at the foundation.
Shell Stitch
Used sparingly in the yoke for texture.
Work (dc, ch 1, dc, ch 1, dc) into the same stitch or space. This is a 3-dc shell.
Scallop Border Stitch
This creates the pretty teal edging at the hem.
Step 1: Join Yarn B to any stitch.
Step 2: Work sc in first st.
Step 3: Skip 1 st, work 5 dc into next st (shell made).
Step 4: Skip 1 st, work sc into next st.
Step 5: Repeat steps 3 and 4 across or around.
Picot
Chain 3, slip stitch into first chain of the chain-3. This creates a small decorative loop used in some trim sections.
Flutter Sleeve Edging
With Yarn B, join to armhole edge.
Row 1: Sc evenly around armhole opening.
Row 2: Turn, ch 1, work (sc, ch 2, sc) into every other sc. Fasten off.
This creates the ruffled flutter effect that looks so adorable on the finished dress.
Crochet Flower Instructions
This flower adds the perfect finishing touch at the waistline.
Round 1: With Yarn A, make a magic ring, ch 1, work 6 sc into ring, join with sl st to first sc. (6 sc)
Round 2: Ch 1, work 2 sc into each sc around, join. (12 sc)
Round 3: Work (sl st, ch 2, 4 dc, ch 2, sl st) into each sc around. This creates 12 petals. Fasten off, leave a tail.
Round 4 (back petals, optional for dimension): Turn flower to WS. Working into the back loops of Round 1 sc sts, join Yarn B, work (sl st, ch 2, 3 dc, ch 2, sl st) into each sc. Fasten off.
Attach a pearl button to the center of the flower with sewing thread.
Pattern Notes Before You Begin
Read through these notes before starting. They’ll save you confusion later.
1. The dress is worked top-down. The yoke is worked flat in rows with a back opening, then joined to work the bodice in rounds. The skirt continues in rounds from the bodice.
2. The back opening runs the full length of the bodice (shoulder to waist). Snaps or a button loop are added after finishing.
3. Stitch counts in parentheses at the end of each row or round reflect the total working stitches.
4. Color B is used only for trim: the sleeve flutter edge, the waistband border row, the hem scallop, and the flower back petals.
5. The fan stitch skirt begins with a multiple of 14 stitches. The bodice-to-skirt transition round establishes exactly 112 stitches, which is 8 fan repeats of 14 stitches each.
6. The waistband is a single round of sc worked in Yarn A, with a surface-slip-stitch decorative stripe in Yarn B added afterward.
7. All rounds in the skirt are joined rounds unless otherwise specified. Turn at the end of each round with ch 3 (counts as first dc in fan rows).
8. When measuring the dress on a hanger or flat surface, do not stretch the lace skirt. Block gently under a damp cloth.
9. Right side is always facing on joined rounds. Use a stitch marker to track the beginning of each round.
Step by Step Instructions
Yoke (Worked Flat with Back Opening)
The yoke is worked flat from the top neck edge downward. The back opening is split at center back.
Foundation Chain: With Yarn A and US E-4 hook, ch 66.
Row 1 (RS, set-up row): Sc in 2nd ch from hook and in each ch across. Turn. (65 sc)
The 65 stitches are divided as follows:
Place stitch markers between these sections now. The 4 markers sit at positions 10, 22, 43, and 55 counting from the left edge.
Row 2 (WS, increase row): Ch 1, sc in first 10 sts (left back), ch 2 (underarm join point marker), 2 sc in next st, sc in next 10 sts, 2 sc in next st (left sleeve increased, 14 sts worked in sleeve), ch 2, 2 sc in next st, sc in next 19 sts, 2 sc in next st (front increased, 23 sts), ch 2, 2 sc in next st, sc in next 10 sts, 2 sc in next st (right sleeve, 14 sts), ch 2, sc in rem 10 sts (right back). Turn. (71 sc)
Row 3 (RS): Ch 1, sc in each sc across all sections (skip the ch-2 spaces for now, sc across them as 2 sts each on this row): sc in 10, sc in 2 (over ch-2), sc in 14, sc in 2 (over ch-2), sc in 23, sc in 2 (over ch-2), sc in 14, sc in 2 (over ch-2), sc in 10. Turn. (79 sc)
Place 4 new stitch markers at the raglan lines after Row 3. Raglan marker positions (from left edge): after st 12, after st 28, after st 53, after st 69.
Row 4 (WS): Ch 1, sc across, working 2 sc into the st immediately before and after each marker (8 total increases). Turn. (87 sc)
Row 5 (RS): Ch 1, sc across, working 2 sc into st before and after each marker (8 inc). Turn. (95 sc)
Row 6 (WS): Ch 1, sc across, 8 inc at markers. Turn. (103 sc)
Row 7 (RS): Ch 1, sc across, 8 inc. Turn. (111 sc)
Row 8 (WS): Ch 1, sc across, 8 inc. Turn. (119 sc)
Row 9 (RS): Ch 1, sc across, 8 inc. Turn. (127 sc)
Row 10 (WS): Ch 1, sc across, 8 inc. Turn. (135 sc)
Checkpoint: After Row 10, your yoke measures approximately 2 inches from the top edge. The piece should be 135 stitches wide and fan out in a gentle arc.
Row 11 (RS): Ch 1, sc across, 8 inc. Turn. (143 sc)
Row 12 (WS): Ch 1, sc across, 8 inc. Turn. (151 sc)
Row 13 (RS): Ch 1, sc across, 8 inc. Turn. (159 sc)
Row 14 (WS): Ch 1, sc across, 8 inc. Turn. (167 sc)
Checkpoint: After Row 14, your yoke measures approximately 3 inches from the top.
Separating Sleeves from Body
Row 15 (RS, separation): Ch 1, sc in first 22 sts (left back). Skip the 38 left sleeve sts (do not work them). Ch 4 (underarm bridge). Sc in 47 front sts. Skip the 38 right sleeve sts. Ch 4 (underarm bridge). Sc in last 22 sts (right back). Turn. (99 sts including ch bridges)
Row 16 (WS, bridge join): Ch 1, sc in each st and each ch across all sections. Turn. (99 sc)
Bodice
Continue flat with the back opening intact through the full bodice length.
Row 17 (RS): Ch 1, sc in each of 99 sts. Turn. (99 sc)
Row 18 (WS): Ch 1, sc in each of 99 sts. Turn. (99 sc)
Row 19 (RS): Ch 1, sc in each of 99 sts. Turn. (99 sc)
Row 20 (WS): Ch 1, sc in each of 99 sts. Turn. (99 sc)
Row 21 (RS): Ch 1, sc in each of 99 sts. Turn. (99 sc)
Row 22 (WS): Ch 1, sc in each of 99 sts. Turn. (99 sc)
Checkpoint: After Row 22, your bodice measures approximately 1.5 inches from the separation row. Total bodice height from shoulder to waist should be approximately 5.5 to 6 inches. If you are short, add 1 to 2 more rows of sc before proceeding.
Waistband
Round 23 (waistband decrease): Work (sc in next 4 sts, sc2tog) 9 times, then work (sc in next 5 sts, sc2tog) 6 times, then sc in rem 18 sts. Join with sl st to first sc. (84 sc)
Round 24 (Yarn B trim): Join Yarn B to any st. Ch 1. Sc in each sc around. Join. Fasten off Yarn B. (84 sc)
Surface stripe: With Yarn B and a slightly smaller hook (US D-3), work a line of surface slip stitches along the top edge of Round 23 for a crisp visual stripe. Fasten off.
Skirt Transition
Round 25 (increase round): With Yarn A, join to any st at the waistband base. Ch 1. Work (sc in next 2 sts, 2 sc in next st) 28 times. Join with sl st. (112 sc)
Skirt Lace Fan Pattern
The skirt is worked in joined rounds using the fan stitch pattern. With 112 stitches, you have exactly 8 fan repeats per round.
Round A (dc foundation round): Ch 3 (counts as first dc), dc in each sc around. Join with sl st to top of ch-3. (112 dc)
Continue working the fan pattern as established, following the special stitch instructions provided earlier. Work the pattern repeat for approximately 7 inches or until skirt reaches desired length before adding the hem border.
Hem Border
Join Yarn B and work the scallop border stitch around the entire hem edge, following the special stitch instructions. This creates the beautiful zigzag teal trim visible at the bottom of the dress.
Flutter Sleeves
Return to each armhole opening. Join Yarn B and work the flutter sleeve edging as described in the special stitches section. This adds the sweet cap sleeve detail with teal trim.
Finishing
Weave in all ends. Attach snaps or sew a button loop to the back opening. Create the crochet flower following the instructions above and attach it at the waistband. Block the dress gently under a damp cloth, being careful not to stretch the lace skirt.
Tips for Success
This dress has several components, so take your time with each section. Work a gauge swatch before starting, and don’t skip blocking your swatch first.
The raglan increases can feel tedious, but they create the beautiful shoulder shaping. Keep your stitch markers in place and count frequently.
When transitioning to the lace skirt, make sure your stitch count is exactly 112 before beginning the fan pattern. Being off by even a few stitches will throw off the pattern repeat.
The crochet flower is a wonderful little project on its own. Consider making an extra one to use as a hair clip or headband decoration.
I really hope you enjoy making this beautiful baby dress as much as I enjoyed sharing it with you. If you found this crochet tutorial helpful, please save it to your Pinterest boards so you can find it easily when you’re ready to start. And I would absolutely love to see your finished dresses, so drop a comment below or tag me on social media when you make one!