
You know that gorgeous skein of sky blue yarn you’ve been saving for the perfect project? This is it. Dig into your stash because this Squirtle-inspired crop top combines wearable fashion with playful fandom in the best way possible. The construction features a straightforward single crochet bodice with a separate turtle shell motif worked in tapestry colorwork, plus a cute stuffed tail detail at the hip.
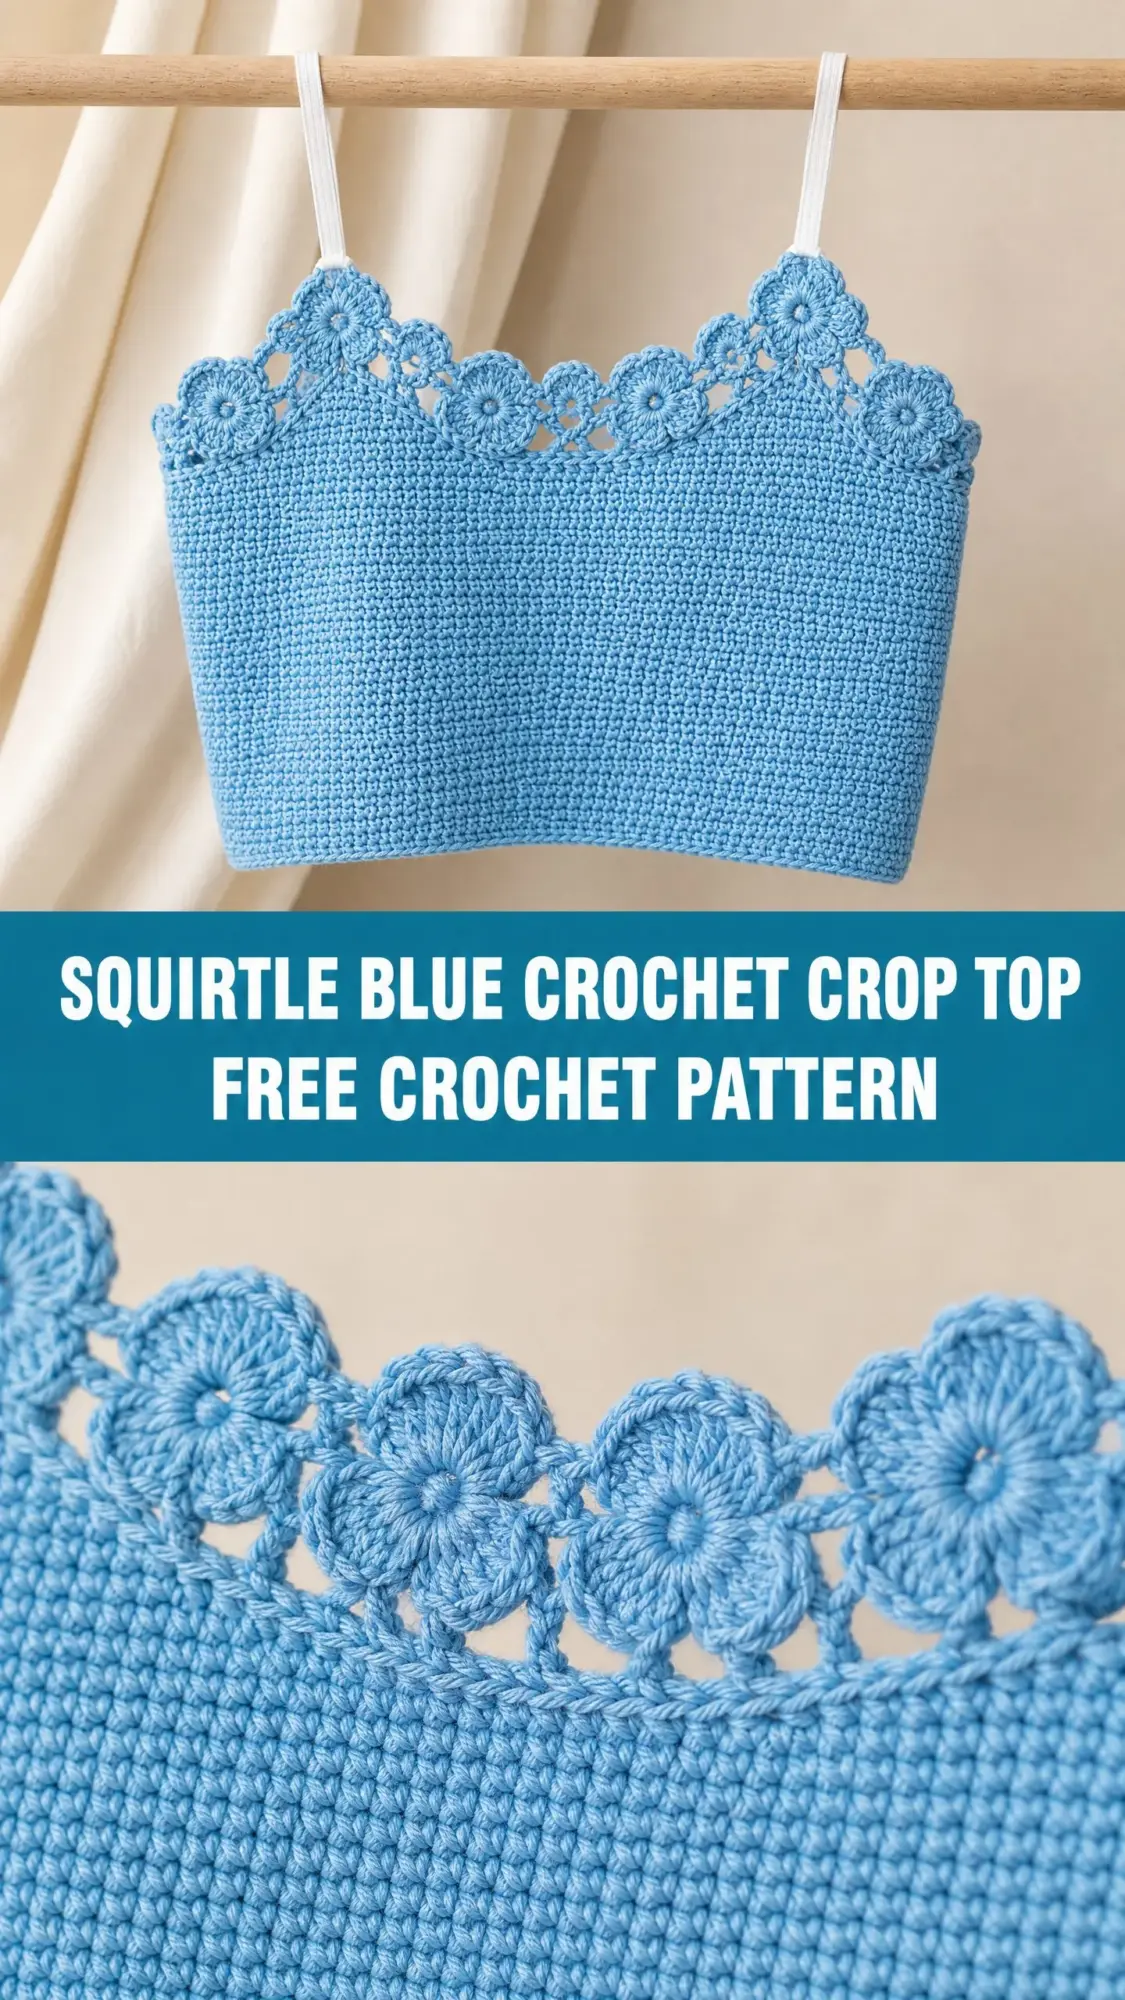
Fair warning: this pattern sits at an intermediate skill level. You’ll need comfort with working in the round, seaming flat panels, and managing yarn tension during color changes. But if you’ve conquered amigurumi or tackled colorwork before, you’ve absolutely got this.
The finished piece fits like a dream with built-in negative ease, and the shell motif creates an instant conversation starter. Let’s make something fun.
Why You’ll Love This Crochet Pattern
This crop top works up as a love letter to the beloved Water-type starter Pokémon while remaining totally wearable in everyday life. The bright sky blue bodice creates a clean canvas, and the three-dimensional shell on the back adds sculptural interest without being costume-y. That little curled tail at the hip? Pure charm.
The dense single crochet fabric gives you excellent coverage and structure. Unlike lacier summer tops, this one holds its shape beautifully and provides the support you want from a fitted garment. The straps are adjustable during construction, so you can customize the fit before committing to your final seams.
Materials You’ll Need
Gather these supplies before you begin:
Yarn:
Tools:
Yarn Suggestions:
Lion Brand Pound of Love in "Baby Blue," "Cafe au Lait," and "Fisherman" works beautifully here. It’s budget friendly, machine washable, and widely available.
Paintbox Yarns Simply Aran in "Sailor Blue," "Soft Caramel," "Vanilla Cream," and "Coffee Bean" gives excellent stitch definition for the shell motif.
Cascade 220 Superwash offers wonderful stitch definition if you prefer wool. Just swatch carefully since wool has slightly more give than acrylic.
Substitution Note: Any smooth worsted weight yarn that achieves gauge will work. Avoid fuzzy or bouclé yarns because they’ll obscure the shell colorwork.
Finished Measurements
This crochet pattern is written for size Small/Medium:
Gauge (Don’t Skip This!)
18 sc x 20 rows = 4 inches (10 cm) worked flat in single crochet, after blocking.
For a fitted garment like this crop top, gauge matters enormously. A tighter gauge produces smaller, stiffer fabric. A looser gauge creates larger, drapier fabric. Either way, your fit will be significantly affected.
To make a gauge swatch: Chain 23. Row 1: Single crochet (sc) in 2nd chain from hook and in each chain across. (22 sc) Turn. Rows 2 through 22: Chain 1, sc in each stitch across. (22 sc) Turn. Fasten off, block your swatch, then measure the interior 18 stitches and 20 rows.
Abbreviations and Stitch Definitions
Let me walk you through every stitch and term you’ll encounter:
Special Techniques
Tapestry Single Crochet: When working the shell motif, carry the unused yarn color along the back of your work, crocheting over it with the working yarn. To switch colors mid-row, insert your hook into the next stitch, pull up a loop in the current color, then draw through both loops with the new color. Keep your carried yarn tension even but not too tight.
Magic Ring: Make a loop with the tail end crossing over the working yarn. Insert your hook through the loop, pull up the working yarn, chain 1, then work the specified stitches into the loop. Pull the tail firmly to close the ring. This technique creates a seamless center for circular motifs.
Invisible Decrease: Insert your hook into the front loop only of the next stitch, then into the front loop only of the following stitch. Yarn over, draw through both front loops, yarn over, draw through the remaining 2 loops. This creates a nearly invisible decrease compared to the standard sc2tog.
Pattern Notes Before You Begin
The bodice is worked flat in rows, then seamed at the sides to create a tube. Both front and back panels are identical rectangles. Straps are worked separately and sewn to the corners.
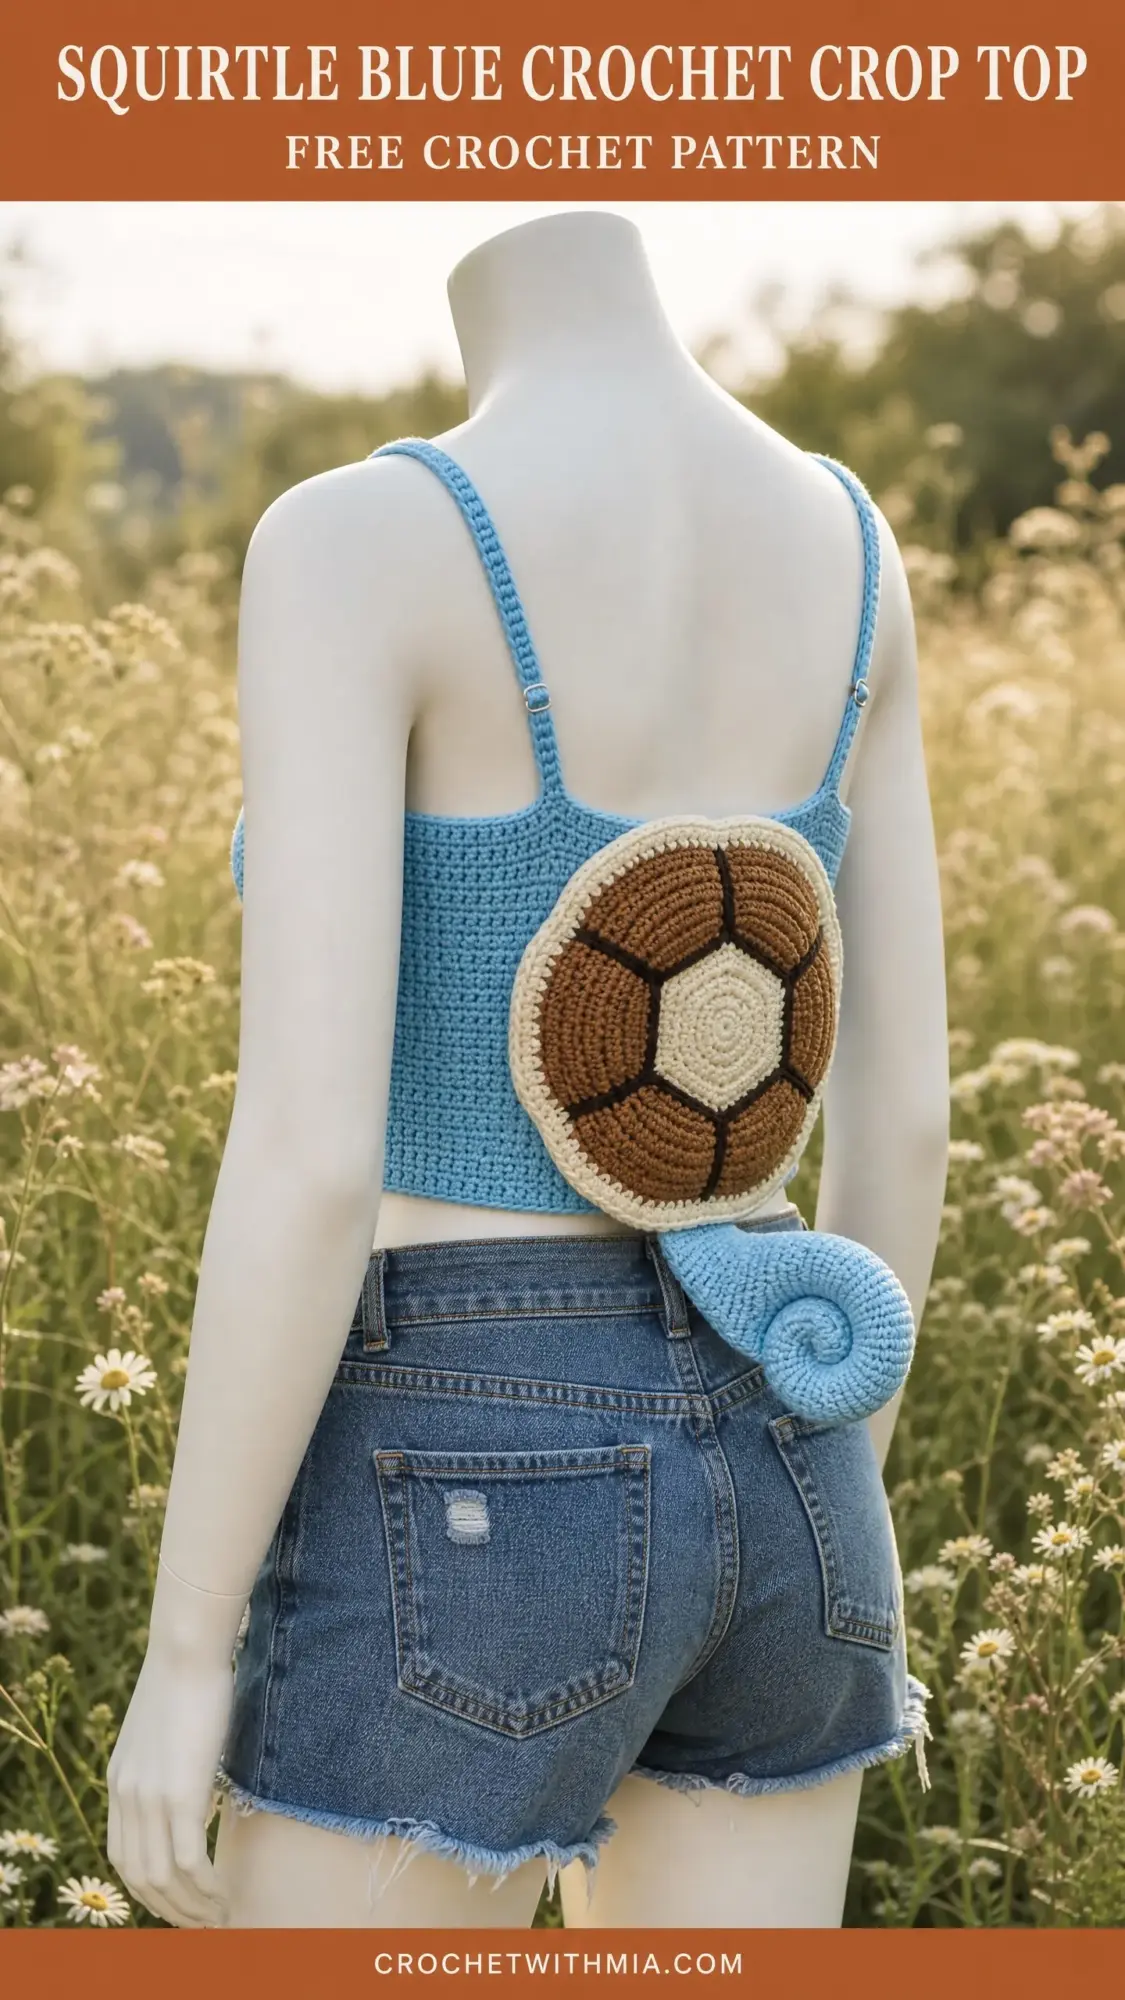
The shell motif is worked in continuous rounds using tapestry crochet. It starts at the center hexagon in cream and expands outward with brown plates and dark brown outlines. The motif lies flat and gets sewn onto the finished bodice.
The curled tail is a small stuffed tube shaped into a spiral and attached at the hip.
Important: The turning chain (ch 1) does NOT count as a stitch in this pattern. Always work your first single crochet into the first stitch at the base of the turning chain.
Step-by-Step Instructions
Bodice Front Panel
The front panel is worked flat from bottom to top.
With MC (Sky Blue) and your G-6 hook, chain 64.
Row 1 (RS): Sc in 2nd ch from hook and in each ch across. Turn. (63 sc)
Rows 2 through 50: Ch 1, sc in each st across. Turn. (63 sc)
Your front panel should measure approximately 10 inches tall and 14 inches wide. Fasten off or set aside.
Bodice Back Panel
Work exactly as the front panel:
With MC, chain 64.
Row 1 (RS): Sc in 2nd ch from hook and in each ch across. Turn. (63 sc)
Rows 2 through 50: Ch 1, sc in each st across. Turn. (63 sc)
Fasten off, leaving a long tail for seaming.
Checkpoint: Each panel should measure 14 inches wide and 10 inches tall. Lay both flat and confirm before moving on.
Side Seaming
Hold your front and back panels with right sides facing outward. Align the side edges.
Using MC and your tapestry needle, whipstitch both left and right side edges together. Leave the top edge open for the chest opening and strap attachment. Leave the bottom edge open as your hem.
Your piece is now a tube measuring approximately 28 inches in circumference.
Bottom Hem Edging
Join MC with a sl st to any stitch along the bottom edge of the tube, RS facing.
Round 1: Ch 1, sc evenly around the bottom opening. Work 1 sc per row end on the side panels and 1 sc per stitch along the foundation chain. Join with sl st to first sc. (approximately 126 sc)
Fasten off and weave in ends.
Top Edge Edging
Join MC with a sl st to any stitch along the top edge, RS facing.
Round 1: Ch 1, sc evenly around the top opening. Join with sl st to first sc. (approximately 126 sc)
Fasten off and weave in ends.
Straps (Make 2)
With MC, chain 55.
Row 1: Sc in 2nd ch from hook and in each ch across. Turn. (54 sc)
Row 2: Ch 1, sc in each st across. Fasten off, leaving a long tail. (54 sc)
Each strap measures approximately 12 inches. Adjust chain length as needed, adding 4 chains for each additional inch.
Sew one end of each strap to the front corners of the bodice and the other end to the corresponding back corners. Pin and try on before sewing permanently.
Checkpoint: With straps attached, try on the bodice. Straps should sit comfortably without pulling or gaping. Make adjustments now.
Shell Motif
The shell is worked in continuous rounds. Use a stitch marker to track the beginning of each round.
Center Hexagon:
With CC2 (Cream), make a magic ring.
Round 1: Ch 1, 6 sc into ring, pull ring closed tight. Do not join. (6 sc)
Round 2: Sc inc in each st around. (12 sc)
Round 3: (Sc in next st, sc inc in next st) 6 times. (18 sc)
Round 4: (Sc in next 2 sts, sc inc in next st) 6 times. (24 sc)
Round 5: (Sc in next 3 sts, sc inc in next st) 6 times. (30 sc)
Round 6: (Sc in next 4 sts, sc inc in next st) 6 times. (36 sc)
Sl st to next st. Your hexagon should measure approximately 2.5 inches across.
Shell Plate Border:
Round 7: Switch to CC3 (Dark Brown). Sc in each st around. (36 sc)
Round 8: (Sc in next 5 sts in CC1, sc inc in next st in CC1, switch to CC3 for next st) 6 times. (42 sc)
Round 9: (Sc in next 6 sts in CC1, sc inc in last st of section) 6 times with CC3 dividers. (48 sc)
Round 10: (Sc in next 7 sts in CC1, sc inc in last st) 6 times with CC3 dividers. (54 sc)
Round 11: (Sc in next 8 sts in CC1, sc inc in last st) 6 times with CC3 dividers. (60 sc)
Round 12: (Sc in next 9 sts in CC1, sc inc in last st) 6 times with CC3 dividers. (66 sc)
Round 13: (Sc in next 10 sts in CC1, sc inc in last st) 6 times with CC3 dividers. (72 sc)
Round 14: Switch entirely to CC3. Sc in each st around. (72 sc)
Outer Cream Border:
Round 15: Switch to CC2. (Sc in next 11 sts, sc inc in next st) 6 times. (78 sc)
Round 16: (Sc in next 12 sts, sc inc in next st) 6 times. (84 sc)
Round 17: (Sc in next 13 sts, sc inc in next st) 6 times. (90 sc)
Sl st to finish. Fasten off all colors, leaving a long CC2 tail for sewing.
Your shell should measure approximately 7 inches in diameter. Block flat before attaching.
Tail
With MC, make a magic ring.
Round 1: Ch 1, 6 sc into ring, pull tight. (6 sc)
Round 2: Sc inc in each st around. (12 sc)
Round 3: (Sc in next st, sc inc in next st) 6 times. (18 sc)
Rounds 4 through 6: Sc in each st around. (18 sc)
Round 7: (Sc in next st, sc2tog) 6 times. (12 sc)
Round 8: Sc in each st around. (12 sc)
Begin stuffing lightly with fiberfill. Continue stuffing as you work.
Rounds 9 through 14: Sc in each st around. (12 sc)
Round 15: (Sc2tog) 6 times. (6 sc)
Rounds 16 through 20: Sc in each st around. (6 sc)
Sl st to finish. Fasten off, leaving a long tail.
Curl the narrow end into a tight spiral. Tack the curl in place with a few stitches so it holds its shape.
Assembly
1. Block the shell motif flat before sewing.
2. Position the shell centered on the back panel, approximately 5 inches down from the top edge. Pin in place.
3. Using CC2 and your tapestry needle, whipstitch around the full perimeter of the shell, securing it to the bodice.
4. Position the tail at the lower left side of the back (as worn), near the hip. The wide base attaches to the bodice with the curled tip pointing forward and upward.
5. Weave in all remaining ends thoroughly.
Size Customization
For XS (28 to 30 inch bust): Chain 55 for each panel. (54 sc)
For Large (36 to 38 inch bust): Chain 73 for each panel. (72 sc)
For XL (40 to 42 inch bust): Chain 82 for each panel. (81 sc)
To lengthen or shorten the bodice, add or remove rows. Every 5 rows equals approximately 1 inch.
Care Instructions
For acrylic yarn: Machine wash on gentle in cold water. Tumble dry low or lay flat.
For wool or wool blend: Hand wash in cool water only. Lay flat to dry.
Store folded rather than hung to prevent strap stretching.
I hope you have an absolute blast making this crochet crop top. It’s the kind of project that makes people do a double-take and ask where you got it. If you make one, I would love to see it! Tag me on Instagram or share in my Facebook group.
Love this Squirtle-inspired crochet pattern? Pin it to your favorite Pinterest board so you can find it when you’re ready to start. And if you make this crop top, please drop a comment below. I genuinely love seeing your finished projects and hearing how the pattern worked for you!