
Okay, yarn lovers. This is your sign to dig through that stash and pull out that soft lavender skein you have been saving for something special. This baby cardigan is worth it. The construction is genuinely interesting because you work it seamlessly from the top down, which means you can try it on as you go and adjust the length without any guesswork. The horizontal ridged texture comes from a simple back loop only technique that looks far more impressive than it actually is. I will be honest with you. This is an intermediate pattern. You need to be comfortable with raglan shaping, working in the round, and putting together a small applique. But if you have made at least one garment before, you can absolutely do this.
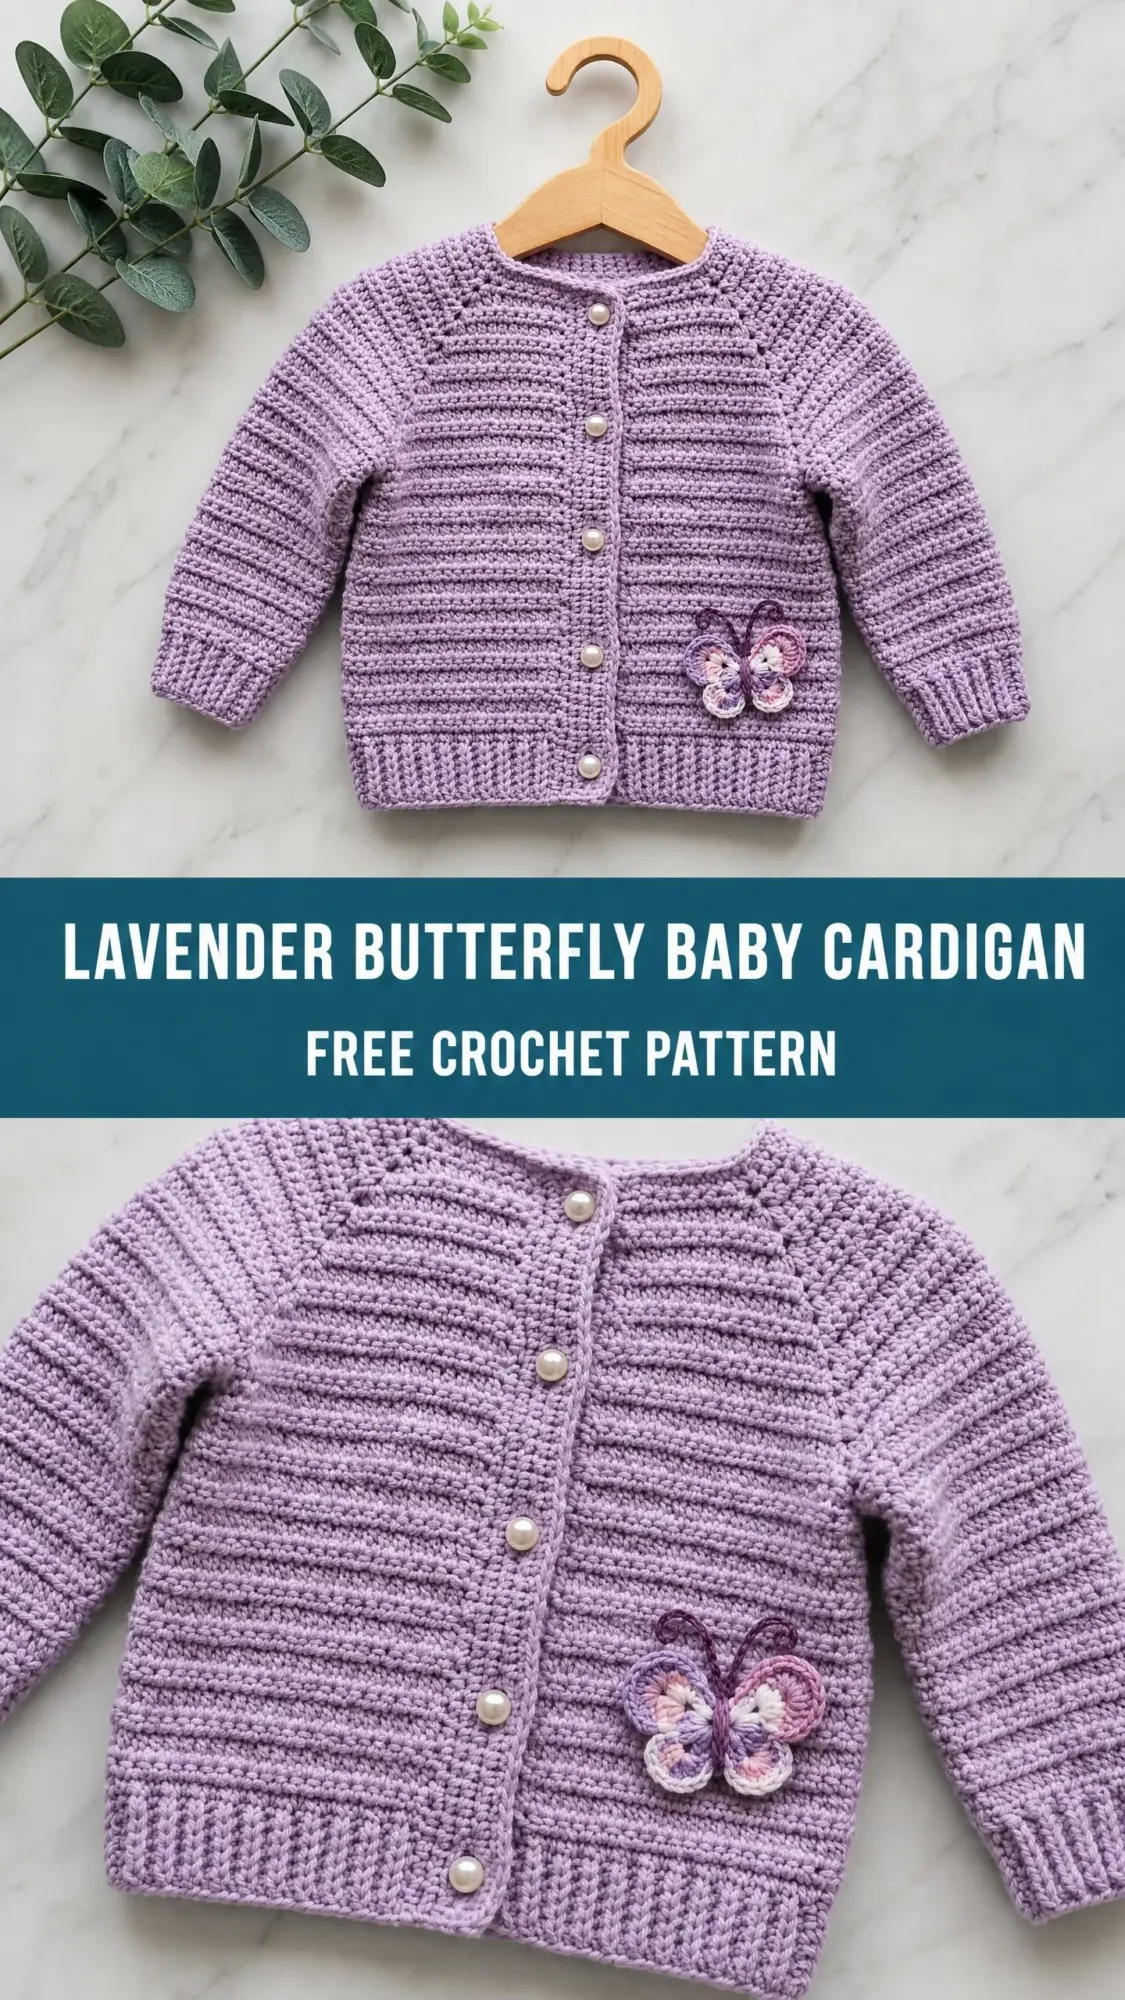
The butterfly detail on the front is the finishing touch that makes this cardigan feel extra special. Whether you are making it for your own little one, a baby shower gift, or adding to your craft fair inventory, this sweet sweater works up in about 10 to 14 hours. Not bad for a handmade heirloom piece.
Let me walk you through everything you need to know to create this adorable lavender butterfly baby cardigan crochet pattern from start to finish.
What Makes This Baby Cardigan Special
This cardigan uses a top-down raglan construction, which is one of my favorite techniques for baby garments. You start at the neckline and work your way down, increasing at four raglan points to create the shoulder shaping. The beauty of this method is that there is almost no seaming required, and you can measure the sweater against your baby (or a similar sized garment) as you work.
The distinctive horizontal ridges you see across the body and sleeves come from working half double crochet through the back loop only (hdc-blo). This creates those lovely textured lines without any complicated stitch patterns. The yoke section is worked in standard half double crochet so the raglan lines stay visible and clean.
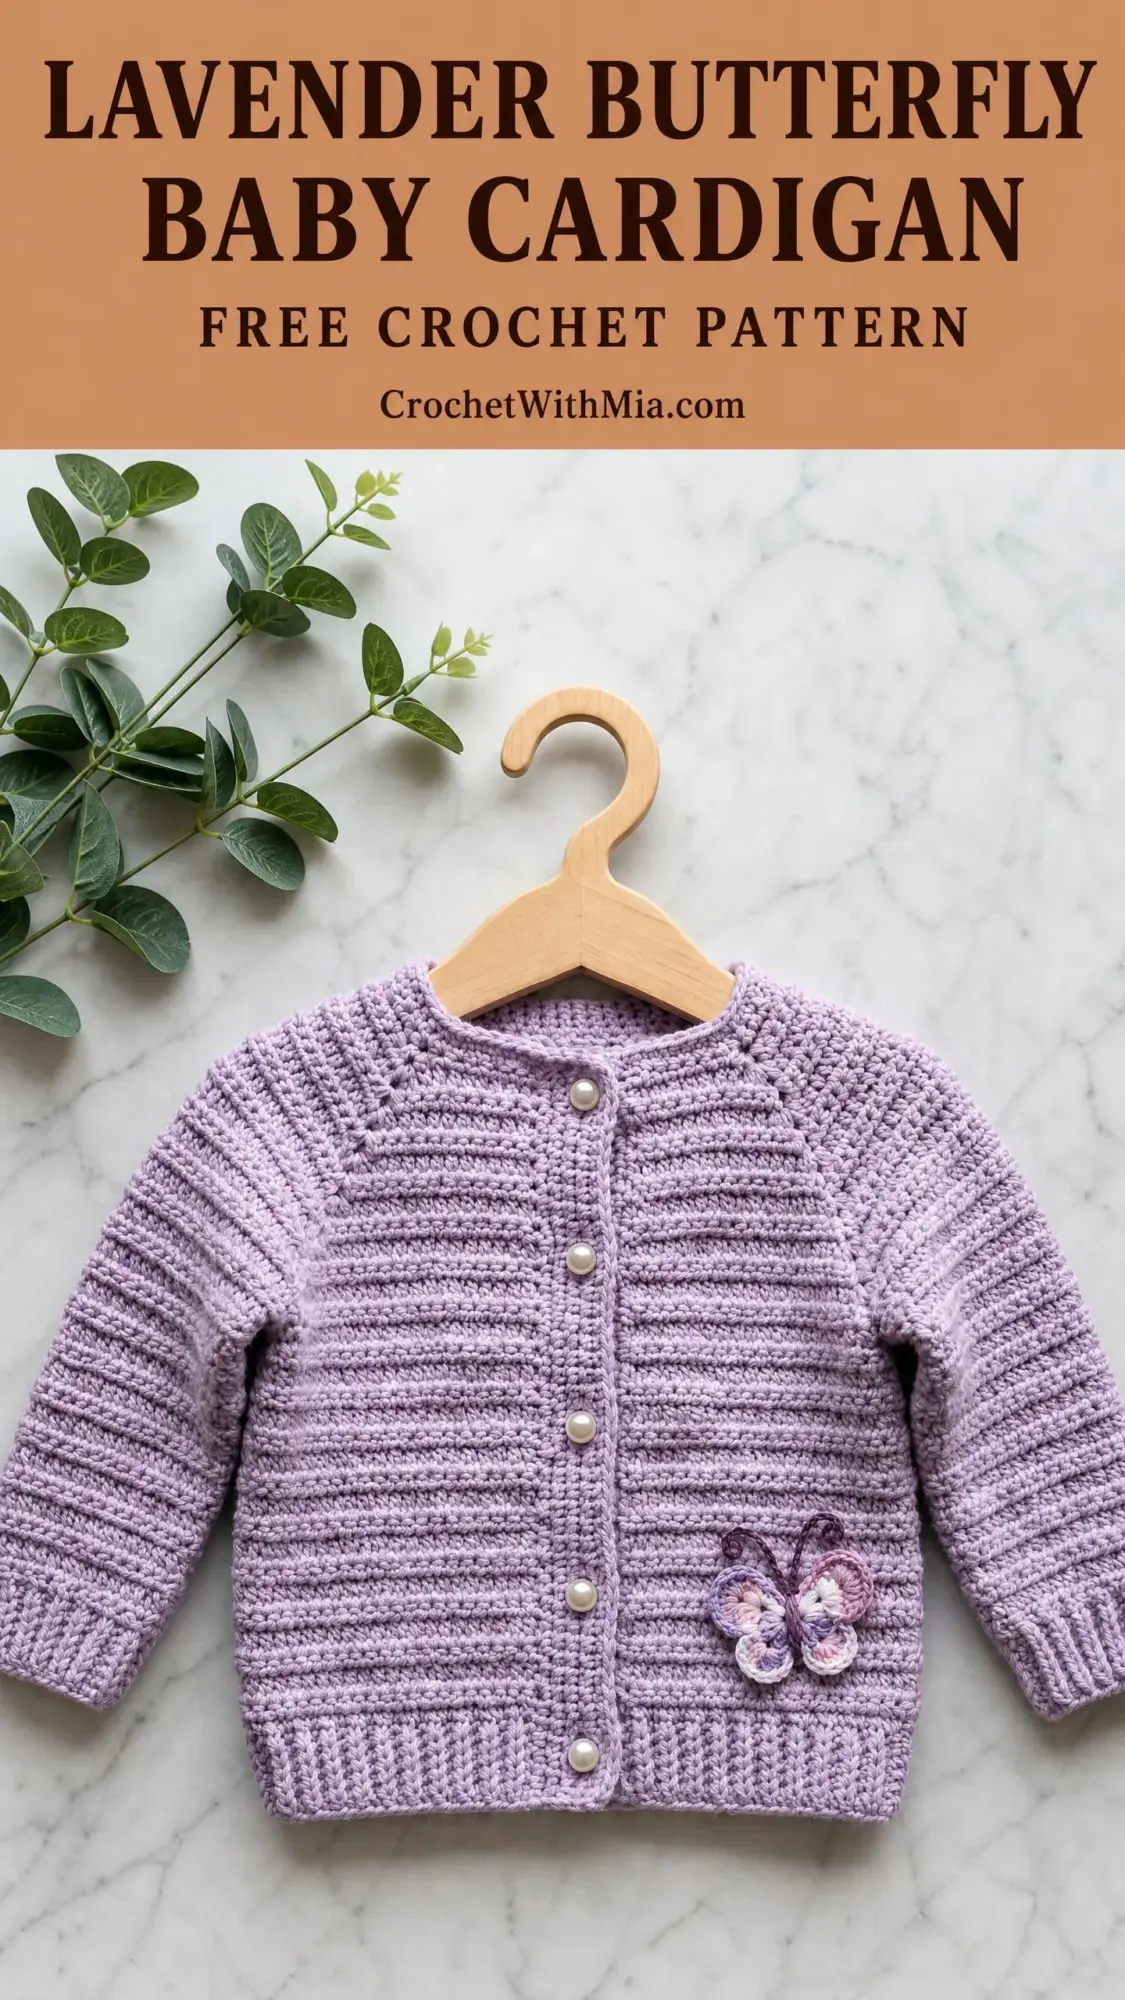
Pearl buttons run down the center front, and the crochet butterfly applique sits on the lower left panel as a sweet embellishment. The round neckline is finished with a neat single crochet edging, and both the cuffs and hem have a subtle ribbed detail from the final rows worked with a smaller hook.
Finished Measurements
This pattern is sized for 6 to 12 months with the following dimensions:
I have included size customization tips at the end if you need to adjust for a newborn or a slightly older baby.
Materials You Will Need
Yarn: DK weight (CYCA 3 Light), approximately 300 yards / 275 meters in main color (MC) lavender, plus small amounts of purple, lilac, and pale pink for the butterfly applique (CC)
Hooks:
Notions:
Yarn Suggestions
Here are three yarns that work beautifully for this crochet baby cardigan pattern:
Paintbox Yarns Simply DK (100% acrylic, 276 yds / 253 m per 100 g skein) in Lilac. Budget-friendly, machine washable, and available in gorgeous pastels. One skein is enough.
Lion Brand Pound of Love (100% acrylic, 1020 yds / 932 m per 454 g ball) in Pastel Lavender. An excellent value if you plan to make multiple baby items. Machine washable and dryer safe.
Drops Baby Merino (100% superwash merino wool, 191 yds / 175 m per 50 g skein) in Lavender. For a luxurious feel against baby skin. You will need two skeins.
Choose any DK weight yarn with good stitch definition. Avoid highly variegated colorways because the back loop only texture shows best in solid or semi-solid colors.
Gauge
With MC and G-6 hook, in half double crochet through back loop only:
17 stitches x 12 rows = 4 inches / 10 cm, blocked
Gauge is critical for a fitted garment. Please swatch before beginning. Wash and dry your swatch the same way you plan to care for the finished cardigan.
Abbreviations and Stitch Definitions
Let me define every stitch and abbreviation you will encounter in this pattern.
blo = back loop only. Instead of inserting your hook under both loops at the top of the stitch, you insert it under just the back loop. This creates the ridged texture.
ch = chain. The foundation stitch that creates a starting row or adds height.
ch-sp = chain space. The gap created by a chain stitch in the previous row.
dc = double crochet. Yarn over, insert hook, yarn over and pull up a loop (3 loops on hook), yarn over and pull through 2 loops (2 loops remain), yarn over and pull through remaining 2 loops.
hdc = half double crochet. Yarn over, insert hook, yarn over and pull up a loop (3 loops on hook), yarn over and pull through all 3 loops at once.
hdc-blo = half double crochet through the back loop only. Work a regular hdc but insert your hook under only the back loop.
hdc2tog = half double crochet 2 stitches together (decrease). Yarn over, insert hook in next stitch, yarn over, pull up a loop (3 loops on hook), yarn over, insert hook in following stitch, yarn over, pull up a loop (5 loops on hook), yarn over, draw through all 5 loops. This counts as 1 stitch.
MC = main color (lavender)
CC = contrast color (for butterfly)
pm = place marker
sc = single crochet. Insert hook, yarn over and pull up a loop (2 loops on hook), yarn over and pull through both loops.
sk = skip
sl st = slip stitch. Insert hook, yarn over and pull through both the stitch and the loop on your hook in one motion.
st(s) = stitch(es)
RS = right side (the side that faces out when worn)
WS = wrong side (the side that faces in when worn)
Special Techniques
Raglan Increase
This cardigan uses a 2-stitch increase at each of 4 raglan points. When you reach a marked stitch, work 1 hdc in the marked stitch, then work 2 hdc in the next stitch (the first stitch of the next section). Move the marker to sit between these two increase stitches.
Each increase row adds 2 stitches per raglan point, for a total of 8 stitches added per increase row.
Pattern Notes Before You Begin
1. The cardigan is worked flat from the neckline to the underarms. After the yoke is complete, sleeves are separated onto holders and the body continues flat to the hem. Sleeves are then picked up and worked in the round.
2. The yoke uses standard hdc (both loops). The body and sleeves use hdc-blo to create the ridged texture.
3. Ch 2 at the beginning of hdc rows does NOT count as a stitch. Work your first hdc into the first stitch at the base of the turning chain.
4. Place stitch markers at each raglan point and move them up as you work.
5. RS of work faces you on odd-numbered rows throughout flat sections.
Step-by-Step Instructions
Yoke
With MC and G-6 hook, ch 46.
Foundation Row (WS): Hdc in 3rd ch from hook and in each ch across. Turn. (44 hdc)
This row forms the neckline. You now have 44 stitches arranged as follows from right to left (as worn):
Place markers between st 8 and st 9 (marker A), between st 15 and st 16 (marker B), between st 31 and st 32 (marker C), and between st 38 and st 39 (marker D).
Row 1 (RS – Increase Row): Ch 2, turn. Hdc in first 8 sts (right front), 2 hdc in next st, pm, 2 hdc in next st, hdc in next 4 sts, 2 hdc in next st, pm, 2 hdc in next st, hdc in next 14 sts, 2 hdc in next st, pm, 2 hdc in next st, hdc in next 4 sts, 2 hdc in next st, pm, 2 hdc in next st, hdc in last 8 sts (left front). Turn. (52 hdc)
Row 2 (WS – Plain Row): Ch 2, turn. Hdc in each st across. Turn. (52 hdc)
Row 3 (RS – Increase Row): Ch 2, turn. Hdc to 1 st before marker A, 2 hdc in next st, sm, 2 hdc in next st, hdc to 1 st before marker B, 2 hdc in next st, sm, 2 hdc in next st, hdc to 1 st before marker C, 2 hdc in next st, sm, 2 hdc in next st, hdc to 1 st before marker D, 2 hdc in next st, sm, 2 hdc in next st, hdc to end. Turn. (60 hdc)
Row 4 (WS – Plain Row): Ch 2, turn. Hdc in each st across. Turn. (60 hdc)
Row 5 (RS – Increase Row): Work increase row as established. Turn. (68 hdc)
Row 6 (WS – Plain Row): Ch 2, turn. Hdc in each st across. Turn. (68 hdc)
Row 7 (RS – Increase Row): Work increase row as established. Turn. (76 hdc)
Row 8 (WS – Plain Row): Ch 2, turn. Hdc in each st across. Turn. (76 hdc)
Row 9 (RS – Increase Row): Work increase row as established. Turn. (84 hdc)
Row 10 (WS – Plain Row): Ch 2, turn. Hdc in each st across. Turn. (84 hdc)
Row 11 (RS – Increase Row): Work increase row as established. Turn. (92 hdc)
Row 12 (WS – Plain Row): Ch 2, turn. Hdc in each st across. Turn. (92 hdc)
Row 13 (RS – Increase Row): Work increase row as established. Turn. (100 hdc)
Row 14 (WS – Plain Row): Ch 2, turn. Hdc in each st across. Turn. (100 hdc)
Row 15 (RS – Increase Row): Work increase row as established. Turn. (108 hdc)
Row 16 (WS – Plain Row): Ch 2, turn. Hdc in each st across. Turn. (108 hdc)
Checkpoint: After Row 16, the yoke should measure approximately 4 inches / 10 cm from the neckline edge. You should have 16 stitches each for right and left fronts, 22 stitches each sleeve, and 32 stitches for the back.
Sleeve Separation and Body
Row 17 (RS – Separation Row): Ch 2, turn. Hdc-blo in first 16 sts (right front). Skip next 22 sleeve sts and place them on a stitch holder or spare length of yarn. Ch 4, hdc-blo in next 32 sts (back). Skip next 22 sleeve sts and place them on a second holder. Ch 4, hdc-blo in last 16 sts (left front). Turn. (72 sts)
Note: The 4 chain stitches at each underarm bridge the gap left by the separated sleeves.
Row 18 (WS): Ch 2, turn. Hdc-blo in each st across. Turn. (72 hdc-blo)
Rows 19 through 36: Ch 2, turn. Hdc-blo in each st across. Turn. (72 hdc-blo)
Continue until body measures approximately 6.5 inches / 16.5 cm from the separation row, ending with a WS row.
Hem Ribbing
Switch to smaller hook F-5.
Row 1 (RS): Ch 2, turn. Hdc-blo in each st across. Turn. (72 hdc-blo)
Row 2 (WS): Ch 2, turn. Hdc-blo in each st across. Turn. (72 hdc-blo)
Row 3 (RS): Ch 2, turn. Hdc-blo in each st across. Turn. (72 hdc-blo)
Fasten off and weave in ends.
Sleeves (Make 2)
Return 22 held sleeve stitches to the G-6 hook. Join MC with RS facing to the first held stitch at the underarm edge.
Round 1 (RS): Ch 2, hdc-blo in each of the 22 held sts, then work 4 hdc-blo evenly across the 4 underarm ch, sl st to first hdc to join. (26 hdc-blo)
The sleeve is now worked in the round. Do not turn. Mark the first stitch of each round.
Rounds 2 through 5: Ch 2, hdc-blo in each st around, sl st to first hdc to join. (26 hdc-blo)
Round 6 (Decrease Round): Ch 2, hdc2tog over first 2 sts, hdc-blo in each st to last 2 sts, hdc2tog, sl st to first st to join. (24 hdc-blo)
Rounds 7 through 10: Ch 2, hdc-blo in each st around, sl st to join. (24 hdc-blo)
Round 11 (Decrease Round): Ch 2, hdc2tog, hdc-blo to last 2 sts, hdc2tog, sl st to join. (22 hdc-blo)
Rounds 12 through 16: Ch 2, hdc-blo in each st around, sl st to join. (22 hdc-blo)
Cuff Ribbing
Switch to smaller hook F-5.
Rounds 17 through 19: Ch 2, hdc-blo in each st around, sl st to join. (22 hdc-blo)
Fasten off and weave in ends. Repeat for second sleeve.
Neckline Edging
With RS facing, smaller hook F-5, and MC, join yarn at the top right front corner of the neckline.
Round 1: Sc evenly around the entire neckline edge, working approximately 1 sc per row end along the sides and 1 sc per stitch along the foundation chain. Aim for 44 to 46 sc total. Join with sl st to first sc. (44 sc)
Fasten off and weave in end.
Button Band (Left Front)
With RS facing, smaller hook F-5, and MC, join yarn at the bottom left front corner.
Row 1: Ch 1, sc evenly up the left front edge, working 1 sc per row end. (38 sc)
Row 2: Ch 1, sc in each sc across. Turn. (38 sc)
Row 3: Ch 1, sc in each sc across. Fasten off. (38 sc)
Buttonhole Band (Right Front)
With RS facing, smaller hook F-5, and MC, join yarn at the top right front corner.
Row 1: Ch 1, sc evenly down the right front edge. Turn. (38 sc)
Row 2 (Buttonhole Row): Ch 1, sc in first 2 sts. (Ch 1, sk 1 st, sc in next 4 sts) 6 times. Ch 1, sk 1 st, sc in last 3 sts. Turn. (38 sts including 7 ch-1 buttonhole spaces)
Row 3: Ch 1, sc in each sc and 1 sc in each ch-1 sp across. Fasten off. (38 sc)
Butterfly Applique
Upper Wings (make 1 piece with 2 wing lobes):
With first CC (purple or lilac), ch 4, sl st in first ch to form a ring.
Lobe 1: Ch 3 (counts as dc), work 5 dc in ring, ch 2, sl st in ring.
Lobe 2: Ch 3 (counts as dc), work 5 dc in ring, sl st in ring. Fasten off, leaving a 10-inch tail.
Lower Wings (make 1 piece with 2 wing lobes):
With second CC (pale pink or lilac), ch 4, sl st in first ch to form a ring.
Lobe 1: Ch 2 (counts as hdc), work 3 hdc in ring, ch 1, sl st in ring.
Lobe 2: Ch 2 (counts as hdc), work 3 hdc in ring, sl st in ring. Fasten off, leaving a 10-inch tail.
Assembly: Place upper wing piece above lower wing piece. Thread a length of MC or dark CC on a yarn needle. Wrap the yarn twice around the center join point of both pieces, pulling snugly to cinch and form the butterfly body. Wrap 4 to 6 times, then tie securely at the back.
Embroider 2 short chain stitches at the top of the body to suggest antennae.
Sew butterfly to the lower left front panel, centered about 2 inches from the hem and 1.5 inches from the button band.
Size Customization Tips
To size up to 12 to 18 months: Work 2 additional increase rows in the yoke before separation. Use ch 5 instead of ch 4 for underarm bridges. Add 4 to 6 rows to body length and 3 to 4 rounds to sleeves. Finished chest will be approximately 21 inches.
To size down to newborn to 3 months: Work 2 fewer increase rows (end yoke after Row 12). Use ch 3 for underarm bridges. Reduce body length to 5 inches and sleeve length to 4.5 inches. Use only 5 buttons.
Finishing and Blocking
Weave in all yarn ends securely. Wet block by soaking the cardigan in cool water for 15 to 20 minutes. Gently press out excess water by rolling in a clean towel. Lay flat, pin to measurements, and allow to dry completely.
Sew buttons to the left front band, aligning with the 7 buttonholes. Use a double strand of matching yarn for secure attachment.
Care Instructions
For acrylic yarns, machine wash in cold water on gentle cycle and lay flat to dry. For superwash wool, hand wash in cool water with mild wool wash and lay flat to dry. Do not hang wet crochet garments as they can stretch.
Thank you so much for choosing this lavender butterfly baby cardigan crochet pattern for your next project. I truly hope you enjoy making it as much as I enjoyed designing it. If you have any questions along the way, do not hesitate to reach out.
If you make this sweet little cardigan, I would absolutely love to see it. Tag me on Instagram or share a photo in my Facebook group. Seeing your finished projects genuinely makes my day.
Before you go, save this pattern to your Pinterest boards so you can find it easily when you are ready to start. And if you do make this cardigan, please leave a comment below. I love hearing how your projects turn out and seeing which color combinations you choose.