
I call this one the "Sunday Morning Set" because I designed it during a string of quiet Sunday mornings when my niece announced she was expecting her first baby. The original sketch lived in a spiral notebook for almost two years before I finally sat down to work out the math. I wanted something that felt heirloom but was actually practical to make and wash. Something a new parent could toss in the machine without worry, but that still looked like it belonged in a vintage photograph.
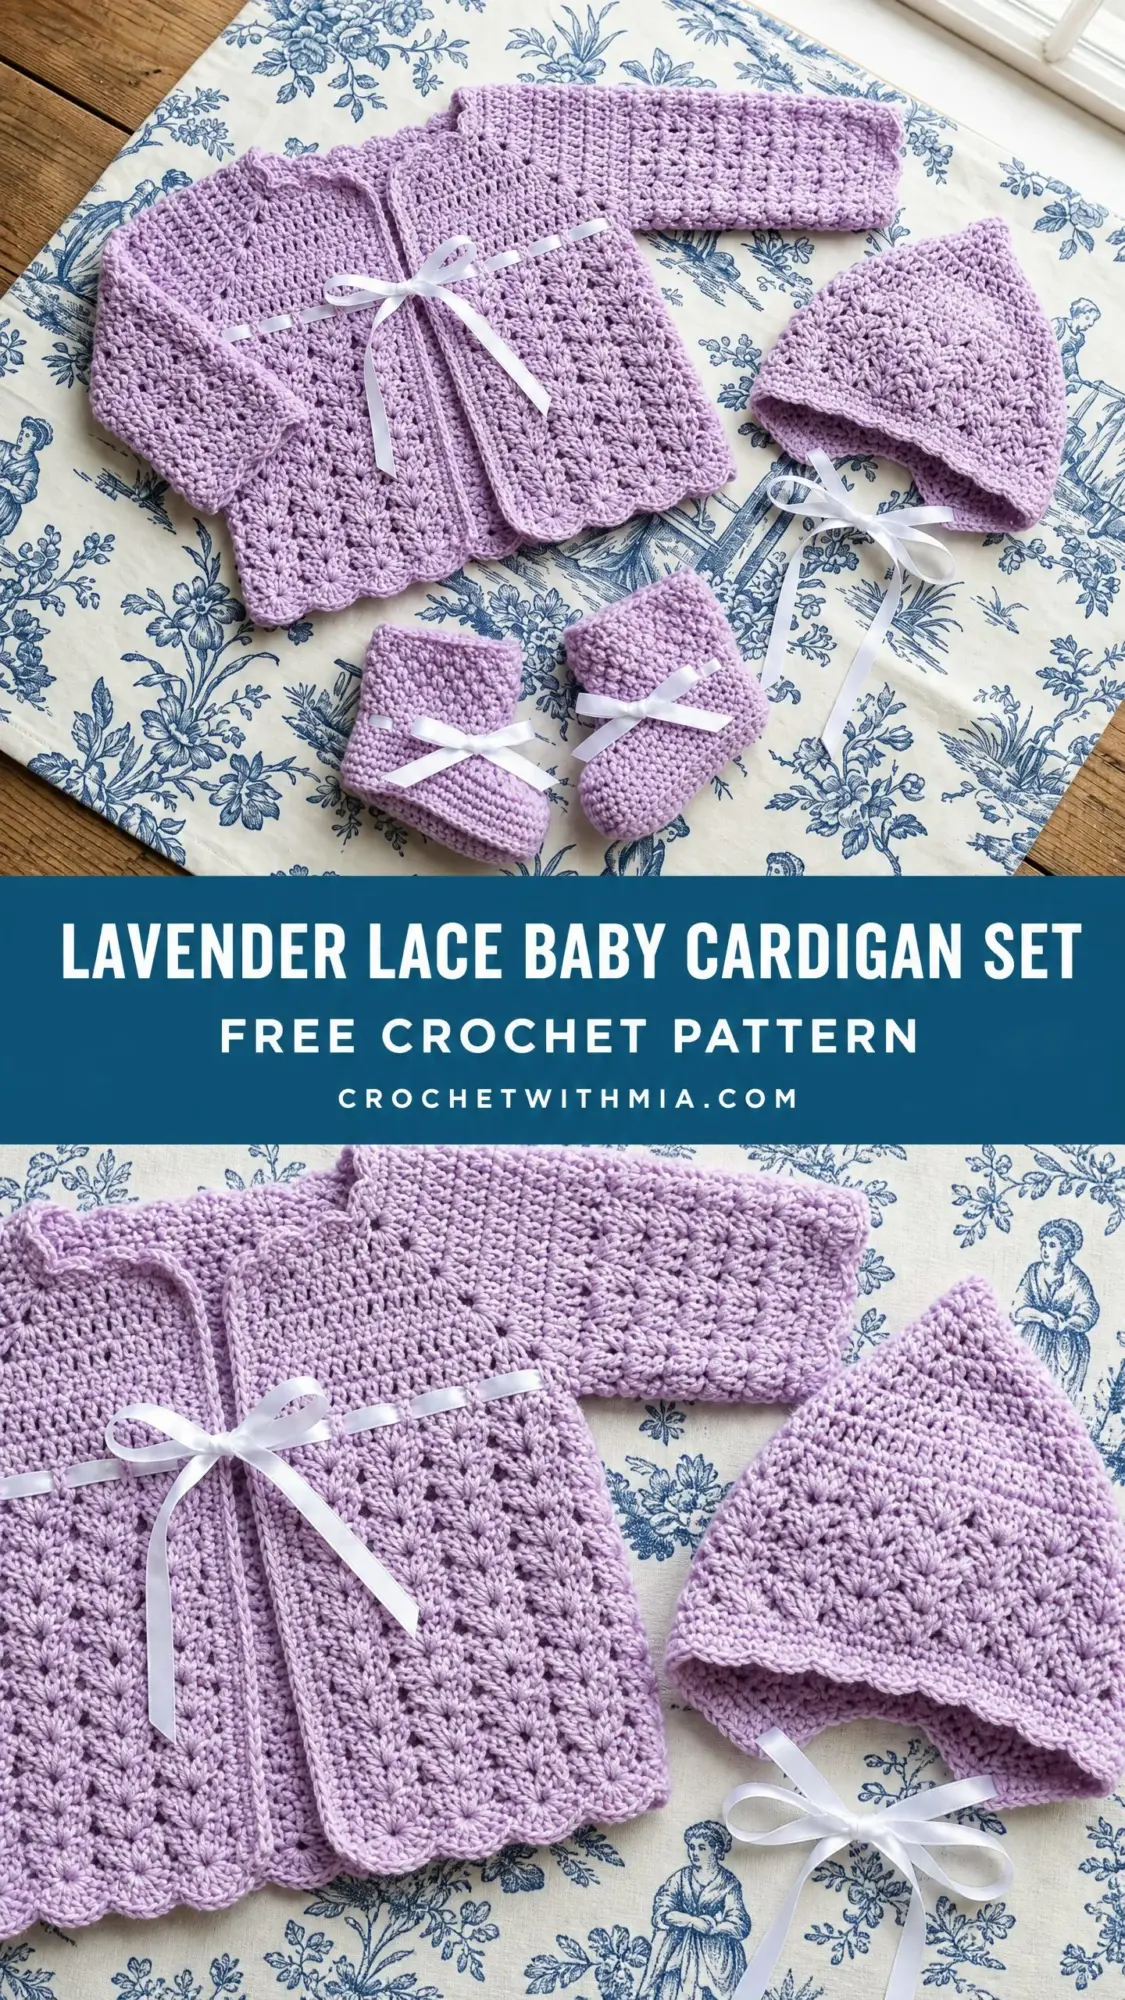
The moment I finished the first bonnet and held it up to the light, I knew this pattern was exactly what I had been hoping for. That delicate shell lace, the soft scalloped edges, the sweet satin ribbon ties. It all came together into a set that feels special without being fussy.
So here it is. My Sunday Morning Set, finally written out properly and ready for you to make for the next little one in your life. Whether that is your own baby, a grandchild, a friend’s shower gift, or a charity donation, this lavender lace baby cardigan set works up beautifully and photographs like a dream.
What You Are Making
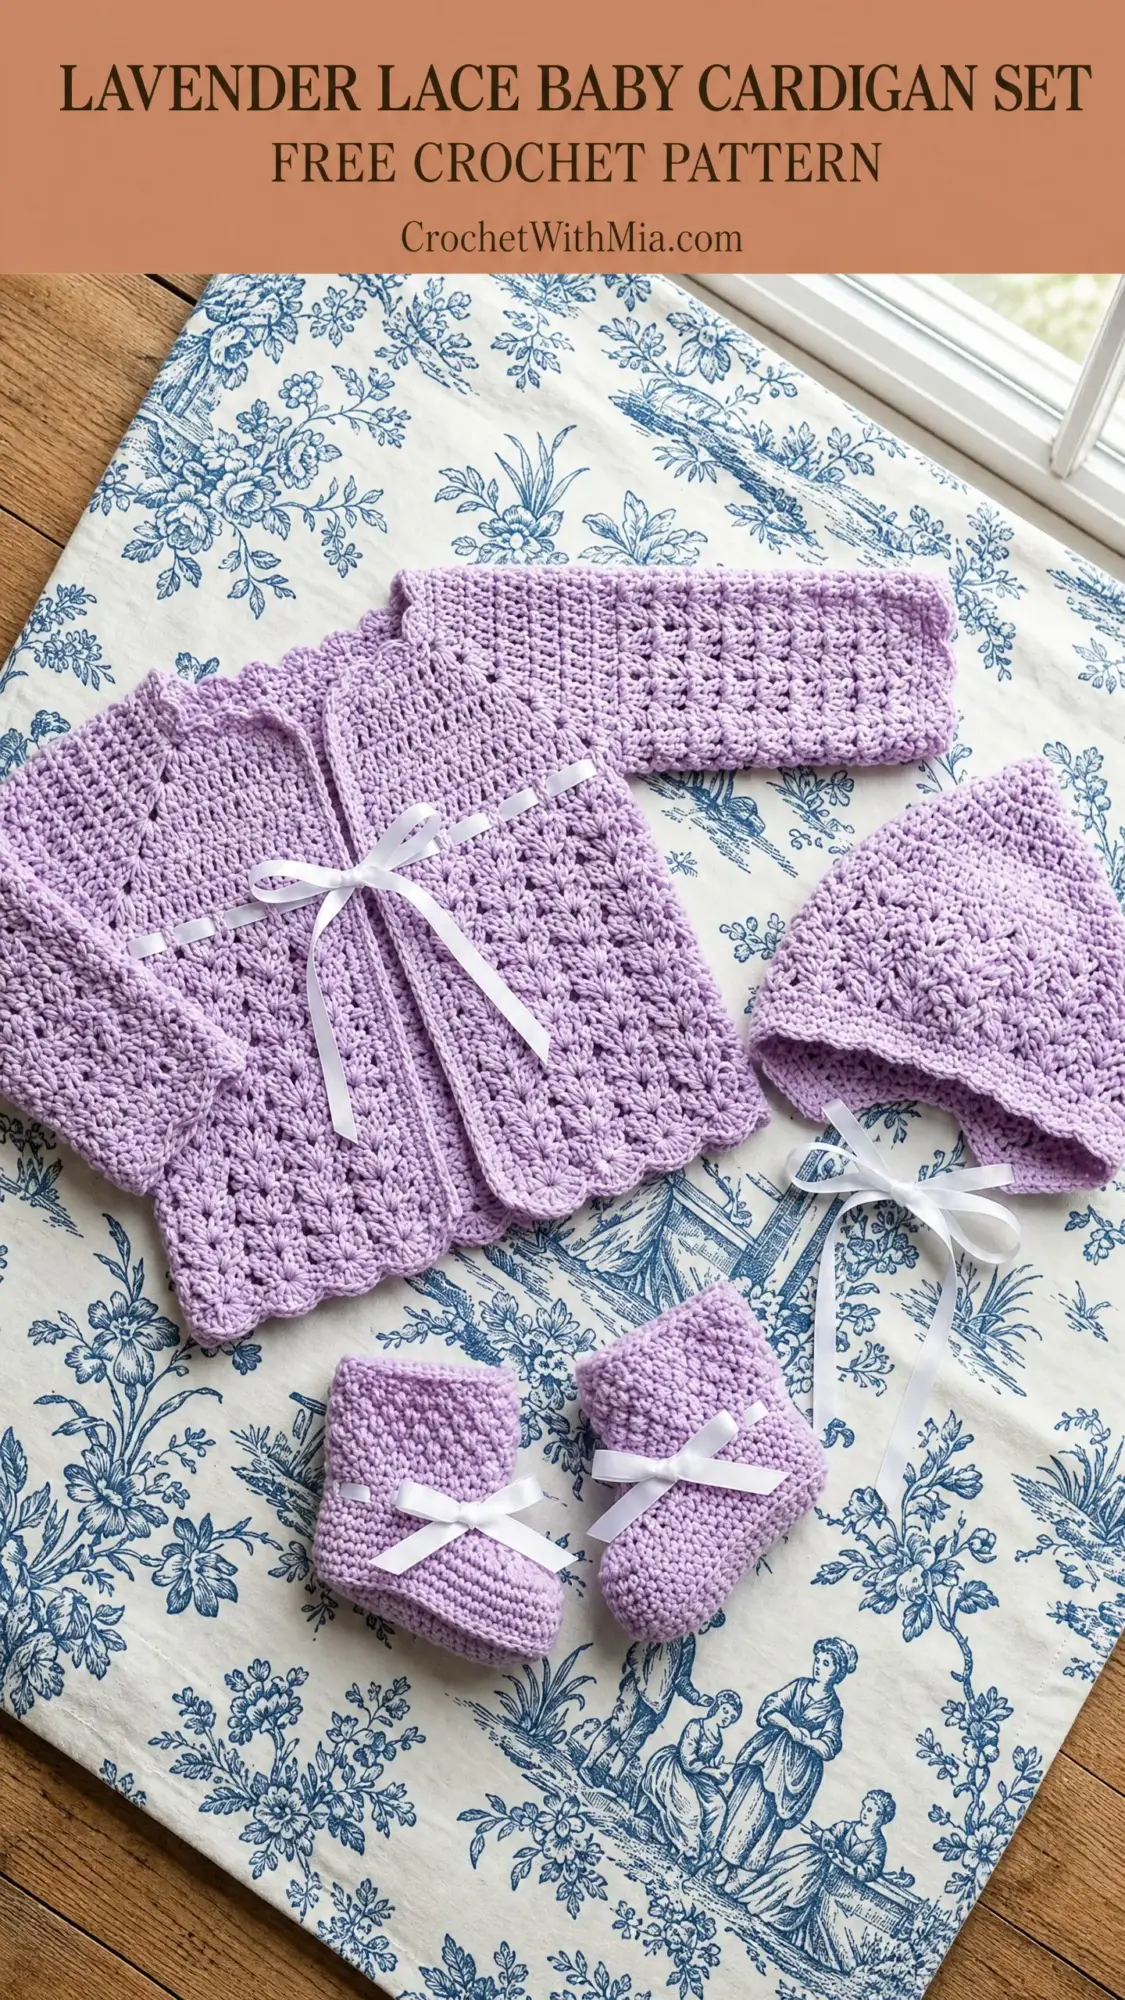
This complete layette set includes three coordinating pieces. You get a lace panel cardigan with raglan construction worked from the top down, a matching bonnet worked from the crown outward, and a pair of booties with textured sides and a scalloped cuff. All three pieces feature the same shell stitch pattern and scalloped edging, creating a cohesive look tied together with white satin ribbon accents.
The cardigan opens at the front and closes with a ribbon threaded through an eyelet row at the empire waist. No buttons, no buttonholes, no fiddly closures. Just a simple bow that a sleep-deprived parent can manage one-handed at three in the morning.
Skill Level
I would call this an intermediate crochet pattern. You should be comfortable with basic stitches and willing to follow stitch counts carefully. The techniques include top-down raglan yoke construction, working flat in rows across a curved neckline, shell stitch patterns, and some simple shaping.
If you have made a few scarves and want to try something more structured, this is a great next step. The yoke math is already worked out for you. Just follow the row counts and trust the process.
Finished Measurements
Cardigan
Bonnet
Booties
Materials Needed
Yarn: 200 yards or 183 meters of worsted weight yarn (category 4) in soft lilac or lavender. You need just one color for the entire set.
I recommend Lion Brand Pound of Love in Pastel Purple or Orchid. It is soft, machine washable, widely available, and holds stitch definition beautifully. Other good options include any smooth category 4 worsted that achieves gauge. Avoid fuzzy or textured yarns because they will obscure the pretty shell lace pattern.
Hook: US Size I-9 or 5.5 millimeter hook, or the size needed to achieve gauge
Additional Supplies:
Ribbon Cutting Guide:
Gauge
With US I-9 or 5.5 millimeter hook and worsted weight yarn:
Shell stitch gauge:
Gauge matters here because this is a fitted baby garment. Please swatch before starting and adjust your hook size if needed.
Abbreviations and Stitch Definitions
Let me walk you through every abbreviation you will encounter in this pattern.
ch = chain. Wrap yarn over hook, pull through loop on hook. This is how you create your foundation and turning chains.
sl st = slip stitch. Insert hook, yarn over, pull through both the stitch and the loop on your hook in one motion. Used for joining rounds.
sc = single crochet. Insert hook into stitch, yarn over, pull up a loop (2 loops on hook), yarn over, pull through both loops. A short, dense stitch.
hdc = half double crochet. Yarn over, insert hook into stitch, yarn over, pull up a loop (3 loops on hook), yarn over, pull through all 3 loops. Slightly taller than single crochet.
dc = double crochet. Yarn over, insert hook into stitch, yarn over, pull up a loop (3 loops on hook), yarn over, pull through 2 loops (2 loops remain), yarn over, pull through remaining 2 loops. A tall stitch that creates the lacy shells.
st/sts = stitch/stitches
sp = space
ch-sp = chain space
sk = skip
rep = repeat
pm = place marker
RS = right side
WS = wrong side
t-ch = turning chain
Special Stitches
Shell Stitch (sh): Work 5 double crochet stitches all into the same stitch or space. This creates a fan-shaped cluster that forms the beautiful lace texture across the body of the cardigan.
Half Double Crochet Two Together (hdc2tog): This is your decrease stitch. Yarn over, insert hook into next stitch, yarn over, pull up a loop. Without completing the stitch, yarn over, insert hook into the following stitch, yarn over, pull up a loop. You now have 5 loops on your hook. Yarn over and draw through all 5 loops. One decrease completed.
Scallop Edging: Single crochet in first stitch, skip 2 stitches, work a shell (5 double crochet) into the next stitch, skip 2 stitches, single crochet in the next stitch. Repeat across. Each scallop unit uses 6 stitches.
Time Estimate
This is a lovely weekend project if you have some dedicated crafting time, or a relaxing week-long make if you work on it in the evenings.
Crochet Pattern Instructions: Cardigan
Yoke
The yoke is worked flat from the neckline down, increasing at 4 raglan points every right side row.
Setup Foundation Chain: Ch 33. This creates the neckline edge.
Row 1 (RS, setup): Starting in the 3rd ch from hook (the turning chain does not count as a stitch), work hdc across.
(31 hdc)
Row 2 (WS): Ch 2, turn. Hdc in each st across.
(31 hdc)
Now place your markers. In Row 3, your stitches are distributed like this:
Row 3 (RS, Raglan Row 1): Ch 2, turn. Hdc across to 1 st before first marker, 2 hdc in next st (pm here), 2 hdc in next st, hdc to 1 st before next marker, 2 hdc in next st (pm), 2 hdc in next st, hdc to 1 st before next marker, 2 hdc in next st (pm), 2 hdc in next st, hdc to 1 st before next marker, 2 hdc in next st (pm), 2 hdc in last st.
(39 hdc)
Row 4 (WS): Ch 2, turn. Hdc in each st across.
(39 hdc)
Row 5 (RS, Raglan Row 2): Ch 2, turn. Hdc across, working 2 hdc in the st before and after each marker position (4 raglan points, 2 increases each equals 8 increases total).
(47 hdc)
Row 6 (WS): Ch 2, turn. Hdc across.
(47 hdc)
Row 7 (RS, Raglan Row 3): Ch 2, turn. Work raglan increases as established.
(55 hdc)
Row 8 (WS): Ch 2, turn. Hdc across.
(55 hdc)
Row 9 (RS, Raglan Row 4): Ch 2, turn. Work raglan increases as established.
(63 hdc)
Row 10 (WS): Ch 2, turn. Hdc across.
(63 hdc)
Row 11 (RS, Raglan Row 5): Ch 2, turn. Work raglan increases as established.
(71 hdc)
Row 12 (WS): Ch 2, turn. Hdc across.
(71 hdc)
After Row 12, your sections are:
Checkpoint: Your piece should measure approximately 3 inches or 7.5 centimeters from the neckline chain to the bottom edge of Row 12.
Body Separation (Underarm Join)
Row 13 (RS): Ch 2, turn. Hdc across 9 Left Front sts. Chain 3 (underarm bridge). Skip 15 Left Sleeve sts and place them on a length of yarn as a holder. Hdc across 19 Back sts. Chain 3 (underarm bridge). Skip 15 Right Sleeve sts and place on holder. Hdc across 9 Right Front sts.
(43 hdc/ch sts across body)
Row 14 (WS): Ch 2, turn. Hdc across entire body including into each ch of the underarm bridges.
(43 hdc)
Ribbon Eyelet Row (Waist Detail)
Row 15 (RS): Ch 1, turn (does not count as st). Sc in first st. (Ch 2, sk 1, sc in next st) across, ending sc in last st.
(43 working positions: 22 sc and 21 ch-2 spaces)
This row creates the holes where you will thread your ribbon later. You can thread a piece of scrap yarn through the eyelets now to hold them open while you continue working.
Shell Stitch Body
Row 16: Ch 1, turn. Sc in first st, sk 2, sh in next st, sk 2, sc in next st. Repeat (sk 2, sh in next st, sk 2, sc in next st) across. Work final sc in last st.
(43 sts in pattern: 8 sc plus 7 shells)
Row 17 (WS): Ch 3, turn (counts as first dc). Work 2 dc in same st as ch-3 base (half shell at edge). Sc in center dc of next shell. (Sh in next sc, sc in center dc of next shell) across, ending with 3 dc in last sc (half shell at edge).
(43 sts in pattern)
Row 18 (RS): Ch 1, turn. Sc in first dc (top of half shell). Sh in next sc. (Sc in center dc of next shell, sh in next sc) across, ending sc in top of t-ch.
(43 sts in pattern)
Rows 19 to 26: Repeat Rows 17 and 18 alternately (4 more times each).
(43 sts in pattern throughout)
Checkpoint: After the shell body, your piece from neckline to bottom edge should measure approximately 8.5 inches or 21.5 centimeters.
Scallop Hem
Row 27 (RS): Ch 1, turn. Working along the bottom edge, work scallop edging: Sc in first st, (sk 2, sh in next st, sk 2, sc in next st) across.
(43 sts in scallop row)
Fasten off. Weave in end.
Sleeves (Make 2)
Return to held sleeve stitches. With RS facing, join yarn at underarm bridge center.
Setup Rnd: Join yarn with sl st into first held sleeve st. Work hdc around the 15 held sts, then pick up and hdc into the 3 underarm bridge chains.
(18 hdc, worked in the round)
Place marker at beginning of round and move up each round.
Rnds 1 to 4: Hdc in each st around.
(18 hdc each rnd)
Rnd 5 (decrease rnd): Hdc2tog, hdc in each remaining st around.
(17 hdc)
Rnd 6: Hdc around.
(17 hdc)
Rnd 7 (decrease rnd): Hdc2tog, hdc around.
(16 hdc)
Rnd 8: Hdc around.
(16 hdc)
Rnd 9 (decrease rnd): Hdc2tog, hdc around.
(15 hdc)
Rnd 10: Hdc around.
(15 hdc)
Transition to working flat for the cuff shell rows by slip stitching to close the round, then turn.
Row A (RS): Ch 1. Sc in first st, sk 2, sh in next st, sk 2, sc in next st, sk 2, sh in next st, sk 2, sc in last st.
(15 sts, 2 shells visible)
Row B: Ch 3 (counts as dc), 2 dc in same st (half shell), sc in center of next shell, sh in next sc, sc in center of next shell, 3 dc in last st (half shell).
(15 sts in pattern)
Row C: Ch 1, sc in first dc, sh in next sc, sc in center dc of next shell, sh in next sc, sc in top of t-ch.
(15 sts in pattern)
Row D: Rep Row B.
(15 sts)
Scallop Cuff: Ch 1. Sc in first st, (sk 2, sh in next st, sk 2, sc in next st) rep across. End sc.
Fasten off.
Cardigan Front Edge Finishing
With RS facing, join yarn at top right front corner at neckline.
Row 1: Ch 1. Work sc evenly down right front edge, across neckline, and up left front edge. Work approximately 1 sc per row end.
Fasten off. Weave in ends.
Crochet Pattern Instructions: Bonnet
Crown
Make a magic ring or ch 4 and join with sl st to form a ring.
Rnd 1: Ch 2 (does not count as st throughout bonnet). Work 8 hdc into ring, join with sl st to first hdc.
(8 hdc)
Rnd 2: Ch 2. Work 2 hdc in each st around, join.
(16 hdc)
Rnd 3: Ch 2. (2 hdc in next st, hdc in next st) around, join.
(24 hdc)
Rnd 4: Ch 2. (2 hdc in next st, hdc in next 2 sts) around, join.
(32 hdc)
Rnd 5: Ch 2. (2 hdc in next st, hdc in next 3 sts) around, join.
(40 hdc)
Rnd 6: Ch 2. Hdc in each st around, join.
(40 hdc)
Checkpoint: Crown should measure approximately 4 inches or 10 centimeters in diameter.
Shell Body of Bonnet
Flatten the crown and work back and forth across 37 stitches.
Row 1 (RS): Ch 1, turn. Sc in first st, (sk 2, sh in next st, sk 2, sc in next st) 6 times.
(37 sts: 7 sc plus 6 shells)
Row 2 (WS): Ch 3 (counts as dc), 2 dc in same st, sc in center dc of next shell, (sh in sc, sc in center dc of shell) 5 times, 3 dc in last sc.
(37 sts)
Row 3 (RS): Ch 1, sc in first dc, sh in next sc, (sc in center dc of shell, sh in sc) 5 times, sc in top of t-ch.
(37 sts)
Rows 4 to 6: Continue alternating Rows 2 and 3.
(37 sts each row)
Brim
Brim Row 1 (RS): Ch 2. Hdc across all 37 sts.
(37 hdc)
Brim Row 2: Ch 2. (2 hdc in next st, hdc in next st) across, ending hdc in last st.
(55 hdc)
Brim Row 3: Ch 2. Hdc across.
(55 hdc)
Brim Scallop Row: Ch 1. Sc in first st, (sk 2, sh in next st, sk 2, sc in next st) across.
(55 sts in scallop)
Fasten off.
Bonnet Tie Channels
Work a row of sc along each side edge of bonnet from crown to brim front corner, approximately 10 sc per side. Thread the 18 inch ribbon through the last row of hdc at brim base so equal lengths hang on each side as chin ties.
Crochet Pattern Instructions: Booties (Make 2)
Sole
Ch 10.
Rnd 1: Starting in the 2nd ch from hook, sc in next 8 ch, 3 sc in last ch. Continue along other side of foundation ch: sc in next 8 ch, 2 sc in first ch (same as beginning), join with sl st.
(22 sc)
Rnd 2: Ch 1. 2 sc in first st, sc in next 8 sts, 2 sc in each of next 3 sts, sc in next 8 sts, 2 sc in last 2 sts, join.
(28 sc)
Rnd 3: Ch 1. Working in back loops only: sc in each st around, join.
(28 sc)
Bootie Sides
Rnds 4 to 6: Ch 1. Sc in each st around, join.
(28 sc each rnd)
Rnd 7 (toe shaping): Ch 1. Sc in first 10 sts. (Sc2tog) 4 times across center toe area. Sc in remaining 10 sts, join.
(24 sc)
Rnd 8: Ch 1. Sc in first 9 sts. (Sc2tog) 3 times. Sc in remaining 9 sts, join.
(21 sc)
Bootie Cuff
Rnd 9: Ch 2. Hdc in each st around, join.
(21 hdc)
Rnd 10: Ch 2. (2 hdc in next st, hdc in next 3 sts) 4 times, hdc in last 5 sts, join.
(25 hdc)
Rnds 11 to 12: Hdc around.
(25 hdc each rnd)
Scallop Cuff Row: Ch 1. Sc in first st, (sk 2, sh in next st, sk 2, sc in next st) 4 times.
(25 sts in scallop)
Fasten off. Weave in ends.
Cut two 6 inch ribbon pieces. Tie each into a small bow and sew to the center front of each bootie cuff.
Finishing and Assembly
1. Weave in all ends on all three pieces using a yarn needle.
2. Sew any open underarm gaps closed on the cardigan with a few whip stitches.
3. Thread the 18 inch ribbon through the eyelet row of the cardigan at the waist. Pull through so equal lengths exit at each center front. Tie in a bow.
4. Attach the bonnet ribbon as described above.
5. Sew bootie ribbon bows in place.
Blocking Your Lavender Lace Baby Set
Wet blocking makes a huge difference with this pattern. Soak all pieces in cool water for 10 minutes. Gently squeeze out water without wringing. Lay flat on a blocking mat or towel. Pin lightly to finished measurements using rust-proof pins. Allow to dry completely, about 12 to 24 hours, before removing pins.
Blocking opens up the shell lace pattern beautifully and softens those scalloped hems. Trust me, the difference is worth the wait.
Remove ribbons before blocking or use polyester satin ribbons that can tolerate moisture. Rethread or retie ribbons after everything is dry.
Care Instructions
Machine wash on gentle or delicate cycle in cold water if your yarn fiber permits. Lay flat to dry. Do not tumble dry or hang wet because this distorts the lace. If using acrylic yarn, do not iron or steam directly.
Size Customization Tips
To make a larger size (3 to 6 months):
To size down (premature or under 7 pounds):
Always recheck gauge when adjusting size. Shell repeats must remain multiples of 6 plus 1 for the pattern to work correctly.
Final Thoughts on This Baby Cardigan Crochet Pattern
This lavender lace baby cardigan set has become one of my most treasured patterns to share. Every time I see someone post a finished version, I remember those quiet Sunday mornings and the joy of designing something that would be worn by a brand new little person. The combination of practical construction, washable materials, and heirloom beauty makes this a pattern I return to again and again.
Thank you so much for choosing to make this set. I hope the process brings you as much peace as it brought me. If you finish your Sunday Morning Set, I would absolutely love to see it. Tag me on Instagram or share it in my Facebook group. Seeing your work truly makes my day.
If this pattern is calling to you but you are not quite ready to start today, go ahead and save it to your Pinterest boards so you can find it easily later. And if you do make it, please drop a comment below. I love hearing which color combinations you choose and who the lucky little recipient will be. Happy crocheting, friend.